Inquire: Call 0086-755-23203480, or reach out via the form below/your sales contact to discuss our design, manufacturing, and assembly capabilities.
Quote: Email your PCB files to Sales@pcbsync.com (Preferred for large files) or submit online. We will contact you promptly. Please ensure your email is correct.
Notes: For PCB fabrication, we require PCB design file in Gerber RS-274X format (most preferred), *.PCB/DDB (Protel, inform your program version) format or *.BRD (Eagle) format. For PCB assembly, we require PCB design file in above mentioned format, drilling file and BOM. Click to download BOM template To avoid file missing, please include all files into one folder and compress it into .zip or .rar format.
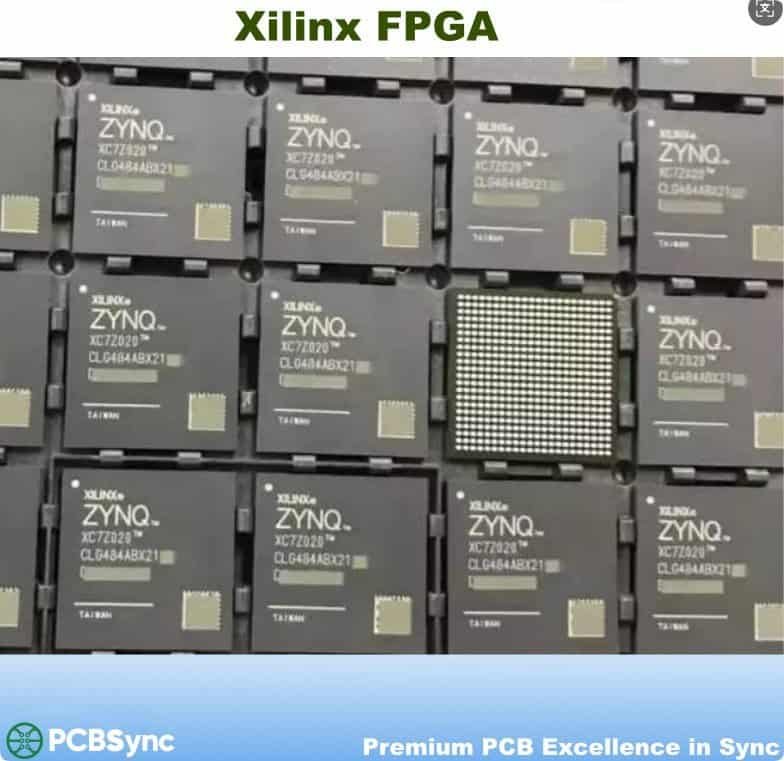
Running Linux on Zynq-7000: Complete Setup Tutorial
Getting Linux running on a Zynq-7000 device was one of those projects that looked straightforward on paper but had me scratching my head more than once. After bringing up Zynq 7000 Linux on several custom boards over the years, I’ve learned that the devil really is in the details. This guide covers everything from understanding the boot sequence to getting a full Zynq Ubuntu distribution running on your hardware.
Before diving into commands and configurations, it helps to understand what happens when you power on a Zynq-7000 device. The boot process follows a specific sequence that determines how your Linux system starts.
The Zynq Boot Sequence Explained
When power is applied to a Zynq-7000 SoC, the ARM Cortex-A9 processor (CPU0) begins executing code from an internal Boot ROM. This factory-programmed 128KB ROM is your starting point, and you cannot modify it. The Boot ROM reads the boot mode pins on your board and initializes the appropriate non-volatile memory controller based on those settings.
Boot Stage
Component
Location
Function
Stage 0
Boot ROM
On-chip (128KB)
Initialize memory controller, load FSBL
Stage 1
FSBL
QSPI/SD/NAND
Configure PS, load bitstream, start U-Boot
Stage 2
Zynq U-Boot
DDR
Initialize peripherals, load Linux
Stage 3
Linux Kernel
DDR
Operating system execution
The First Stage Boot Loader (FSBL) gets loaded into the 256KB on-chip memory (OCM) and takes over from the Boot ROM. The FSBL handles critical tasks including DDR memory initialization, FPGA bitstream configuration (if present), and loading the secondary bootloader.
Boot Mode Pin Configuration
The boot mode pins determine where the Boot ROM looks for the FSBL. Getting these wrong is one of the most common reasons for a board that refuses to boot. Most development boards use DIP switches to configure these pins.
Boot Mode
Mode Pins [4:0]
Boot Source
JTAG
00000
Debug/development
QSPI
00001
Quad-SPI flash
NOR
00010
Parallel NOR flash
NAND
00100
NAND flash
SD Card
00110
SD/MMC card
For development work, I typically use SD card boot because it allows quick iteration. QSPI boot makes sense for production where you need faster startup times and don’t want removable media.
Setting Up Your Zynq 7000 Linux Development Environment
The tools you need depend on which approach you take. AMD provides PetaLinux as the recommended path, but you can also build everything from source using Yocto or Buildroot. Let me walk through the PetaLinux approach first since it’s what most engineers start with.
PetaLinux Installation Prerequisites
PetaLinux runs on Linux host machines only. I’ve had the best results with Ubuntu 18.04 or 20.04 LTS. Before installing PetaLinux, make sure your system has the required packages.
After installation, source the settings script before using any PetaLinux commands:
source /opt/petalinux/2023.1/settings.sh
Creating a PetaLinux Project
AMD provides Board Support Packages (BSPs) for their evaluation boards like the ZC702 and ZC706. These BSPs include pre-configured settings that save significant time.
U-Boot serves as the secondary bootloader and handles the heavy lifting of getting Linux running. It initializes remaining peripherals, provides a command-line interface for debugging, and loads the kernel, device tree, and root filesystem.
Essential Zynq U-Boot Environment Variables
Understanding U-Boot environment variables saves hours of debugging. These variables control how U-Boot finds and loads your Linux components.
Variable
Purpose
Typical Value
bootcmd
Commands executed on boot
run sdboot or run qspiboot
bootargs
Kernel command line
console=ttyPS0,115200 root=/dev/mmcblk0p2
kernel_addr
Kernel load address
0x3000000
devicetree_addr
Device tree load address
0x2A00000
ramdisk_addr
Ramdisk load address
0x4000000
ethaddr
MAC address
00:0a:35:00:01:22
When Zynq U-Boot fails to boot Linux, I start by interrupting the boot process (press any key during the countdown) and checking these variables:
Zynq> printenv bootcmd
Zynq> printenv bootargs
Configuring U-Boot in PetaLinux
To modify Zynq U-Boot configuration within a PetaLinux project:
petalinux-config -c u-boot
This opens a menuconfig interface where you can enable or disable features, set default environment variables, and configure device drivers. Common changes include:
Boot Configuration Options: Navigate to “Boot options” to set the default boot command and boot delay.
Device Drivers: Enable drivers for Ethernet, USB, or other peripherals you need during boot.
Environment Storage: Configure where U-Boot stores its environment (QSPI, SD card, or in-memory only).
After making changes, rebuild the project:
petalinux-build
Building the Linux Kernel and Device Tree
The Linux kernel is the heart of your embedded system. PetaLinux handles kernel configuration, but understanding the process helps when you need to enable specific drivers or tune performance.
Kernel Configuration
To configure the kernel:
petalinux-config -c kernel
Key configuration areas for Zynq-7000 include:
Device Drivers → Network device support: Enable Cadence GEM Ethernet driver for the built-in Gigabit Ethernet.
Device Drivers → USB support: Enable USB OTG support and USB storage if you’re using USB peripherals.
Device Drivers → GPIO support: Enable Zynq GPIO controller for PS GPIO and AXI GPIO for PL GPIO.
Device Tree Configuration for Zynq
The device tree describes your hardware to the Linux kernel. PetaLinux generates a device tree from your Vivado hardware description, but you often need to customize it.
The main customization file is system-user.dtsi. Here’s an example that configures the boot arguments for a root filesystem on the second SD card partition:
While PetaLinux provides a minimal root filesystem, many projects benefit from a full distribution like Zynq Ubuntu. The apt package manager makes installing additional software straightforward, and you get a familiar development environment.
Preparing the SD Card for Zynq Ubuntu
The SD card needs two partitions: a FAT32 boot partition and an ext4 root filesystem partition.
# Identify your SD card device (be careful here!)
lsblk
# Create partitions using fdisk
sudo fdisk /dev/sdX
# Create partition 1: 500MB FAT32 for boot files
# Create partition 2: Remaining space ext4 for rootfs
# Format partitions
sudo mkfs.vfat -n BOOT /dev/sdX1
sudo mkfs.ext4 -L ROOTFS /dev/sdX2
Downloading and Preparing Ubuntu Root Filesystem
Ubuntu provides ARM hard-float root filesystems that work with Zynq’s Cortex-A9:
Yes, mainline Linux supports Zynq-7000 with the zynq_defconfig configuration. However, you’ll miss some AMD-specific features and drivers that exist only in the linux-xlnx fork. For production, I recommend the Xilinx kernel because AMD actively maintains it and includes optimizations specific to their silicon. For learning or contributing upstream, mainline works fine with basic functionality.
What’s the difference between PetaLinux and Yocto for Zynq?
PetaLinux is actually built on top of Yocto with AMD-specific layers and tools added. PetaLinux simplifies the workflow by providing petalinux-* commands that abstract the underlying Yocto complexity. Use PetaLinux when you want quick results and good AMD support. Use raw Yocto when you need maximum customization, want to integrate with an existing Yocto build system, or need to support multiple hardware platforms in one build infrastructure.
How do I add a custom driver to my Zynq 7000 Linux image?
There are several approaches depending on your situation. For kernel modules, create a recipe in your PetaLinux project under project-spec/meta-user/recipes-modules/. For out-of-tree modules, add them to the rootfs configuration using petalinux-config -c rootfs. For drivers that need kernel source modifications, patch the kernel through the meta-user layer. The PetaLinux UG1144 document provides detailed examples for each scenario.
Why won’t my Zynq board boot from SD card?
Start with the basics: verify boot mode pins are set correctly (typically 00110 for SD boot). Check that the SD card is FAT32 formatted for the boot partition and that BOOT.BIN is in the root directory. Ensure you’re using a compatible SD card, as some high-speed cards have compatibility issues. Connect a serial terminal at 115200 baud to ttyPS0 to see boot messages. If FSBL loads but U-Boot fails, the issue is likely in your boot image. If nothing appears on serial, check boot mode pins and power sequencing.
Can I use Zynq Ubuntu with FPGA fabric acceleration?
Absolutely, and this is where Zynq really shines. You can access PL peripherals from Linux through memory-mapped I/O using /dev/mem or through proper kernel drivers. For DMA transfers between PS and PL, the Xilinx DMA driver (xilinx-dma) works well. Device tree overlays allow you to load different FPGA configurations at runtime without rebooting. The combination of Zynq Ubuntu’s package management with FPGA acceleration makes for a powerful development platform for applications like video processing, software-defined radio, and machine learning inference.
Alternative Build Methods: Buildroot and Manual Compilation
While PetaLinux offers convenience, some projects require more control over the build process. Buildroot provides a lighter-weight alternative, and manual compilation gives you maximum flexibility.
Using Buildroot for Zynq-7000
Buildroot can generate a complete Linux system including toolchain, bootloader, kernel, and root filesystem. It’s particularly useful when you need a minimal system or want to understand exactly what goes into your image.
Download Buildroot and create a Zynq configuration:
make -j$(nproc) UIMAGE_LOADADDR=0x8000 uImage modules dtbs
The compiled kernel lives at arch/arm/boot/uImage and device trees at arch/arm/boot/dts/*.dtb.
Performance Optimization Tips
Getting Linux running is just the beginning. Optimizing for your application often requires additional tuning.
Reducing Boot Time
For applications where fast startup matters, consider these optimizations:
Kernel configuration:
Disable unused drivers and filesystems
Use built-in drivers instead of modules for boot-critical components
Enable kernel compression (GZIP vs LZO tradeoffs)
U-Boot optimization:
Reduce boot delay to 0 or 1 second
Remove unnecessary device initialization
Use pre-computed environment variables
Root filesystem:
Use initramfs instead of SD card root for fastest boot
Minimize startup services
Consider read-only root with tmpfs overlays
Memory Optimization for Constrained Systems
Zynq-7000 devices share memory between PS and PL. Optimizing Linux memory usage leaves more available for FPGA DMA buffers:
Use kernel command line mem= to limit Linux’s view of memory
Configure CMA (Contiguous Memory Allocator) for DMA buffers
Use lightweight alternatives (busybox instead of coreutils)
Wrapping Up Your Zynq Linux Journey
Running Linux on Zynq-7000 opens up possibilities that bare-metal simply can’t match. You get networking stacks, filesystems, process management, and access to thousands of Linux packages. The initial setup takes effort, but once you have a working system, iteration becomes fast.
My recommendation for anyone starting out: begin with PetaLinux and a supported evaluation board. Get comfortable with the tool flow, understand what each component does, then gradually customize. When you move to custom hardware, you’ll know exactly which pieces need modification and which can remain default.
The combination of FPGA flexibility with Linux’s rich ecosystem makes Zynq-7000 one of the most capable embedded platforms available. Whether you’re building industrial controllers, video processing systems, or software-defined radios, mastering Zynq 7000 Linux puts powerful capabilities at your fingertips.
Inquire: Call 0086-755-23203480, or reach out via the form below/your sales contact to discuss our design, manufacturing, and assembly capabilities.
Quote: Email your PCB files to Sales@pcbsync.com (Preferred for large files) or submit online. We will contact you promptly. Please ensure your email is correct.
Notes: For PCB fabrication, we require PCB design file in Gerber RS-274X format (most preferred), *.PCB/DDB (Protel, inform your program version) format or *.BRD (Eagle) format. For PCB assembly, we require PCB design file in above mentioned format, drilling file and BOM. Click to download BOM template To avoid file missing, please include all files into one folder and compress it into .zip or .rar format.


