Inquire: Call 0086-755-23203480, or reach out via the form below/your sales contact to discuss our design, manufacturing, and assembly capabilities.
Quote: Email your PCB files to Sales@pcbsync.com (Preferred for large files) or submit online. We will contact you promptly. Please ensure your email is correct.
Notes: For PCB fabrication, we require PCB design file in Gerber RS-274X format (most preferred), *.PCB/DDB (Protel, inform your program version) format or *.BRD (Eagle) format. For PCB assembly, we require PCB design file in above mentioned format, drilling file and BOM. Click to download BOM template To avoid file missing, please include all files into one folder and compress it into .zip or .rar format.
UHF PCB antenna design is one of those topics that separates RF engineers who get results from those who spend months debugging. I’ve worked on dozens of RFID projects over the years, and the antenna is almost always where things go wrong—or where they come together beautifully.
The challenge with UHF PCB antenna design isn’t that it’s impossibly difficult. It’s that small changes have massive impacts on performance. Move a trace by 0.5mm, and your read range drops by half. Choose the wrong substrate, and your antenna detunes completely when installed in its enclosure.
This guide walks through the complete UHF PCB antenna design process for RFID applications, from understanding frequency requirements to actual layout examples you can adapt for your projects. Whether you’re designing embedded tags for supply chain tracking or reader antennas for warehouse systems, the principles here will get you to a working design faster.
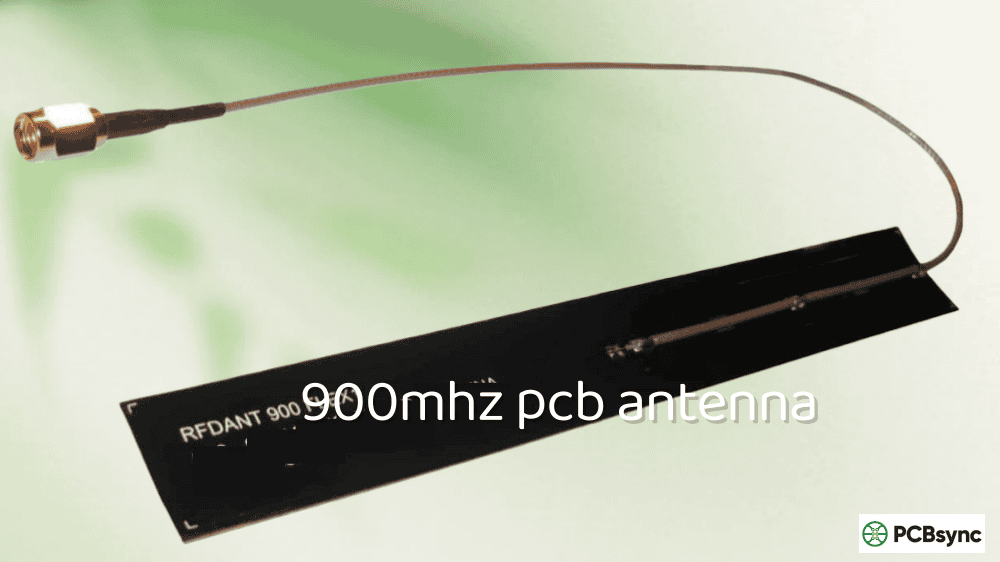
Before touching a layout tool, you need to know exactly which frequencies your UHF PCB antenna must cover. Unlike other wireless standards with fixed global frequencies, UHF RFID varies by region—and this directly impacts your antenna design.
Global UHF RFID Frequency Allocations
Region
Frequency Range
Bandwidth
Common Standard
Europe (ETSI)
865.6 – 867.6 MHz
2 MHz
EN 302 208
North America (FCC)
902 – 928 MHz
26 MHz
FCC Part 15
China
920.5 – 924.5 MHz
4 MHz
—
Japan
916.7 – 920.9 MHz
4.2 MHz
ARIB STD-T106
Global (Full Band)
860 – 960 MHz
100 MHz
ISO 18000-63
The bandwidth requirement is critical. European applications need only 2 MHz of bandwidth—relatively easy to achieve. North American applications require 26 MHz, which is more challenging. Global designs targeting the full 860-960 MHz band demand wide bandwidth antenna structures that maintain acceptable performance across 100 MHz.
Most UHF PCB antenna designs target either regional compliance or global coverage. Regional designs can be optimized for peak performance in a narrow band. Global designs sacrifice some peak performance for consistent operation across all regions.
Types of UHF PCB Antennas for RFID
Choosing the right antenna topology is your most important early decision. Each type has distinct trade-offs between size, bandwidth, gain, and design complexity.
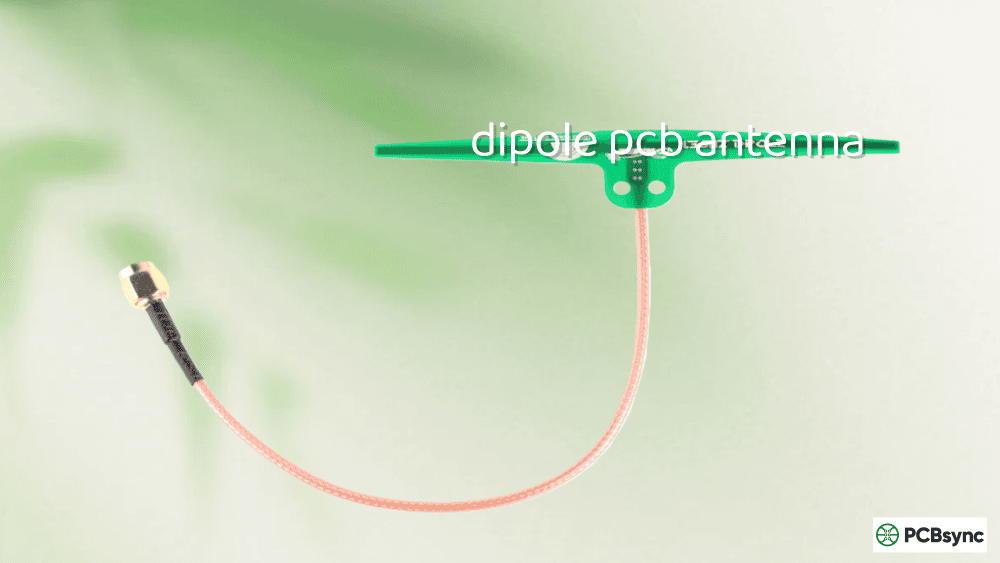
Dipole Antennas
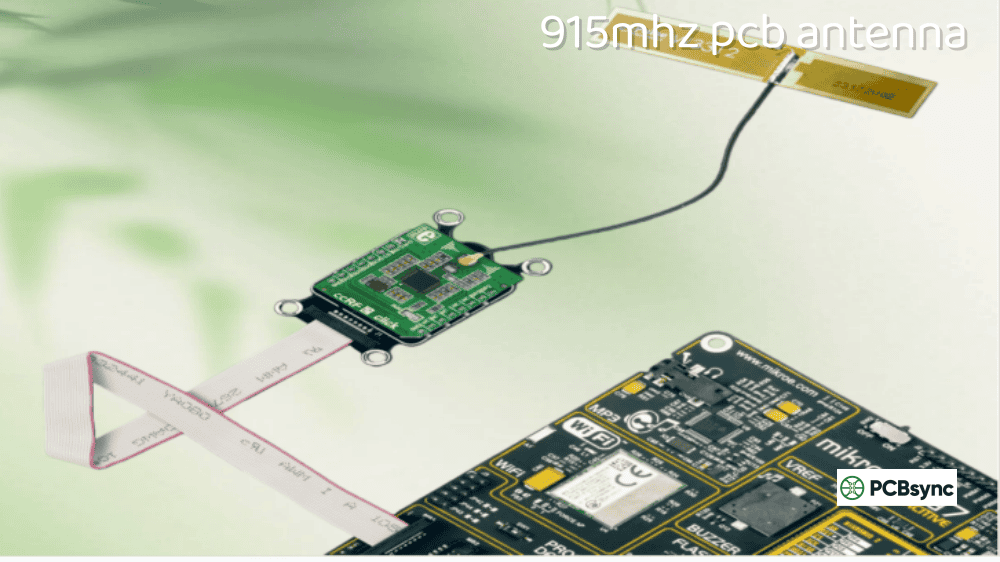
The dipole is the fundamental UHF antenna structure. A half-wave dipole at 915 MHz is approximately 164mm long—too large for most embedded applications. However, dipole variants remain popular because of their predictable behavior and omnidirectional radiation pattern.
Characteristics:
Simple structure with well-understood theory
Omnidirectional radiation in the H-plane
Typical gain: 2-3 dBi
Requires balun or differential feed for best performance
Meandered Dipole Antennas
Meandering (folding the dipole into a serpentine pattern) reduces physical length while maintaining electrical length. This is the workhorse structure for UHF RFID tags.
Characteristics:
Size reduction of 40-60% compared to straight dipole
Reduced bandwidth compared to straight dipole
Complex impedance requiring careful matching
Common in commercial RFID tags
Design Tip: Each meander section adds inductance. More turns = smaller antenna but narrower bandwidth. Find the balance point for your application.
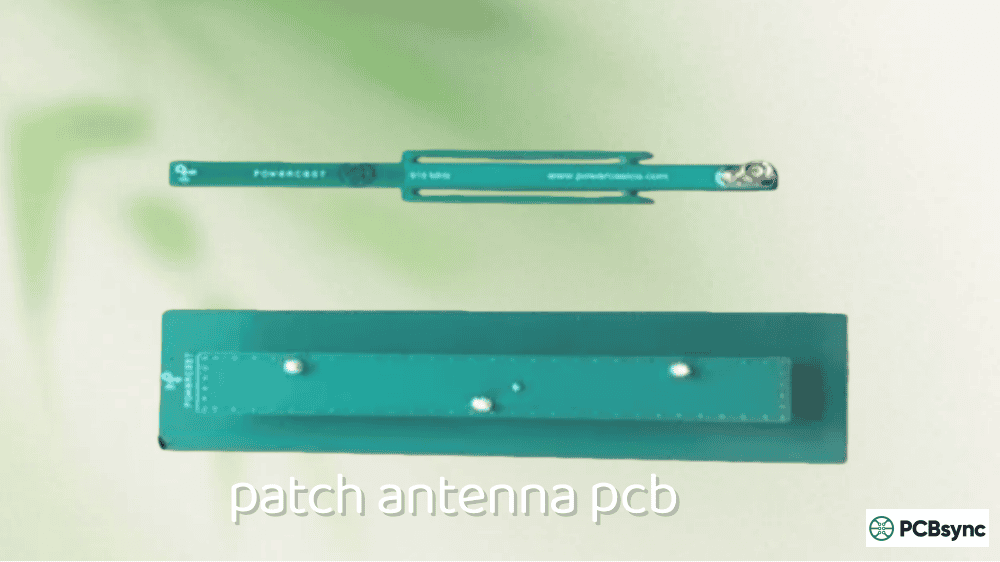
Patch Antennas
Patch antennas offer directional radiation, making them ideal for reader applications where you want controlled coverage. They require a ground plane and are inherently larger than dipoles at the same frequency.
Characteristics:
Directional radiation (half-plane above ground)
Typical gain: 5-9 dBi
Requires ground plane (adds thickness)
Lower profile than dipoles
Narrower bandwidth (typically 1-5%)
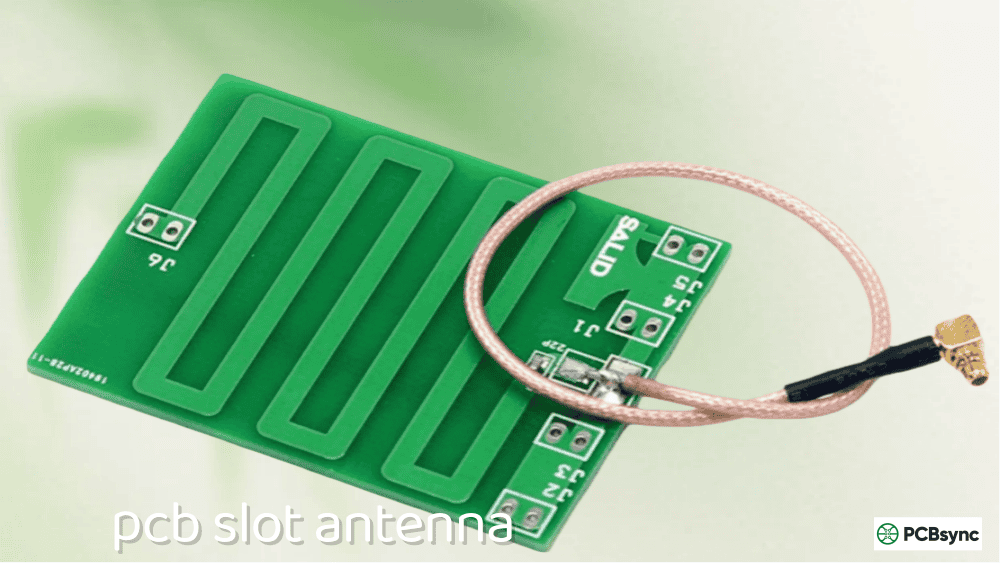
Slot Antennas
Slot antennas are particularly useful for PCB applications because they can be integrated into existing ground planes. NXP’s reference designs often use slot structures for embedded UHF RFID.
Characteristics:
Minimal additional board space when integrated with ground plane
Complementary to dipole (radiation from slot opening)
Inverted-F antennas are compact structures that work well on PCBs with limited space. The shorting pin to ground reduces the resonant length.
Characteristics:
Very compact footprint
Lower gain than dipoles or patches (typically 1-2 dBi)
Integrated matching through geometry
Popular for embedded IoT applications
UHF PCB Antenna Type Comparison
Antenna Type
Typical Size (915 MHz)
Gain
Bandwidth
Best Application
Half-Wave Dipole
164 × 5 mm
2.1 dBi
Wide
Reader, external
Meandered Dipole
80 × 20 mm
1-2 dBi
Medium
RFID tags
Patch
100 × 100 mm
5-8 dBi
Narrow
Reader, directional
Slot
80 × 15 mm
2-3 dBi
Wide
Embedded tags
Inverted-F
40 × 10 mm
1-2 dBi
Medium
IoT, compact
UHF PCB Antenna Design Process: Step by Step
Here’s the systematic approach I use for every UHF PCB antenna design project. Following these steps prevents the costly iterations that plague antenna development.
Step 1: Define Requirements
Before any calculations, document your constraints:
Target frequency band: Regional or global coverage?
Size constraints: Maximum antenna footprint in mm
Gain requirement: Minimum acceptable gain in dBi
Bandwidth: Required S11 < -10 dB bandwidth
Impedance: Chip impedance for tags, or 50Ω for reader feed
Polarization: Linear or circular?
Environment: Free space, on-metal, near-body?
Step 2: Select Antenna Topology
Based on your requirements, choose the antenna type that best fits your constraints. Use the comparison table above as a starting point.
Decision Guide:
Need small size + omnidirectional? → Meandered dipole or IFA
Need high gain + directional? → Patch antenna
Limited board space with existing ground plane? → Slot antenna
Need widest bandwidth? → Folded dipole or thick dipole
Step 3: Calculate Initial Dimensions
For a basic half-wave dipole, the starting length is:
L = c / (2 × f × √εeff)
Where:
L = dipole length
c = speed of light (3 × 10⁸ m/s)
f = center frequency
εeff = effective dielectric constant of the substrate
For FR-4 (εr ≈ 4.4) at 915 MHz:
εeff ≈ 3.0 (for typical microstrip)
L ≈ 95mm (half-wave in substrate)
This is your starting point. Simulation and measurement will refine this value.
Step 4: Choose PCB Materials
Material selection directly impacts UHF PCB antenna performance.
For prototyping: FR-4 is acceptable. Expect to re-tune when moving to production materials.
For production: Rogers or similar low-loss materials are strongly recommended for UHF. The loss tangent of FR-4 (0.02) causes measurable efficiency reduction at 900 MHz.
Step 5: Design Impedance Matching
This is where most UHF PCB antenna designs succeed or fail. UHF RFID chips have complex impedances—typically low resistance with high capacitive reactance.
Typical UHF RFID Chip Impedances:
Chip
Impedance at 915 MHz
NXP UCODE 8
16 – j148 Ω
Impinj Monza R6
13 – j127 Ω
Alien Higgs-4
17 – j139 Ω
EM4325
20 – j180 Ω
Your antenna must present the conjugate impedance (e.g., 16 + j148 Ω for UCODE 8) for maximum power transfer.
Matching Techniques:
T-Match Structure: Uses inductive strips parallel to the dipole. Most common for UHF tags.
Loop Match: A small inductive loop at the feed point.
LC Network: Discrete components for tunable matching.
Geometry Tuning: Adjusting feed point position and antenna dimensions.
Step 6: Simulate and Optimize
Run electromagnetic simulations before fabricating anything. The investment in simulation time pays back many times over in reduced prototype iterations.
Recommended Simulation Tools:
Ansys HFSS: Industry standard, excellent accuracy
CST Studio Suite: Good time-domain solver, popular in academia
FEKO: Strong for antenna arrays and large structures
OpenEMS: Free, open-source option
What to Simulate:
S11 (Return Loss): Target < -10 dB across operating band
Impedance: Real and imaginary parts vs. frequency
Radiation Pattern: 2D and 3D plots
Gain: Peak gain and gain variation across band
Current Distribution: Verify expected current flow
Step 7: Prototype and Measure
Simulation gets you close, but measurement confirms reality. Key measurements for UHF PCB antenna validation:
Return Loss (S11): Use a calibrated VNA. Target < -10 dB minimum, < -15 dB preferred.
Read Range (for tags): The ultimate performance metric. Measure in controlled conditions with calibrated reader power.
Radiation Pattern: Anechoic chamber measurement if available, or outdoor range testing.
UHF PCB Antenna Design Example: Meandered Dipole Tag
Let me walk through a practical example—designing a meandered dipole for a UHF RFID tag operating in the North American band (902-928 MHz).
Requirements
Frequency: 902-928 MHz (FCC band)
Chip: NXP UCODE 8 (16 – j148 Ω)
Size constraint: 80 × 25 mm maximum
Substrate: FR-4, 1.6mm thickness
Target read range: > 5 meters
Design Approach
1. Starting Dimensions:
Half-wave in free space at 915 MHz = 164mm With FR-4 substrate (εeff ≈ 3.0): 164 / √3.0 ≈ 95mm
Since 95mm exceeds our 80mm constraint, we need meandering.
2. Meandering Strategy:
Using 3 meander sections per arm reduces length by approximately 40%. New length: 95 × 0.6 ≈ 57mm per arm, total 114mm trace length folded into 80mm.
3. T-Match for Impedance:
The chip needs 16 + j148 Ω at the antenna terminals.
T-match stub length: Tuned to provide +j148 Ω reactive component
Stub width: Affects inductance (wider = less inductance)
Starting values: 8mm stub length, 1mm width
4. Critical Dimensions:
Total antenna length: 78mm
Antenna width: 22mm
Trace width: 1mm
Meander spacing: 2mm
T-match stub length: 8mm (tune in simulation)
T-match stub width: 1mm
5. Simulation Results (Expected):
S11: < -15 dB at 915 MHz
Bandwidth (S11 < -10 dB): 890-940 MHz
Gain: 1.5 dBi
Calculated read range: 6.2 meters at 4W EIRP
Common UHF PCB Antenna Design Mistakes
After reviewing hundreds of failed antenna designs, these are the mistakes I see repeatedly.
1. Ignoring Substrate Effects
Designers calculate free-space dimensions, then wonder why their antenna resonates 50 MHz too low. The substrate shortens electrical length. Always account for effective dielectric constant.
Fix: Use εeff in all calculations. Simulate with actual substrate parameters.
2. Inadequate Ground Plane Clearance
Placing antenna traces too close to ground pours causes capacitive loading and detuning. This is especially problematic for IFA and patch designs.
Fix: Maintain minimum 10mm clearance between antenna elements and ground plane edges. More clearance = better performance.
3. Overlooking Manufacturing Tolerances
Your simulation assumes perfect 1.0mm trace widths. Your fabricator delivers 0.95mm. The antenna shifts 20 MHz.
Fix: Design for robustness. Use wider traces where possible. Include tuning elements (trimmable stubs or component pads) for production adjustment.
4. Testing in Ideal Conditions Only
The antenna works perfectly on the bench. It fails completely in the plastic enclosure. Environmental detuning strikes again.
Fix: Always test in the final operating environment. Simulate with enclosure materials. Include tuning margin in the design.
5. Wrong Polarization Alignment
Your linearly polarized tag antenna is oriented 90° from the reader’s polarization. Read range drops to near zero.
Fix: For applications with variable orientation, consider circular polarization on the reader side. Design tag antennas with awareness of typical mounting orientation.
6. Neglecting Bandwidth Requirements
The antenna is perfectly tuned at 915 MHz but has only 10 MHz bandwidth. It fails European compliance at 866 MHz.
Fix: Design for bandwidth first, then optimize peak performance. Wider dipoles, thicker substrates, and lower Q matching networks all increase bandwidth.
PCB Layout Best Practices for UHF Antennas
These layout guidelines apply to virtually all UHF PCB antenna designs:
Trace Routing:
Keep antenna traces away from high-speed digital signals
Route feedlines as short as possible
Maintain consistent trace width throughout the antenna structure
Use 45° bends or curves instead of 90° corners
Ground Plane:
Extend ground plane at least λ/4 beyond antenna edges for patch antennas
Create ground plane cutouts carefully—simulate the effect before implementing
Use adequate ground vias (λ/20 spacing maximum)
Component Placement:
Keep matching components within 5mm of feed point
Use 0402 or 0603 components for minimal parasitic effects
Leave tuning component footprints even if you think you won’t need them
Layer Stack:
For patch antennas, place ground on the layer immediately below the patch
For dipoles, avoid ground planes directly beneath the antenna
NXP AN1715: UHF RFID PCB Antenna Design (comprehensive reference)
NXP AN1629: UHF RFID Label Antenna Design
TI SWRA726: Antenna Impedance Measurement and Matching
Infineon AN91445: Antenna Design and RF Layout Guidelines
Academic Resources
IEEE Xplore: Search “UHF RFID antenna design”
ResearchGate: Many open-access antenna design papers
PMC/PubMed: Medical/wearable RFID antenna research
Frequently Asked Questions About UHF PCB Antenna Design
What is the best substrate material for UHF PCB antennas?
For production UHF PCB antennas, Rogers RO4003C or similar low-loss materials provide the best balance of performance and cost. FR-4 works for prototyping but its higher loss tangent (0.02 vs. 0.003) reduces antenna efficiency noticeably at UHF frequencies. For maximum performance in demanding applications, consider PTFE-based materials like Rogers RO3003 or Taconic TLY.
How do I design a UHF PCB antenna for on-metal applications?
On-metal UHF PCB antenna design requires specialized approaches because metal surfaces reflect RF energy and detune standard antennas. Use patch antenna structures with integrated ground planes that work with the metal rather than against it. Add spacing (foam or air gap) between the antenna and the metal surface—even 3mm helps significantly. Alternatively, use ferrite absorber material between the antenna and metal to reduce reflection effects. Expect to detune 10-20% from your free-space design.
Can I use the same UHF PCB antenna design for all global regions?
Technically yes, but with trade-offs. A global UHF PCB antenna must cover 860-960 MHz (100 MHz bandwidth), which is challenging. Most designs sacrifice peak performance for broad coverage. If your product is region-specific, design for that region’s band to achieve better performance. For global products, use wideband structures like folded dipoles or thick meandered dipoles, and accept slightly lower gain across the band.
Why does my UHF PCB antenna work on the bench but fail in the enclosure?
Enclosure materials (plastics, adhesives, nearby components) change the effective dielectric environment around your antenna. This shifts the resonant frequency—typically downward, since most plastics have higher εr than air. Always perform final tuning with the antenna in its actual operating environment. Better yet, include the enclosure in your electromagnetic simulations from the start. Leave tuning capability (trimmable traces or adjustable matching components) for production calibration.
What return loss (S11) should I target for a UHF PCB antenna?
Target S11 < -10 dB as minimum acceptable performance. This corresponds to VSWR < 2:1 and means more than 90% of power is delivered to the antenna. For commercial products, aim for S11 < -15 dB (VSWR < 1.5:1), which delivers >95% of power. Reader antennas often achieve -20 dB or better. Remember that S11 specifications apply across your entire operating bandwidth, not just at center frequency.
For meandered antennas, add or remove meander sections
Trim traces during tuning (leave copper for this purpose in layout)
Poor Bandwidth
Symptoms: S11 < -10 dB only over narrow range (5-10 MHz instead of 26 MHz).
Causes:
High Q antenna structure
Narrow matching network bandwidth
Thin substrate
Solutions:
Increase trace width (wider dipole = lower Q)
Use thicker substrate
Implement wideband matching (Pi or T network instead of L)
Consider folded dipole structure for inherently wider bandwidth
Low Read Range
Symptoms: Tag reads at 2 meters instead of expected 6 meters.
Causes:
Poor impedance match to chip
Low antenna gain
Metal or absorber nearby
Wrong polarization alignment
Solutions:
Verify impedance match with VNA measurement
Check for metal interference in test environment
Rotate tag to test polarization sensitivity
Verify chip activation power threshold is met
Inconsistent Performance Across Units
Symptoms: Prototype works, but production units vary widely in performance.
Causes:
Manufacturing tolerance variation
Inconsistent substrate properties
Component value variations in matching network
Solutions:
Specify tighter PCB tolerances for antenna traces
Use consistent substrate lot for production runs
Add production tuning step with calibrated adjustment
Design with margin—target S11 < -15 dB so -10 dB units still pass
Conclusion
UHF PCB antenna design for RFID applications combines electromagnetic theory with practical engineering judgment. The fundamentals are straightforward—resonant structures, impedance matching, radiation patterns—but the execution requires attention to details that simulation alone won’t catch.
The most successful UHF PCB antenna designs I’ve seen share common characteristics: they’re simulated thoroughly before fabrication, tested in realistic environments, and include tuning capability for production variation. The failures share different characteristics: designed in ideal conditions, tested only on the bench, and sent to production without margin for manufacturing tolerance.
Start with the right antenna topology for your constraints. Use appropriate substrate materials—FR-4 for prototypes, low-loss materials for production. Match impedance carefully, especially for RFID tags where chip impedances are decidedly non-standard. Simulate before building, measure after building, and always test in the real operating environment.
The resources linked in this guide will take you deeper into specific topics. NXP’s application notes are particularly valuable for practical RFID antenna design. For simulation, invest time learning your chosen tool thoroughly—the payback in reduced prototype iterations is substantial.
UHF PCB antenna design isn’t magic. It’s engineering with careful attention to the physics. Get the fundamentals right, and your antennas will work reliably in the field.
Inquire: Call 0086-755-23203480, or reach out via the form below/your sales contact to discuss our design, manufacturing, and assembly capabilities.
Quote: Email your PCB files to Sales@pcbsync.com (Preferred for large files) or submit online. We will contact you promptly. Please ensure your email is correct.
Notes: For PCB fabrication, we require PCB design file in Gerber RS-274X format (most preferred), *.PCB/DDB (Protel, inform your program version) format or *.BRD (Eagle) format. For PCB assembly, we require PCB design file in above mentioned format, drilling file and BOM. Click to download BOM template To avoid file missing, please include all files into one folder and compress it into .zip or .rar format.


