Inquire: Call 0086-755-23203480, or reach out via the form below/your sales contact to discuss our design, manufacturing, and assembly capabilities.
Quote: Email your PCB files to Sales@pcbsync.com (Preferred for large files) or submit online. We will contact you promptly. Please ensure your email is correct.
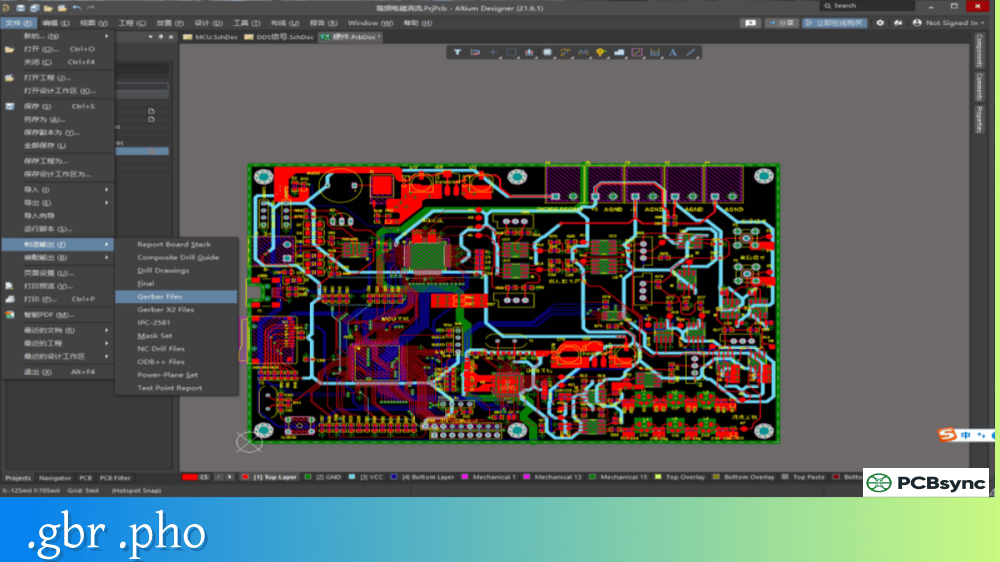
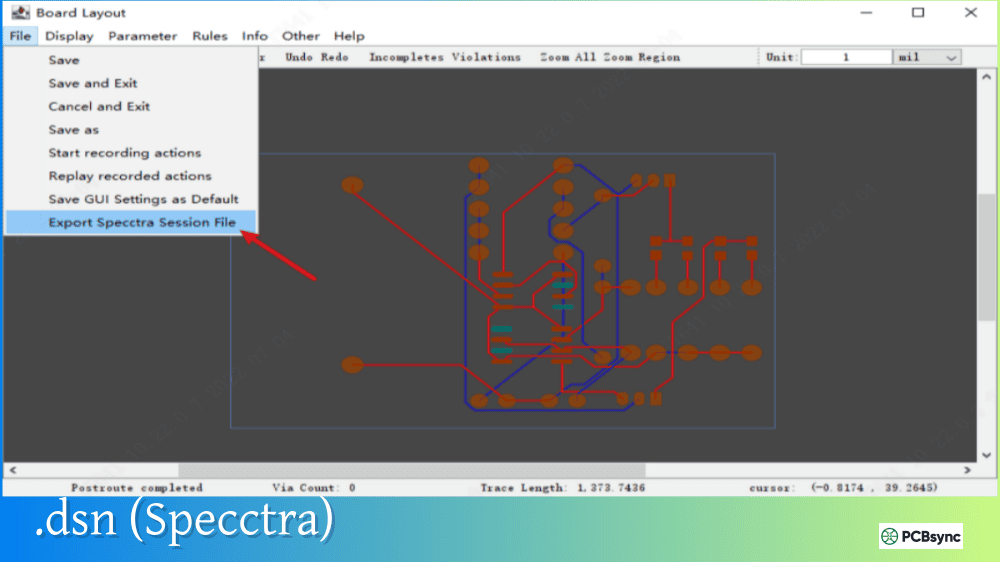
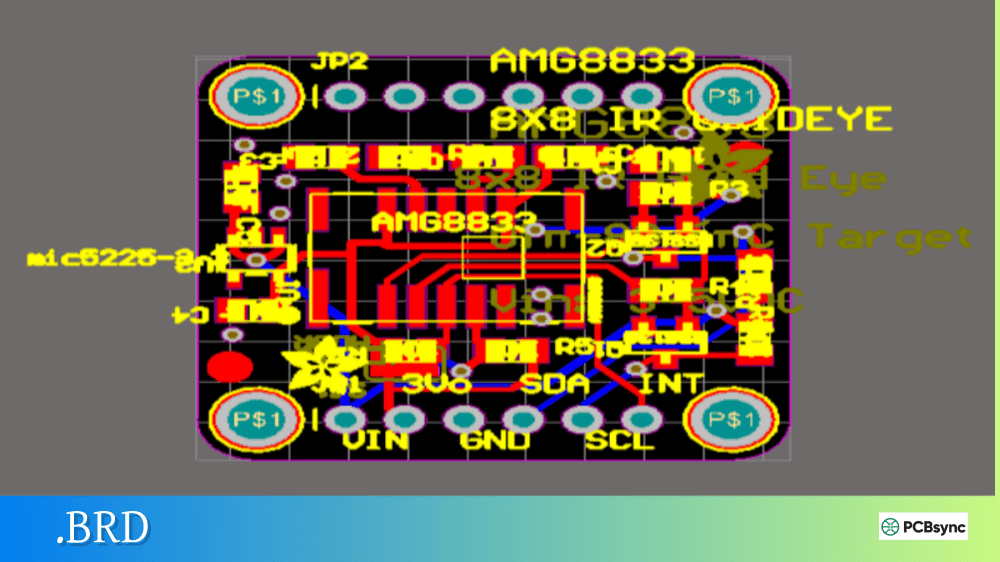
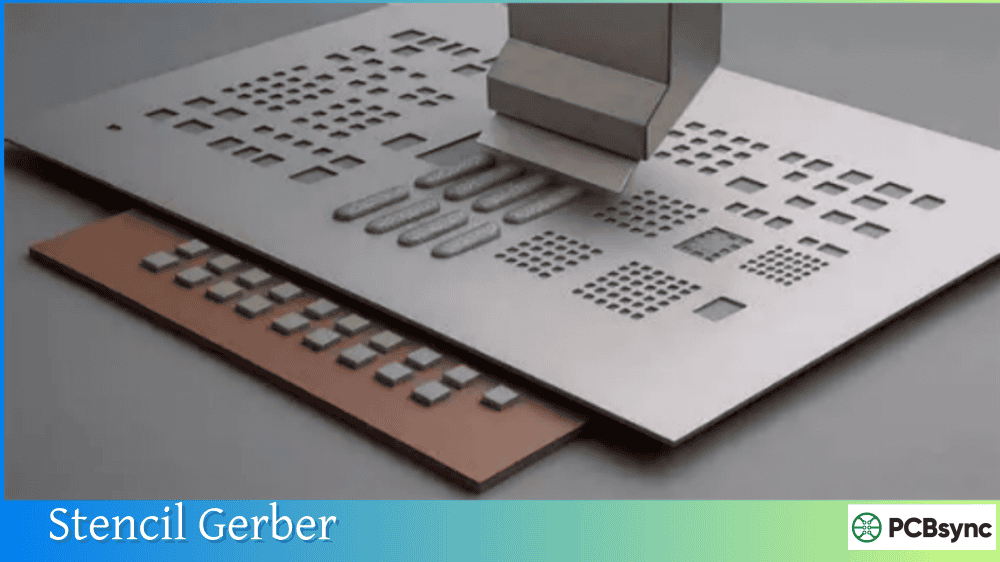
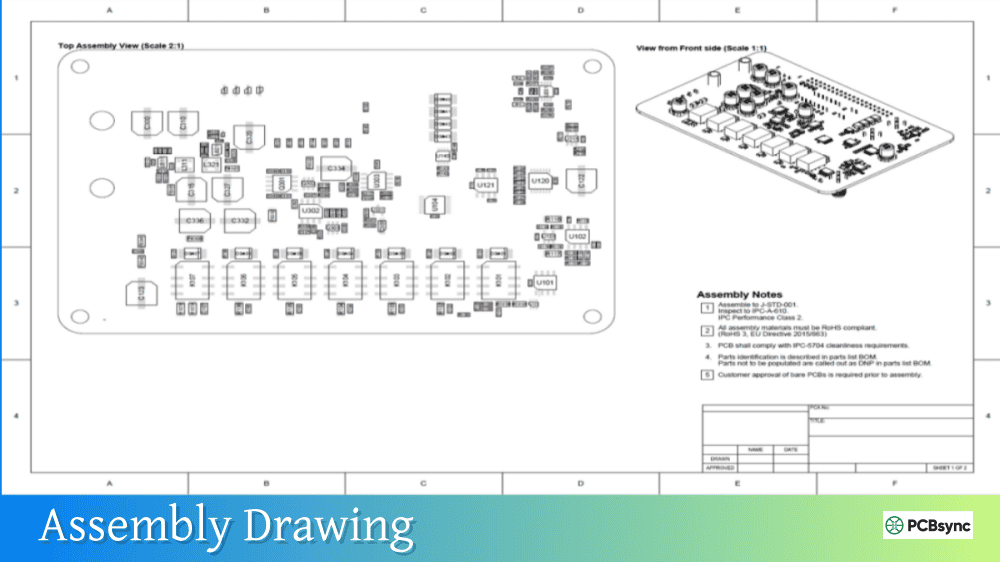
Notes: For PCB fabrication, we require PCB design file in Gerber RS-274X format (most preferred), *.PCB/DDB (Protel, inform your program version) format or *.BRD (Eagle) format. For PCB assembly, we require PCB design file in above mentioned format, drilling file and BOM. Click to download BOM template To avoid file missing, please include all files into one folder and compress it into .zip or .rar format.
What is STEP File in PCB Design? 3D Model Exchange Guide
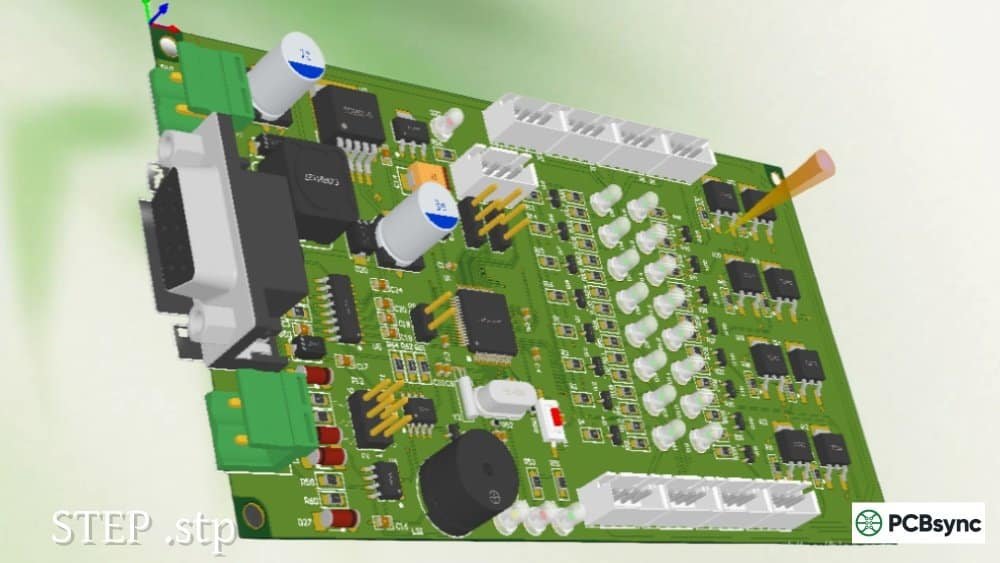
As PCB designs become increasingly complex and products shrink in size, the days of treating electrical and mechanical design as separate disciplines are long gone. If you’ve ever had a board that didn’t fit in its enclosure or components that collided with a housing wall, you understand the pain of poor ECAD-MCAD integration. TheSTEP file format has become the universal solution to this problem, enabling seamless 3D model exchange between PCB designers and mechanical engineers.
In this guide, I’ll walk you through everything you need to know about STEP files in PCB design, from the basics of the format to practical workflows for exporting and importing 3D models across different design tools.
STEP stands for Standard for the Exchange of Product model data. It’s a neutral CAD file format defined by the international standard ISO 10303, which is why you’ll sometimes see it referred to as ISO 10303 or simply “STEP.” The format was developed in the 1980s by the International Organization for Standardization (ISO) and first officially released in 1994.
Unlike proprietary CAD formats that only work within specific software ecosystems, STEP files are designed to be vendor-neutral. This means a STEP file created in SolidWorks can be opened in CATIA, Fusion 360, or virtually any other CAD program. For PCB designers, this interoperability is invaluable when collaborating with mechanical engineering teams who may use completely different software tools.
STEP files use the extensions .step, .stp, .stpz, .ste, or .p21. The .stp extension is the most commonly encountered in PCB design workflows.
What Information Does a STEP File Contain?
A STEP file stores comprehensive 3D model data as a complete solid body, not just surface representations. This includes:
Data Type
Description
3D Geometry
Complete solid model with accurate curves, surfaces, and volumes
Assembly Structure
Hierarchical relationships between parts in multi-component models
Material Properties
Basic material information for components
Dimensional Tolerances
GD&T data in newer STEP versions
Product Structure
Part names, numbering, and organizational data
Color Information
Visual representation data for rendering
The key advantage over older formats is that STEP preserves the mathematical precision of curved surfaces rather than approximating them with triangulated meshes.
STEP Application Protocols for PCB Design
Not all STEP files are created equal. The ISO 10303 standard defines several “Application Protocols” (APs) that specify what types of data can be stored. Understanding these protocols helps you choose the right settings when exporting STEP files.
Common STEP Application Protocols
Protocol
Name
Primary Use
PCB Relevance
AP 203
Configuration Controlled 3D Design
General mechanical CAD, aerospace
Good for basic PCB 3D models
AP 214
Core Data for Automotive Design
Automotive industry CAD exchange
Widely supported, good compatibility
AP 242
Managed Model-based 3D Engineering
Modern product development, electronics
Best for ECAD/MCAD integration
AP 242 is the most relevant protocol for electronics design as it specifically includes provisions for integrating mechanical and electrical/electronic design data. It essentially combines the capabilities of AP 203 and AP 214 while adding features targeted at modern product development workflows.
Most PCB design software defaults to either AP 203 or AP 214 when exporting STEP files. Both work well for exchanging 3D geometry with mechanical CAD programs, though AP 242 offers the most comprehensive feature set if your tools support it.
Why STEP Files Matter in PCB Design
The shift toward 3D design verification has made STEP files essential for professional PCB development. Here’s why they’ve become so important:
ECAD to MCAD Collaboration
Modern product development requires tight collaboration between electrical and mechanical teams. When you export your PCB as a STEP file, mechanical engineers can import it directly into their CAD environment to design enclosures, verify clearances, and ensure the board fits within the overall product assembly.
This workflow eliminates the costly surprises that occur when a finished PCB arrives and doesn’t fit in its intended enclosure. By sharing STEP models early and often, both teams can iterate on the design before committing to fabrication.
Component Clearance Analysis
With accurate 3D STEP models of your components, you can verify clearances between tall parts and enclosure walls, check for interference between components on opposite sides of the board, and ensure connectors align properly with panel cutouts. This analysis is impossible with 2D design data alone.
Enclosure Integration
STEP files allow you to import mechanical enclosure designs into your PCB layout environment. You can visualize exactly how your board sits within the case, verify mounting hole locations, and check that no components interfere with bosses, ribs, or other mechanical features.
Manufacturing Documentation
STEP files provide clear 3D representations for manufacturing documentation. Assembly technicians can better understand component orientation and placement when they have accurate 3D models to reference rather than just 2D drawings.
STEP vs Other 3D File Formats
When working with 3D PCB data, you’ll encounter several file formats. Understanding their differences helps you choose the right format for each situation.
Comparison of 3D File Formats for PCB Design
Format
Extension
Type
Accuracy
Assembly Support
Best Use Case
STEP
.step, .stp
Solid model
Excellent
Yes
ECAD/MCAD exchange, enclosure design
IGES
.iges, .igs
Surface model
Good
Limited
Legacy CAD systems
STL
.stl
Mesh
Low-Medium
No
3D printing, rapid prototyping
VRML
.wrl
Mesh with color
Medium
Limited
Visualization, presentations
Parasolid
.x_t, .x_b
Solid model
Excellent
Yes
Native format exchange
OBJ
.obj
Mesh
Medium
Limited
Graphics, rendering
STEP vs IGES
IGES (Initial Graphics Exchange Specification) was the predecessor to STEP, developed in the 1970s. While IGES files are still widely supported, they have significant limitations compared to STEP:
IGES primarily stores surface data rather than true solid models. This means you often end up with “watertight” issues where surfaces don’t properly connect, creating gaps that require repair before the model can be used. STEP files store complete solid geometry, avoiding these problems.
IGES development stopped in 1996, while STEP continues to evolve with new application protocols. For modern PCB design workflows, STEP is almost always the better choice.
STEP vs STL
STL files represent 3D models as triangulated meshes. While universally supported and excellent for 3D printing, STL has major limitations for engineering work:
STL approximates curved surfaces with flat triangles, losing geometric precision. A cylinder becomes a many-sided polygon rather than a true circle. This approximation is acceptable for 3D printing where printer resolution limits accuracy anyway, but it’s problematic for precise mechanical fitting and clearance analysis.
STL files also lack assembly information, material properties, and the parametric data that makes STEP files so valuable for engineering collaboration.
How to Work with STEP Files in PCB Design Software
Most modern PCB design tools support STEP file import and export. Here’s how to work with STEP files in popular platforms:
Configure export options (single part vs assembly, fold state for rigid-flex)
Select which components to include
Click Save to generate the STEP file
Altium allows you to export the entire board as a single part or as an assembly with separate components. The assembly option is useful when mechanical engineers need to manipulate individual parts in their CAD system.
For importing component STEP models, add them to your footprint libraries through the 3D Body object. Altium can import STEP files directly and associate them with component footprints.
KiCad STEP Export
KiCad 6 and later versions support native STEP export:
Open the PCB in the PCB Editor
Select File → Export → STEP
Configure export settings
Save the file
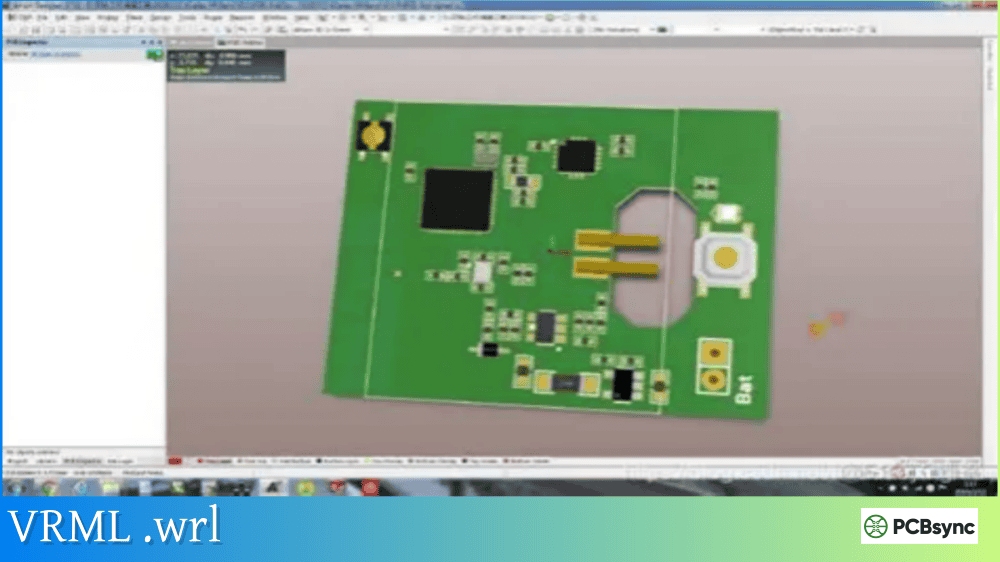
Note that KiCad’s 3D viewer uses VRML (.wrl) files for visualization, but many components include STEP models as well. For best results with STEP export, ensure your component libraries include STEP format 3D models. The KiCad StepUp workbench for FreeCAD provides additional capabilities for ECAD/MCAD collaboration.
OrCAD and Allegro STEP Export
Cadence tools support STEP export through the IDX (Incremental Design Exchange) workflow and direct STEP export options. The process varies slightly between OrCAD PCB Editor and Allegro, but generally involves:
Accessing the export menu
Selecting STEP as the output format
Configuring component and board options
Generating the output file
Importing STEP Models for Components
When building component libraries, you’ll need STEP models for each part. The process for importing component STEP models is similar across most tools:
Open the footprint or component editor
Add or edit the 3D body/model assignment
Browse to and select the STEP file
Adjust position, rotation, and offset as needed
Save the footprint
Getting the alignment right is critical. The STEP model origin must align with your footprint origin, and the model orientation must match your component placement conventions.
Many component manufacturers provide STEP models directly on their websites or through distributor partnerships. Companies like Texas Instruments, Analog Devices, STMicroelectronics, and Littelfuse offer downloadable 3D models for many of their parts.
When downloading from any source, verify that the model dimensions match the component datasheet. Even manufacturer-provided models occasionally contain errors.
Creating Custom STEP Models
When a STEP model doesn’t exist for your component, you have several options:
Request from the manufacturer: Many will create models upon request, especially for high-volume parts.
Use parametric generators: Some PCB tools include built-in generators that create simple 3D bodies based on package dimensions. While not as detailed as true STEP models, these are often sufficient for clearance checking.
Create in mechanical CAD: If you have access to SolidWorks, Fusion 360, or similar tools, you can model components yourself based on datasheet dimensions.
Commission creation: Services like PCB-3D offer custom STEP model creation for components not in existing libraries.
Best Practices for STEP Files in PCB Projects
After years of working with STEP files in PCB design, here are the practices that consistently produce the best results:
Use Verified Component Models
The accuracy of your 3D PCB model depends entirely on the accuracy of your component models. Use manufacturer-verified STEP files whenever possible. When using community-contributed models, verify key dimensions against the datasheet before trusting them for critical clearance checks.
Maintain Consistent Origins
Ensure all your component STEP models use consistent origin and orientation conventions. This makes library management much easier and reduces errors when placing components. The IPC-7351 standard provides guidelines for footprint origins that work well for 3D models too.
Export Assemblies When Appropriate
For mechanical collaboration, export your PCB as a STEP assembly rather than a single part. This allows mechanical engineers to hide, move, or manipulate individual components in their CAD environment.
Include Board Outline and Mounting Holes
Your STEP export should include accurate board edge geometry and mounting hole locations. These features are critical for mechanical integration and enclosure design.
Version Control Your Models
Keep STEP exports synchronized with your PCB design revisions. Include version information in file names and maintain an archive of previous exports for reference.
Frequently Asked Questions About STEP Files
Can I directly 3D print a STEP file?
No, 3D printers typically require mesh formats like STL or 3MF. However, you can easily convert a STEP file to STL using any CAD program. Open the STEP file in software like Fusion 360 or FreeCAD, then export as STL. The STEP file preserves the precise geometry, which gets converted to a mesh during STL export.
What’s the difference between .step and .stp file extensions?
There is no functional difference between .step and .stp files. Both extensions refer to the same STEP file format. The shorter .stp extension originated from older operating systems that limited extensions to three characters. Modern systems accept either extension, and the file contents are identical regardless of which extension is used.
Why do some STEP files import with incorrect colors or materials?
STEP files support basic color information, but how colors are interpreted varies between CAD applications. Some software may not read the color data at all, displaying models in a default gray or the application’s default material. This is a cosmetic issue and doesn’t affect the geometric accuracy of the model. You can typically reassign colors after import.
Can STEP files store PCB copper traces and silkscreen?
Standard STEP exports from PCB software include only 3D body geometry, not copper features like traces or silkscreen markings. The exported model shows the board substrate, holes, and component bodies. For detailed visualization including copper and silkscreen, you may need to use alternative export methods or render directly in your PCB software’s 3D viewer.
How do I fix a STEP file that won’t import correctly?
Import failures usually result from version incompatibilities or corrupted geometry. Try these solutions: First, check if your CAD software needs an update for newer STEP versions. Second, try importing into a different application (like FreeCAD) and re-exporting. Third, use dedicated repair tools like TransMagic or CAD Exchanger that can fix common STEP file issues. Finally, request a fresh export from the original source using different export settings.
Conclusion
STEP files have become indispensable for modern PCB design workflows. They bridge the gap between electrical and mechanical design disciplines, enabling the kind of collaborative product development that today’s compact, complex electronic products demand.
Whether you’re exporting your PCB for enclosure design, importing component models for clearance checking, or sharing designs with manufacturing partners, understanding STEP files helps you work more efficiently and avoid costly design errors.
The key takeaways for PCB engineers: use AP 214 or AP 242 protocol exports for best compatibility, source component STEP models from verified libraries, and establish clear workflows with your mechanical engineering counterparts for exchanging 3D data. With these practices in place, STEP files become a powerful tool for bringing better products to market faster.
Inquire: Call 0086-755-23203480, or reach out via the form below/your sales contact to discuss our design, manufacturing, and assembly capabilities.
Quote: Email your PCB files to Sales@pcbsync.com (Preferred for large files) or submit online. We will contact you promptly. Please ensure your email is correct.
Notes: For PCB fabrication, we require PCB design file in Gerber RS-274X format (most preferred), *.PCB/DDB (Protel, inform your program version) format or *.BRD (Eagle) format. For PCB assembly, we require PCB design file in above mentioned format, drilling file and BOM. Click to download BOM template To avoid file missing, please include all files into one folder and compress it into .zip or .rar format.


