Inquire: Call 0086-755-23203480, or reach out via the form below/your sales contact to discuss our design, manufacturing, and assembly capabilities.
Quote: Email your PCB files to Sales@pcbsync.com (Preferred for large files) or submit online. We will contact you promptly. Please ensure your email is correct.
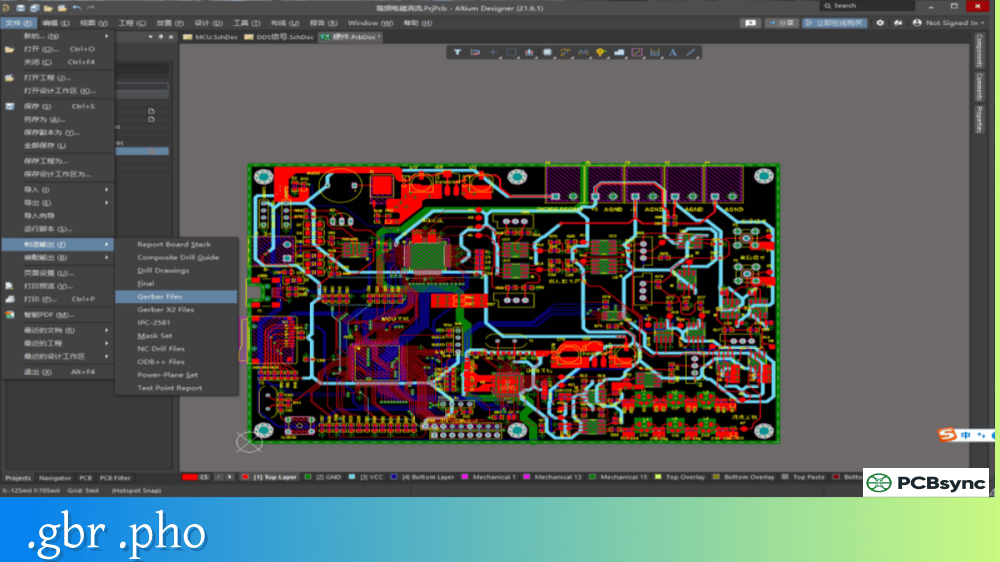
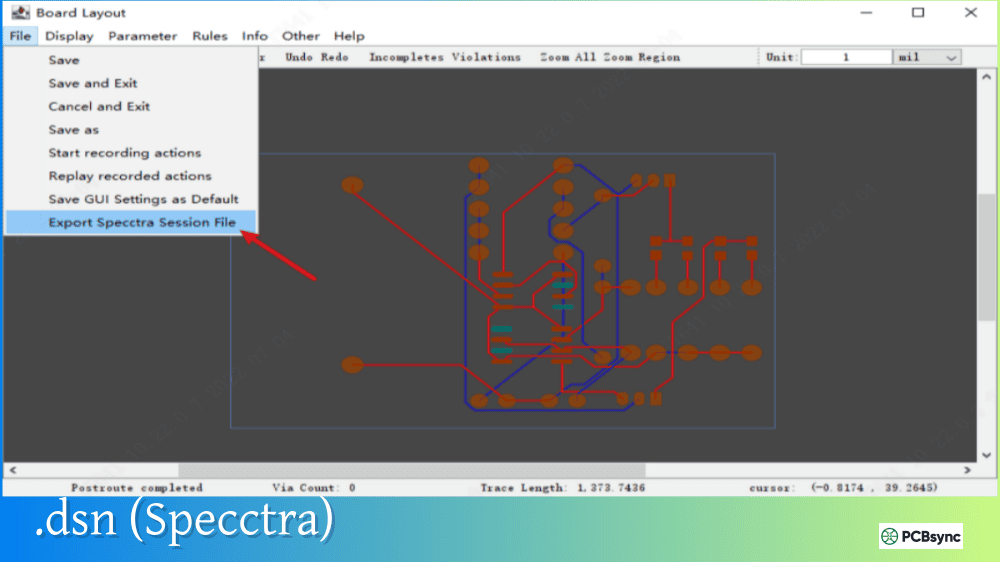
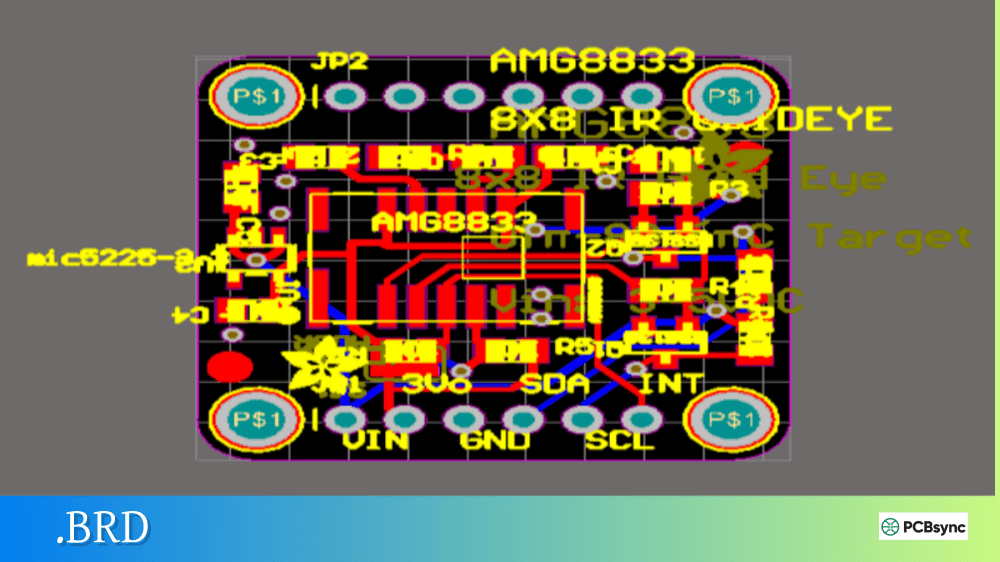
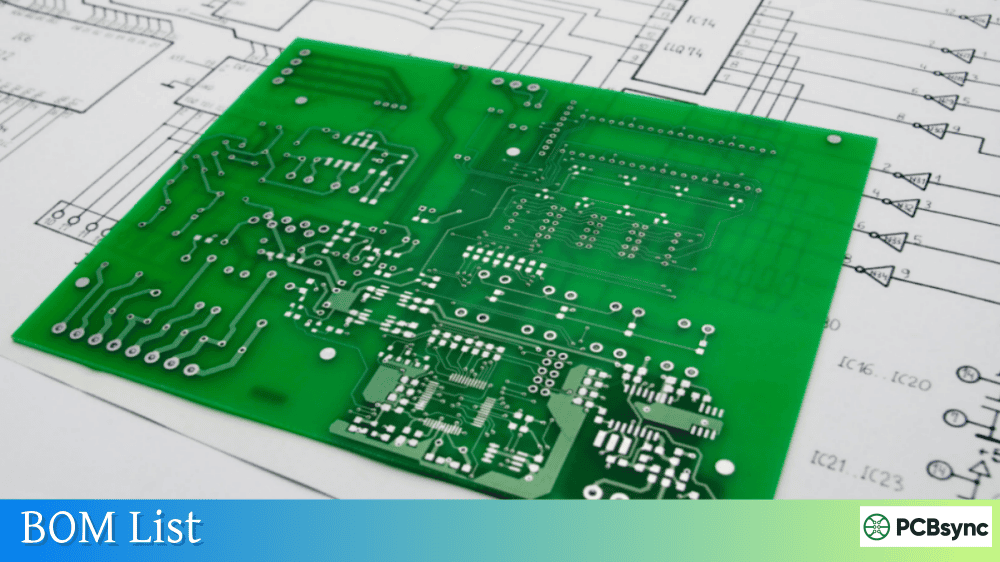
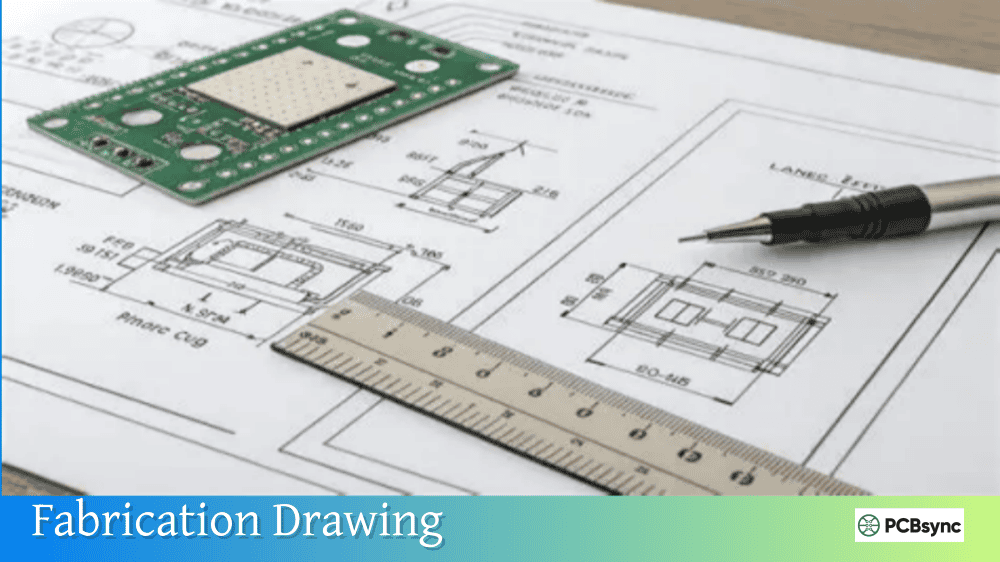
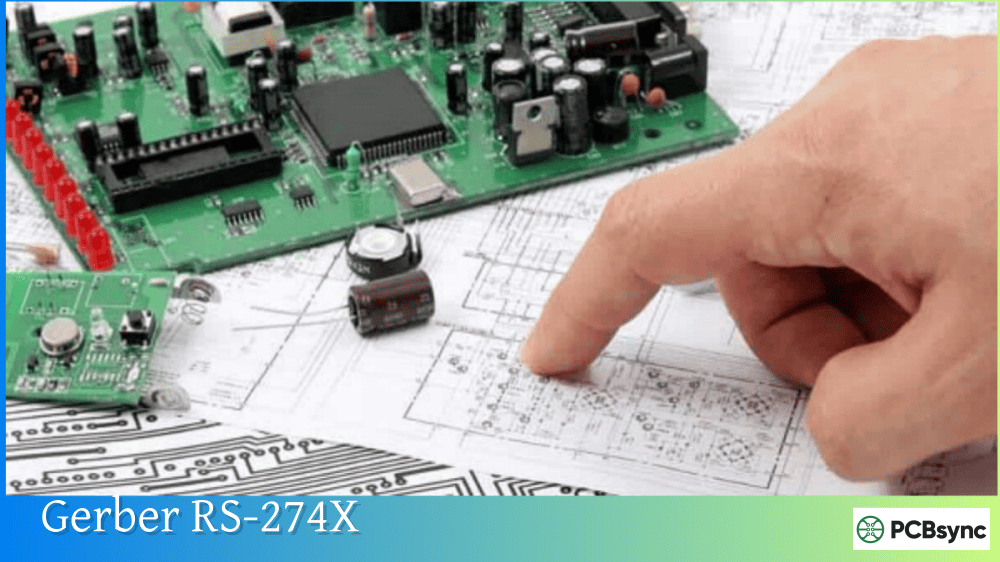
Notes: For PCB fabrication, we require PCB design file in Gerber RS-274X format (most preferred), *.PCB/DDB (Protel, inform your program version) format or *.BRD (Eagle) format. For PCB assembly, we require PCB design file in above mentioned format, drilling file and BOM. Click to download BOM template To avoid file missing, please include all files into one folder and compress it into .zip or .rar format.
What is a Pick and Place File? SMT Centroid Data Guide
When you send a PCB design for assembly, your fabricator needs more than just Gerber files and a BOM. They need to know exactly where to place every surface mount component—down to fractions of a millimeter. That’s where the Pick and Place file comes in. Also called a centroid file, XY file, or component placement list (CPL), this data drives the automated machines that populate your boards with components.
This guide explains what pick and place files contain, how to generate them from popular CAD tools, and how to avoid the rotation errors and coordinate mismatches that cause assembly failures.
A Pick and Place file is a text-based data file that tells SMT assembly machines exactly where to position each surface mount component on your PCB. The file specifies the X and Y coordinates of every component’s center point (the centroid), along with its rotation angle and which side of the board it belongs on.
Think of it as GPS coordinates for your components. Without this file, the assembly machine would have no idea where capacitor C1 goes or how to orient that QFP microcontroller. The machine’s vision system reads the file, picks each component from its feeder, and places it at the precise location specified in your centroid data.
The term “centroid” refers to the geometric center of each component footprint—the exact point where the placement nozzle positions the part. This center point serves as the reference for all placement operations.
Why Pick and Place Files Matter
Automated SMT assembly lines place thousands of components per hour. This speed is only possible because the machine already knows every placement location before production starts. Your Pick and Place file provides this critical programming data, eliminating manual teaching of component positions.
Beyond basic placement, centroid files also enable:
Automated optical inspection (AOI) programming
Selective soldering machine setup
Assembly verification and quality control
Production time estimation
Essential Data in a Centroid File
Every Pick and Place file must contain specific data fields for the assembly machine to function. While file formats vary between CAD tools, the core information remains consistent.
Required Centroid Data Fields
Field
Description
Example
Reference Designator
Unique component identifier
C1, R15, U3
X Coordinate
Horizontal position of centroid
45.720
Y Coordinate
Vertical position of centroid
23.150
Rotation
Orientation angle in degrees
90, 180, 270
Layer/Side
Top or Bottom placement
Top, T, 1
Optional but Recommended Fields
Field
Purpose
Footprint/Package
Component package type (0603, TQFP-48)
Part Number
Manufacturer part number for verification
Value
Component value for BOM cross-reference
Height
Component height for clearance checking
The X and Y coordinates define the centroid position relative to the board origin—typically the lower-left corner of the PCB outline. Units should be millimeters (mm) for international compatibility, though some tools export in mils or inches.
Pick and Place File Formats
Unlike Gerber files with their standardized RS-274X format, Pick and Place files come in various formats depending on your CAD software and manufacturer requirements.
Common Centroid File Formats
Format
Extension
Description
CSV
.csv
Comma-separated values, most universal
Text
.txt
Tab or space delimited plain text
Position
.pos
KiCad native format
Mount
.mnt, .mnb
Eagle top/bottom mount files
Excel
.xls, .xlsx
Spreadsheet format, easy to edit
Centroid
.cen, .xy
Generic centroid formats
Most assembly houses prefer CSV format because it opens easily in any spreadsheet application for review and modification. Always confirm your manufacturer’s preferred format before generating files.
Each row represents one component with all placement parameters the machine needs to position it correctly.
How to Generate Pick and Place Files
Every major PCB design tool includes Pick and Place file generation capabilities. The process varies by software, but all extract the same fundamental placement data from your design.
Generating Centroid Files by CAD Software
Software
Menu Path
Output Format
Altium Designer
File → Assembly Outputs → Generate Pick and Place Files
CSV, TXT
KiCad
File → Fabrication Outputs → Component Placement
.pos
Eagle
Run mountsmd.ulp
.mnt, .mnb
OrCAD/Allegro
File → Export → Placement
TXT
EasyEDA
File → Export → Pick and Place File
CSV
DipTrace
File → Export → Pick and Place
CSV, TXT
CircuitMaker
Similar to Altium workflow
CSV
Altium Designer Export Process
Altium offers two methods for generating Pick and Place files:
Direct Export Method:
Open your PCB document
Navigate to File → Assembly Outputs → Generate Pick and Place Files
Select units (mm recommended) and format (CSV)
Click OK to generate
Output Job Method:
Create or open an Output Job file (.OutJob)
Add Pick and Place output under Assembly Outputs
Configure settings and generate with other manufacturing files
The Output Job approach integrates centroid generation into your standard release process, ensuring consistent output every time.
KiCad Export Process
KiCad generates position files through the PCB Editor:
Generate separate files for top and bottom if needed
KiCad outputs .pos files by default, which most assemblers accept. Convert to CSV if your manufacturer requires it.
Eagle Export Process
Eagle uses a User Language Program (ULP) to generate centroid data:
Open your board file (.brd)
Run File → Run ULP
Select mountsmd.ulp from the ULP directory
The script generates .mnt (top) and .mnb (bottom) files
These text files contain all placement data and work with most assembly houses.
Understanding Rotation Angles in Pick and Place Files
Component rotation causes more assembly errors than any other Pick and Place parameter. Different CAD tools, component libraries, and assembly machines interpret rotation differently, leading to parts placed backwards or at wrong angles.
IPC-7351 Zero Orientation Standard
The IPC-7351 standard defines how components should be oriented at 0° rotation:
Component Type
Pin 1 Location at 0°
2-pin (resistors, capacitors)
Pin 1 (positive) on left
ICs (SOIC, QFP, BGA)
Pin 1 upper-left
Polarized capacitors
Positive terminal on left
Diodes
Cathode on left
SOT-23, SOT-223
Pin 1 upper-left
Positive rotation is always counterclockwise when viewed from the top side. This applies even for bottom-side components—rotation is still referenced from a top-down view.
Common Rotation Problems
Issue
Cause
Solution
LEDs placed backwards
Library footprint doesn’t follow IPC standard
Verify footprint orientation matches IPC-7351
ICs rotated 180°
Pin 1 marking inconsistency
Cross-reference with assembly drawing
Polarized caps reversed
Inconsistent positive pin definition
Standardize library to IPC conventions
Bottom-side rotation wrong
Mirror vs rotation confusion
Apply rotation before mirroring
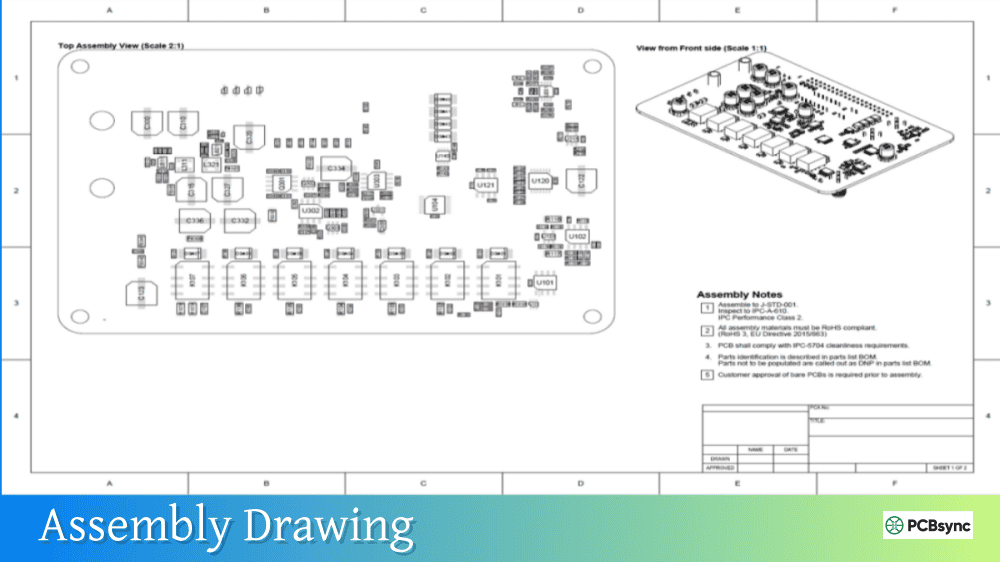
Always provide an assembly drawing showing pin 1 locations and polarity markings. This gives the assembly operator a visual reference to catch Pick and Place rotation errors before production.
Best Practices for Pick and Place Files
Following these guidelines prevents common centroid file problems and speeds up assembly line setup.
Coordinate System Alignment
The origin point (0,0) in your Pick and Place file must match your Gerber files exactly. If they don’t align, every component will be offset from its correct position.
Best practices:
Use the lower-left corner of the board outline as origin
Set the same origin for Gerbers, drill files, and centroid files
Document the origin location in your fab notes
Fiducial Mark Inclusion
Fiducial marks are reference points that help the placement machine calibrate to your actual board position. Include fiducial coordinates in your Pick and Place file or as a separate reference.
Most designs use:
Global fiducials: 2-3 marks for overall board alignment
Local fiducials: Near fine-pitch components like BGAs
Pre-Submission Checklist
Before sending Pick and Place files to your assembler:
Check Item
Verification Method
Origin matches Gerbers
Overlay in CAM viewer
Units are correct
Confirm mm vs mils with manufacturer
All SMT parts included
Compare component count to BOM
DNI parts excluded
Remove Do Not Install components
Rotation values reasonable
Spot check against layout
File opens correctly
Test in spreadsheet application
Verify with Visual Overlay
Most CAM tools and Gerber viewers can overlay centroid data on your PCB artwork. This visual check catches coordinate errors, missing components, and obvious rotation problems before you submit files.
Understanding how Pick and Place files relate to other assembly documentation prevents confusion and ensures complete data packages.
Assembly Document Comparison
Document
Contains
Purpose
Pick and Place / Centroid
XY coordinates, rotation, side
Programs placement machines
Bill of Materials (BOM)
Part numbers, quantities, values
Component procurement
Assembly Drawing
Visual placement reference
Manual verification
Gerber Files
Copper, mask, silkscreen artwork
Board fabrication
The BOM tells the assembler what parts to buy. The Pick and Place file tells the machine where to put them. Both are essential—neither replaces the other.
Useful Resources for Pick and Place Files
CAD Software Documentation
Resource
URL
Altium Pick and Place Guide
altium.com/documentation
KiCad Position File Docs
docs.kicad.org
Eagle ULP Reference
autodesk.com/eagle
OrCAD Export Guide
cadence.com
IPC Standards
Standard
Coverage
IPC-7351
Land pattern and zero orientation standards
IPC-2581
Data exchange format including placement
Online Tools and Viewers
Tool
Purpose
Gerber Viewer (various)
Overlay centroid on PCB artwork
Online CSV validators
Check file format integrity
JLCPCB Assembly Tool
Web-based placement verification
PCBWay CPL Checker
Online centroid validation
Frequently Asked Questions About Pick and Place Files
What is the difference between a Pick and Place file and a centroid file?
They’re the same thing with different names. Pick and Place file, centroid file, XY file, component placement list (CPL), and insertion file all refer to the data that specifies component positions for automated assembly. Different companies and CAD tools use different terminology, but the file contents and purpose are identical.
Can I create a centroid file from Gerber data alone?
Technically possible, but not recommended. Some CAM tools can extract centroid positions by analyzing paste layer apertures and grouping them into component footprints. However, this process requires manual verification for each component and often produces rotation errors. Always generate Pick and Place files directly from your PCB design software where the data is already accurate.
Why are my components placed with wrong rotation?
Rotation errors typically stem from footprint libraries not following IPC-7351 zero orientation standards. Your library defines 0° as one orientation, but the assembly machine expects another. Solutions include standardizing your library to IPC conventions, adjusting rotations in the exported file, or providing clear assembly drawings for the operator to verify orientation.
Should I include through-hole components in the Pick and Place file?
No, centroid files are specifically for surface mount components placed by automated pick and place machines. Through-hole parts are inserted separately, either manually or with different insertion equipment. Including through-hole components in your Pick and Place file creates confusion and may cause machine errors. Export only SMT parts.
How do I handle Do Not Install (DNI) components?
Remove DNI components from your Pick and Place file before submission. Most CAD tools let you filter these out during export by setting a DNI attribute or excluding specific reference designators. Leaving DNI parts in the file wastes machine time attempting to place components that shouldn’t be installed and may cause the assembler to order unnecessary parts.
Conclusion
The Pick and Place file may seem like a simple coordinate list, but it’s the critical link between your PCB design and automated assembly. Getting the centroid data right—with correct coordinates, consistent rotation angles, and matching origins—determines whether your boards assemble correctly the first time.
Take time to verify your Pick and Place files before submission. Overlay the data on your Gerber artwork, check rotation values against IPC standards, and always provide assembly drawings as a backup reference. These steps prevent the misplaced components and production delays that result from centroid file errors.
Whether you’re prototyping a dozen boards or launching volume production, accurate Pick and Place data keeps the assembly line running smoothly and your project on schedule.
Inquire: Call 0086-755-23203480, or reach out via the form below/your sales contact to discuss our design, manufacturing, and assembly capabilities.
Quote: Email your PCB files to Sales@pcbsync.com (Preferred for large files) or submit online. We will contact you promptly. Please ensure your email is correct.
Notes: For PCB fabrication, we require PCB design file in Gerber RS-274X format (most preferred), *.PCB/DDB (Protel, inform your program version) format or *.BRD (Eagle) format. For PCB assembly, we require PCB design file in above mentioned format, drilling file and BOM. Click to download BOM template To avoid file missing, please include all files into one folder and compress it into .zip or .rar format.


