Inquire: Call 0086-755-23203480, or reach out via the form below/your sales contact to discuss our design, manufacturing, and assembly capabilities.
Quote: Email your PCB files to Sales@pcbsync.com (Preferred for large files) or submit online. We will contact you promptly. Please ensure your email is correct.
Notes: For PCB fabrication, we require PCB design file in Gerber RS-274X format (most preferred), *.PCB/DDB (Protel, inform your program version) format or *.BRD (Eagle) format. For PCB assembly, we require PCB design file in above mentioned format, drilling file and BOM. Click to download BOM template To avoid file missing, please include all files into one folder and compress it into .zip or .rar format.
Designing a patch antenna PCB that actually performs as expected takes more than plugging numbers into a formula. I’ve spent years working with microstrip antennas across frequencies from sub-GHz IoT applications to 24 GHz automotive radar, and the gap between theoretical calculations and real-world performance catches most engineers off guard.
This guide walks through the complete patch antenna PCB design process, from initial calculations through substrate selection, feeding methods, and layout optimization. Whether you’re designing a 2.4 GHz WiFi antenna or a GPS receiver front-end, the fundamentals here will help you get it right the first time.
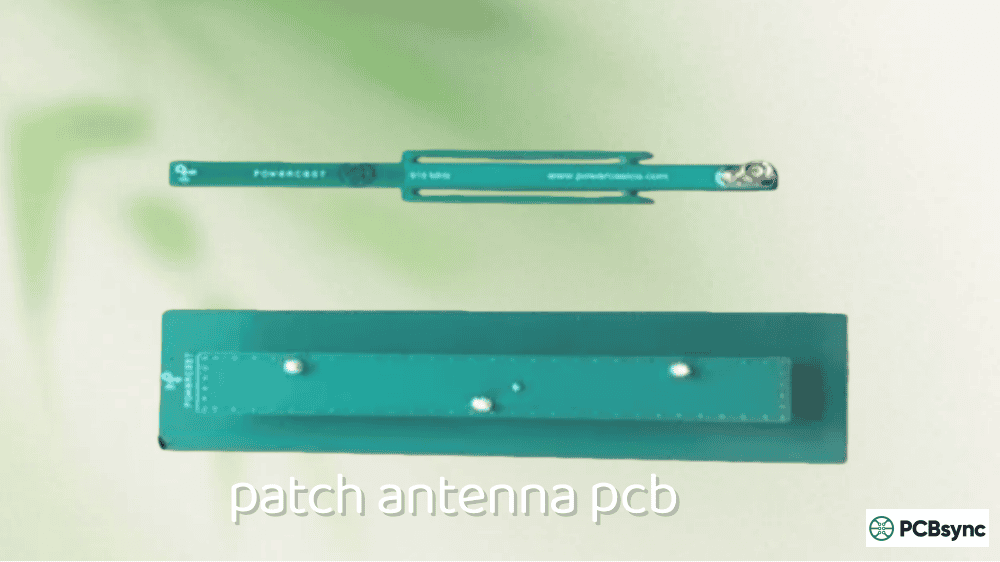
A patch antenna PCB is a printed circuit board with an integrated microstrip patch antenna etched directly into the copper layer. The antenna consists of a flat conductive patch suspended over a ground plane, separated by a dielectric substrate. This simple structure creates a resonant cavity that radiates electromagnetic energy when excited at the proper frequency.
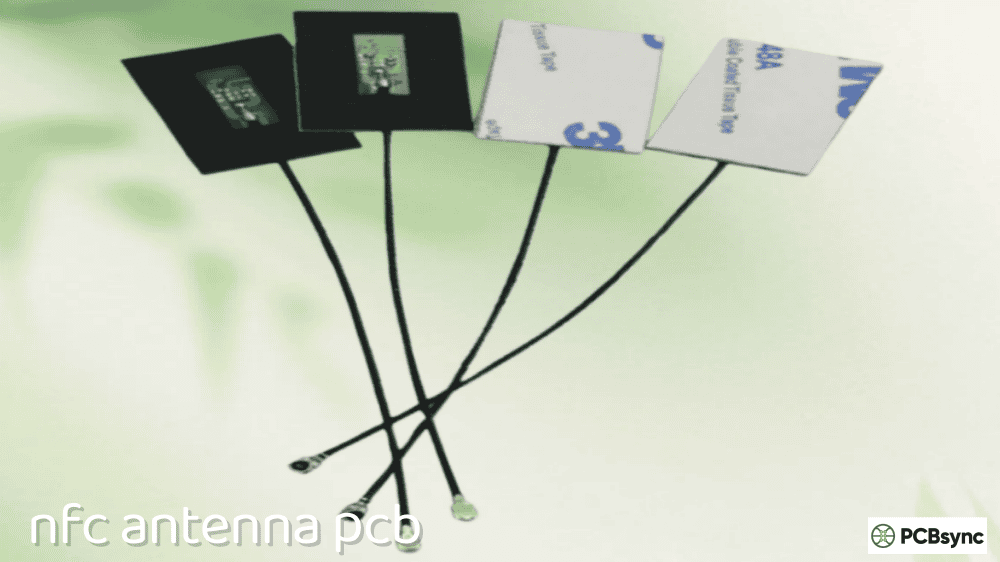
The patch antenna operates at 13.56 MHz for NFC, but patch antennas for RF communication typically operate at much higher frequencies, from hundreds of MHz to tens of GHz. At these frequencies, the physical dimensions become small enough to integrate directly onto a PCB, making patch antennas ideal for wireless devices where size, weight, and cost matter.
Why Use Patch Antennas on PCBs?
Patch antennas offer several advantages that make them popular for PCB integration. They’re low-profile, typically only a few millimeters thick, which suits modern compact devices. They’re inexpensive to manufacture using standard PCB fabrication processes. And they provide directional radiation patterns with moderate gain, typically 5-9 dBi for single elements.
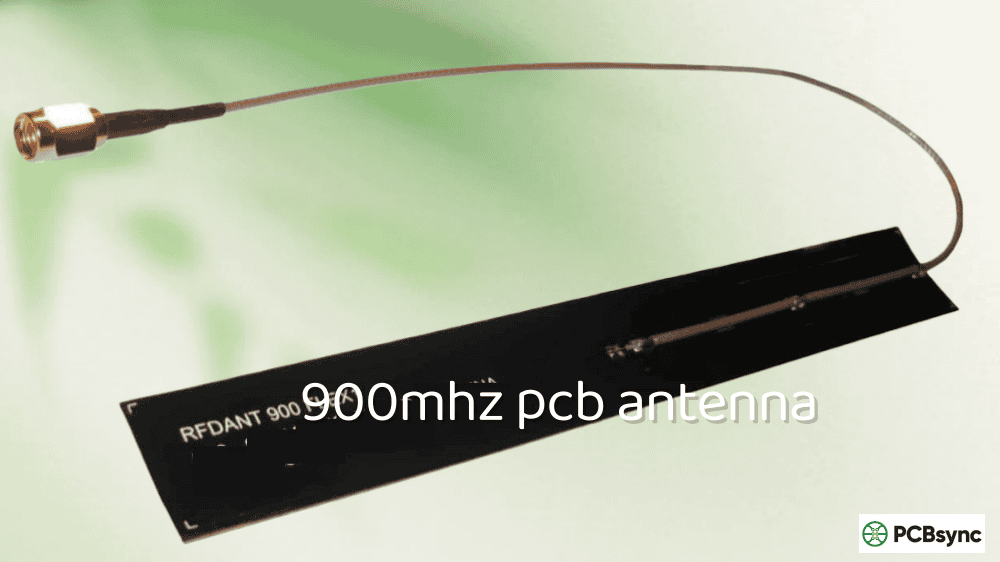
The main limitations are narrow bandwidth (typically 2-5% for basic designs) and the physical size at lower frequencies. A 900 MHz patch antenna measures approximately 80mm × 80mm on FR4, which may be too large for handheld devices.
Patch Antenna PCB Design Fundamentals
Before calculating dimensions, you need to understand how patch antennas work and what parameters you can control.
Operating Principle
A rectangular patch antenna functions as a resonant cavity. The patch and ground plane form a parallel plate capacitor, while the edges act as radiating slots. When the patch length equals approximately half the guided wavelength (λg/2), the structure resonates and radiates efficiently.
The guided wavelength depends on the substrate’s effective dielectric constant, which is lower than the bulk dielectric constant due to fringing fields at the patch edges.
Key Design Parameters
Parameter
Symbol
Impact on Performance
Patch Length
L
Determines resonant frequency
Patch Width
W
Affects impedance and bandwidth
Substrate Height
h
Controls bandwidth and efficiency
Dielectric Constant
εr
Affects size and bandwidth
Loss Tangent
tan δ
Determines efficiency
Ground Plane Size
Lg × Wg
Influences radiation pattern
Patch Antenna PCB Calculations
The design process follows a logical sequence: select substrate, calculate effective dielectric constant, determine patch dimensions, then size the ground plane.
Step 1: Calculate Patch Width
The patch width affects radiation efficiency and input impedance. For efficient radiation and practical impedance values, use this formula:
W = c / (2f₀) × √(2 / (εr + 1))
Where:
c = speed of light (3 × 10⁸ m/s)
f₀ = target frequency (Hz)
εr = substrate dielectric constant
Step 2: Calculate Effective Dielectric Constant
Because the electromagnetic fields extend beyond the substrate into the air, we use an effective dielectric constant:
FR4 works fine for patch antennas below about 3 GHz where its higher loss tangent doesn’t severely degrade efficiency. The main challenges with FR4 are its variable dielectric constant (can vary ±10% across a panel) and increasing losses at higher frequencies.
For prototyping and cost-sensitive applications at 2.4 GHz or below, FR4 is a reasonable choice. Just expect to tune the antenna after fabrication since the actual εr may differ from the nominal 4.4 value.
Rogers and High-Frequency Laminates
Above 5 GHz, or when efficiency matters more than cost, switch to a low-loss laminate like Rogers materials. RT/Duroid 5880 with its 2.2 dielectric constant gives wider bandwidth and higher efficiency, but at significantly higher cost.
The lower dielectric constant of Rogers materials means larger antenna dimensions for the same frequency. A 2.4 GHz patch on RT/Duroid 5880 would measure approximately 41 mm × 49 mm compared to 29 mm × 38 mm on FR4.
Substrate Thickness Considerations
Thicker substrates provide wider bandwidth but increase surface wave losses and can cause impedance matching problems. A common rule:
0.003λ₀ < h < 0.05λ₀
For 2.4 GHz (λ₀ = 125 mm), this suggests substrate thickness between 0.375 mm and 6.25 mm. Standard 1.6 mm FR4 falls comfortably in this range.
Feeding Methods for Patch Antenna PCBs
How you connect the antenna to your circuit significantly affects performance. Each feeding method has distinct advantages and trade-offs.
Microstrip Line Feed
The simplest approach connects a microstrip transmission line directly to the patch edge. This keeps everything on one layer and is easy to fabricate.
Advantages:
Single-layer construction
Easy to design and fabricate
Planar structure
Disadvantages:
Narrow bandwidth (2-5%)
Spurious radiation from the feed line
Requires impedance transformation
The edge impedance of a patch antenna is typically 150-300Ω, so you need a quarter-wave transformer or matching network to reach 50Ω.
Inset Feed
The inset feed places the microstrip connection inside the patch rather than at the edge. By moving the feed point inward, you reach a location where the impedance is naturally 50Ω.
Inset depth calculation:
y₀ = L/π × cos⁻¹(√(Z₀/Zedge))
Where:
y₀ = inset depth from edge
Z₀ = target impedance (50Ω)
Zedge = edge impedance
For a typical patch with 200Ω edge impedance targeting 50Ω: y₀ = L/π × cos⁻¹(√(50/200)) = L/π × cos⁻¹(0.5) = L/π × 60° = L × 0.333
The inset depth is approximately one-third of the patch length.
Coaxial Probe Feed
A coaxial probe connects through the substrate, with the center conductor attached to the patch and the outer conductor to the ground plane. This method provides excellent isolation between the feed and radiating structure.
Advantages:
Good impedance matching
Reduced spurious radiation
Works well with thick substrates
Disadvantages:
Requires drilling and soldering
Not fully planar
Increased inductance at higher frequencies
The probe position for 50Ω match is found using:
x₀ = L/π × cos⁻¹(√(Z₀/Zedge))
Similar to the inset feed calculation, the probe is placed approximately L/3 from the patch center.
Aperture Coupled Feed
This advanced method uses a slot in the ground plane to couple energy from a microstrip feed line on the back side to the patch on the front. The slot provides isolation between the feed network and radiating element.
Advantages:
Widest bandwidth (15-25%)
Excellent isolation
Independent optimization of feed and radiating element
Aperture coupling is the go-to method for high-performance applications like 5G mmWave arrays and satellite communications.
Proximity Coupled Feed
The feed line is placed on an intermediate layer, separated from the patch by a thin dielectric. Energy couples electromagnetically without direct contact.
Advantages:
Moderate bandwidth (10-15%)
Low spurious radiation
Simpler than aperture coupling
Disadvantages:
Multi-layer construction
Sensitive to layer alignment
Gap spacing is critical
Feeding Method Comparison
Method
Bandwidth
Complexity
Spurious Radiation
Best Application
Edge Feed
2-5%
Low
High
Simple IoT devices
Inset Feed
2-5%
Low
Moderate
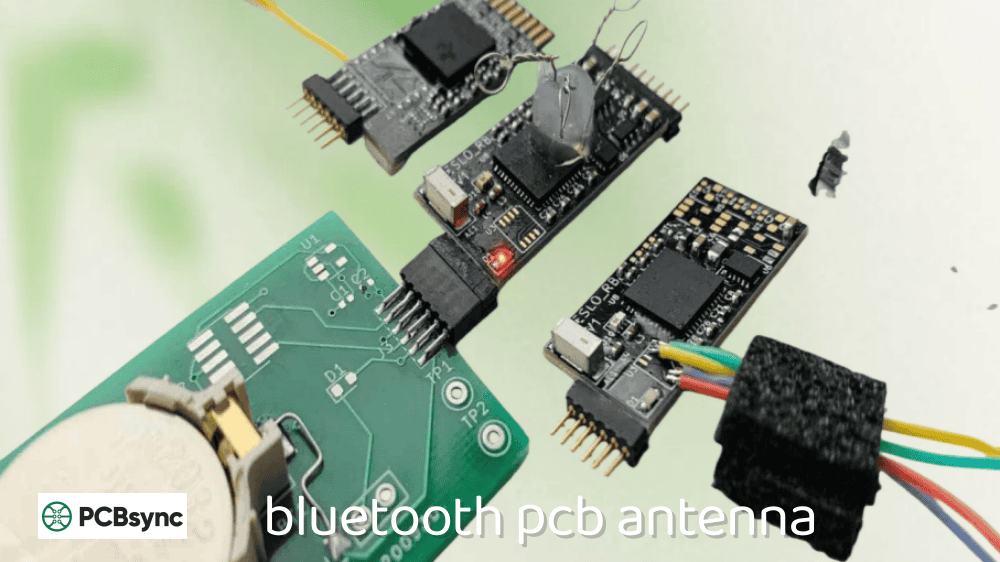
WiFi, Bluetooth
Coaxial Probe
3-7%
Medium
Low
External modules
Aperture Coupled
15-25%
High
Very Low
5G, SATCOM
Proximity Coupled
10-15%
Medium
Low
Automotive, IoT
Patch Antenna PCB Layout Best Practices
Good layout practices prevent common performance problems and reduce tuning effort after fabrication.
Ground Plane Design
The ground plane is part of the antenna, not just a reference plane. Insufficient ground plane size distorts the radiation pattern and shifts the resonant frequency.
For a 2.4 GHz patch on 1.6mm FR4, the ground should extend at least 4.8mm (preferably 9.6mm) beyond the patch edges.
Component Keep-Out Zones
Metal objects near the patch detune the antenna and distort the pattern. Maintain clearance zones:
Zone
Distance from Patch Edge
No copper (traces, pours)
> 5 mm
No components
> 10 mm
No tall components
> λ/4 (31 mm at 2.4 GHz)
Feed Line Routing
The feed line should approach the patch perpendicular to the radiating edge. Avoid bends near the patch, as they introduce impedance discontinuities and spurious radiation.
If bends are necessary, use mitered corners or curved traces. Keep the feed line as short as practical to minimize losses and radiation.
Via Stitching
For multi-layer designs, surround the feed line with via stitching to contain the fields. Space vias at λ/10 or closer to prevent slot-line mode propagation.
Simulation and Validation Tools
Designing patch antennas without simulation is possible but inefficient. Modern EM simulation tools predict performance accurately and speed up the design cycle.
Recommended Simulation Software
Software
Cost
Strengths
ANSYS HFSS
High
Industry standard, accurate
CST Studio Suite
High
Fast, good visualization
MATLAB Antenna Toolbox
Medium
Integrated with analysis
Sonnet
Medium
Planar structures
OpenEMS
Free
Open source, capable
Online Calculators
For quick estimates before detailed simulation:
Calculator
URL
Features
Altium Patch Calculator
resources.altium.com
L, W, impedance
Everything RF
everythingrf.com
Basic dimensions
EM Talk
emtalk.com/mpacalc.php
Synthesis and analysis
Electronics For You
electronicsforu.com
Step-by-step calculation
Measurement and Tuning
After fabrication, verify performance with a Vector Network Analyzer (VNA). Key measurements:
Return Loss (S11): Target < -10 dB at center frequency
Bandwidth: Frequency range where S11 < -10 dB
Input Impedance: Should be close to 50Ω at resonance
If the antenna resonates at the wrong frequency, you can trim the patch length (higher frequency) or add capacitive loading (lower frequency).
Common Patch Antenna PCB Design Mistakes
Learning from others’ mistakes saves time and frustration. These are the issues I see most frequently.
Mistake 1: Ignoring Dielectric Constant Variation
FR4’s dielectric constant varies significantly across panels and between vendors. Designing to exactly εr = 4.4 often results in antennas resonating 3-5% off target. Build in tuning margin or characterize your specific material.
Mistake 2: Undersized Ground Plane
A ground plane that’s barely larger than the patch produces poor efficiency and a distorted radiation pattern. The antenna may appear to work on the bench but fail in the application.
Mistake 3: Components Too Close to Antenna
Capacitors, connectors, and traces placed near the patch shift resonance and degrade performance. Treat the area around the patch as sacred space.
Mistake 4: Wrong Substrate Thickness for Bandwidth
Wanting more bandwidth? Use a thicker substrate. But don’t go overboard, as excessively thick substrates cause surface wave losses and matching problems.
Mistake 5: Neglecting Feed Line Effects
The feed line is part of the antenna system. Its length, routing, and connection method all affect the measured impedance and pattern.
Useful Resources for Patch Antenna PCB Design
Application Notes and Design Guides
Resource
Description
Altium Patch Antenna Guide
Comprehensive design equations
Rogers Corporation Design Guides
Substrate selection and layout
Antenna-Theory.com
Theory and practical examples
IEEE Xplore Papers
Academic research and innovations
Reference Books
Title
Author
Focus
Microstrip Antenna Design Handbook
Garg, Bhartia, Bahl
Complete reference
Antenna Theory: Analysis and Design
Balanis
Fundamentals
Printed Antennas for Wireless Communications
Waterhouse
Practical applications
Online Communities
Platform
Value
ResearchGate
Academic discussions
EDA Board Forums
Practical troubleshooting
RF Cafe
Historical resources
FAQs
What is the typical bandwidth of a patch antenna PCB?
A basic rectangular patch antenna provides 2-5% impedance bandwidth, which translates to about 50-120 MHz at 2.4 GHz. For wider bandwidth (up to 25%), use techniques like aperture coupling, stacked patches, or U-slot modifications. Thicker substrates with lower dielectric constants also increase bandwidth.
Can I design a patch antenna PCB using FR4 substrate?
Yes, FR4 works well for frequencies below about 3 GHz. The main limitations are higher dielectric losses (reducing efficiency by 1-2 dB compared to Rogers materials) and variable dielectric constant (requiring post-fabrication tuning). For prototyping and cost-sensitive consumer products, FR4 is often acceptable.
How do I choose between feeding methods for my patch antenna PCB?
For single-layer simplicity, use microstrip edge feed or inset feed. If you need wider bandwidth and can accept multi-layer complexity, aperture coupling provides the best performance. Coaxial probe feeding works well for external antenna modules that connect via SMA or U.FL connectors.
Why does my patch antenna resonate at the wrong frequency?
The most common causes are: inaccurate dielectric constant value (FR4 varies significantly), manufacturing tolerances changing dimensions, and proximity to other metal objects. Verify the actual substrate εr, measure the fabricated dimensions, and ensure adequate clearance from components. You can trim the patch to increase frequency or add a loading capacitor to decrease it.
How do I increase the gain of a patch antenna PCB?
Single patch elements typically provide 5-9 dBi gain. To increase gain, use an antenna array with multiple patches fed in phase. A 2×2 array provides approximately 6 dB more gain than a single element. You can also optimize substrate thickness and ground plane size for maximum gain from a single element.
Advanced Patch Antenna PCB Techniques
Once you’ve mastered basic rectangular patch design, several techniques can enhance performance for demanding applications.
Circular Polarization
Standard rectangular patches produce linear polarization. For applications like GPS reception or satellite communications, circular polarization improves signal reception regardless of antenna orientation.
Two common approaches achieve circular polarization:
Truncated corners: Remove small triangular sections from opposite corners of a square patch. The corner dimension is approximately 0.2 times the patch side length.
Dual feed with 90° phase shift: Feed two orthogonal edges of a square patch with equal amplitude signals that are 90° out of phase. This requires a power divider and delay line but provides better axial ratio than corner truncation.
Bandwidth Enhancement
Several modifications extend the inherently narrow bandwidth of patch antennas:
U-slot patch: Cutting a U-shaped slot in the patch creates an additional resonance close to the primary resonance, effectively doubling bandwidth to 10-15%.
Stacked patches: Adding a parasitic patch above the driven patch creates multiple coupled resonances. Proper spacing and sizing achieves 20-30% bandwidth.
L-probe feeding: An L-shaped probe provides both coupling and impedance matching, enabling wide bandwidth with thick substrates.
Antenna Arrays
When a single patch doesn’t provide enough gain, arrays of patches combine to create higher directivity and gain. The array gain increases approximately as 10×log₁₀(N) dB, where N is the number of elements.
For a 2×2 array (4 elements), expect roughly 6 dB additional gain over a single element. A 4×4 array adds about 12 dB.
Corporate feed networks distribute power equally to all elements while maintaining phase alignment. Series feed networks are simpler but more frequency-sensitive.
Conclusion
Designing a successful patch antenna PCB requires attention to three areas: accurate calculations for the target frequency and substrate, appropriate feeding method selection for your bandwidth and complexity requirements, and careful layout to protect antenna performance.
Start with the design equations to get initial dimensions, then use simulation to refine the design before fabrication. Build in tuning capability for the first prototype, as real-world substrate properties often differ from datasheet values. With proper attention to these details, patch antenna PCBs deliver reliable, cost-effective wireless connectivity for applications from IoT sensors to 5G systems.
The fundamentals covered here apply whether you’re designing for 433 MHz ISM band or 77 GHz automotive radar, though higher frequencies demand more attention to substrate quality and manufacturing tolerances. Master these basics, and you’ll have the foundation to tackle increasingly challenging antenna designs.
Inquire: Call 0086-755-23203480, or reach out via the form below/your sales contact to discuss our design, manufacturing, and assembly capabilities.
Quote: Email your PCB files to Sales@pcbsync.com (Preferred for large files) or submit online. We will contact you promptly. Please ensure your email is correct.
Notes: For PCB fabrication, we require PCB design file in Gerber RS-274X format (most preferred), *.PCB/DDB (Protel, inform your program version) format or *.BRD (Eagle) format. For PCB assembly, we require PCB design file in above mentioned format, drilling file and BOM. Click to download BOM template To avoid file missing, please include all files into one folder and compress it into .zip or .rar format.


