Inquire: Call 0086-755-23203480, or reach out via the form below/your sales contact to discuss our design, manufacturing, and assembly capabilities.
Quote: Email your PCB files to Sales@pcbsync.com (Preferred for large files) or submit online. We will contact you promptly. Please ensure your email is correct.
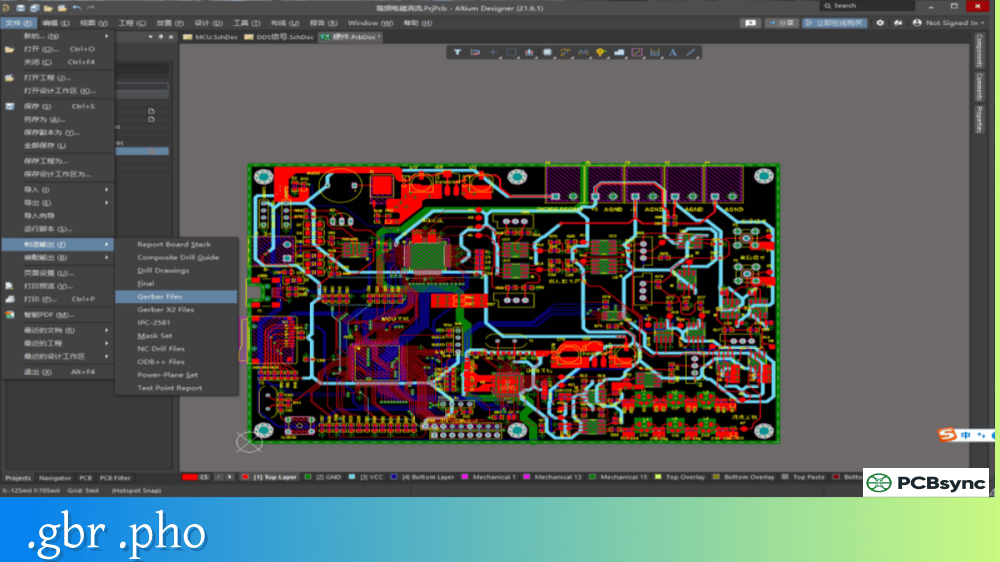
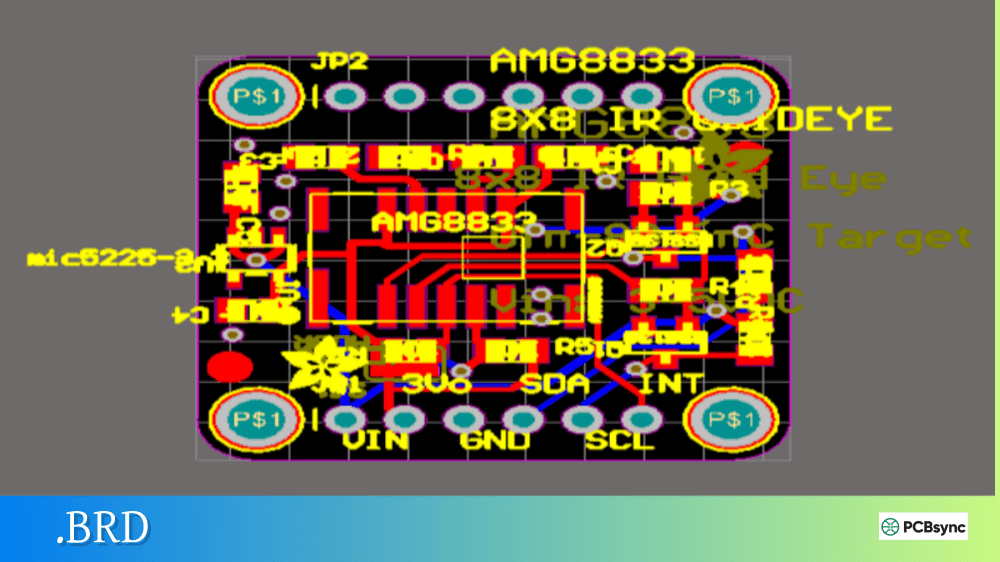
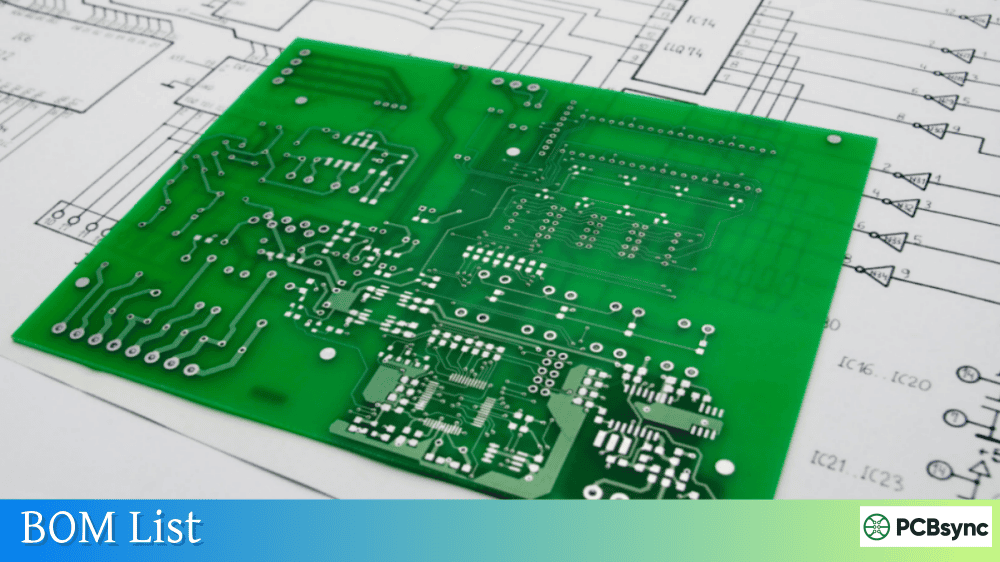
Notes: For PCB fabrication, we require PCB design file in Gerber RS-274X format (most preferred), *.PCB/DDB (Protel, inform your program version) format or *.BRD (Eagle) format. For PCB assembly, we require PCB design file in above mentioned format, drilling file and BOM. Click to download BOM template To avoid file missing, please include all files into one folder and compress it into .zip or .rar format.
For decades, sending PCB designs to assembly houses meant packaging multiple files—Gerber layers for fabrication, a separate Bill of Materials (BOM), a centroid file for pick-and-place machines, and assembly drawings. Getting all these files to match was a constant source of errors. Gerber X3 changes this by embedding component data directly into the Gerber format, unifying fabrication and assembly information in a single, coherent file set.
Released in 2020 by Ucamco, Gerber X3 represents the next evolution of the industry-standard PCB data format. This guide explains what Gerber X3 is, how it handles component information, and why it matters for modern PCB manufacturing.
Gerber X3 is the 2020 version of the Gerber Layer Format Specification that extends the standard to include component placement data. While Gerber X2 added metadata about layer functions and pad attributes, Gerber X3 goes further by adding dedicated Component Layers that contain everything needed for PCB assembly—reference designators, component values, manufacturer part numbers, centroid locations, and rotation angles.
The key innovation is that Gerber X3 combines bare board fabrication data with assembly information in a single unified format. Designers can now transfer PCB layout data plus BOM and Component Placement List (CPL) data in one simple, human-readable file set.
Gerber X3 maintains full backward compatibility with earlier Gerber formats. It reuses existing syntax and commands, meaning CAM systems that don’t yet support X3-specific features can still process the standard fabrication layers. The component data simply adds new layers that older tools can ignore.
Evolution of Gerber Formats
Understanding Gerber X3 requires context on how the format has evolved.
Gerber Format Timeline
Format
Year
Key Features
RS-274-D
1960s
Basic coordinates and D-codes, separate aperture file
RS-274-X
1998
Embedded apertures, polygon fills, single-file format
Gerber X2
2014
Layer function attributes, pad/via metadata
Gerber X3
2020
Component layers with BOM and placement data
Each generation added intelligence to what was originally just a numerical control format for photoplotters. RS-274-X made files self-contained. X2 added meaning to the geometry. Gerber X3 extends into assembly territory.
The Problem Gerber X3 Solves
Traditional Gerber workflows require multiple separate files for assembly:
Files Required Without Gerber X3
File Type
Purpose
Common Format
Gerber layers
Copper, mask, silkscreen
RS-274-X / X2
Drill files
Hole locations and sizes
Excellon
BOM
Component list with part numbers
CSV, Excel
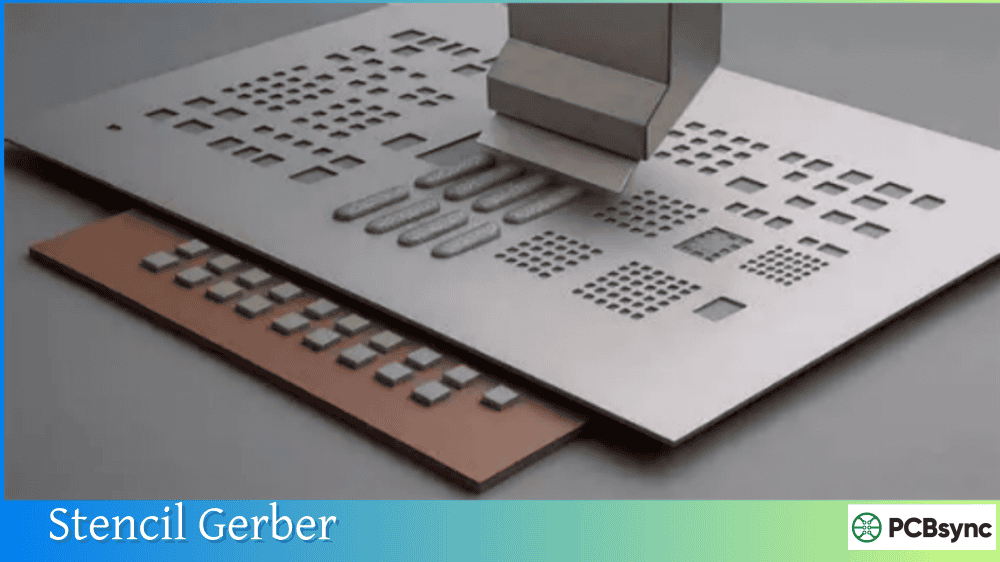
Centroid/CPL
Component XY positions and rotation
CSV, TXT
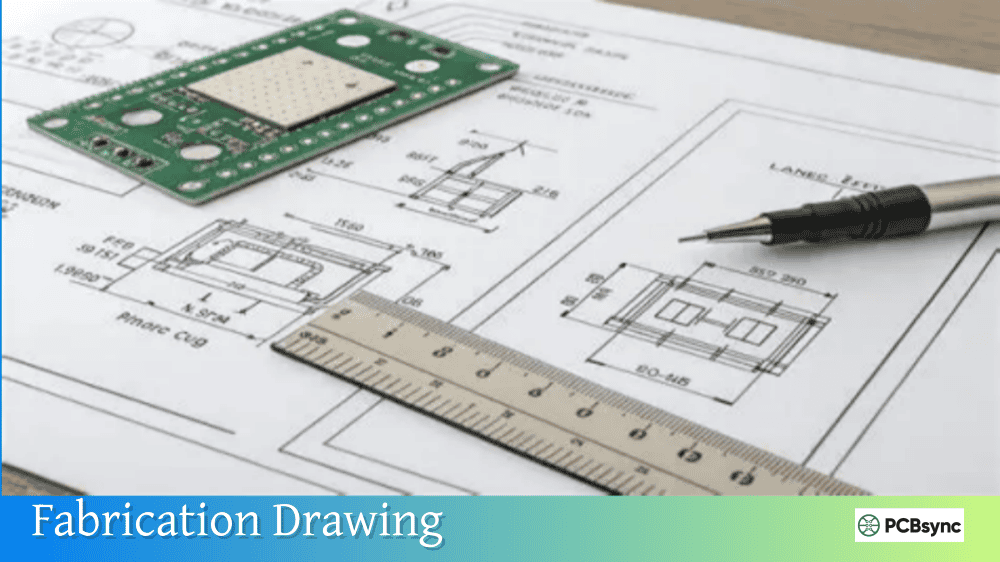
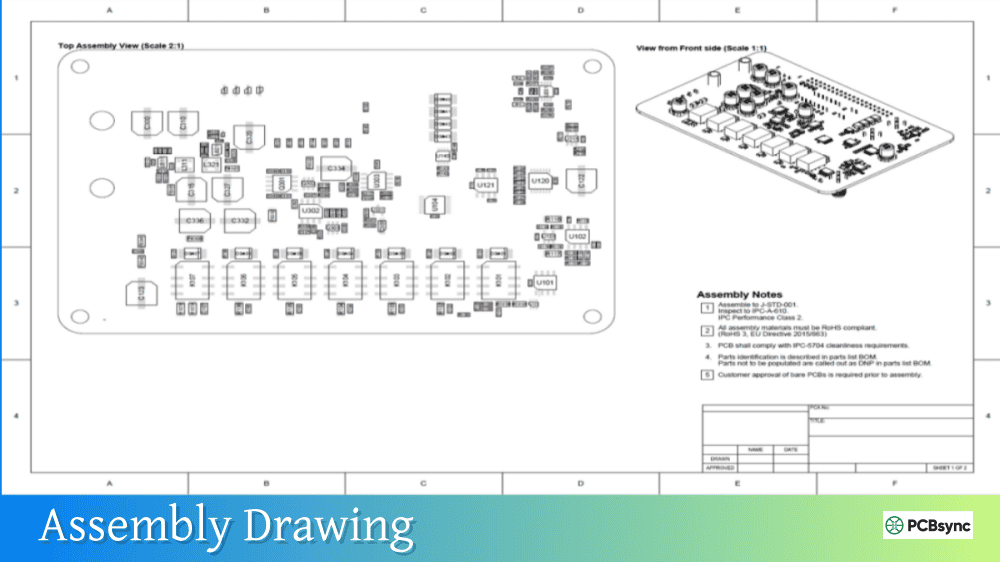
Assembly drawing
Visual placement reference
PDF, Gerber
The problem? These files come from different export processes, use different coordinate systems, and must be manually verified for consistency. A single discrepancy between BOM and centroid file can result in missing components or wrong parts on the assembled board.
Gerber X3 consolidates BOM and placement data into the Gerber file set itself, ensuring consistency because all data originates from the same CAD source in a single export operation.
Gerber X3 Component Layers
The defining feature of Gerber X3 is the addition of Component Layers—one for top-side components and one for bottom-side components.
Component Layer Structure
Layer
File Function Attribute
Description
Top Component
%TF.FileFunction,Component,L1,Top*%
Components on top side
Bottom Component
%TF.FileFunction,Component,L4,Bot*%
Components on bottom side
These component layers contain graphical representations of component outlines, pin locations, and centroids, combined with attributes that provide the BOM and placement information.
Component Attributes in Gerber X3
Gerber X3 defines specific attributes for component data:
Attribute
Description
Example
.C
Component reference designator
.C,R15
.CRot
Component rotation angle
.CRot,90
.CMfr
Component manufacturer
.CMfr,Texas Instruments
.CMPN
Component manufacturer part number
.CMPN,SN74HC00N
.CVal
Component value
.CVal,10uF
.CPkg
Component package type
.CPkg,0805
.CHeight
Component height
.CHeight,1.2mm
.CSup
Supplier name
.CSup,Digi-Key
.CSpn
Supplier part number
.CSpn,296-1182-5-ND
These attributes attach directly to graphical objects in the component layer, linking the visual placement with BOM data in a machine-readable format.
Gerber X3 File Example
A Gerber X3 component layer file looks similar to standard Gerber but includes component-specific attributes:
ODB++ and IPC-2581 offer more comprehensive data (netlist, stackup, impedance requirements) but require more complex implementations and may not be supported by all manufacturers.
Support for Gerber X3 is growing but not yet universal.
CAD Software Support
Software
X3 Export
Status
KiCad
Partial
Component layer generation available
TARGET 3001!
Yes
Full X3 export with .X3T/.X3B files
Altium Designer
In development
X2 currently, X3 planned
Eagle
No
Use X2 with separate BOM/centroid
OrCAD
No
Use X2 with separate BOM/centroid
CAM Software Support
Software
X3 Import
Notes
Ucamco Integr8tor
Yes
Native support from format developer
Reference Gerber Viewer
Yes
Free viewer from Ucamco
GC-Prevue
Partial
Standard Gerber viewing
Gerbv
No
Open source, X2 only
As Gerber X3 adoption increases, expect broader software support. Check with your specific CAD vendor and assembly house for current capabilities.
Implementing Gerber X3 in Your Workflow
If your tools support Gerber X3, here’s how to incorporate it into your pcb design workflow.
Export Checklist
Step
Action
1
Verify component data is complete in CAD (values, part numbers, manufacturers)
2
Configure Gerber export for X3 format
3
Enable component layer generation (Top and Bottom)
4
Export complete file set including component layers
5
Verify in Gerber viewer that component attributes are present
6
Confirm assembly house can accept X3 format
Best Practices
Complete your library data: Gerber X3 is only as good as the component information in your CAD libraries. Ensure manufacturer part numbers, values, and package types are populated for all components.
Verify before sending: Use a Gerber viewer that displays X3 attributes to confirm component data exported correctly. The Reference Gerber Viewer from Ucamco is free and fully supports X3.
Communicate with your assembler: Not all assembly houses have updated their CAM systems for Gerber X3. Confirm acceptance before relying solely on X3 for assembly data.
Keep fallback files: Until X3 adoption is universal, continue generating traditional BOM and centroid files as backup.
Limitations of Gerber X3
While Gerber X3 represents a significant improvement, it has limitations to consider.
Current Limitations
Limitation
Description
Software support
Not yet universal in CAD/CAM tools
Manufacturer adoption
Many assemblers still prefer separate BOM/CPL
No netlist
Electrical connectivity not included
No stackup data
Layer materials and thicknesses not specified
No impedance info
Controlled impedance requirements need separate documentation
For complete “intelligent” PCB data transfer including netlist and stackup, formats like ODB++ or IPC-2581 remain more comprehensive. Gerber X3 focuses specifically on solving the component data problem while maintaining Gerber’s simplicity.
Useful Resources for Gerber X3
Official Documentation
Resource
Description
Ucamco Gerber Specification
Official format document with X3 details
Gerber X3 Overview
Ucamco introduction to X3 features
Reference Gerber Viewer
Free viewer supporting X3 attributes
Downloads
Resource
URL
Gerber Layer Format Specification
ucamco.com/gerber
Reference Gerber Viewer
ucamco.com/gerber
Gerber Generations Document
ucamco.com/gerber/gerber-x3
Further Reading
Resource
Description
Eurocircuits Gerber X3 Guide
Practical implementation guidance
Altium Gerber X3 Overview
CAD vendor perspective
Frequently Asked Questions About Gerber X3
Is Gerber X3 backward compatible with older formats?
Yes, Gerber X3 maintains full backward compatibility. The component layers use standard Gerber syntax that older viewers can display as regular graphic objects. CAM systems that don’t recognize X3-specific attributes simply ignore the component metadata while processing the familiar fabrication layers. Your fabrication data works exactly as before—X3 adds information rather than changing the base format.
Do I still need separate BOM and centroid files with Gerber X3?
Ideally no, since Gerber X3 embeds this information in the component layers. However, until adoption is universal, many assembly houses still require traditional BOM (CSV/Excel) and centroid files. Check with your specific assembler. During the transition period, generating both X3 component layers and traditional files ensures compatibility with any manufacturer.
Which CAD software supports Gerber X3 export?
Support is growing but varies by vendor. KiCad and TARGET 3001! currently support X3 component layer generation. Altium Designer, Eagle, and OrCAD export Gerber X2 but may require separate BOM/centroid files for assembly data. Check your CAD vendor’s current release notes for X3 support status, as capabilities are actively being added.
How does Gerber X3 compare to ODB++ for assembly data?
Both formats include component placement information, but they differ in scope and complexity. Gerber X3 focuses specifically on component data while maintaining Gerber’s simple ASCII format and layer-based organization. ODB++ is more comprehensive, including netlist, stackup, and test data, but uses a complex directory structure. For shops already using Gerber workflows, X3 provides an easier upgrade path than switching to ODB++.
Can I view Gerber X3 component attributes in free viewers?
The Reference Gerber Viewer from Ucamco is free and fully supports Gerber X3 including component attribute display. Popular open-source viewers like Gerbv currently support X2 but may not display X3-specific component metadata. For verification, use the official Reference Gerber Viewer or commercial CAM software with documented X3 support.
Conclusion
Gerber X3 represents a practical evolution of the PCB industry’s most widely used data format. By embedding component data directly into Gerber files, it solves the long-standing problem of correlating separate BOM, centroid, and fabrication files. The format maintains Gerber’s core strengths—simplicity, human readability, and universal compatibility—while adding the assembly intelligence that modern manufacturing demands.
Adoption is still growing, so verify support with your CAD vendor and assembly house before relying solely on X3. But the direction is clear: component data belongs in the same data set as fabrication data, and Gerber X3 provides the cleanest path to get there within existing Gerber workflows.
For designers already comfortable with Gerber, X3 requires minimal workflow changes—just ensure your component libraries are complete and enable the component layer export. The payoff is fewer files, fewer errors, and a smoother handoff to manufacturing.
Inquire: Call 0086-755-23203480, or reach out via the form below/your sales contact to discuss our design, manufacturing, and assembly capabilities.
Quote: Email your PCB files to Sales@pcbsync.com (Preferred for large files) or submit online. We will contact you promptly. Please ensure your email is correct.
Notes: For PCB fabrication, we require PCB design file in Gerber RS-274X format (most preferred), *.PCB/DDB (Protel, inform your program version) format or *.BRD (Eagle) format. For PCB assembly, we require PCB design file in above mentioned format, drilling file and BOM. Click to download BOM template To avoid file missing, please include all files into one folder and compress it into .zip or .rar format.


