Inquire: Call 0086-755-23203480, or reach out via the form below/your sales contact to discuss our design, manufacturing, and assembly capabilities.
Quote: Email your PCB files to Sales@pcbsync.com (Preferred for large files) or submit online. We will contact you promptly. Please ensure your email is correct.
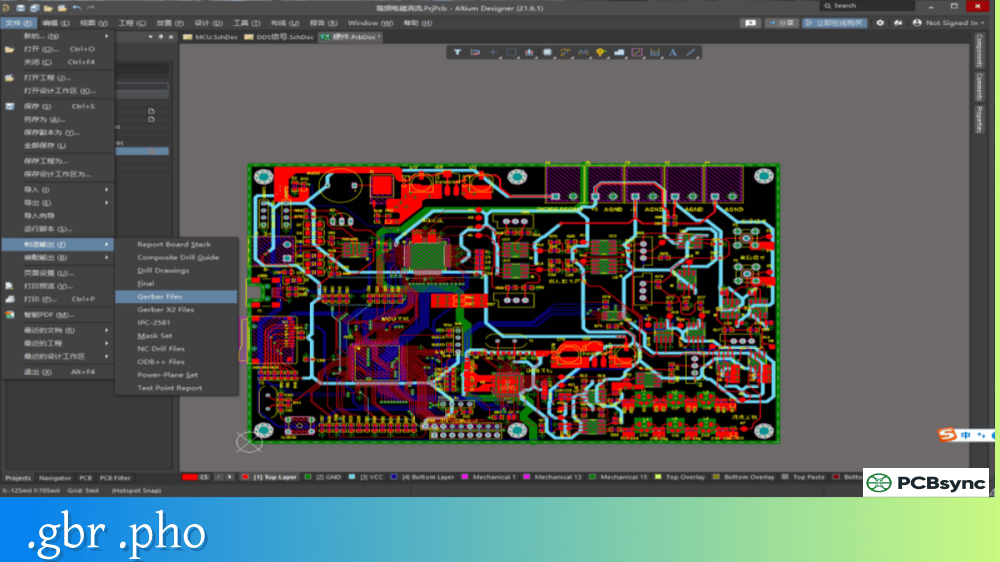
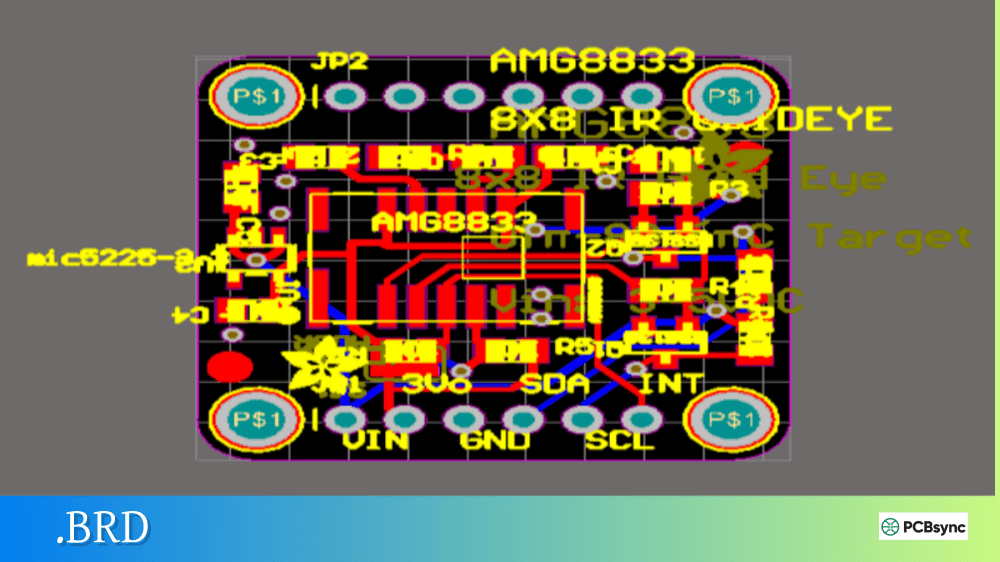
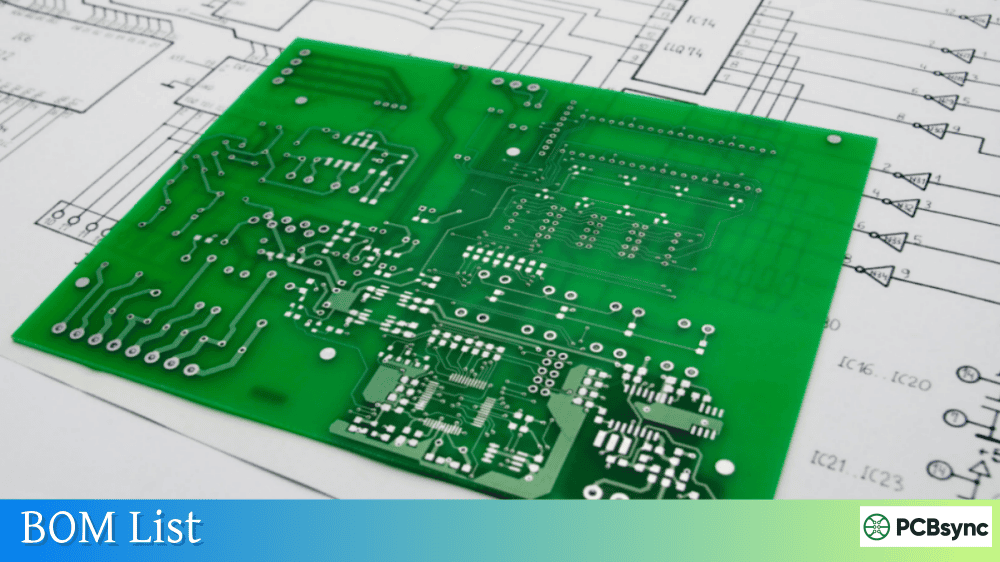
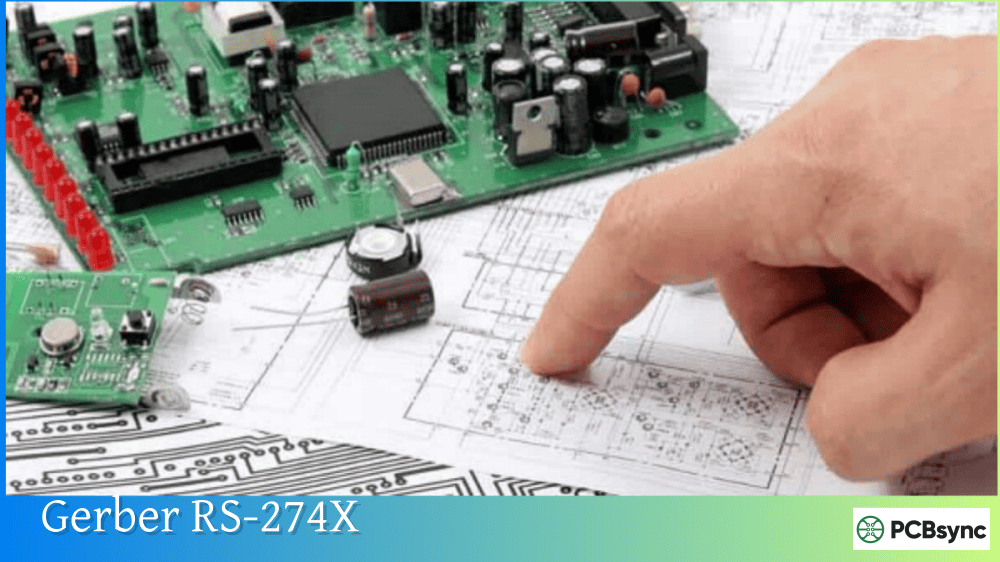
Notes: For PCB fabrication, we require PCB design file in Gerber RS-274X format (most preferred), *.PCB/DDB (Protel, inform your program version) format or *.BRD (Eagle) format. For PCB assembly, we require PCB design file in above mentioned format, drilling file and BOM. Click to download BOM template To avoid file missing, please include all files into one folder and compress it into .zip or .rar format.
If you’ve ever wondered why your fabricator sometimes misidentifies layers or asks clarifying questions about your design, the answer often lies in the Gerber format you’re using. Gerber X2 solves these problems by adding intelligence to the traditional Gerber image format—and every PCB designer should understand why this matters.
I switched to Gerber X2 several years ago after a costly manufacturing error where the fabricator swapped two inner layers. The file names were clear to me, but the automated CAM system couldn’t distinguish layer functions. That mistake cost two weeks and a complete re-spin. Since adopting Gerber X2, I haven’t had a single layer identification issue.
Gerber X2 is an enhanced version of the Extended Gerber format (RS-274X) that adds metadata attributes to describe the function and characteristics of PCB layers and features. Released by Ucamco in February 2014, Gerber X2 maintains full backward compatibility with existing Gerber systems while providing additional information that streamlines the design-to-manufacturing workflow.
The key innovation in Gerber X2 is the attribute system. Attributes are essentially labels that attach metadata to Gerber files, apertures, and graphical objects. This metadata tells the fabricator exactly what each file represents and what each feature does—information that was previously communicated through file naming conventions, readme files, or separate documentation.
Ucamco describes it as “adding intelligence to the image.” Traditional Gerber files (now called X1) describe what to draw but not why. Gerber X2 adds the why, converting a simple image format into a comprehensive PCB data transfer format.
Key Gerber X2 Attributes Explained
Gerber X2 introduces four new commands for handling attributes: TF (file attributes), TA (aperture attributes), TO (object attributes), and TD (delete attributes). These commands don’t affect the image itself—they only add metadata.
File Attributes (TF)
File attributes describe the entire Gerber file:
Attribute
Purpose
Example Values
.FileFunction
Layer type and position
Copper,L1,Top / Soldermask,Bot / Legend,Top
.Part
What the file represents
Single / Array / Coupon
.FilePolarity
Image polarity
Positive / Negative
.GenerationSoftware
CAD tool used
Altium,AltiumDesigner,24.0
.CreationDate
When file was created
2025-01-05T14:30:00+00:00
The .FileFunction attribute is particularly powerful. Instead of relying on file names like “board_top_copper.gtl,” the attribute explicitly states the layer function inside the file itself.
Aperture Attributes (TA)
Aperture attributes describe the function of specific shapes:
Attribute
Purpose
Example Values
.AperFunction
What the aperture represents
ComponentPad / ViaPad / Conductor / SMDPad
.DrillTolerance
Hole size tolerance
0.05,0.10
.FlashText
Text content
RefDes,C1
Object Attributes (TO)
Object attributes identify specific graphical objects:
Attribute
Purpose
Example Values
.P
Pad identifier
Ref,Pin
.N
Net name
VCC / GND / CLK
.C
Component reference
U1 / R15 / C3
Why Gerber X2 Matters for PCB Manufacturing
The benefits of Gerber X2 become clear when you understand the problems it solves.
Automatic Layer Identification
Traditional Gerber files rely on file naming conventions to identify layers. Different CAD tools use different conventions (.GTL vs .TOP vs .CU1), and human-readable names don’t always translate to automated systems. Gerber X2 embeds layer identification directly in the file, eliminating guesswork.
When a CAM system reads Gerber X2 files, it can automatically:
Arrange layers in correct stackup order
Identify copper, solder mask, silkscreen, and mechanical layers
Distinguish between signal, power, and ground planes
Recognize drill layers and their spans
Improved Solder Mask Processing
Solder mask expansion is one of the most common sources of manufacturing issues. Fabricators need to know which pads are vias (typically tented) versus component pads (typically exposed). With Gerber X2’s .AperFunction attribute, the CAM system knows exactly which pads need mask clearance.
Controlled Impedance Identification
For high-speed designs, certain traces require controlled impedance. Gerber X2 can identify these traces through attributes, allowing fabricators to verify impedance specifications without referring to separate documentation.
Reduced Human Error
Every piece of information that must be manually entered or interpreted creates opportunity for error. Gerber X2 reduces manual steps by encoding design intent directly in the manufacturing files.
Gerber X2 vs. RS-274X (X1) Comparison
Feature
RS-274X (X1)
Gerber X2
Image data
Complete
Identical
Layer identification
File name only
Embedded attributes
Pad function info
None
Via, SMD, THT, fiducial, etc.
Net information
None
Can be included
Stackup order
Manual interpretation
Automatic from attributes
Backward compatibility
N/A
Fully compatible with X1 readers
Release date
1998
2014
The critical point: Gerber X2 is fully backward compatible. An X1-only reader will render X2 files correctly—it simply ignores the attribute commands. This means there’s no risk in sending X2 files to any manufacturer.
How Gerber X2 Files Look
A Gerber X2 file looks nearly identical to an X1 file, with attribute commands added. Here’s a simplified example:
G04 Example Gerber X2 file*%FSLAX35Y35*%%MOMM*%%TF.FileFunction,Copper,L1,Top,Signal*%%TF.Part,Single*%%TA.AperFunction,Conductor*%%ADD10C,0.15000*%%TA.AperFunction,ViaPad*%%ADD11C,0.75000*%%TA.AperFunction,ComponentPad*%%ADD12C,1.60000*%D10*X7664999Y3689998D02*X8394995D01*D11*X7664999Y3689998D03*M02*
The lines starting with %TF and %TA are the X2 attribute commands. Everything else is standard X1 Gerber syntax.
How to Generate Gerber X2 Files
Most modern PCB design tools support Gerber X2 export. Here’s how to enable it in popular CAD packages.
Altium Designer
Go to File → Fabrication Outputs → Gerber X2 Files
Or create an Output Job file and add Gerber X2 output
Configure layers in the dialog
All files export with .gbr extension and embedded attributes
Altium also generates a Gerber Job file (.gbrjob) that describes the complete fabrication package.
KiCad
Open PCB Editor → File → Plot
Check “Use extended X2 format” option
Select layers and click Plot
Generate drill files separately
KiCad’s GerbView can read and display X2 attributes, making it easy to verify exports.
Eagle
Eagle’s CAM processor supports X2 export through updated job files. Check Autodesk’s documentation for your specific version.
OrCAD/Allegro
Cadence tools support X2 export through the manufacturing output workflow. Enable X2 format in the Gerber setup dialog.
Gerber X2 Plus and Gerber Job Files
In April 2018, Ucamco released Gerber X2 Plus, which adds the Gerber Job file (.gbrjob) specification. This JSON-format file describes the complete PCB fabrication package:
Section
Contents
Header
Creation date, software version
General Specifications
Board size, thickness, surface finish
Material Stackup
Layer materials, thicknesses, copper weights
Design Rules
Minimum trace, clearance, hole sizes
File Attributes
List of all Gerber files with functions
The Gerber Job file consolidates information that traditionally lived in readme files, fab drawings, and emails. It’s human-readable JSON, so you can open it in any text editor.
Gerber X2 vs. Gerber X3
Gerber X3, released in 2020, extends X2 by adding component and assembly information:
Feature
Gerber X2
Gerber X3
PCB image data
Yes
Yes
Layer attributes
Yes
Yes
Pad/feature attributes
Yes
Yes
Component data
No
Yes
Pick and place info
No
Yes
BOM integration
No
Yes
Gerber X3 aims to eliminate separate BOM and centroid files by embedding this data in the Gerber package. However, adoption is still limited compared to X2. For most designs, X2 provides the primary benefits without requiring the newest CAD tool versions.
Not all Gerber viewers fully interpret X2 attributes. Here’s the current state of support:
Viewer
X2 Attribute Support
KiCad GerbView
Full support
Ucamco Reference Viewer
Full support
ViewMate
Limited (image only)
Gerbv
Limited (may show warnings)
Online viewers (JLCPCB, PCBWay)
Generally good support
Even viewers without full attribute support will render the image correctly—they just won’t display or use the metadata.
Best Practices for Using Gerber X2
Always Export X2 When Available
There’s no downside to using X2. If your fabricator’s systems don’t support attributes, they’re simply ignored. If they do support attributes, you get the benefits of automatic layer identification and reduced errors.
Verify Attributes Before Submission
Open your exported files in a viewer that supports X2 attributes (KiCad GerbView is free and excellent). Confirm that layer functions are correctly identified and pads have appropriate function attributes.
Include the Gerber Job File
If your CAD tool generates a .gbrjob file, include it in your submission. Even if your fabricator doesn’t use it automatically, it provides valuable reference information.
Don’t Manually Edit Attribute Lines
X2 attributes are generated automatically by your CAD software. Manual editing can introduce syntax errors that cause parsing failures. If attributes are wrong, fix them in your CAD tool and re-export.
Useful Resources for Gerber X2
Official Documentation
Resource
URL
Gerber Format Specification
ucamco.com/gerber
Ucamco Reference Viewer
ucamco.com (free download)
X2 FAQ Document
ucamco.com/files/downloads
Gerber X2 Introduction Video
ucamco.com
Free Gerber Viewers with X2 Support
Viewer
Platform
Download
KiCad GerbView
Windows, macOS, Linux
kicad.org
Ucamco Reference Viewer
Windows
ucamco.com
CAD Tool Documentation
Tool
X2 Export Guide
Altium Designer
resources.altium.com
KiCad
docs.kicad.org
OrCAD
cadence.com
Eagle
autodesk.com
Frequently Asked Questions
Is Gerber X2 backward compatible with RS-274X?
Yes, completely. Gerber X2 uses the same image commands as RS-274X—it only adds attribute commands that don’t affect the rendered image. Any software that reads RS-274X will read X2 files correctly, though it may show warnings about unrecognized commands. These warnings can be safely ignored.
Should I use Gerber X2 or stick with RS-274X?
Always use Gerber X2 when your CAD software supports it. There’s no risk since X2 is backward compatible, and you gain the benefits of automatic layer identification and reduced manufacturing errors. Most fabricators now recommend X2 for exactly these reasons.
What happens if my fabricator doesn’t support Gerber X2 attributes?
The fabricator will still receive correct image data. Their CAM system will simply ignore the attribute commands and process the files as standard X1 Gerber. You lose the automation benefits, but nothing breaks. It’s effectively the same as sending X1 files.
Can I convert existing RS-274X files to Gerber X2?
Not easily. The attribute information comes from your PCB design database—it describes design intent that doesn’t exist in the image data alone. To get proper X2 files, you need to re-export from your original CAD tool with X2 enabled. There’s no reliable way to add attributes to existing files.
Why does my Gerber viewer show warnings about X2 files?
Older or simpler viewers may not recognize the TF, TA, TO, and TD commands introduced in X2. These warnings indicate the viewer is ignoring the attributes, not that your files are corrupt. The image will render correctly despite the warnings. For full X2 support, use KiCad GerbView or the Ucamco Reference Viewer.
Common Gerber X2 Issues and Solutions
Even with the advantages of Gerber X2, issues can arise during export or manufacturing.
Misidentified Layers Despite Using X2
Some fabricators report receiving X2 files where layers are still misidentified. This typically happens when the CAD tool exports attributes as G04 comments (a compatibility workaround used by some older software versions) rather than proper %TF commands. Update your CAD software to the latest version and verify that true X2 format is being exported.
Attribute Warnings in Viewers
Seeing “Unknown RS-274X extension found %TF%” warnings doesn’t mean your files are broken. It indicates the viewer doesn’t fully support X2 attributes. The image data is correct—use a modern viewer like KiCad GerbView for full attribute verification.
Inconsistent Pad Function Assignments
If your design has unusual pad types or custom footprints, verify that aperture functions are correctly assigned. Some CAD tools may default all pads to “ComponentPad” rather than distinguishing vias, fiducials, and other specialized pads. Check your tool’s component and footprint settings.
Making Gerber X2 Work for Your Designs
Gerber X2 represents a significant step forward for PCB data transfer. By embedding layer functions, pad types, and design metadata directly in manufacturing files, it eliminates the ambiguity that has plagued the industry for decades.
The format maintains the simplicity and universal acceptance that made Gerber the industry standard while adding the intelligence needed for modern automated manufacturing. Every fabricator can read X2 files, and those with updated CAM systems can leverage the attributes to reduce setup time and prevent errors.
If you’re not already using Gerber X2, enable it on your next design. Check the export settings in your CAD tool, verify the output in a compatible viewer, and include the files in your manufacturing package. The transition is seamless, and the benefits accumulate with every board you produce.
Your fabricator will thank you—and your boards will arrive right, first time.
Inquire: Call 0086-755-23203480, or reach out via the form below/your sales contact to discuss our design, manufacturing, and assembly capabilities.
Quote: Email your PCB files to Sales@pcbsync.com (Preferred for large files) or submit online. We will contact you promptly. Please ensure your email is correct.
Notes: For PCB fabrication, we require PCB design file in Gerber RS-274X format (most preferred), *.PCB/DDB (Protel, inform your program version) format or *.BRD (Eagle) format. For PCB assembly, we require PCB design file in above mentioned format, drilling file and BOM. Click to download BOM template To avoid file missing, please include all files into one folder and compress it into .zip or .rar format.


