Inquire: Call 0086-755-23203480, or reach out via the form below/your sales contact to discuss our design, manufacturing, and assembly capabilities.
Quote: Email your PCB files to Sales@pcbsync.com (Preferred for large files) or submit online. We will contact you promptly. Please ensure your email is correct.
Notes: For PCB fabrication, we require PCB design file in Gerber RS-274X format (most preferred), *.PCB/DDB (Protel, inform your program version) format or *.BRD (Eagle) format. For PCB assembly, we require PCB design file in above mentioned format, drilling file and BOM. Click to download BOM template To avoid file missing, please include all files into one folder and compress it into .zip or .rar format.
EasyEDA to Altium: How to Import & Convert Your PCB Projects
Making the jump from EasyEDA to Altium Designer is a common progression for engineers who started with free tools and are now ready for more advanced capabilities. Maybe your company just purchased Altium licenses, or you’ve landed a job requiring professional EDA software. Whatever the reason, you’ve got existing designs in EasyEDA that need to come with you. Understanding how to properly convert from EasyEDA to Altium can save you hours of frustration and prevent costly errors in your transferred designs.
I’ve helped teams migrate from various free PCB tools to commercial platforms, and EasyEDA to Altium transitions have their own unique quirks. This guide covers the complete process—from exporting in EasyEDA to finalizing your design in Altium Designer—including the manual fixes that official documentation barely mentions.
Before diving into the technical process, let’s acknowledge why this migration makes sense for many engineers.
Professional capabilities: EasyEDA is excellent for hobbyists and simple projects, but Altium Designer offers advanced features like comprehensive signal integrity analysis, sophisticated design rules, and professional documentation outputs that enterprise customers demand.
Unified design environment: While EasyEDA provides solid schematic and PCB tools, Altium integrates everything—schematic capture, PCB layout, simulation, MCAD collaboration, and manufacturing outputs—into a single synchronized platform.
Supply chain integration: Altium’s native Octopart integration and Altium 365 cloud features provide real-time component availability, pricing data, and lifecycle status directly within your design environment.
Company standardization: Many organizations standardize on Altium Designer for collaboration, version control, and compliance requirements. Bringing your EasyEDA projects into this ecosystem enables team collaboration and consistent workflows.
Career advancement: Altium proficiency is frequently required for professional PCB design positions. Converting existing projects lets you practice with real designs rather than starting from scratch.
Understanding the EasyEDA to Altium Export Process
EasyEDA supports direct export to Altium Designer format for both schematics and PCB layouts. The process generates .SchDoc and .PcbDoc files that Altium can open directly. However, understanding the limitations upfront prevents surprises later.
EasyEDA Export Capabilities Overview
Feature
Export Support
Notes
Schematic sheets
✅ Supported
Creates .SchDoc files
PCB layout
✅ Supported
Creates .PcbDoc files
Component symbols
⚠️ Indirect
Must be extracted from schematic in Altium
PCB footprints
⚠️ Indirect
Must be extracted from PCB in Altium
Copper pours/fills
❌ Lost
Must repour in Altium
Design rules
❌ Not exported
Must recreate manually
Inner plane zones
⚠️ Partial
Requires manual adjustment
Images
❌ Not exported
Re-add manually
Net connections (ratlines)
⚠️ May be hidden
May need to show connections in Altium
Altium Version Compatibility
EasyEDA’s export function has specific version requirements:
Altium Version
Compatibility
Altium Designer 17
✅ Recommended
Altium Designer 18
✅ Supported
Altium Designer 19+
⚠️ May have issues
Altium Designer 20+
⚠️ Open with caution
The official EasyEDA documentation recommends Altium Designer 17 for best compatibility. Newer versions should work but may require additional cleanup steps.
Step-by-Step Guide: Export from EasyEDA Standard Edition
The export process differs slightly between EasyEDA Standard and EasyEDA Pro. Let’s cover the Standard Edition first, as it’s the most commonly used version.
Preparing Your EasyEDA Project for Export
Before exporting, ensure your design is in good shape:
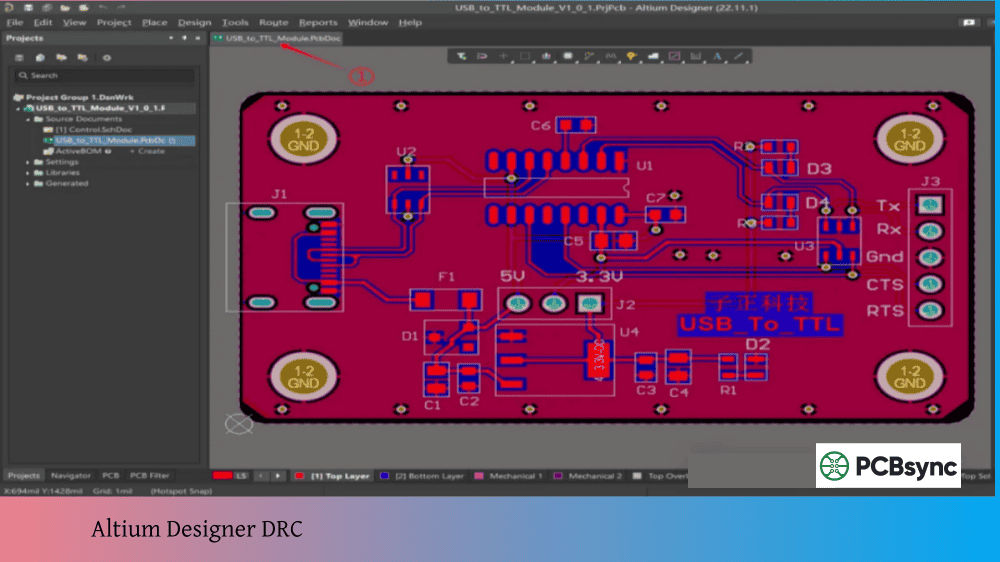
Run DRC: Complete design rule checking and resolve all errors
Verify footprint assignments: Use the Footprint Manager to confirm all components have correct footprints
Check net connections: Ensure all intended connections are made
Save your project: Create a backup before export
Log in: You must be logged into EasyEDA to use the export function
Exporting Schematics from EasyEDA
Open your schematic in EasyEDA
Navigate to File → Export → Altium…
Click Download (or “Download now”)
A .SchDoc file will be created and downloaded
For multi-sheet schematics, each sheet exports as a separate .SchDoc file.
Frequently Asked Questions About EasyEDA to Altium Conversion
Can I convert EasyEDA files to Altium without Altium installed?
No. The export from EasyEDA creates .SchDoc and .PcbDoc files, but you need Altium Designer to open, verify, and complete the conversion process (repour polygons, extract libraries, etc.). However, Altium offers a 14-day free trial that provides full functionality, which may be sufficient for one-time conversions.
Why are my copper pours missing after import?
Copper pour fill data doesn’t export from EasyEDA. This is a known limitation. After opening your PCB in Altium, you must use Tools → Polygon Pours → Repour All to rebuild all copper fills. The pour boundaries and rules are preserved—only the actual fill calculation is missing.
Does EasyEDA export design rules to Altium?
No. Design rules are not exported. You must manually recreate all design rules in Altium Designer after import. Before exporting from EasyEDA, document your clearance rules, track widths, via specifications, and other constraints so you can recreate them accurately.
Which version of EasyEDA should I use for best Altium export?
EasyEDA Pro offers better export capabilities than EasyEDA Standard, including direct library export options and improved format handling. If you have access to Pro, use it for the export. However, both versions produce usable results with appropriate post-processing in Altium.
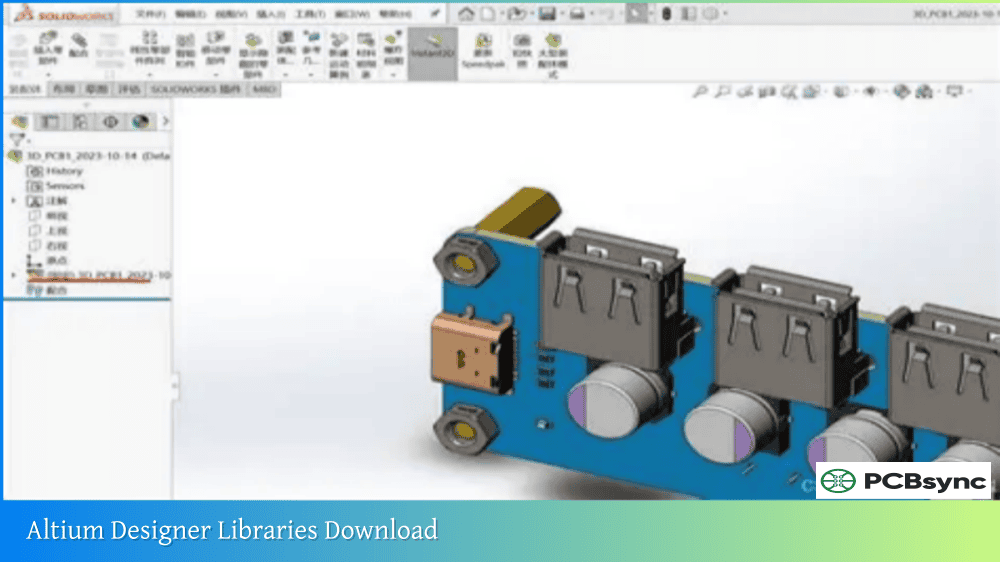
Can I convert EasyEDA libraries directly to Altium library format?
Not directly. EasyEDA doesn’t export standalone library files (.SchLib or .PcbLib). The workaround is to place all desired components on a schematic and PCB, export those files, then use Altium’s Design → Make Schematic Library and Design → Make PCB Library commands to extract the components into proper Altium library format.
Final Recommendations for Successful Migration
After years of helping engineers transition from free tools to professional platforms, here’s my practical advice for EasyEDA to Altium conversions:
Start with a simple project: Don’t begin with your most complex multi-sheet design. Pick a straightforward single-sheet schematic with a simple PCB to learn the process and identify potential issues in a low-risk environment.
Document everything before export: Record your design rules, layer assignments, and any special configurations. This documentation becomes your reference for recreating settings in Altium.
Verify meticulously: The conversion process is imperfect. Plan to spend significant time verifying every aspect of your imported design. Running DRC in both tools and comparing results helps catch discrepancies.
Generate comparison Gerbers: Before exporting from EasyEDA, generate Gerber files. After completing your Altium import and fixes, generate Gerbers again. Overlay comparison catches geometry differences that might otherwise slip through.
Consider recreating versus converting: For simple designs, it may actually be faster to recreate the design from scratch in Altium than to convert and fix all the issues. Evaluate the complexity of your project and the time required for conversion versus new creation.
Don’t round-trip exports: EasyEDA explicitly warns against exporting to Altium and importing back. Each conversion cycle loses fidelity. Treat conversion as a one-way process—once you’re in Altium, stay there.
The EasyEDA to Altium migration path is well-traveled and achievable with proper preparation. The export function works, but expect to invest time in post-processing. With careful verification and the fixes outlined in this guide, you can successfully bring your EasyEDA designs into Altium Designer and continue development in a professional-grade environment.
Inquire: Call 0086-755-23203480, or reach out via the form below/your sales contact to discuss our design, manufacturing, and assembly capabilities.
Quote: Email your PCB files to Sales@pcbsync.com (Preferred for large files) or submit online. We will contact you promptly. Please ensure your email is correct.
Notes: For PCB fabrication, we require PCB design file in Gerber RS-274X format (most preferred), *.PCB/DDB (Protel, inform your program version) format or *.BRD (Eagle) format. For PCB assembly, we require PCB design file in above mentioned format, drilling file and BOM. Click to download BOM template To avoid file missing, please include all files into one folder and compress it into .zip or .rar format.


