Inquire: Call 0086-755-23203480, or reach out via the form below/your sales contact to discuss our design, manufacturing, and assembly capabilities.
Quote: Email your PCB files to Sales@pcbsync.com (Preferred for large files) or submit online. We will contact you promptly. Please ensure your email is correct.
Notes: For PCB fabrication, we require PCB design file in Gerber RS-274X format (most preferred), *.PCB/DDB (Protel, inform your program version) format or *.BRD (Eagle) format. For PCB assembly, we require PCB design file in above mentioned format, drilling file and BOM. Click to download BOM template To avoid file missing, please include all files into one folder and compress it into .zip or .rar format.
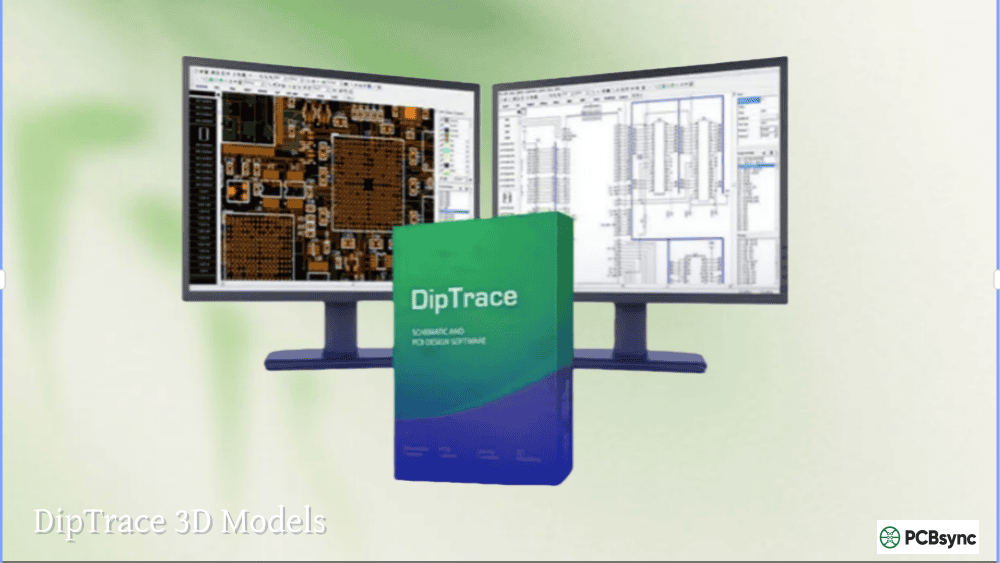
DipTrace 3D Models: How to Add, Create & Export 3D Components
Working with DipTrace 3D visualization changed how I approach PCB design. Being able to preview boards with components installed catches mechanical interference issues before manufacturing, and exporting STEP files lets mechanical engineers integrate PCBs into enclosure designs seamlessly. This guide covers everything about DipTrace 3D models—from adding existing models to creating your own and exporting complete assemblies.
Before diving into procedures, let’s clarify what DipTrace offers for 3D visualization:
Feature
Description
Real-time 3D Preview
View PCB with all components at any design stage
Model Import
Support for STEP, IGES, VRML, and 3DS formats
Model Export
Export complete board to STEP or VRML 2.0
Auto-generation
Create models automatically via IPC-7351 or component outline
Standard Library
11,000+ pre-made models available free
The DipTrace 3D system works through patterns (footprints). Each pattern can have a 3D model attached. When you place components on your PCB, their associated 3D models appear in the preview. This pattern-based approach means you set up 3D models once, and they’re available for all future designs using that footprint.
Installing the DipTrace 3D Models Library
DipTrace’s installation package doesn’t include 3D models by default—they’re a separate 1.5 GB download. Without this library, your 3D preview will show flat rectangles instead of realistic components.
Downloading and Installing the 3D Library
Step 1: Visit diptrace.com/download/libraries-and-3d-models/ and download the 3D library installer (1.5 GB for Windows).
Step 2: Run the installer and point it to your DipTrace installation folder (typically C:\Program Files\DipTrace).
Step 3: The installer creates or populates the models3d folder with over 8,000 STEP models and 3,500 VRML models.
Configuring Custom 3D Model Locations
If you store custom 3D models in a different location, tell DipTrace where to find them:
Open PCB Layout
Go to Tools → 3D Preview → Patterns and Models Search
Click Add to include additional folders
Click OK to save
DipTrace searches all configured folders when attaching models to patterns.
Adding Existing 3D Models to Patterns
The most common task is attaching a 3D model from the library to a pattern that doesn’t have one yet.
Method 1: Through Pattern Editor (Recommended)
This method permanently attaches the model to your pattern library:
Launch Pattern Editor from the DipTrace Launcher
Open your user pattern library containing the target footprint
Select the pattern that needs a 3D model
In the Pattern Properties panel, click the 3D Model button
Click All Models to browse the library
Select the appropriate model (sorted by categories in tree view)
Adjust position and rotation using the X/Y/Z Shift and Angle controls
Click OK to attach
Save the pattern library (Ctrl+S)
The model is now permanently linked to that pattern.
Method 2: Quick Attachment in PCB Layout
For one-off adjustments without modifying libraries:
In PCB Layout, right-click a component
Select 3D Model from the context menu
Choose from attached model, All Models, or IPC Generator
Adjust positioning as needed
Click OK
This attachment exists only in the current PCB file unless you update the source library.
Positioning 3D Models Correctly
Getting models aligned with footprints requires adjusting several parameters:
Parameter
Function
X Shift
Move model left/right
Y Shift
Move model forward/back
Z Shift
Adjust height (usually 0 for bottom of component on board)
X Angle
Rotate around X axis (tilt forward/back)
Y Angle
Rotate around Y axis (tilt left/right)
Z Angle
Rotate around Z axis (spin on board plane)
Scale
Resize model if dimensions don’t match
The 3D preview window shows changes in real-time. Most models from the standard library are pre-scaled correctly, but models from external sources often need adjustment.
Creating 3D Models with the IPC-7351 Generator
DipTrace 4.0 introduced automatic DipTrace 3D models generation through the IPC-7351 Pattern Generator. This creates both the footprint and a matching 3D model simultaneously.
Using the IPC-7351 Pattern Generator
Open Pattern Editor
Select Pattern → Add New or create from the Pattern Properties panel
Choose IPC-7351 as the pattern style
Select the component family (QFP, BGA, Chip, etc.)
Enter package dimensions from the component datasheet
In the 3D Model Preview section, select IPC-7351 Model Generator
Enable “Use Recovery Code for auto-generating of package 3D Models”
The 3D model generates automatically based on entered dimensions
Supported IPC-7351 3D Model Families
The generator creates automatic DipTrace 3D models for these package types:
Family
Examples
Chip Components
Resistors, capacitors, inductors (0201-2512)
QFP/QFN
LQFP, TQFP, QFN, DFN packages
SOP
SOIC, SSOP, TSSOP, MSOP
BGA
Ball grid arrays of various sizes
Through-hole
DIP, SIP, TO packages
Connectors
Headers, sockets
Discrete
SOD, SOT, DPAK, D2PAK
Not all families have 3D generation yet, but coverage expands with each DipTrace update.
Creating Models from Component Outline
For patterns without IPC-7351 support, DipTrace can generate a basic 3D model from the component outline:
In Pattern Properties, click 3D Model
Select By Component Outline option
DipTrace creates a rectangular extrusion based on the courtyard or component outline layer
Adjust height to match component specifications
This produces simple box shapes rather than detailed models, but it’s better than nothing for mechanical clearance checking.
Importing External 3D Models
When neither the standard library nor IPC generator has what you need, import models from external sources.
Supported Import Formats
Format
Extension
Notes
STEP
.step, .stp
Recommended format, preserves colors (AP214)
IGES
.iges, .igs
Older standard, widely compatible
VRML
.wrl
Smaller files, good for display
3D Studio
.3ds
Legacy format support
STEP (AP214) is the recommended format because it maintains color information and works well for subsequent export to mechanical CAD packages.
Step-by-Step Import Process
Download the 3D model from manufacturer website or component database
Place the file in your custom 3D models folder
Open Pattern Editor and select the target pattern
Click 3D Model button in Pattern Properties
Click the […] button to browse for the file
Select your downloaded model and click Open
Click Load Model to preview
Adjust position/rotation/scale as needed
Click OK and save the pattern library
Sources for External 3D Models
These websites provide free DipTrace 3D models compatible files:
Manufacturer Websites: Texas Instruments, STMicroelectronics, Analog Devices, and other major manufacturers provide STEP models on component product pages.
3D ContentCentral:www.3dcontentcentral.com — Large database of user-contributed and manufacturer-certified models. Register for free access.
TraceParts:www.tracepartsonline.net — Extensive component library with multiple format options including VRML.
GrabCAD: grabcad.com — Community-uploaded models, variable quality but good coverage.
SnapEDA: Built into DipTrace 4.1+, provides symbols, footprints, and 3D models for millions of parts directly within the software.
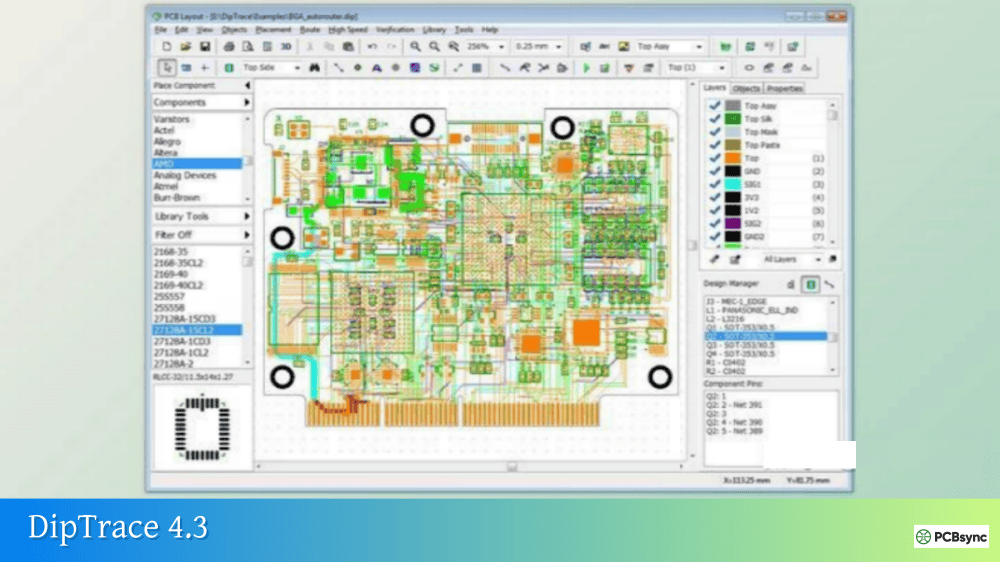
Using 3D Preview in PCB Layout
The DipTrace 3D preview helps verify your design before manufacturing.
Accessing 3D Preview
In PCB Layout, access 3D preview through:
View → 3D Preview
Tools → 3D Preview → Show Preview
Keyboard shortcut (customizable)
3D Preview Controls
Action
Control
Rotate board
Click and drag
Zoom
Mouse scroll wheel
Pan
Shift + drag or middle mouse button
Reset view
Double-click
Customizing Preview Appearance
Go to Tools → 3D Preview → Colors to adjust:
Board color (green, blue, red, black, etc.)
Copper color
Solder mask transparency
Silkscreen color
Background color
Different color schemes help visualize different aspects of your design.
Finding Missing Models
The Pattern and Models Search tool identifies components without 3D models:
Go to Tools → 3D Preview → Patterns and Models Search
Click Search 3D Models
The Attached 3D Models window shows all components and their model status
Components without models appear with empty model paths
You can then systematically add models to these patterns.
Exporting your complete board to STEP or VRML enables mechanical integration and documentation.
Exporting to STEP Format
STEP export creates a file compatible with SolidWorks, Inventor, Fusion 360, and other mechanical CAD packages:
In PCB Layout, go to File → Export → 3D Image → STEP
Choose export options:
Include components (recommended)
Include pad holes
Board color settings
Select destination folder and filename
Click Save
The resulting STEP file contains the board body and all component 3D models as a complete assembly.
Exporting to VRML Format
VRML exports are useful for visualization and presentations:
File → Export → 3D Image → VRML
Configure options similar to STEP export
Save the .wrl file
VRML files are typically larger than STEP and less useful for engineering purposes, but work well in web viewers and presentation software.
Export Considerations
File Size: Boards with many components produce large STEP files. A moderately complex board (100+ components) can generate 50-100 MB STEP files.
Model Quality: Export quality depends on your source models. STEP-based component models export cleanly; VRML component models may produce larger files with conversion artifacts.
Missing Models: Components without 3D models export as flat rectangles or are omitted entirely.
FreeCAD: Free, open-source CAD with format conversion capabilities
CAD Exchanger: Commercial tool for converting between 3D formats
Frequently Asked Questions
Why don’t my components show 3D models in preview?
Several causes are possible. First, verify you’ve installed the 3D library from the DipTrace website—it’s a separate download from the main installer. Second, check that DipTrace knows where to find your models: Tools → 3D Preview → Patterns and Models Search should list the correct folders. Third, the specific pattern may not have a model attached; use the Pattern and Models Search tool to identify patterns without models and attach them manually.
Can I use STEP files directly as 3D models?
Yes, DipTrace supports STEP format natively for DipTrace 3D models. In Pattern Editor, click the 3D Model button, browse to your STEP file, and attach it directly. STEP AP214 is recommended because it preserves color information. The imported model may need position/rotation adjustment to align with your footprint.
How do I create a 3D model for a custom component?
You have three options. First, use the IPC-7351 Pattern Generator if your component matches a standard package type—it generates both footprint and 3D model automatically. Second, download a STEP model from the manufacturer’s website and import it. Third, create a basic model using the “By Component Outline” option, which extrudes a box shape based on your pattern’s outline layer.
Why are my exported STEP files so large?
Large STEP files result from VRML-based component models being converted during export. VRML models contain tessellated geometry (many triangles) while STEP uses mathematical surfaces. When possible, use STEP-format source models for components. Also, simplifying the export by excluding pad holes or using lower-detail models can reduce file size.
Can I update 3D models across multiple existing designs?
Yes, but it requires updating at the library level. Modify the 3D model attachment in Pattern Editor and save the library. Then, for each existing PCB: open the schematic, select affected components, right-click and choose “Update from Library,” then renew the PCB layout from schematic. The updated 3D models propagate through this chain.
Conclusion
Effective use of DipTrace 3D models transforms your design workflow. The real-time preview catches mechanical problems before fabrication, and STEP export enables smooth handoff to mechanical engineering teams. Start by installing the standard 3D library, then gradually build your custom model collection as projects require specific components.
The combination of IPC-7351 automatic generation, SnapEDA integration, and external model import means you rarely need to create models from scratch. Most components have models available somewhere—it’s just a matter of finding and attaching them. With over 11,000 models in the standard library and millions more accessible through SnapEDA, the DipTrace 3D ecosystem covers the vast majority of design needs.
Inquire: Call 0086-755-23203480, or reach out via the form below/your sales contact to discuss our design, manufacturing, and assembly capabilities.
Quote: Email your PCB files to Sales@pcbsync.com (Preferred for large files) or submit online. We will contact you promptly. Please ensure your email is correct.
Notes: For PCB fabrication, we require PCB design file in Gerber RS-274X format (most preferred), *.PCB/DDB (Protel, inform your program version) format or *.BRD (Eagle) format. For PCB assembly, we require PCB design file in above mentioned format, drilling file and BOM. Click to download BOM template To avoid file missing, please include all files into one folder and compress it into .zip or .rar format.


