Inquire: Call 0086-755-23203480, or reach out via the form below/your sales contact to discuss our design, manufacturing, and assembly capabilities.
Quote: Email your PCB files to Sales@pcbsync.com (Preferred for large files) or submit online. We will contact you promptly. Please ensure your email is correct.
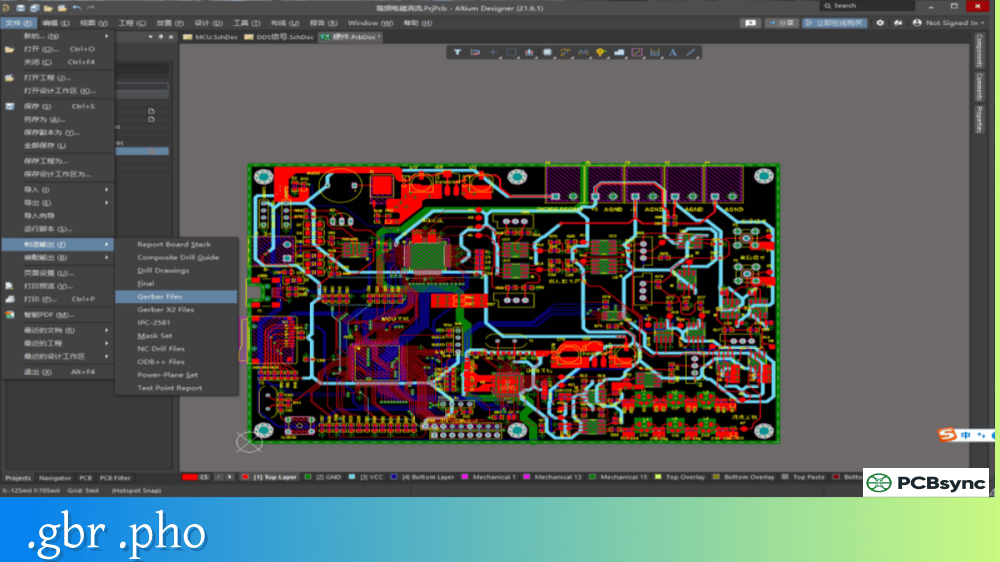
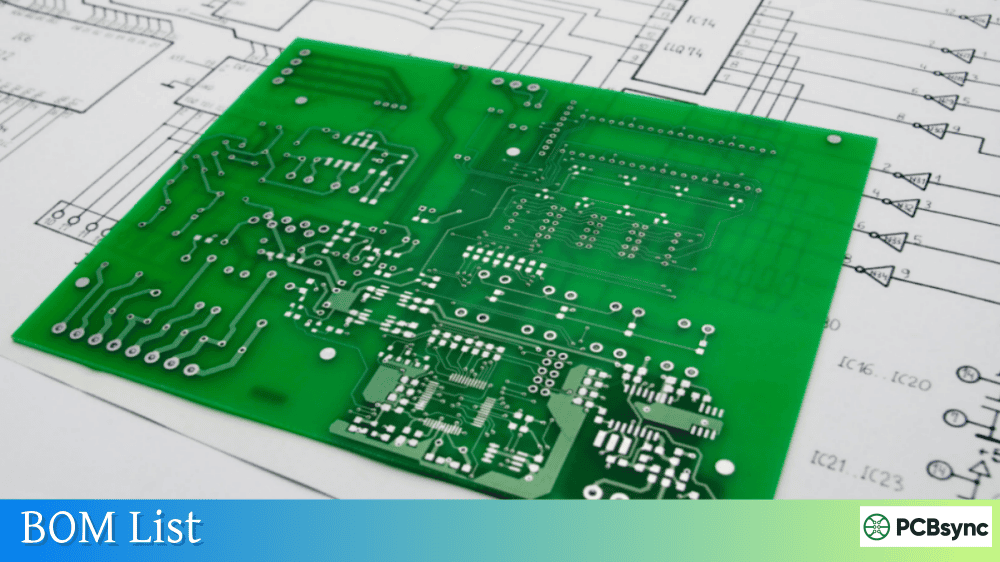
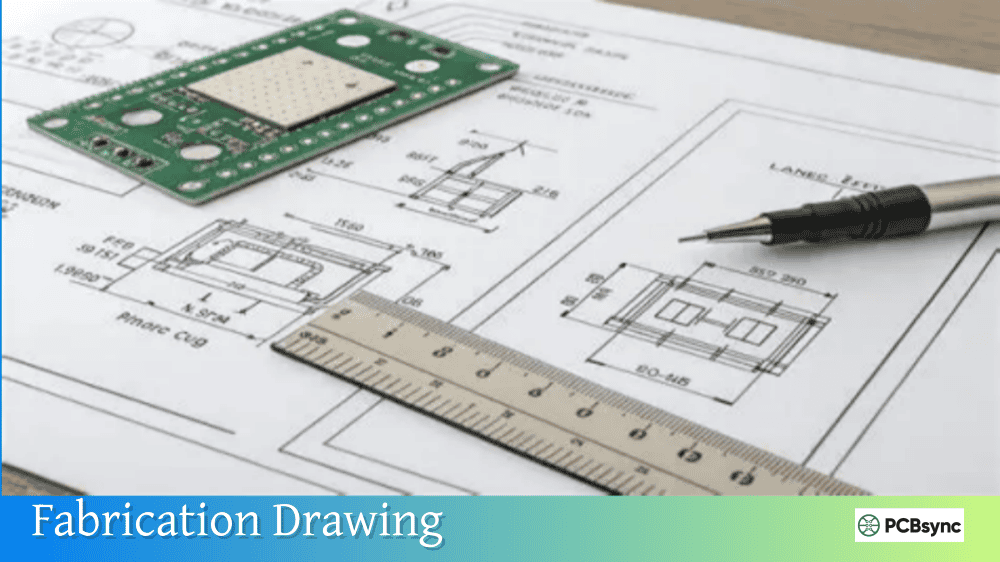
Notes: For PCB fabrication, we require PCB design file in Gerber RS-274X format (most preferred), *.PCB/DDB (Protel, inform your program version) format or *.BRD (Eagle) format. For PCB assembly, we require PCB design file in above mentioned format, drilling file and BOM. Click to download BOM template To avoid file missing, please include all files into one folder and compress it into .zip or .rar format.
When you’re ready to send your PCB design off for assembly, you’ll need more than just Gerber files and a BOM. Assembly houses require a CPL file (Component Placement List) to program their pick and place machines. Without an accurate CPL, your assembler can’t automatically place components on your board, leading to delays, manual data entry costs, and potential placement errors.
This guide explains what CPL files are, what data they contain, and how to generate them from popular PCB design tools.
A CPL file (Component Placement List) is a data file that tells pick and place machines exactly where to position each component on your PCB. It contains the X/Y coordinates, rotation angle, and board side for every surface mount device in your design. Assembly houses use this file to program their automated SMT equipment, enabling fast and accurate component placement.
The CPL file goes by several names depending on who you’re talking to or which software you’re using. You might hear it called a Pick and Place file (PnP), Centroid file, XY file, Position file, or Insertion file. These all refer to the same thing: the location data your assembler needs to populate your board.
Why the CPL File Matters for SMT Assembly
Automated pick and place machines can place thousands of components per hour, but they need precise instructions. The CPL file provides those instructions by mapping each reference designator to its exact location on the board. Without this file, your assembler would need to manually determine component positions from Gerber files and silkscreen data—a time-consuming process that introduces errors and delays.
The accuracy of your CPL file directly impacts assembly quality. Incorrect coordinates or rotation values result in misaligned components, which can cause anything from poor solder joints to non-functional boards. Taking time to verify your CPL before submitting for assembly saves significant rework costs.
Essential Data in a CPL File
A properly formatted CPL file contains several critical data columns that pick and place equipment needs to function correctly.
Required CPL File Columns
Column
Description
Example
Designator
Reference designator identifying each component
R1, C5, U3, Q2
Mid X
X coordinate of component center (centroid)
25.40 mm
Mid Y
Y coordinate of component center (centroid)
12.70 mm
Layer
Board side where component is placed
Top / Bottom
Rotation
Component orientation in degrees
0, 90, 180, 270
Optional but Useful Columns
Column
Description
Purpose
Package/Footprint
Component package type
Helps verify correct component selection
Value
Component value
Useful for verification (10K, 100nF)
Part Number
Manufacturer or supplier part number
Links to BOM for cross-reference
Understanding Coordinate Systems
The X and Y coordinates in a CPL file reference the component centroid—the geometric center of each part. These coordinates are measured from a defined origin point, typically the lower-left corner of the board outline.
Coordinate consistency is crucial. Your CPL file origin must match your Gerber file origin. If your PCB tool uses a different reference point for position export, you’ll end up with components placed in wrong locations. Most manufacturers expect coordinates in millimeters, though some legacy systems still use mils (thousandths of an inch).
Rotation Conventions
Rotation values tell the machine how to orient each component relative to its zero-degree position. Most systems use counterclockwise rotation for components on the top layer. The standard convention places pin 1 of ICs at the top-left when rotation equals zero degrees.
Common rotation values and their meanings:
Rotation
Orientation
0°
Component at default orientation
90°
Rotated 90° counterclockwise
180°
Component flipped 180°
270°
Rotated 270° counterclockwise (or 90° clockwise)
Different EDA tools may use different rotation conventions. Some use positive values for counterclockwise rotation, others for clockwise. Verify your tool’s convention and confirm it matches your assembler’s expectations.
CPL File Formats
CPL files are typically plain text files with structured data. The most common formats include:
Accepted CPL File Formats
Format
Extension
Description
CSV
.csv
Comma-separated values, most widely accepted
Excel
.xls, .xlsx
Spreadsheet format, easy to edit and review
Text
.txt
Tab or space delimited, universal compatibility
Position
.pos
KiCad default format
Mount
.mnt, .mnb
Eagle format (top and bottom)
CSV format is the safest choice because virtually every assembler can process it, and you can easily open and verify the contents in any spreadsheet application. When saving Excel files, be careful with leading zeros in package names like 0603 or 0402—Excel may interpret these as numbers and strip the leading zero unless you format the column as text.
How to Generate CPL Files from PCB Software
Every major PCB design tool can export CPL files, though the exact steps vary. Here’s how to generate them from the most common platforms.
Generating CPL from KiCad
KiCad exports CPL data through its Footprint Position file feature:
Open your PCB layout in Pcbnew (PCB Editor)
Go to File → Fabrication Outputs → Footprint Position (.pos) File
Configure the export settings:
Format: CSV
Units: Millimeters
Files: One file per side (or single file for all)
Click Generate Position File
KiCad generates .pos files by default. For JLCPCB and similar services, rename the extension to .csv or use the CSV format option directly.
Generating CPL from Altium Designer
Altium Designer generates CPL files through its Assembly Outputs:
Open your .PcbDoc file
Go to File → Assembly Outputs → Generate Pick and Place Files
Select output format and configure columns
Include at minimum: Designator, Mid X, Mid Y, Rotation, Layer
Generate the file
Altium saves the output in the same directory as your project files. You can also set up Output Job files to automate CPL generation alongside other manufacturing outputs.
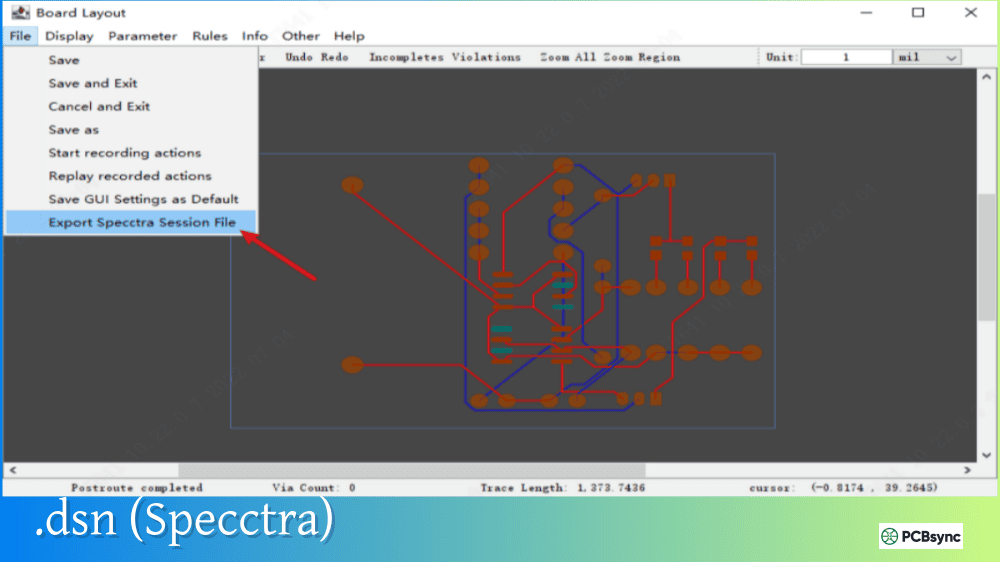
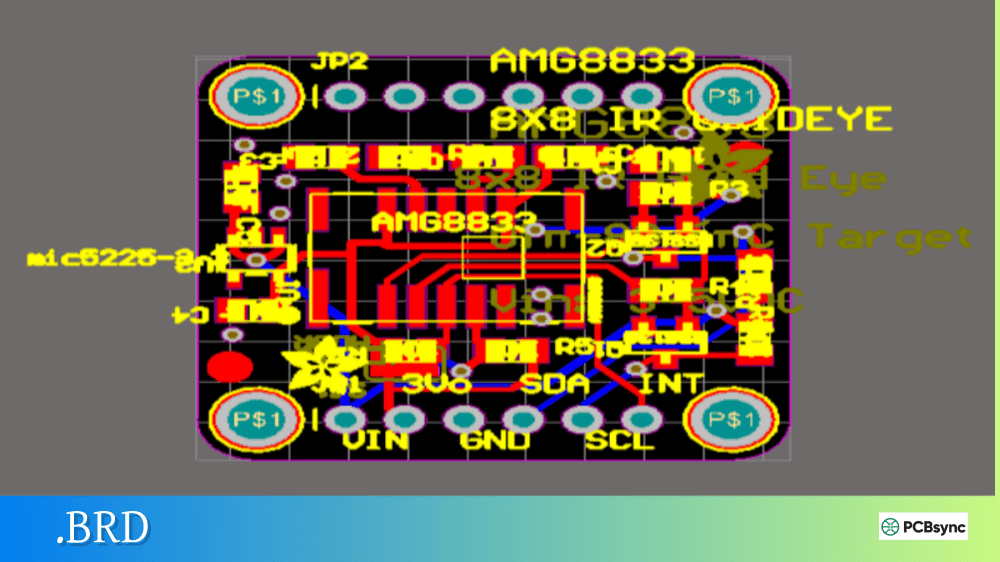
Generating CPL from Eagle
Eagle uses ULP scripts for CPL export:
Open your .brd board file
Go to File → Export → Mount SMD (or run mountsmd.ulp)
Specify save locations for top and bottom files
Eagle creates .mnt (top) and .mnb (bottom) files
For services like JLCPCB, you can use dedicated ULP scripts that format the output to match their specific requirements.
Generating CPL from Other Tools
Software
Export Path
Output Format
DipTrace
File → Export → Pick and Place
CSV, TXT
OrCAD
Tools → Reports → Component Report
Various
EasyEDA
Export → Pick and Place
CSV
Proteus
Output → Pick and Place File
CSV
Fusion 360
Manufacturing → Assembly Data
CSV
Common CPL File Problems and Solutions
Even experienced engineers run into CPL issues. Here are the most frequent problems and how to fix them.
Rotation Errors
Rotation problems are the most common CPL issue. Components appear correctly in your EDA tool’s 3D view but show up rotated on the assembled board. This happens because:
Different zero-degree references: Your library footprint may define pin 1 orientation differently than the assembler expects. Review the manufacturer’s component orientation standards.
Top vs. bottom layer conventions: Some tools flip rotation values for bottom-side components. Verify whether your assembler expects mirrored or absolute rotation for bottom placements.
Solution: Most assembly services provide a preview tool that shows component placement before production. Use this to catch rotation errors before boards are built. If components show wrong orientation in the preview, adjust the rotation value in your CPL by adding or subtracting 90° increments.
Origin Mismatch
If all components appear shifted by the same amount, your CPL origin doesn’t match your Gerber origin. Ensure both outputs use the same reference point—typically the board origin or lower-left corner of the board outline.
Missing Components
Through-hole parts may not appear in your CPL if your export settings filter for SMD-only components. Check your export options and include all components you want placed, whether SMD or through-hole.
CPL File Best Practices
Follow these guidelines to avoid assembly problems:
Verify before submitting: Open your CPL in a spreadsheet and spot-check coordinates against your layout. Pick a few components and confirm their positions match.
Use consistent units: Stick with millimeters throughout your PCB design and outputs. Mixing units causes scaling errors.
Match origins: Set your Gerber and CPL exports to use the same board origin.
Include fiducials: If your design uses fiducial markers for machine alignment, include their coordinates in the CPL or ensure the assembler knows their locations.
Test with preview tools: Most online assembly services offer visual previews that overlay CPL data on Gerber images. Use these to verify placement before ordering.
What’s the difference between a CPL file and a BOM file?
The CPL file contains component placement data (positions, rotations, board side), while the BOM (Bill of Materials) lists which components to use (part numbers, values, quantities). Both files are required for PCB assembly—the BOM tells the assembler what parts to source, and the CPL tells the machine where to place them. The reference designator column links data between the two files.
Can I create a CPL file manually?
Yes, you can create a CPL file manually in any spreadsheet application. Add columns for Designator, Mid X, Mid Y, Layer, and Rotation, then enter data for each component. However, manual creation is error-prone and time-consuming. It’s much safer to generate the file from your PCB software and only make manual corrections if needed.
Why are my components rotated incorrectly after assembly?
Rotation errors usually stem from mismatched orientation conventions between your EDA tool’s component library and the assembler’s expectations. The solution is to check component orientation in your assembler’s preview tool before production, then adjust rotation values in your CPL file by 90° increments until the preview shows correct placement.
Do I need separate CPL files for top and bottom components?
It depends on your assembler’s requirements. Some accept a single file with a Layer column distinguishing top from bottom. Others prefer separate files. Check your assembly house’s documentation. Most modern services accept either format.
How do I handle components I don’t want assembled?
Mark components you want excluded from assembly as DNP (Do Not Populate) or DNI (Do Not Install) in your BOM. You can either remove them from the CPL entirely or include them with a DNP designation. Communicate clearly with your assembler about which components should be placed.
Conclusion
The CPL file is essential for automated PCB assembly. It bridges your design data and the pick and place machines that populate your boards. Taking time to understand CPL file structure, generate accurate exports from your PCB software, and verify data before submission prevents costly assembly errors and delays.
Most CPL problems come down to rotation conventions and coordinate origins. Use your assembler’s preview tools to catch these issues before production. When in doubt, reach out to your assembly house’s engineering support—they deal with CPL files daily and can quickly identify problems with your data.
With accurate Gerbers, a complete BOM, and a verified CPL file, your design is ready for smooth, error-free assembly.
Inquire: Call 0086-755-23203480, or reach out via the form below/your sales contact to discuss our design, manufacturing, and assembly capabilities.
Quote: Email your PCB files to Sales@pcbsync.com (Preferred for large files) or submit online. We will contact you promptly. Please ensure your email is correct.
Notes: For PCB fabrication, we require PCB design file in Gerber RS-274X format (most preferred), *.PCB/DDB (Protel, inform your program version) format or *.BRD (Eagle) format. For PCB assembly, we require PCB design file in above mentioned format, drilling file and BOM. Click to download BOM template To avoid file missing, please include all files into one folder and compress it into .zip or .rar format.


