Inquire: Call 0086-755-23203480, or reach out via the form below/your sales contact to discuss our design, manufacturing, and assembly capabilities.
Quote: Email your PCB files to Sales@pcbsync.com (Preferred for large files) or submit online. We will contact you promptly. Please ensure your email is correct.
Notes: For PCB fabrication, we require PCB design file in Gerber RS-274X format (most preferred), *.PCB/DDB (Protel, inform your program version) format or *.BRD (Eagle) format. For PCB assembly, we require PCB design file in above mentioned format, drilling file and BOM. Click to download BOM template To avoid file missing, please include all files into one folder and compress it into .zip or .rar format.
Car Audio Capacitors: Power System Guide for Audio Systems
High-powered car audio systems demand serious current, especially during bass-heavy passages that can pull hundreds of amps in milliseconds. When your amplifiers need more power than the battery and alternator can deliver instantly, the result is dimming headlights, voltage drops, and compromised sound quality.
A car audio capacitor addresses this problem by acting as a fast-responding power reserve between your vehicle’s electrical system and amplifiers. After years of designing power systems for various applications, I’ve seen how properly implemented capacitors can transform a struggling audio system into one that delivers clean, consistent power during the most demanding musical passages.
This guide covers everything you need to know about car audio capacitors, from understanding when you actually need one to proper sizing, installation, and integration with your vehicle’s electrical system.
A car audio Capacitor is a power storage device designed to provide instantaneous current to amplifiers during peak demand periods. Unlike batteries that deliver sustained power over time, capacitors excel at storing and releasing energy extremely quickly, making them ideal for handling the rapid current demands of bass-heavy audio content.
The basic operating principle involves two conductive plates separated by a dielectric material. When connected to your vehicle’s electrical system, the capacitor charges during periods of low demand and discharges almost instantaneously when your amplifiers need extra current. This happens in milliseconds, far faster than a battery can respond.
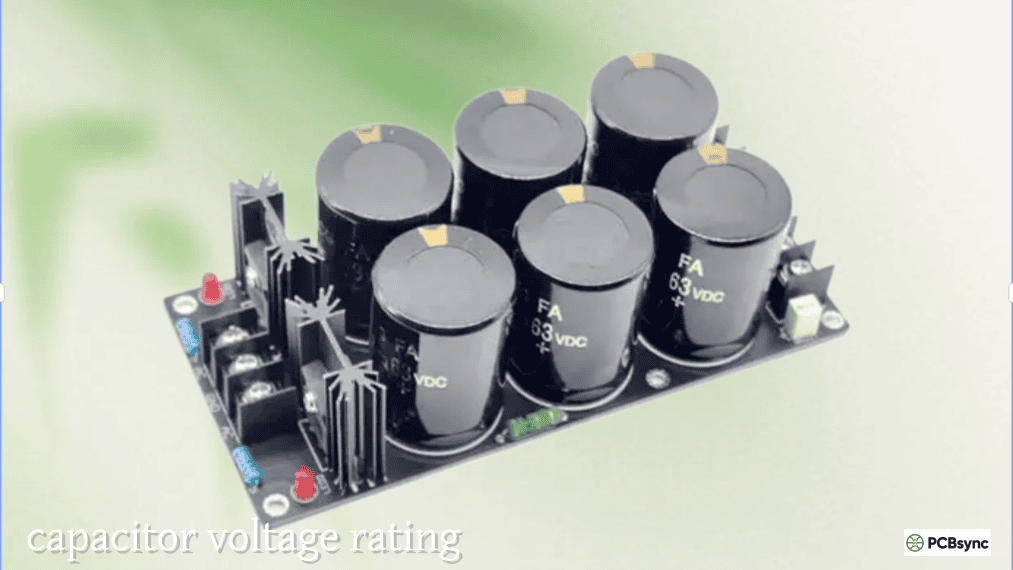
Car audio capacitors are rated in farads (F), with typical values ranging from 0.5F to 50F or more for competition systems. This is dramatically different from capacitors used in electronics, which are measured in microfarads (µF). The large capacitance values used in car audio applications provide meaningful energy storage for high-current applications.
How Car Audio Capacitors Improve System Performance
Understanding what capacitors actually do (and don’t do) helps set realistic expectations for their role in your system.
Voltage Stabilization During Bass Hits
When your subwoofer amplifier receives a strong bass signal, it demands a massive surge of current. If the battery and alternator cannot supply this current instantly, the system voltage drops momentarily. This voltage drop affects everything connected to the electrical system, including headlights, dashboard displays, and the audio equipment itself.
A properly sized capacitor releases stored energy during these demand spikes, maintaining more stable voltage throughout the system. The capacitor charges back up between bass hits when demand is lower, ready for the next transient.
Reduced Headlight Dimming
One of the most visible symptoms of insufficient power delivery is headlight dimming that pulses with the bass. This happens because the amplifier’s current demands momentarily reduce the voltage available for other systems. A capacitor helps buffer these demands, reducing or eliminating the visible dimming effect.
Improved Amplifier Performance
Amplifiers perform best when fed a stable voltage supply. Voltage drops can cause amplifiers to clip (produce distorted output), enter protection mode, or produce less power than their rated specifications. By maintaining more consistent voltage during peaks, capacitors help amplifiers operate closer to their design parameters.
Protection for Audio Components
Repeated voltage drops and fluctuations can stress amplifier power supplies over time. While not a substitute for proper system design, capacitors provide some protection against the wear caused by constant voltage swings.
When You Need a Car Audio Capacitor
Capacitors aren’t necessary for every system, but certain situations make them particularly beneficial.
High-Power Subwoofer Systems
Systems running 1000 watts RMS or more, especially those focused on bass reproduction, are prime candidates for capacitor addition. The large current demands during low-frequency transients create the voltage drops that capacitors address most effectively.
Visible Headlight Dimming
If your headlights pulse noticeably with the bass, your system is struggling to maintain stable voltage. This is one of the clearest indicators that a capacitor might help.
Amplifier Protection Mode Issues
When amplifiers repeatedly enter protection mode during loud passages, unstable voltage may be the cause. Capacitors can help maintain the minimum voltage required for proper amplifier operation.
Stock Electrical System Limitations
If you cannot upgrade your alternator or battery due to cost, space, or vehicle constraints, a capacitor provides a less invasive way to improve power delivery for momentary demands.
Symptom
Likely Cause
Capacitor Help?
Headlights dim with bass
Momentary voltage drop
Yes
Amp enters protection mode
Voltage below minimum
Possibly
Lights dim continuously
Insufficient charging capacity
No – upgrade alternator
System cuts out completely
Battery/alternator failure
No – upgrade electrical
Bass sounds weak at high volume
Multiple possible causes
Possibly
Car Audio Capacitor Types
Several capacitor technologies are available for car audio applications.
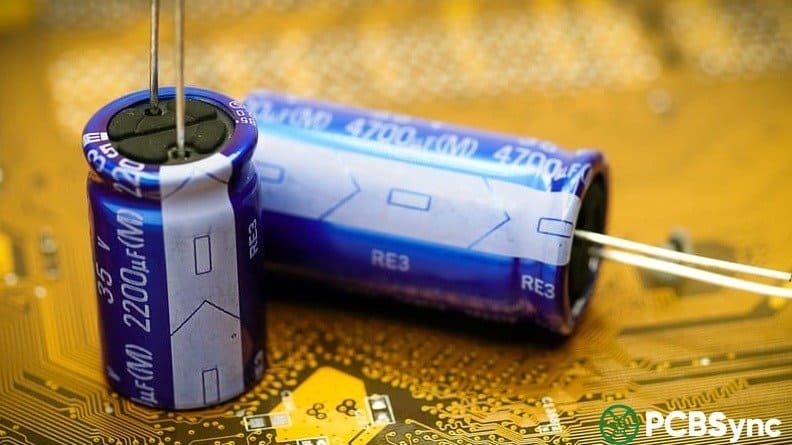
Electrolytic Capacitors
Traditional electrolytic capacitors remain the most common and affordable option for car audio. They offer good capacitance values at reasonable prices but have slightly slower charge/discharge characteristics compared to newer technologies.
Best for: Budget to mid-tier systems needing basic voltage stabilization.
Carbon Hybrid Capacitors
These capacitors combine electrolytic and carbon construction for faster charge/discharge cycles and improved efficiency. They cost more than standard electrolytic types but offer better performance in demanding applications.
Best for: Higher-powered systems requiring faster response and improved efficiency.
Digital Capacitors
Functionally similar to other types but include built-in voltage displays and often additional protection features. The digital display allows real-time monitoring of system voltage, which is useful for tuning and troubleshooting.
Best for: Users who want monitoring capability and may be troubleshooting system issues.
Supercapacitors/Ultracapacitors
The highest performance option, supercapacitors offer extremely fast charge/discharge and massive energy storage (up to 500+ farads). They’re expensive but provide the best performance for competition or extreme systems.
Best for: Competition systems, SPL builds, and situations requiring maximum voltage stability.
Type
Capacitance Range
Response Speed
Cost
Best Application
Electrolytic
0.5-5F
Good
$
Budget systems
Carbon Hybrid
1-10F
Very Good
$$
Mid-high power
Digital
1-10F
Good
$$
Monitoring needs
Supercapacitor
50-500F+
Excellent
$$$
Competition/SPL
Car Audio Capacitor Sizing Guide
Proper sizing ensures adequate energy storage without unnecessary expense or space requirements.
The 1 Farad Per 1000 Watts Rule
The industry standard guideline recommends 1 farad of capacitance for every 1000 watts RMS of total amplifier power. This provides adequate energy storage for most applications.
For a 2000-watt RMS system, a 2-farad capacitor is the baseline recommendation. For bass-heavy systems or those with particularly demanding amplifiers, sizing up to 1.5 or 2 farads per 1000 watts provides additional headroom.
Factors Affecting Size Requirements
Several factors may warrant larger capacitor values. Bass-heavy music genres with sustained low-frequency content demand more from the power system. Older vehicles with weaker charging systems benefit from additional capacitance. Longer wire runs between battery and amplifiers increase resistance losses. Multiple amplifiers or competition systems justify oversized capacitors.
Practical Sizing Recommendations
System Power (RMS)
Minimum Capacitance
Recommended
Under 500W
0.5F
1F
500-1000W
1F
1.5F
1000-2000W
2F
3-5F
2000-3000W
3F
5-10F
3000W+
5F+
10F+ or multiple
Car Audio Capacitor Installation
Proper installation ensures safe operation and maximum effectiveness.
Safety Precautions
Car audio capacitors store significant electrical energy and can cause injury or equipment damage if mishandled. Always disconnect the negative battery terminal before working on the electrical system. Never work on a charged capacitor without proper discharge procedures.
Charging Before Installation
New capacitors must be charged slowly before connecting to the system. Connecting an uncharged capacitor directly creates a massive current inrush that can damage components, blow fuses, or create dangerous sparks.
Use a resistor (typically 1 kΩ, 1W or higher) or a charging light bulb to limit current during initial charging. Connect the resistor between the capacitor’s positive terminal and the power source. Connect the capacitor’s negative terminal to chassis ground. Monitor voltage across the capacitor until it reaches battery voltage (12-14V). Remove the resistor and make permanent connections.
Many quality capacitors include built-in charging circuits or charging accessories for this purpose.
Mounting Location
Install capacitors as close to the amplifier as possible, ideally within 18 inches. This minimizes the wire length between capacitor and amplifier, reducing resistance and maximizing the capacitor’s effectiveness during transient demands.
Choose a secure, stable mounting location away from heat sources and with adequate ventilation. The trunk near the amplifier is typical for most installations.
Wiring Connections
Use the same gauge wire for capacitor connections as your main amplifier power wiring. The capacitor’s positive terminal connects to the same power distribution point that feeds your amplifier. The negative terminal connects to chassis ground, not to the amplifier’s ground terminal.
Proper fusing is essential. Install a fuse within 18 inches of the battery on the main power wire. The capacitor typically does not need additional fusing when installed after the main system fuse.
Car Audio Capacitor vs Battery vs Alternator Upgrade
Understanding when each upgrade is appropriate helps you make the right choice for your situation.
Capacitors: Short-Term Power Buffer
Capacitors excel at handling brief, transient power demands lasting milliseconds to a few seconds. They respond almost instantaneously but have limited total energy storage. If your symptoms involve momentary dimming or brief voltage drops during bass hits, a capacitor may be sufficient.
Capacitors are not a solution for sustained power deficits. If your headlights dim continuously (not just on bass hits) or your system struggles at moderate volumes, the underlying electrical system needs upgrading.
Second Battery: Extended Reserve Power
A secondary battery provides sustained power reserve for extended high-demand periods. It’s particularly valuable for systems used with the engine off (at events or shows) or for very high-power systems that exceed what the alternator can supply continuously.
Secondary batteries take longer to respond than capacitors but provide far more total energy storage. For competition systems, combining capacitors with secondary batteries provides both fast response and extended capacity.
Alternator Upgrade: Increased Generation Capacity
If your electrical system cannot maintain adequate voltage during normal driving with the audio system at typical listening levels, an alternator upgrade is the real solution. No amount of capacitance can compensate for an alternator that simply cannot generate enough current.
High-output alternators in the 200-300+ amp range are available for most vehicles and provide the foundation for serious audio systems.
The Big 3 Upgrade
Before adding capacitors or batteries, ensure your wiring infrastructure can handle the current demands. The “Big 3” upgrade replaces or supplements three critical cables with larger gauge wire: battery negative to chassis, alternator positive to battery, and chassis to engine block. This low-cost upgrade often resolves voltage issues without additional components.
Solution
Best For
Response Time
Cost
Capacitor
Brief voltage dips
Milliseconds
$50-300
Second Battery
Extended reserve
Seconds
$150-500
Alternator Upgrade
Insufficient charging
Continuous
$300-800+
Big 3 Upgrade
Wiring limitations
Continuous
$50-100
Frequently Asked Questions About Car Audio Capacitors
Do car audio capacitors actually improve sound quality?
Capacitors don’t directly improve sound quality. They prevent sound quality degradation by maintaining stable voltage to your amplifiers during demanding passages. If your system experiences voltage-related issues (clipping, distortion at high volumes, protection mode), addressing these with a capacitor can restore proper amplifier operation. If your electrical system is already adequate, adding a capacitor won’t make things sound better.
Can I use a car audio capacitor instead of upgrading my battery or alternator?
Capacitors and batteries/alternators serve different purposes. Capacitors handle brief transients; batteries and alternators provide sustained power. If you’re only experiencing momentary dimming during bass hits, a capacitor may be sufficient. If your system struggles continuously or at moderate volumes, you need electrical system upgrades. For very high-power systems, you typically need both.
What size capacitor do I need for a 1500-watt amp?
Following the 1 farad per 1000 watts guideline, a 1500-watt RMS system should use at least a 1.5-farad capacitor. For bass-heavy listening or additional headroom, a 2-farad capacitor provides more reserve capacity without excessive cost.
Why is my capacitor getting hot?
A capacitor that becomes hot during operation indicates a problem. Common causes include the capacitor being charged and discharged excessively due to an undersized electrical system, internal capacitor failure, or poor connections creating resistance. Address the underlying electrical system issues or replace the capacitor if it’s failing.
Do I need to charge a new car audio capacitor before installation?
Yes, always charge a new capacitor slowly before connecting it to your system. Connecting an uncharged capacitor creates an enormous current inrush that can damage the capacitor, blow fuses, create dangerous sparks, or damage other components. Use a resistor or charging light to limit current during initial charging.
Useful Resources for Car Audio Power Systems
Technical References:
Crutchfield (crutchfield.com) — Car audio installation guides and product information
DIY Mobile Audio (diymobileaudio.com) — Community forums with extensive technical discussions
Car Audio Help (caraudiohelp.com) — Installation tutorials and wiring diagrams
Parts Suppliers:
Sonic Electronix (sonicelectronix.com) — Wide selection of capacitors and audio equipment
Amazon — Various brands and price points
Local car audio specialty shops — Professional installation advice
Learning Resources:
MTX Audio Library (mtx.com) — Technical articles on car audio
Boss Audio Systems Blog (bossaudio.com) — Product guides and installation tips
Troubleshooting Car Audio Capacitor Issues
Even properly installed capacitors can develop problems over time.
Capacitor Not Holding Charge
If your capacitor’s voltage display shows declining voltage or returns to zero quickly after disconnecting from power, the capacitor may be failing internally. Electrolytic capacitors degrade over time, especially in hot environments like car trunks during summer months.
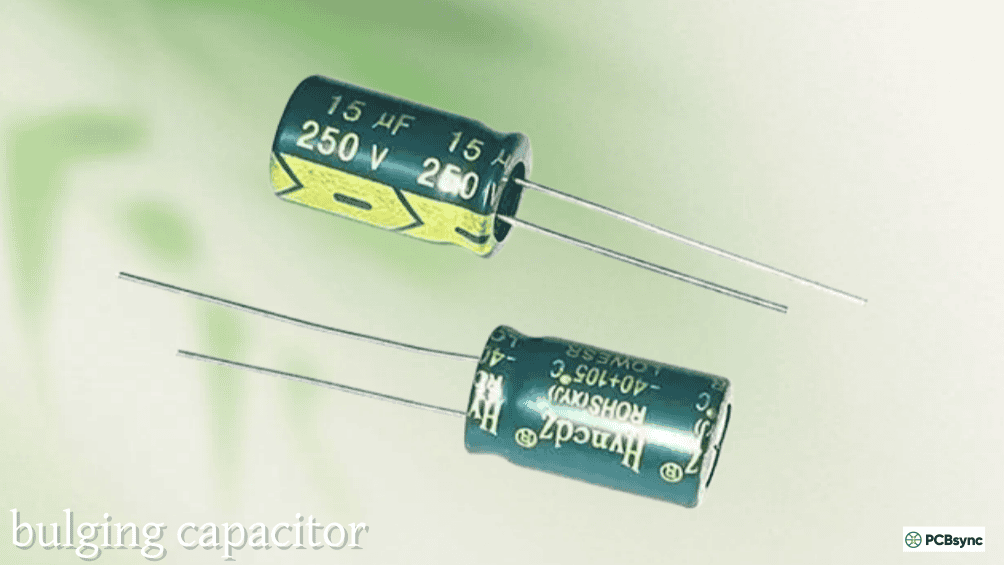
Physical Signs of Failure
Inspect your capacitor periodically for bulging or swelling of the case, leaking fluid or residue around terminals, burn marks or discoloration, and damaged terminal connections. Any of these signs indicate immediate replacement is needed.
System Still Experiencing Issues
If you’ve installed a properly sized capacitor but still experience voltage drops, the underlying electrical system likely needs attention. Consider upgrading to a higher output alternator, adding a secondary battery, or performing the Big 3 wiring upgrade.
Final Thoughts on Car Audio Capacitors
Car audio capacitors serve a specific purpose in your power system: providing instantaneous energy during brief, high-current demands. They’re not a cure-all for electrical system problems, but when used appropriately, they can make a real difference in system performance.
Key points to remember include using the 1 farad per 1000 watts guideline as a starting point, always charging capacitors before installation, installing as close to amplifiers as possible, and understanding that capacitors complement but don’t replace adequate batteries and alternators.
Before purchasing a capacitor, address fundamental electrical system issues first. Ensure your battery is in good condition, your alternator output is adequate, and your wiring (especially the Big 3) is properly sized. If problems persist after these basics are covered, a capacitor provides the fast-responding power buffer that keeps your system performing at its best during those earth-shaking bass hits.
Inquire: Call 0086-755-23203480, or reach out via the form below/your sales contact to discuss our design, manufacturing, and assembly capabilities.
Quote: Email your PCB files to Sales@pcbsync.com (Preferred for large files) or submit online. We will contact you promptly. Please ensure your email is correct.
Notes: For PCB fabrication, we require PCB design file in Gerber RS-274X format (most preferred), *.PCB/DDB (Protel, inform your program version) format or *.BRD (Eagle) format. For PCB assembly, we require PCB design file in above mentioned format, drilling file and BOM. Click to download BOM template To avoid file missing, please include all files into one folder and compress it into .zip or .rar format.


