Inquire: Call 0086-755-23203480, or reach out via the form below/your sales contact to discuss our design, manufacturing, and assembly capabilities.
Quote: Email your PCB files to Sales@pcbsync.com (Preferred for large files) or submit online. We will contact you promptly. Please ensure your email is correct.
Notes: For PCB fabrication, we require PCB design file in Gerber RS-274X format (most preferred), *.PCB/DDB (Protel, inform your program version) format or *.BRD (Eagle) format. For PCB assembly, we require PCB design file in above mentioned format, drilling file and BOM. Click to download BOM template To avoid file missing, please include all files into one folder and compress it into .zip or .rar format.
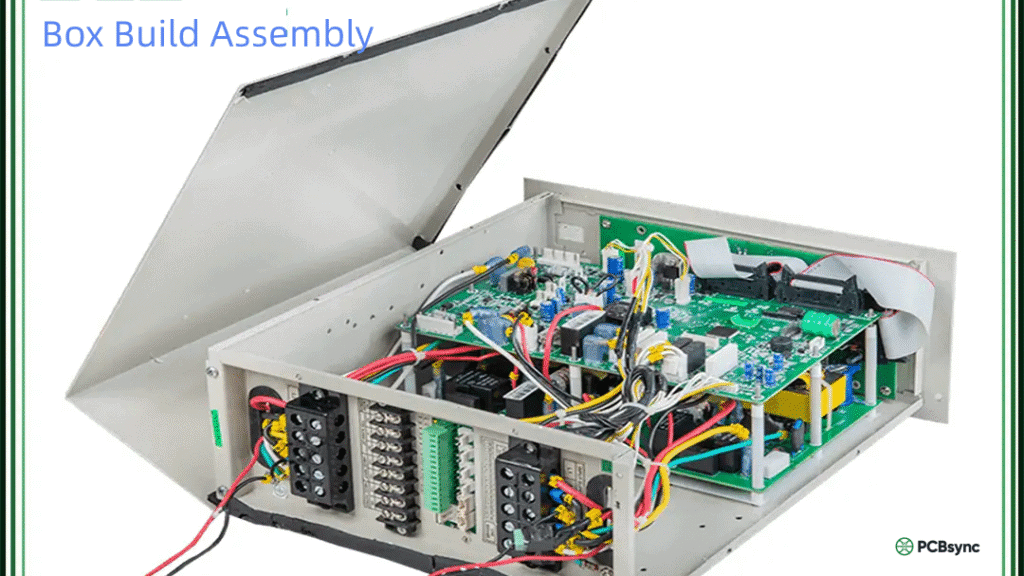
If you’ve ever wondered how a bare circuit board transforms into a fully functional product sitting on a shelf, you’re thinking about box build assembly. I’ve spent years working in electronics manufacturing, and I can tell you that this process is where the magic really happens—where scattered components, wires, and enclosures come together to create something useful.
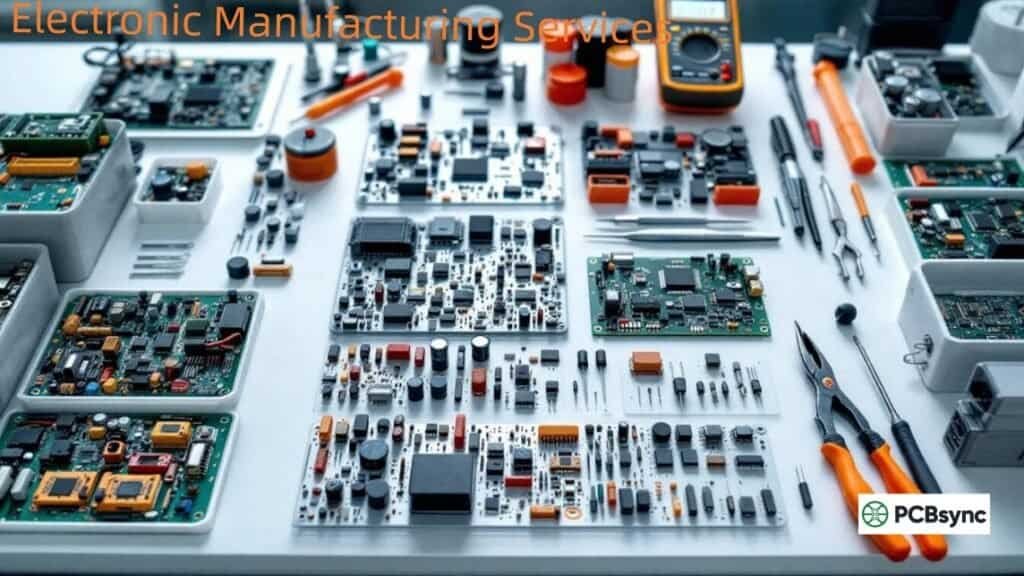
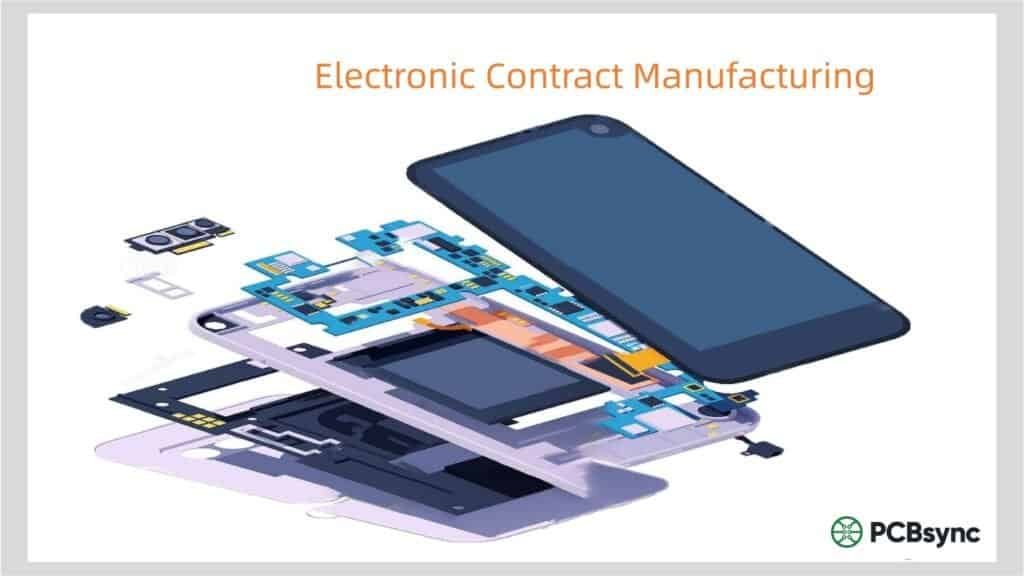
Box build assembly goes far beyond simply soldering components onto a PCB. It’s the comprehensive process of integrating printed circuit boards, mechanical parts, cable assemblies, and enclosures into a complete, market-ready product. Whether you’re building medical devices, industrial control panels, or consumer electronics, understanding this process can save you significant time, money, and headaches.
In this guide, I’ll walk you through everything you need to know about box build assembly—from the basic concepts to the nitty-gritty details that separate successful projects from costly failures.
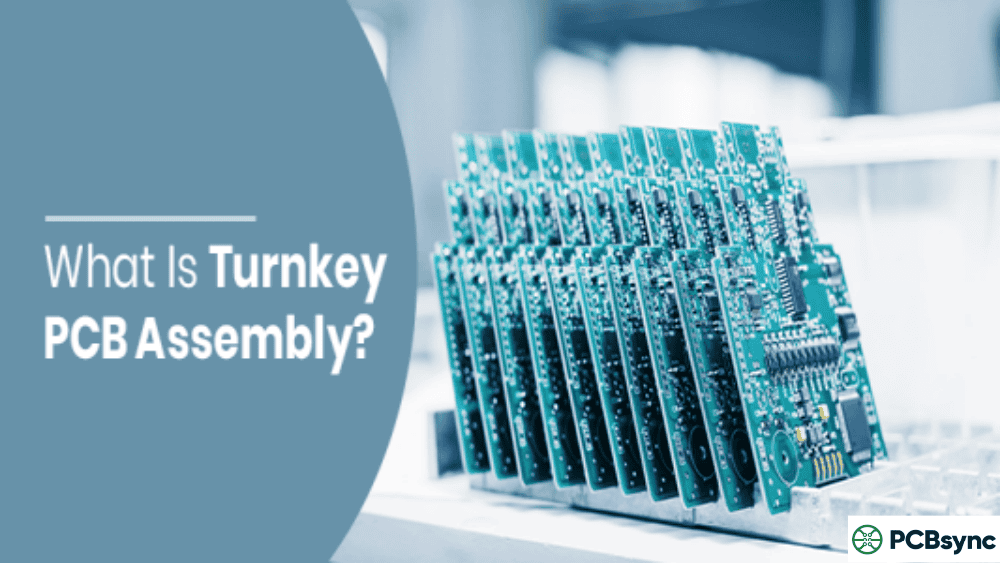
Let me start with a straightforward definition. Box build assembly, sometimes called systems integration or electromechanical assembly, is the process of assembling electronic and mechanical components into a finished enclosure to create a complete, functional product.
Think of it this way: PCB assembly gives you a working circuit board. Box build assembly gives you a product that customers can actually use.
The term “box” doesn’t necessarily mean a literal box. It could be anything from a small plastic enclosure for a consumer gadget to a large metal cabinet housing industrial control equipment. The key point is that you’re taking multiple subsystems and integrating them into a single, cohesive unit.
Here’s what typically distinguishes box build assembly from standard PCB assembly:
Every box build project is different, but most share common building blocks. Understanding these components helps you plan your project more effectively and communicate clearly with your manufacturing partner.
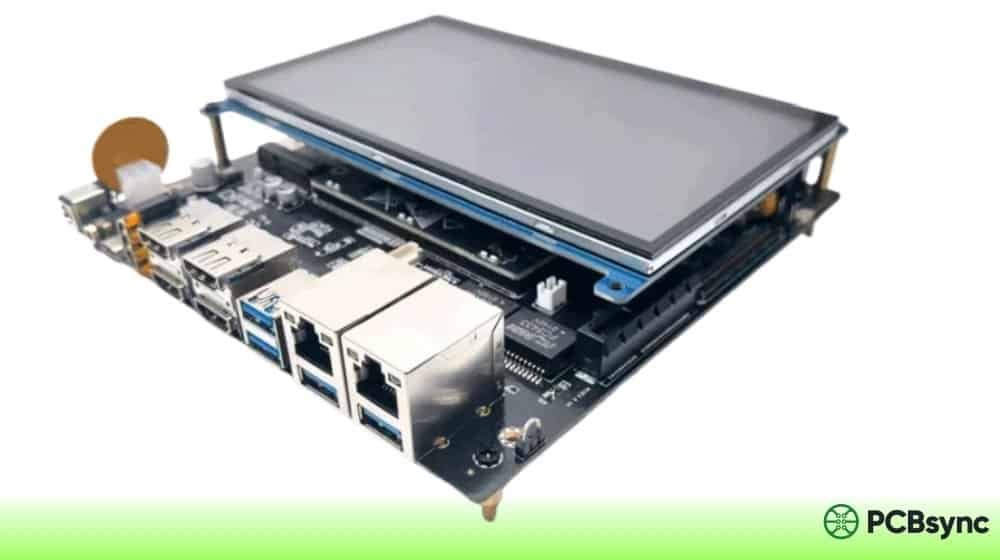
The PCBA is essentially the brain of your system. It’s where all the electronic functions originate, processing inputs and generating outputs. In a box build, you might have a single main board or multiple interconnected PCBAs—a main controller, power supply board, interface board, and various peripheral boards working together.
The quality of your PCB assembly directly impacts your entire box build. Any issues here will cascade through the entire system, so it’s critical to get this right before moving forward.
Enclosures and Housings
Your enclosure does more than just hold components—it protects them, manages heat dissipation, and often defines the product’s appearance. Enclosure materials vary based on application requirements:
Material
Best For
Considerations
Sheet Metal (Steel/Aluminum)
Industrial, high-durability applications
Excellent EMI shielding, heavier weight
Plastic (ABS, Polycarbonate)
Consumer products, lightweight needs
Cost-effective, various finishes available
Die-Cast Aluminum
Harsh environments, outdoor use
Superior thermal management, higher cost
Custom Machined
Precision applications, prototypes
Maximum flexibility, longer lead times
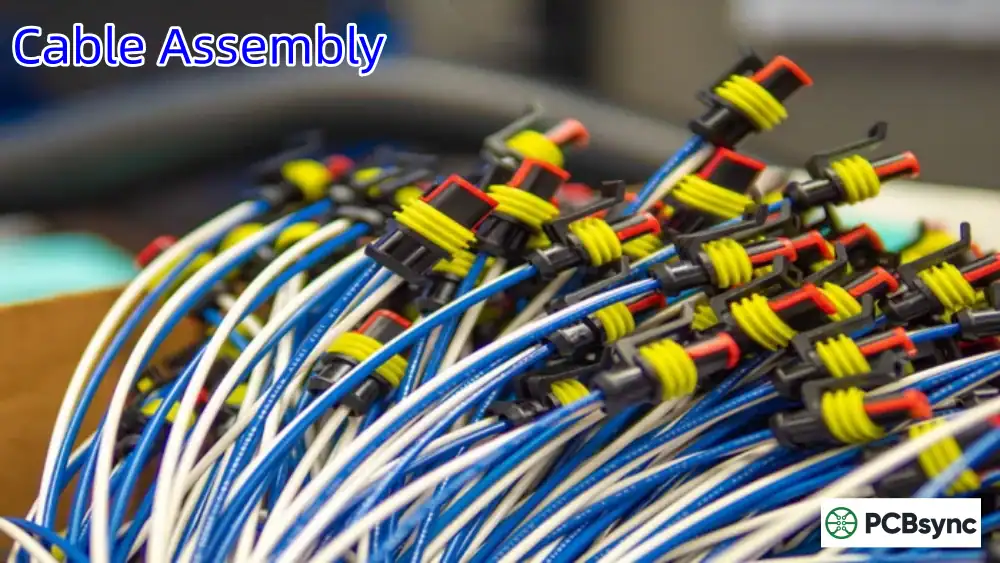
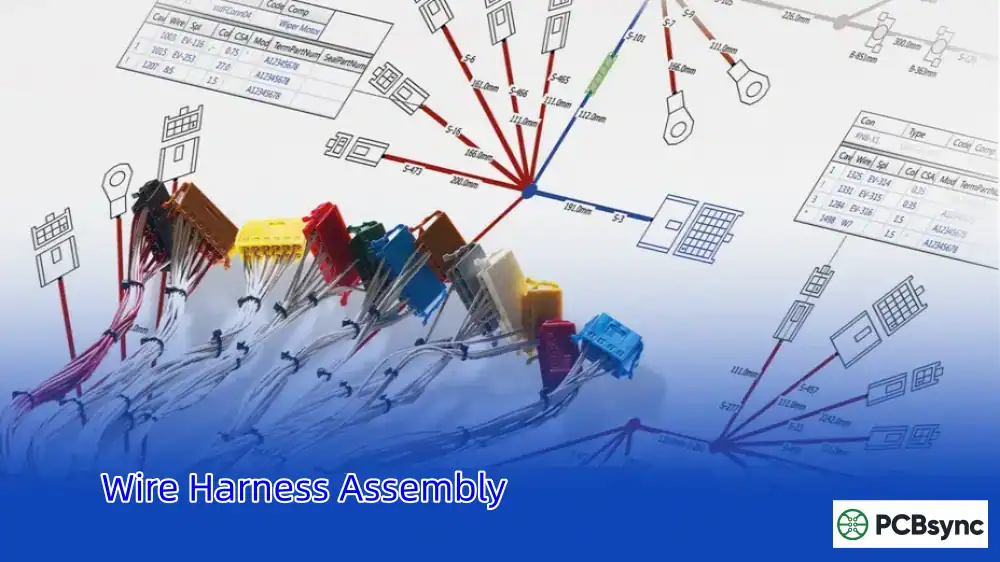
Cable Assemblies and Wire Harnesses
Cables and harnesses are the nervous system of your box build, connecting PCBAs to each other and to external interfaces. This includes power distribution cables, signal cables, data cables, and custom wire harnesses.
One thing I’ve learned the hard way: never underestimate cable routing complexity. Poor cable management leads to assembly difficulties, maintenance headaches, and potential signal integrity issues.
Power Supply Units
Every electronic system needs stable, reliable power. Your box build might include AC-DC converters for mains-powered applications, DC-DC converters for voltage regulation, battery packs for portable devices, or custom power modules for specialized requirements.
Power supply selection affects everything from product size to thermal management to regulatory compliance.
User Interface Components
If humans interact with your product, you’ll need interface components: LCD or LED displays, touch screens, keypads and buttons, indicator lights, speakers or buzzers, and rotary knobs or switches.
Thermal Management Solutions
Heat kills electronics. Depending on your power levels and enclosure constraints, you might need passive cooling through heat sinks and thermal pads, active cooling using fans and blowers, or advanced solutions like heat pipes and liquid cooling for high-performance applications.
Connectors and External Interfaces
These provide the connection points between your product and the outside world—USB ports, Ethernet jacks, power connectors, antenna connections, and any application-specific interfaces.
The Box Build Assembly Process: A Practical Walkthrough
Having managed dozens of box build projects, I can tell you that success lies in following a systematic process. Here’s how it typically unfolds in practice.
Phase 1: Design and Documentation
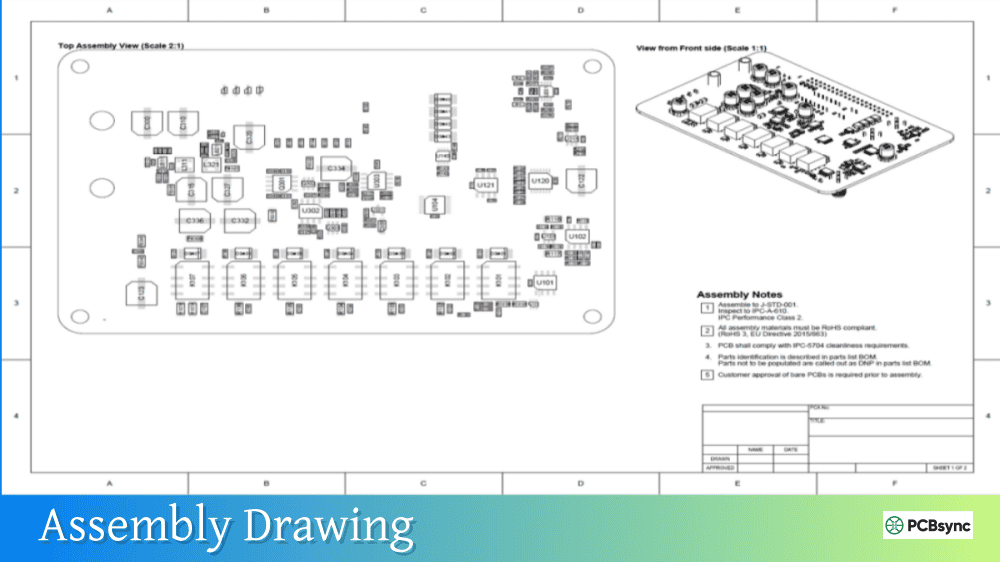
Before any physical assembly begins, you need comprehensive documentation. This isn’t just paperwork—it’s the foundation that determines whether your project succeeds or fails.
Essential Documentation:
The Bill of Materials (BOM) is your master list of every component going into the build. It should include part numbers, descriptions, quantities, manufacturers, and acceptable alternatives. A well-prepared BOM prevents procurement delays and ensures consistency across production runs.
Assembly drawings provide visual instructions showing how components fit together. For complex builds, 3D CAD models are invaluable—they help identify interference issues before you’re holding physical parts that don’t fit.
Electrical schematics show how everything connects electrically. Your manufacturing partner needs these to understand signal flow and troubleshoot issues.
Test specifications define what tests to perform and what results to expect. Without clear test criteria, you’re gambling on quality.
Phase 2: Component Procurement
Once documentation is finalized, procurement begins. This involves sourcing all components—PCBAs, mechanical parts, cables, enclosures, and hardware.
For complex box builds, supply chain management becomes critical. You’re coordinating parts from multiple suppliers with different lead times. A single missing component can halt your entire production line.
Pro tip: Identify long-lead-time items early and order them first. I’ve seen projects delayed by months because someone forgot that a particular connector had a 16-week lead time.
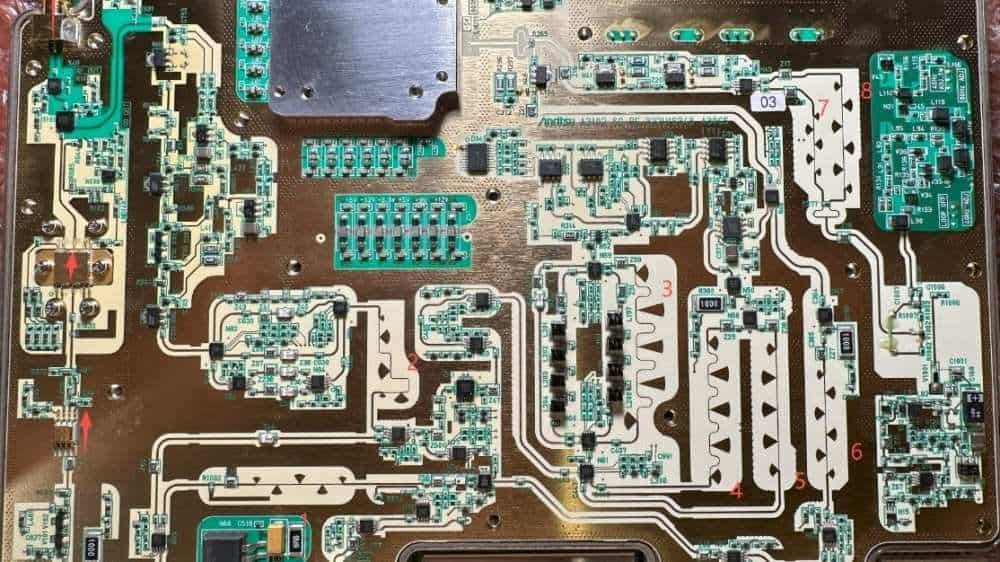
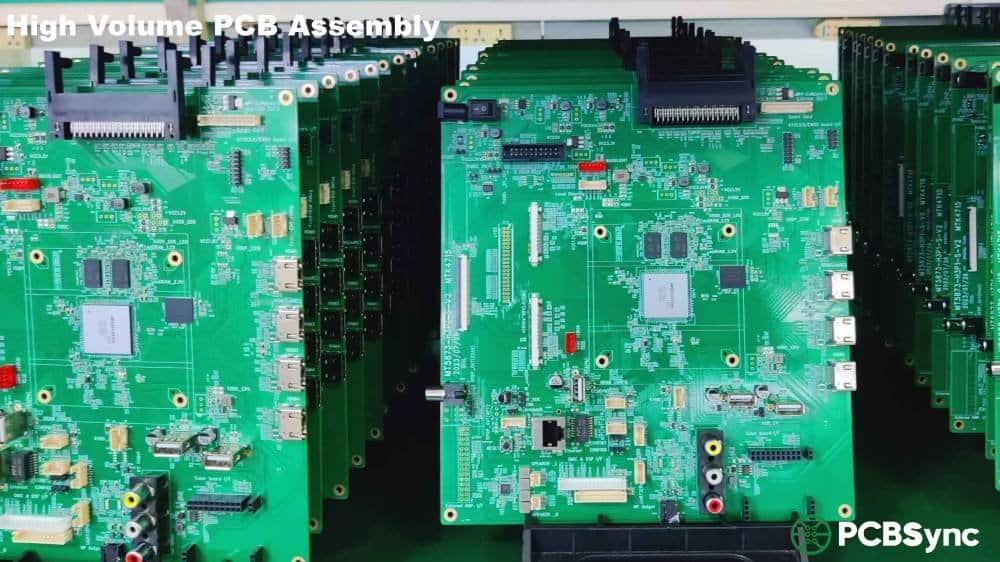
Phase 3: PCB Assembly
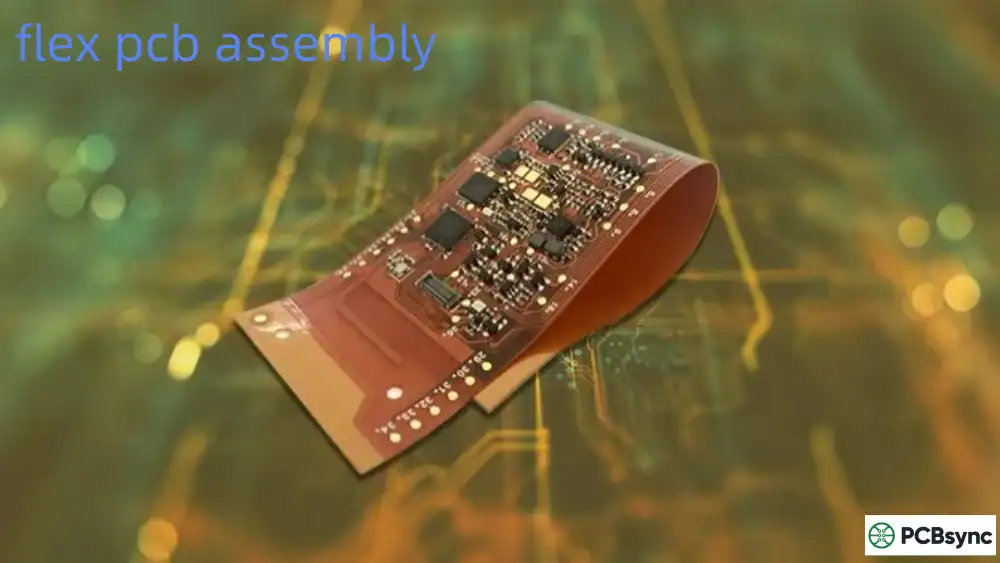
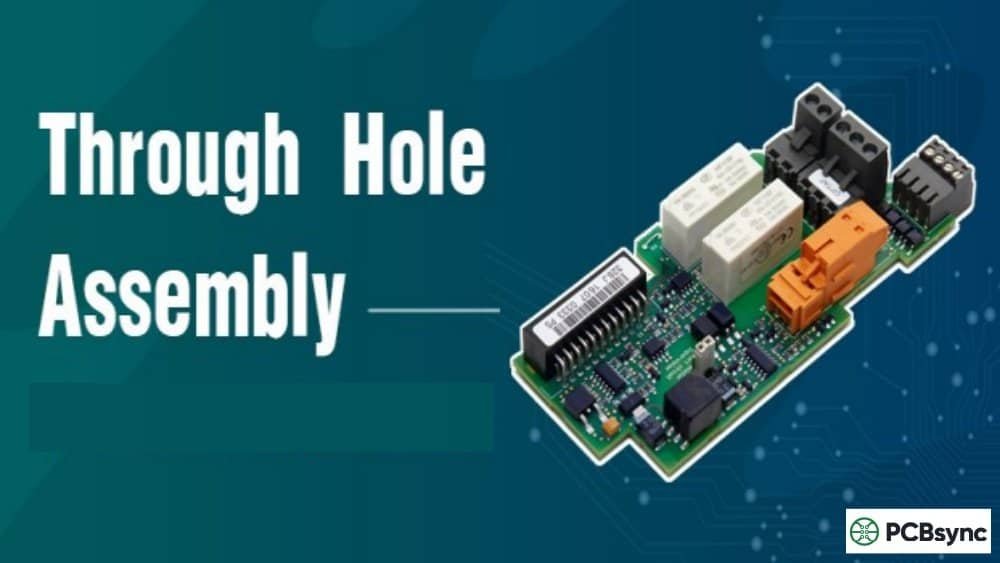
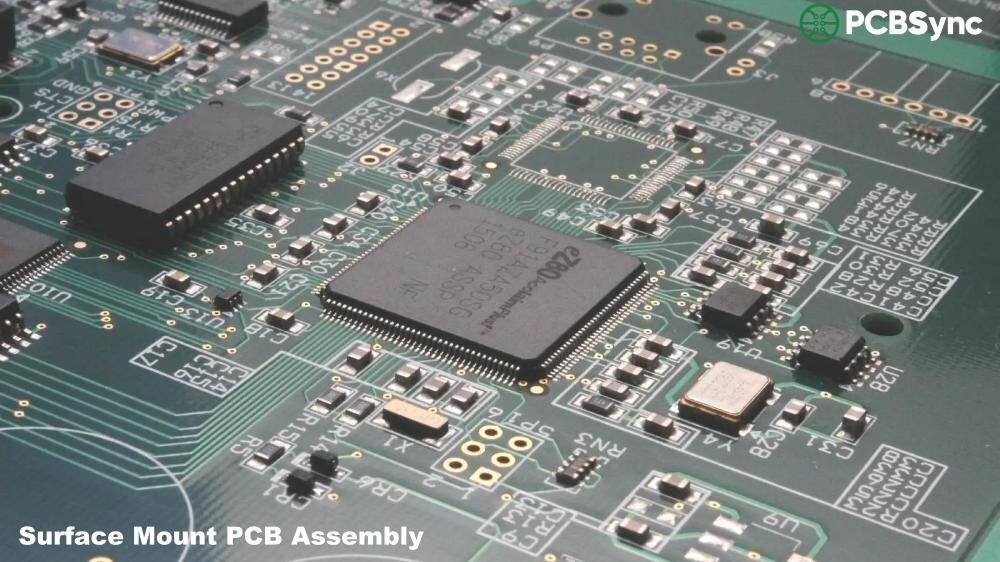
If your manufacturing partner handles PCB assembly in-house, this happens next. The process typically involves Surface Mount Technology (SMT) for placing tiny surface-mount components, Through-Hole Technology (THT) for larger components requiring mechanical strength, and mixed assembly combining both technologies.
Each assembled board undergoes inspection and testing before integration into the larger system.
Phase 4: Sub-Assembly Preparation
Before final integration, various sub-assemblies are prepared and tested independently. Cable harnesses are assembled, terminated, and tested for continuity. Mechanical sub-assemblies are put together. Display modules or control panels are prepared.
Testing sub-assemblies before integration catches problems early, when they’re easier and cheaper to fix.
Phase 5: Mechanical Assembly
The enclosure starts coming together at this stage. Mounting hardware is installed, structural supports are added, brackets and rails are positioned, and the enclosure is prepared to receive electronic components.
Phase 6: System Integration
This is where everything comes together. PCBAs are mounted and secured, power supplies are installed, cable harnesses are routed and connected, and user interface components are installed.
Cable routing deserves special attention. Cables should be secured to prevent movement, separated to minimize interference (keep power cables away from signal cables), and routed for accessibility during future maintenance.
Phase 7: Firmware and Software Loading
Many box builds require firmware programming or software installation. This might include flashing embedded firmware, loading operating systems, configuring device parameters, and assigning unique identifiers such as serial numbers and MAC addresses.
Phase 8: Testing and Quality Assurance
Testing is where you verify that everything works together as intended. A comprehensive testing program includes multiple levels.
Testing Hierarchy:
Test Type
Purpose
When Performed
Visual Inspection
Verify correct assembly, workmanship
Throughout assembly
Continuity Testing
Confirm electrical connections
After wiring
Power-On Test
Basic functionality verification
After integration
Functional Testing
Full feature verification
After firmware loading
Burn-In Testing
Identify early failures
Before shipping
Environmental Testing
Verify performance under conditions
For critical applications
Compliance Testing
EMC, safety certification
Before market release
Phase 9: Final Assembly and Packaging
The last steps involve applying labels and branding, installing covers and cosmetic parts, performing final inspection, packaging with appropriate protection, and including documentation and accessories.
Packaging isn’t an afterthought—it protects your investment during shipping and creates the customer’s first impression.
Many companies debate whether to handle box build assembly in-house or outsource to a contract manufacturer. Based on my experience, outsourcing often makes sense for several compelling reasons.
Simplified Supply Chain
Instead of managing dozens of suppliers for different components, you work with a single partner who handles procurement, inventory, and logistics. This dramatically reduces your administrative burden and coordination headaches.
Cost Efficiency
Contract manufacturers leverage economies of scale. They’re buying components in larger volumes, maintaining expensive equipment that would be underutilized in your facility, and spreading overhead costs across multiple customers.
Access to Expertise
A specialized manufacturer brings years of experience across different product types and industries. They’ve seen the problems you haven’t encountered yet and know how to avoid them.
Scalability
Ramping production up or down is much easier with a contract manufacturer. You’re not stuck with fixed overhead during slow periods or scrambling to add capacity during peak demand.
Quality and Consistency
Reputable manufacturers have established quality systems, trained personnel, and controlled processes. They maintain certifications like ISO 9001, ISO 13485 for medical devices, or AS9100 for aerospace applications.
Faster Time to Market
Experienced manufacturers can move quickly. They have the processes, equipment, and personnel ready to go. What might take you months to set up internally could be running in weeks with an established partner.
Industries and Applications
Box build assembly serves virtually every industry that produces electronic products. Here’s where it’s most commonly applied:
Medical Devices
Medical applications demand the highest quality and traceability. Box builds in this sector include patient monitoring systems, diagnostic equipment, portable medical devices, laboratory instruments, and imaging system components.
Regulatory requirements like FDA registration and ISO 13485 certification are essential for medical box builds.
Industrial Automation
Manufacturing and process control rely heavily on box builds, including PLC enclosures, motor control centers, HMI panels, sensor integration boxes, and power distribution units.
These applications often require ruggedized enclosures and components rated for harsh environments.
Aerospace and Defense
Mission-critical applications demand exceptional reliability. Examples include flight control computers, navigation systems, communication equipment, radar components, and ground support equipment.
ITAR registration and AS9100 certification are typically required for defense-related work.
Telecommunications
Network infrastructure depends on sophisticated box builds such as routers and switches, base station equipment, fiber optic terminals, and network interface devices.
Consumer Electronics
While often associated with industrial products, box build assembly also serves consumer markets through smart home devices, audio equipment, gaming peripherals, and IoT products.
Common Challenges and How to Avoid Them
Every experienced engineer has war stories about box build projects gone wrong. Here are the most common pitfalls and how to sidestep them.
Incomplete Documentation
The problem is that missing or ambiguous documentation leads to assembly errors, delays, and cost overruns. The solution is to invest time upfront in thorough documentation. Have your manufacturing partner review documentation before production begins—they’ll spot gaps you might miss.
Component Availability Issues
Supply chain disruptions can derail your timeline. To mitigate this risk, identify critical and long-lead-time components early and consider second-source options for key parts. Maintain buffer stock for production runs.
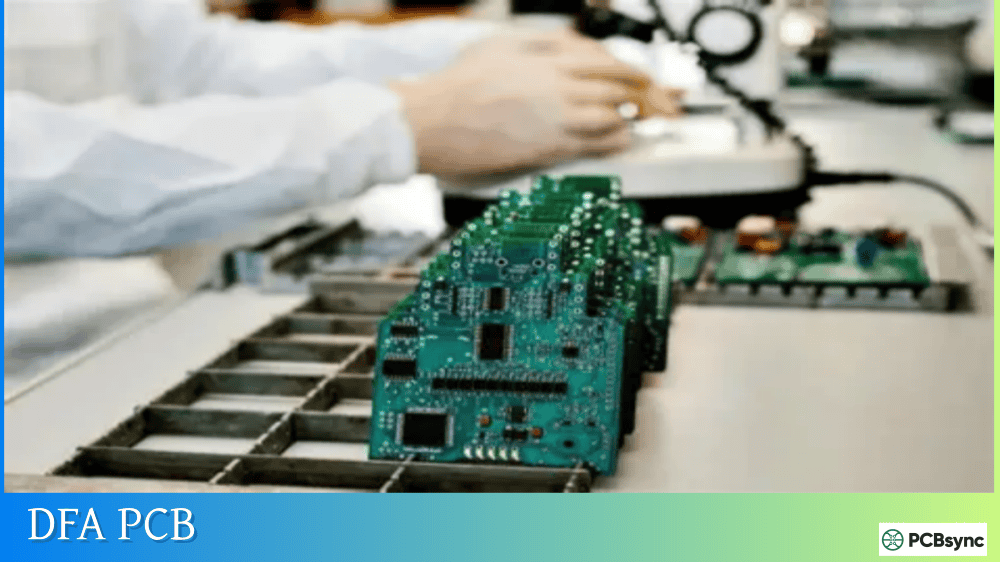
Design for Manufacturability (DFM) Oversights
Designs that work in the lab don’t always translate well to production. Engage your manufacturer during the design phase to get DFM feedback early, when changes are cheap.
Integration Surprises
Sometimes components that should work together simply don’t. Prototype builds help you catch these issues before committing to volume production.
Thermal Problems
Heat-related failures often don’t appear until products have been running for a while. Conduct thorough thermal analysis and testing, especially for enclosed products with significant power dissipation.
Testing Gaps
Inadequate testing lets defects escape to customers. Define comprehensive test procedures that verify all critical functions. Don’t skip burn-in testing for applications where reliability matters.
Choosing the Right Box Build Assembly Partner
Selecting a manufacturing partner is one of the most important decisions you’ll make. Here’s what to evaluate:
Experience and Capabilities
Look for demonstrated experience with products similar to yours in complexity and volume. Ask for case studies and references from comparable projects.
Certifications
Relevant certifications indicate commitment to quality processes:
Certification
Relevance
ISO 9001
General quality management
ISO 13485
Medical device manufacturing
AS9100
Aerospace quality standards
ITAR Registration
Defense-related products
IPC Standards
Electronics assembly workmanship
UL Certification
Safety compliance
Technical Capabilities
Ensure they can handle your specific requirements such as SMT and through-hole assembly, cable and harness manufacturing, mechanical assembly and fabrication, testing and programming, and environmental testing.
Communication and Project Management
Evaluate their responsiveness, communication clarity, and project management approach. You want a partner who keeps you informed and addresses issues proactively.
Financial Stability
Your manufacturing partner needs to be around for the long term. Assess their financial health, especially for products with long lifecycles.
Essential Resources for Box Build Projects
To help you dive deeper into specific aspects of box build assembly, here are valuable resources:
Industry Standards
The IPC-A-610 Acceptability of Electronic Assemblies is the definitive standard for electronics assembly quality. It’s available through the IPC website at ipc.org/TOC/IPC-A-610.pdf as a preview, with full standards available for purchase.
The IPC-A-620 Requirements and Acceptance for Cable and Wire Harness Assemblies covers cable assembly standards and is similarly available through IPC.
IPC-7711/7721 for rework, modification, and repair of electronic assemblies provides essential guidance for handling assembly issues.
Component Databases
When sourcing components, these databases prove invaluable. Digi-Key’s component database at digikey.com offers extensive parametric search capabilities. Mouser’s technical resources at mouser.com provide datasheets and technical documentation. Octopart at octopart.com is useful for cross-referencing parts across distributors.
CAD Resources
GrabCAD at grabcad.com offers free CAD models for standard enclosures. TraceParts at traceparts.com provides 3D models of electronic and mechanical components.
Regulatory Information
For compliance questions, FCC Equipment Authorization information is available at fcc.gov/engineering-technology/laboratory-division/general/equipment-authorization. The CE Marking Guide can be found through the European Commission’s website. UL’s certification database at ul.com/database helps verify component certifications.
Design Guidelines
Many PCB manufacturers publish helpful DFM guidelines on their websites. Component manufacturers also provide application notes that inform mechanical and thermal design decisions.
Best Practices for Successful Box Build Projects
After years in this industry, here’s my consolidated advice for ensuring box build success.
Start with complete documentation. The time you invest in thorough documentation pays dividends throughout the project. Include everything your manufacturer needs to build the product without guessing.
Engage your manufacturer early. Don’t wait until you have a finished design. Get DFM input during development when changes are inexpensive.
Validate with prototypes. Build at least one prototype before committing to production tooling and volume orders. It’s far cheaper to find problems at this stage.
Plan your testing strategy. Define exactly what you’ll test, how you’ll test it, and what constitutes a pass or fail. Document test procedures thoroughly.
Communicate proactively. Maintain regular communication with your manufacturing partner. Share schedule changes, design updates, and any concerns promptly.
Consider the full lifecycle. Design for manufacturability, but also for serviceability. Products that are easy to assemble are often easier to repair and maintain.
Build relationships. The best manufacturing partnerships develop over multiple projects. Invest in relationships with suppliers and manufacturers who understand your products and priorities.
Frequently Asked Questions
What is the typical lead time for box build assembly?
Lead times vary significantly based on complexity and component availability. Simple box builds might take two to four weeks after receiving all components. Complex assemblies can require eight to twelve weeks or longer. The biggest variable is usually component procurement—some specialized parts have lead times of sixteen weeks or more.
How much does box build assembly cost?
Costs depend heavily on complexity, volume, and component costs. Low-volume, complex builds might cost several hundred dollars per unit, while high-volume, simpler products could be under fifty dollars. Request detailed quotes that break down labor, materials, testing, and overhead.
Can I start with prototypes before committing to production?
Absolutely, and you should. Most manufacturers offer prototype services specifically for this purpose. Prototyping helps validate your design, refine manufacturing processes, and identify issues before they become expensive problems in production.
What’s the minimum order quantity for box build assembly?
This varies by manufacturer. Some specialize in low-volume, high-mix production and happily accept orders for ten to fifty units. Others focus on higher volumes and may require minimum orders of hundreds or thousands of units. Find a partner whose sweet spot aligns with your needs.
How do I protect my intellectual property when outsourcing box build assembly?
Work with reputable manufacturers who have established IP protection policies. Use non-disclosure agreements. Consider splitting production across multiple suppliers for highly sensitive designs so no single partner has complete visibility into your product.
Conclusion
Box build assembly bridges the gap between a working circuit board and a product that delivers value to customers. It’s a complex process involving multiple disciplines—electronics, mechanical engineering, cable assembly, testing, and quality assurance—all coordinated to produce a reliable, functional end product.
Success in box build assembly comes from thorough preparation, clear communication, and working with experienced partners who understand both the technical requirements and the business pressures you face.
Whether you’re developing your first product or your hundredth, the fundamentals remain the same: start with solid documentation, validate your design through prototyping, test thoroughly, and maintain quality at every step.
The electronics manufacturing landscape continues to evolve, but box build assembly remains a cornerstone of bringing products to market. Understanding this process—and executing it well—gives you a significant competitive advantage.
Inquire: Call 0086-755-23203480, or reach out via the form below/your sales contact to discuss our design, manufacturing, and assembly capabilities.
Quote: Email your PCB files to Sales@pcbsync.com (Preferred for large files) or submit online. We will contact you promptly. Please ensure your email is correct.
Notes: For PCB fabrication, we require PCB design file in Gerber RS-274X format (most preferred), *.PCB/DDB (Protel, inform your program version) format or *.BRD (Eagle) format. For PCB assembly, we require PCB design file in above mentioned format, drilling file and BOM. Click to download BOM template To avoid file missing, please include all files into one folder and compress it into .zip or .rar format.


