Inquire: Call 0086-755-23203480, or reach out via the form below/your sales contact to discuss our design, manufacturing, and assembly capabilities.
Quote: Email your PCB files to Sales@pcbsync.com (Preferred for large files) or submit online. We will contact you promptly. Please ensure your email is correct.
Notes: For PCB fabrication, we require PCB design file in Gerber RS-274X format (most preferred), *.PCB/DDB (Protel, inform your program version) format or *.BRD (Eagle) format. For PCB assembly, we require PCB design file in above mentioned format, drilling file and BOM. Click to download BOM template To avoid file missing, please include all files into one folder and compress it into .zip or .rar format.
After spending over a decade working with RFID systems across access control, supply chain, and IoT applications, I’ve seen the same antenna design mistakes repeated countless times. The difference between a tag that reads reliably at 10 meters and one that struggles at 2 meters often comes down to decisions made during the RFID antenna PCB design phase.
This guide covers everything you need to know about designing RFID antenna PCBs that actually work in real-world conditions. Whether you’re building your first LF access card or optimizing a UHF supply chain tag, the principles here will help you avoid the debugging sessions that eat up 40% of most RFID development cycles.
An RFID antenna PCB integrates the antenna, matching network, and often the RFID IC onto a single printed circuit board. Unlike discrete wire antennas, PCB-based designs offer precise control over trace geometry, consistent manufacturing, and compact form factors that fit modern applications.
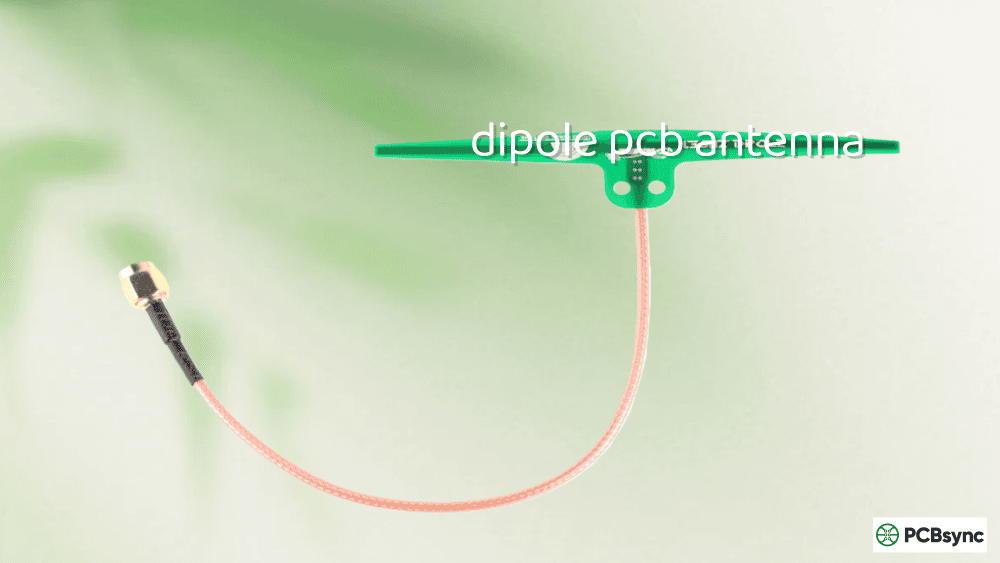
The antenna itself is simply a copper trace etched onto the substrate. For LF and HF systems, this typically takes the form of a spiral coil. UHF designs use dipoles, patches, or meandered structures. The magic happens when these traces are precisely tuned to resonate at the target frequency and matched to the chip’s impedance.
How RFID Antenna PCBs Work
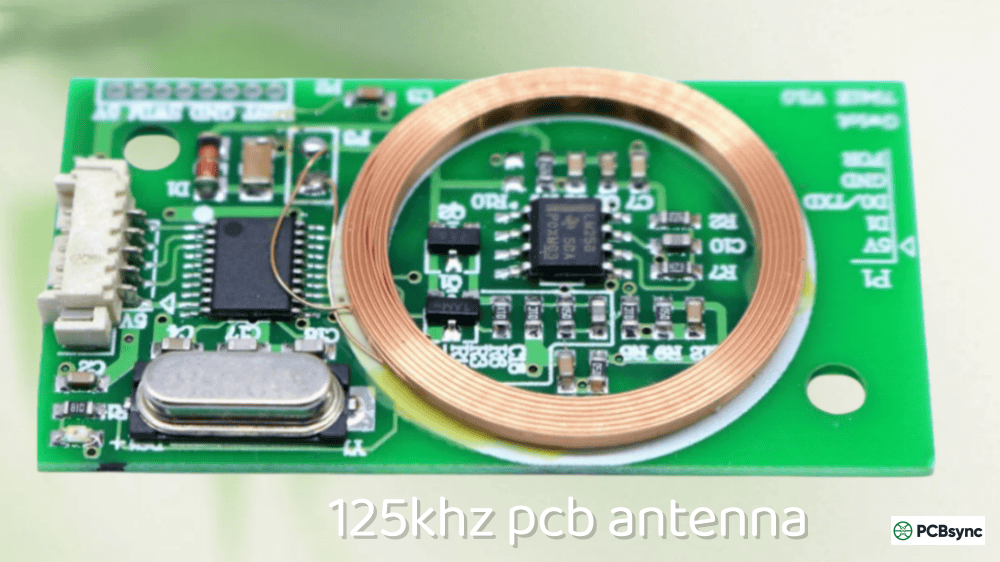
The operating principle depends on the frequency band. LF (125 kHz) and HF (13.56 MHz) systems rely on near-field inductive coupling. The reader’s antenna generates a magnetic field, which induces a voltage in the tag’s coil antenna. This powers the chip and enables data transmission through load modulation.
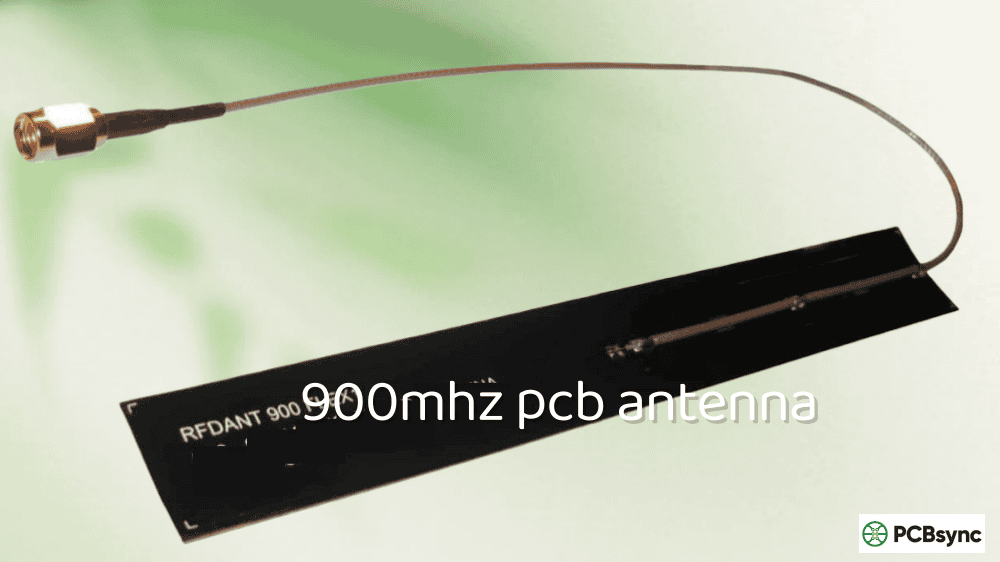
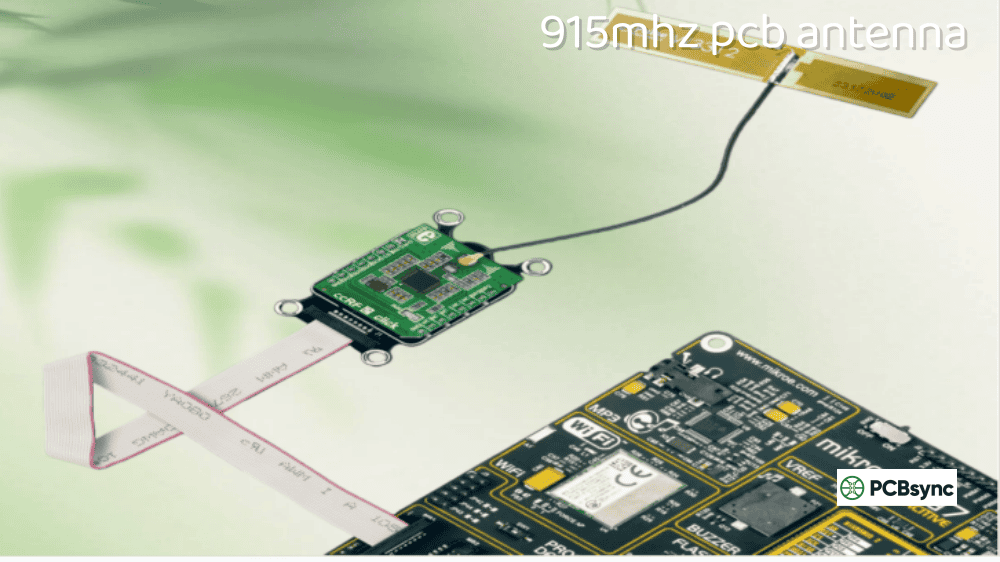
UHF systems (860-960 MHz) work differently. They use far-field electromagnetic propagation, where the tag antenna captures RF energy and reflects a modulated signal back to the reader. This allows much longer read ranges but requires careful attention to polarization and antenna gain patterns.
RFID Frequency Bands and Their PCB Antenna Requirements
Choosing the right frequency band is your first major design decision. Each band has distinct antenna requirements, read ranges, and application sweet spots.
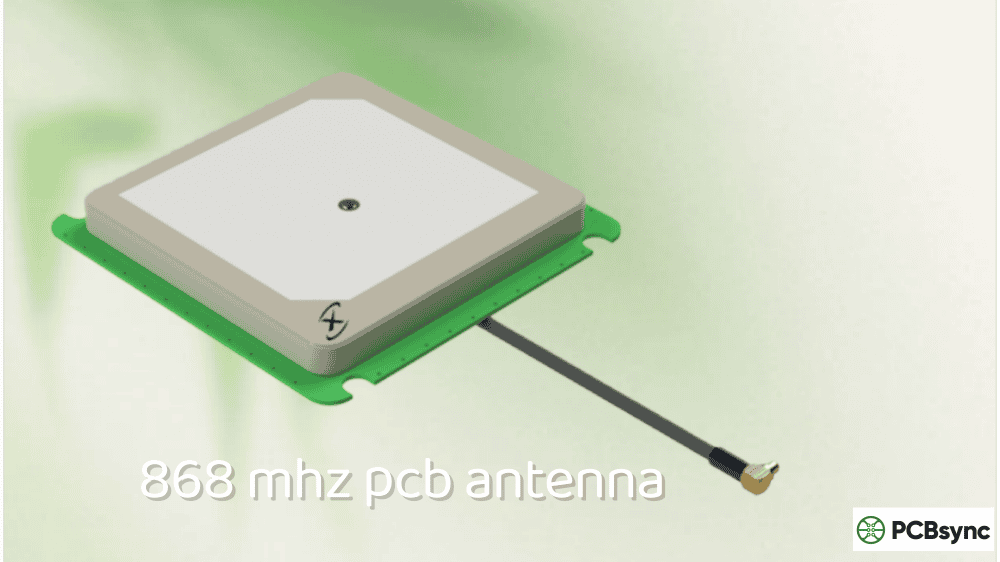
Note that UHF frequency allocations vary by region: Europe uses 866-869 MHz, the US uses 902-928 MHz, and Asian countries have their own bands. Global designs need to cover 860-960 MHz, which significantly impacts bandwidth requirements.
Core RFID Antenna PCB Design Principles
Impedance Matching: The Foundation of Performance
If there’s one concept that separates working RFID antenna PCB designs from failed ones, it’s impedance matching. When the antenna impedance doesn’t match the chip impedance, energy reflects back instead of transferring. In practical terms, poor matching can cut your read range in half or worse.
For UHF RFID systems, you’re typically targeting conjugate matching to the chip’s complex impedance (often around 15-25 ohms resistive with a significant capacitive component). HF systems usually match to the internal tuning capacitance of the chip. The goal is maximum power transfer, which occurs when antenna impedance equals the complex conjugate of the chip impedance.
Matching Network Options:
L-Matching Networks: Simple LC combinations in an L configuration. Easy to implement but limited bandwidth.
Pi/T-Matching Networks: Better bandwidth control with three elements. More complex design but worth it for wideband applications.
T-Match Structures: For UHF tags, planar inductive strips can provide conjugate matching without discrete components.
Geometry Tuning: Adjusting antenna dimensions and feed point location to achieve target impedance directly.
Calculating Antenna Inductance for LF/HF Designs
For inductive coupling systems, hitting the target inductance is critical. The inductance determines the resonant frequency when combined with the chip’s internal or external tuning capacitance.
For HF (13.56 MHz) designs, target coil inductance in the 1-2 µH range. LF designs typically need 100-500 µH depending on the application. The inductance is determined by trace geometry: number of turns, trace width, spacing between turns, and overall coil dimensions.
The resonant frequency formula is fundamental: f = 1 / (2π√LC). For a 13.56 MHz system with 27 pF internal chip capacitance, you need approximately 5.1 µH inductance. Always verify your calculations with simulation and measurement.
PCB Material Selection for RFID Antennas
Your substrate choice directly impacts antenna performance. The key parameters are dielectric constant (εr), loss tangent (tan δ), and consistency across the board.
For LF and HF designs, standard FR-4 works well because signal loss is minimal at lower frequencies. UHF designs benefit significantly from low-loss materials like Rogers, where the higher loss tangent of FR-4 can measurably reduce read range.
Trace Width, Spacing, and Geometry Guidelines
Trace geometry directly controls your antenna’s electrical characteristics. Here are the key parameters and typical values:
Trace spacing: 0.3-0.5 mm minimum (balance between coupling and manufacturability)
Number of turns: 3-6 turns for typical credit card size
Coil size: Larger area = more magnetic flux capture = better range
For UHF Dipole Antennas:
Dipole length: Approximately λ/2 at center frequency (adjust for substrate dielectric)
Trace width: 1-3 mm (affects bandwidth and impedance)
Meandering: Reduces physical size but narrows bandwidth
Common RFID Antenna PCB Design Mistakes
Based on years of debugging failed designs, these are the mistakes I see most frequently. Avoiding these will save you significant development time.
1. Placing the Antenna Too Close to Metal
This is probably the number one killer of RFID antenna performance. Metal near an HF/LF coil creates eddy currents that dampen the magnetic field and shift inductance. For UHF antennas, metal acts as a reflector that detunes the antenna and distorts the radiation pattern.
Solution: Maintain at least 10 mm spacing between the antenna coil and any metal, including ground planes. If you absolutely must mount near metal, use a ferrite sheet as a shield. For UHF on-metal applications, use specialized designs like patch antennas with ground planes designed to work with the metal surface.
2. Ignoring Environmental Detuning
Your antenna works perfectly on the bench, then fails in the final enclosure. This happens because plastics, adhesives, and even human hands change the effective dielectric environment, shifting resonant frequency.
Solution: Always tune the antenna in its final operating environment. Simulate with the actual enclosure materials. Add tuning components that can be adjusted during production. Leave space for manual trimming if needed.
3. Inadequate Impedance Matching
Many designers calculate theoretical values and assume they’ll work. In practice, manufacturing tolerances, parasitic effects, and environmental factors mean your initial match is rarely optimal.
Solution: Use a network analyzer to measure actual impedance. Target return loss (S11) below -10 dB, ideally below -15 dB. Leave footprints for multiple matching component values so you can tune during prototyping. Use 0603 components for easier soldering during tuning iterations.
4. Ground Plane Mistakes
For HF/LF designs, placing the antenna coil over a solid ground plane kills performance. For UHF designs, an insufficient or improperly designed ground plane reduces antenna efficiency.
Solution: Keep HF/LF coils away from ground planes entirely. For UHF, ensure the ground plane extends at least λ/4 beyond the antenna edges. Avoid ground plane slots that interrupt return current paths.
5. Neglecting Q Factor Considerations
A very high Q factor might seem desirable, but it creates an extremely narrow bandwidth. If your center frequency drifts even slightly due to manufacturing variation or temperature, performance degrades sharply.
Solution: For HF reader antennas, target Q factor between 15-20. If your measured Q exceeds 20, add a series resistor to dampen it. Balance the trade-off: higher Q = better sensitivity but narrower bandwidth.
Define Requirements: Frequency band, read range, form factor constraints, operating environment, regulatory requirements.
Calculate Initial Parameters: Target inductance, trace dimensions, matching network values. Use online calculators for initial estimates.
Simulate: Run EM simulations in HFSS, CST, or similar tools. Verify impedance, radiation pattern, and efficiency.
Prototype: Build a test board with tuning component footprints. Use 0603 components for easier adjustment.
Measure: Use a VNA to measure S11, impedance, and resonant frequency. Compare to simulation.
Tune: Adjust matching components to optimize return loss. Iterate until S11 < -15 dB at target frequency.
Test in Environment: Install in final enclosure and re-measure. Perform read range testing in realistic conditions.
Document: Record final component values, test results, and any deviations from simulation.
PCB Layout Best Practices
Antenna Placement: Position at board edge, away from other components and traces. Maintain clear area around the antenna.
Trace Consistency: Maintain uniform trace width throughout the antenna. Variations cause impedance discontinuities.
Via Usage: Minimize vias in the antenna signal path. Each via adds inductance and resistance.
Component Placement: Keep matching components as close as possible to the chip/antenna interface. Short traces minimize parasitic effects.
Ground Vias: For UHF designs, use adequate ground vias to ensure low-impedance return paths.
Thermal Relief: Avoid thermal reliefs on antenna pads—they can affect high-frequency performance.
Testing and Validation Procedures
Proper testing separates professional designs from hobby projects. Here’s what to measure and why:
Return Loss (S11): Measured with a VNA, this tells you how well the antenna is matched. Target < -10 dB minimum, < -15 dB ideal. At -10 dB, about 10% of power reflects back. At -15 dB, only 3% reflects.
Resonant Frequency: The frequency where reactance crosses zero (or S11 shows minimum). Should align with your target operating frequency.
Bandwidth: The frequency range where S11 stays below your threshold. Wider bandwidth provides margin for manufacturing variation and environmental changes.
Read Range: Real-world testing with actual RFID readers and tags. Test at multiple orientations and with typical obstructions.
RFID Antenna PCB Applications
Understanding common applications helps inform design decisions. Here’s where different RFID antenna PCB configurations excel:
Access Control and Security:
LF and HF systems dominate this space. The short read range is actually a feature—it prevents unauthorized reads from a distance. Compact PCB antennas fit easily into cards, fobs, and wearables.
Supply Chain and Logistics:
UHF RFID antenna PCBs enable reading hundreds of tagged items per second at distances up to 12 meters. This transforms warehouse operations, reducing manual inventory time by up to 90%.
Retail and Inventory:
Companies like Zara have demonstrated how RFID can revolutionize retail inventory management. UHF tags on individual items enable real-time stock visibility and faster checkout.
Healthcare:
Patient wristbands, equipment tracking, and medication verification all rely on RFID. HF is common for patient identification due to its short, controlled read range. UHF tracks assets throughout facilities.
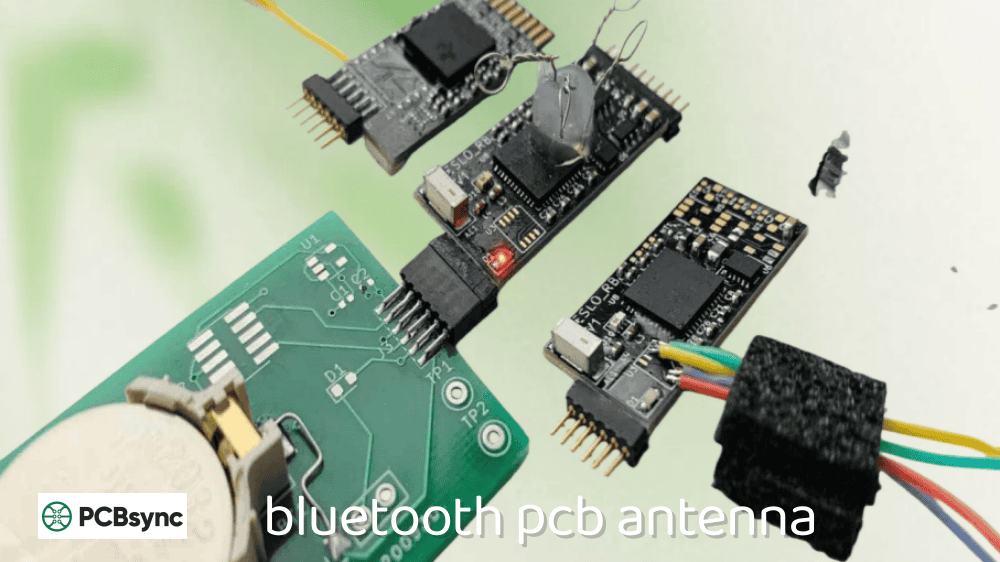
IoT and Consumer Electronics:
Embedded RFID/NFC antennas enable contactless pairing, authentication, and data transfer in smartphones, wearables, and smart home devices.
Simulation Tools and Design Resources
Professional EM Simulation Software
Ansys HFSS: Industry-leading 3D EM simulator. Excellent for UHF antenna design and complex structures.
CST Studio Suite: Strong time-domain solver, good for wideband analysis. Popular in academic and commercial settings.
Keysight ADS: Integrated circuit/system design with EM simulation capabilities.
AWR Microwave Office: Good for RF circuit design and antenna matching network optimization.
Free Online Design Tools
NXP RFID PCB Antenna Designer: Generates UHF antenna designs based on your specifications. Great starting point.
NXP NFC Antenna Design Hub: Calculates matching components for NFC antenna designs with their ICs.
Technick Inductance Calculator: Simple tool for rectangular coil inductance calculations.
TI SLOA241: Antenna Design Guide for TRF79xxA—excellent general-purpose HF antenna design guide.
ST AN2866: How to design a 13.56 MHz customized antenna for ST25 series.
NXP AN13219: PN7160 antenna design and matching guide.
Microchip AN710: Antenna Circuit Design for RFID Applications—comprehensive theory and formulas.
Frequently Asked Questions About RFID Antenna PCB Design
Can I use the same RFID antenna PCB design for different frequencies?
No. RFID antenna PCB designs are frequency-specific because antenna dimensions, inductance requirements, and matching networks all depend on operating frequency. An HF antenna designed for 13.56 MHz won’t work at 125 kHz or 915 MHz. Each frequency band requires a dedicated antenna design optimized for that specific range.
How do I increase the read range of my RFID antenna PCB?
Several factors affect read range: use a larger antenna area where possible, optimize impedance matching (target S11 < -15 dB), choose low-loss substrate materials like Rogers for UHF applications, ensure the antenna is positioned away from metal objects, and verify proper alignment with the reader’s polarization. For passive tags, power harvesting efficiency is often the limiting factor, so maximizing power transfer through good matching is critical.
Is FR-4 acceptable for RFID antenna PCB designs?
FR-4 works well for LF (125 kHz) and HF (13.56 MHz) designs where the loss tangent impact is minimal. For UHF (860-960 MHz) designs, FR-4’s higher loss tangent reduces antenna efficiency and can noticeably impact read range. Production UHF tags typically use Rogers or similar low-loss materials. FR-4 is fine for UHF prototyping, but plan to move to better materials for production.
What causes an RFID antenna to detune after installation?
Detuning typically occurs due to environmental factors not present during bench testing. Common causes include nearby metal surfaces, plastic enclosure materials affecting the dielectric environment, human body proximity (especially for wearables), adhesives used for mounting, and temperature changes affecting material properties. Always perform final tuning with the antenna in its actual operating environment and consider adding adjustable tuning components.
How do I design an RFID antenna PCB for on-metal applications?
On-metal applications require specialized antenna designs. For UHF, use patch antennas or designs with integrated ground planes that use the metal surface as part of the antenna structure rather than fighting against it. Add spacing or ferrite absorber material between the antenna and the metal. Expect to detune significantly from free-space designs. Simulation tools like HFSS can model metal proximity effects before prototyping.
Conclusion
Successful RFID antenna PCB design comes down to understanding the fundamentals—impedance matching, material selection, and environmental effects—then applying systematic testing and tuning. The mistakes I’ve outlined are the same ones that have cost engineering teams weeks of debugging time, and the best practices come from hard-won experience.
Start with simulation to get in the ballpark, but always validate with measurement. Leave room for tuning. Test in the real environment, not just on the bench. Document everything so you can reproduce your results.
The tools and resources available today make RFID antenna PCB design more accessible than ever. Free online calculators, manufacturer application notes, and affordable VNAs mean you don’t need a million-dollar lab to build professional-quality RFID systems. What you do need is patience, attention to detail, and a willingness to iterate until you get it right.
Inquire: Call 0086-755-23203480, or reach out via the form below/your sales contact to discuss our design, manufacturing, and assembly capabilities.
Quote: Email your PCB files to Sales@pcbsync.com (Preferred for large files) or submit online. We will contact you promptly. Please ensure your email is correct.
Notes: For PCB fabrication, we require PCB design file in Gerber RS-274X format (most preferred), *.PCB/DDB (Protel, inform your program version) format or *.BRD (Eagle) format. For PCB assembly, we require PCB design file in above mentioned format, drilling file and BOM. Click to download BOM template To avoid file missing, please include all files into one folder and compress it into .zip or .rar format.


