Inquire: Call 0086-755-23203480, or reach out via the form below/your sales contact to discuss our design, manufacturing, and assembly capabilities.
Quote: Email your PCB files to Sales@pcbsync.com (Preferred for large files) or submit online. We will contact you promptly. Please ensure your email is correct.
Notes: For PCB fabrication, we require PCB design file in Gerber RS-274X format (most preferred), *.PCB/DDB (Protel, inform your program version) format or *.BRD (Eagle) format. For PCB assembly, we require PCB design file in above mentioned format, drilling file and BOM. Click to download BOM template To avoid file missing, please include all files into one folder and compress it into .zip or .rar format.
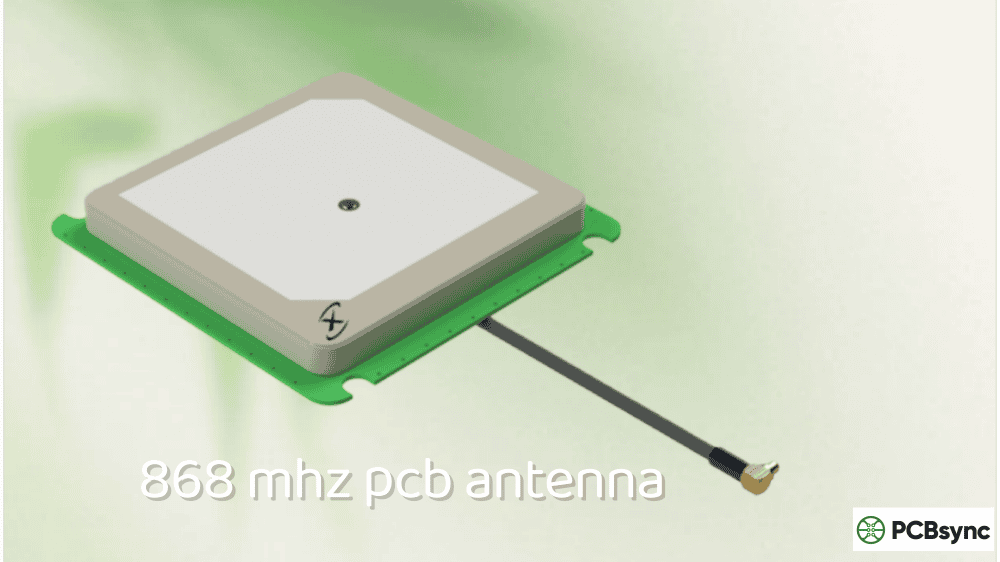
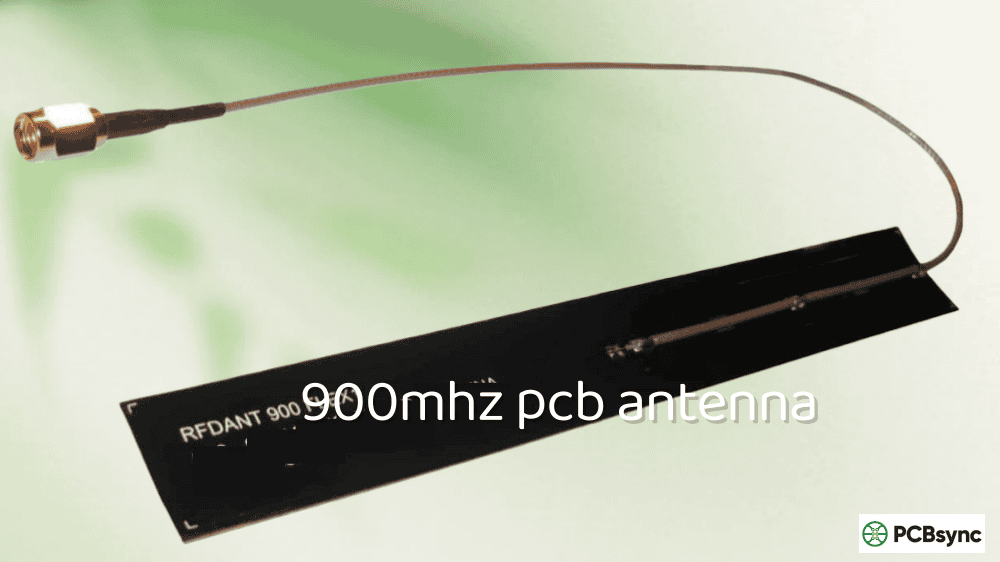
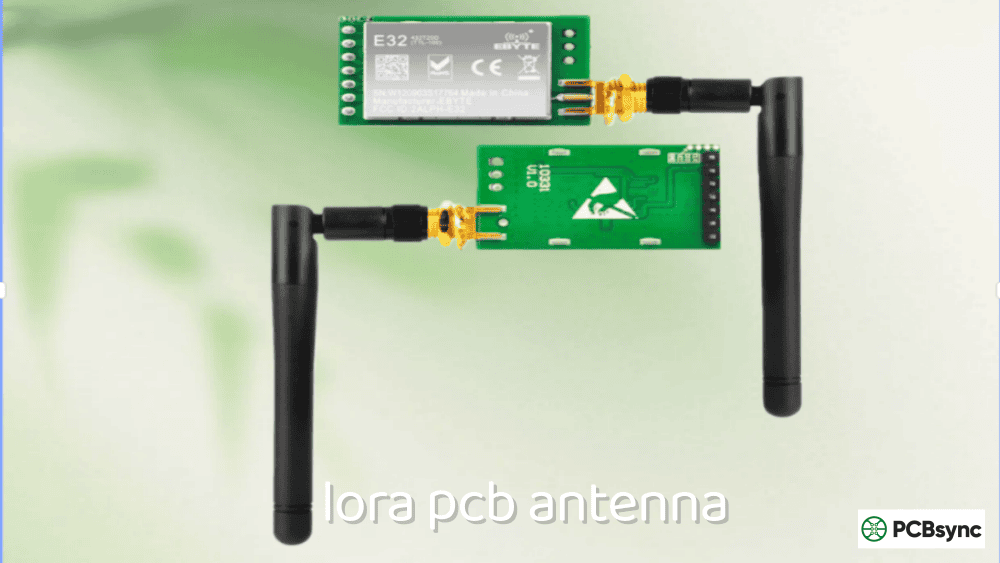
Designing an 868 MHz PCB antennasits in a sweet spot between the challenging long wavelengths of 433 MHz and the compact dimensions of 2.4 GHz. When I first started working on LoRa sensor nodes, I assumed I could just scale up my 2.4 GHz antenna experience. That partially worked, but 868 MHz has its own quirks—the quarter wavelength is still 86mm, which means careful folding and layout planning. The good news is that these antennas are much more practical to integrate than their 433 MHz counterparts.
This guide covers practical 868 MHz PCB antenna design for European LoRa applications, smart metering, and ISM band devices. Whether you’re building an SX1276-based sensor node, a LoRaWAN gateway, or a wireless M-Bus meter reader, these dimensions and matching techniques will get your RF design working. I’ll focus on proven antenna structures—meander monopoles, inverted-F antennas (IFA), and inverted-L antennas (ILA)—that work on standard FR4 boards without exotic materials.
The 868 MHz band is the European equivalent of the 915 MHz US ISM band. Understanding the regulatory framework helps you design antennas with appropriate bandwidth and efficiency.
868 MHz Band Allocations in Europe
Sub-band
Frequency Range
Bandwidth
Max Power
Duty Cycle
Common Use
g
863.0–870.0 MHz
7 MHz
25 mW
0.1%
General
g1
868.0–868.6 MHz
600 kHz
25 mW
1%
LoRaWAN uplink
g2
868.7–869.2 MHz
500 kHz
25 mW
0.1%
Alarms
g3
869.4–869.65 MHz
250 kHz
500 mW
10%
LoRaWAN downlink
g4
869.7–870.0 MHz
300 kHz
25 mW
1%
General
The relatively narrow sub-bands (250–600 kHz typical) mean your 868 MHz PCB antenna doesn’t need extremely wideband performance. A well-tuned antenna with 10–20 MHz bandwidth centered on 868 MHz covers all relevant channels comfortably.
868 MHz Wavelength Calculations
Parameter
Value
Notes
Center frequency
868 MHz
EU LoRaWAN standard
Wavelength (λ)
345 mm
Free space
Half wavelength (λ/2)
173 mm
Dipole length
Quarter wavelength (λ/4)
86 mm
Monopole length
λ/4 on FR4 (εr = 4.4)
52–65 mm
Effective length on PCB
Typical meander length
30–50 mm
Physical PCB footprint
Compared to 433 MHz where quarter-wave is 173mm, the 86mm at 868 MHz is much more manageable. Most IoT enclosures can accommodate this without extreme miniaturization.
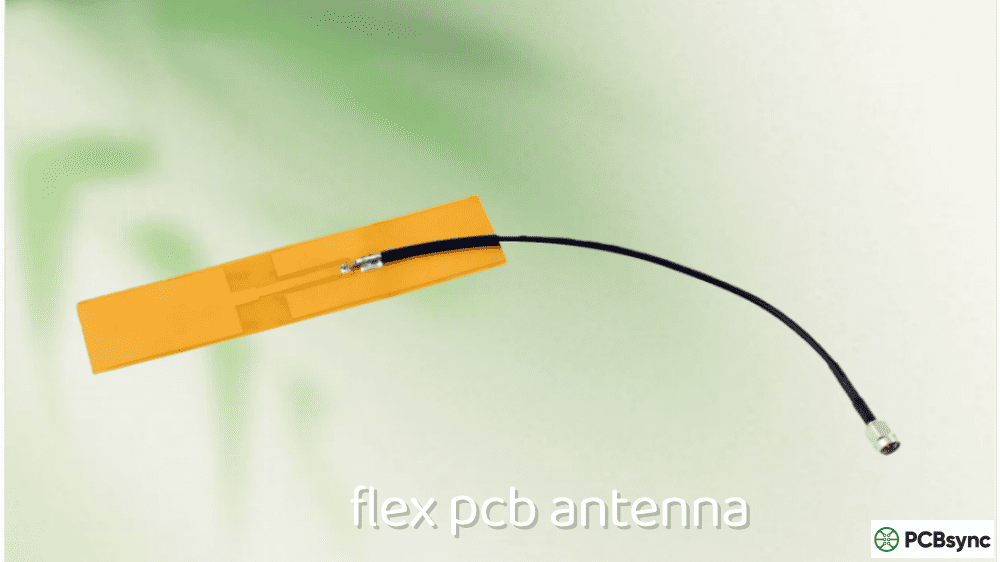
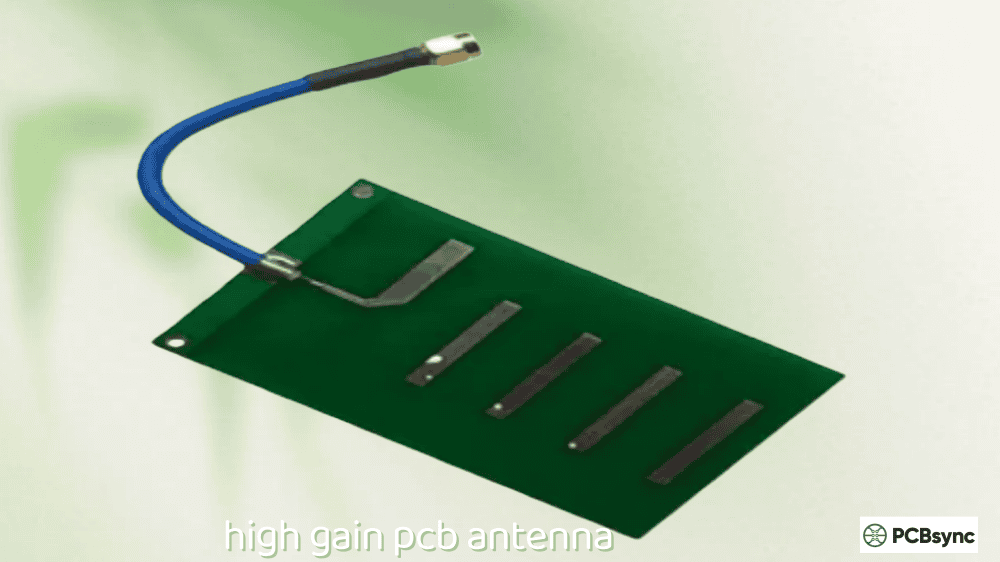
868 MHz PCB Antenna Types Compared
Silicon Labs’ AN768 application note documents nine different antenna types for 868 MHz. Each has trade-offs between size, gain, and ease of integration.
Antenna Type Selection for 868 MHz
Antenna Type
PCB Size Required
Gain
Complexity
Best For
Meander monopole
30–50 × 15–25 mm
0 to +2 dBi
Medium
Dedicated antenna area
IFA (Inverted-F)
50–80 × 10–15 mm
+1 to +2 dBi
Medium
Board edge placement
ILA (Inverted-L)
50–80 × 8–12 mm
0 to +1 dBi
Low
Circumference routing
Chip antenna
8–15 × 2–4 mm
-2 to +1 dBi
Low
Very small devices
Helical (wire)
8–12 mm diameter
+1 to +2 dBi
Medium
Compact vertical
Whip (wire)
86 mm length
+2 to +3 dBi
Very low
Maximum range
When to Use Each 868 MHz Antenna Type
Project Type
Recommended Antenna
Reason
LoRa sensor node
IFA or ILA
Good range, fits board edge
Smart meter
Meander PCB
Low cost, integrated
Key fob / remote
Helical wire or chip
Compact size
LoRaWAN gateway
External whip
Maximum range, omnidirectional
Wearable device
Chip antenna
Minimal footprint
Industrial IoT
IFA + matching
Robust, tunable
For most 868 MHz PCB antenna applications in LoRa devices, the IFA or ILA along the board edge provides the best balance of performance and space efficiency.
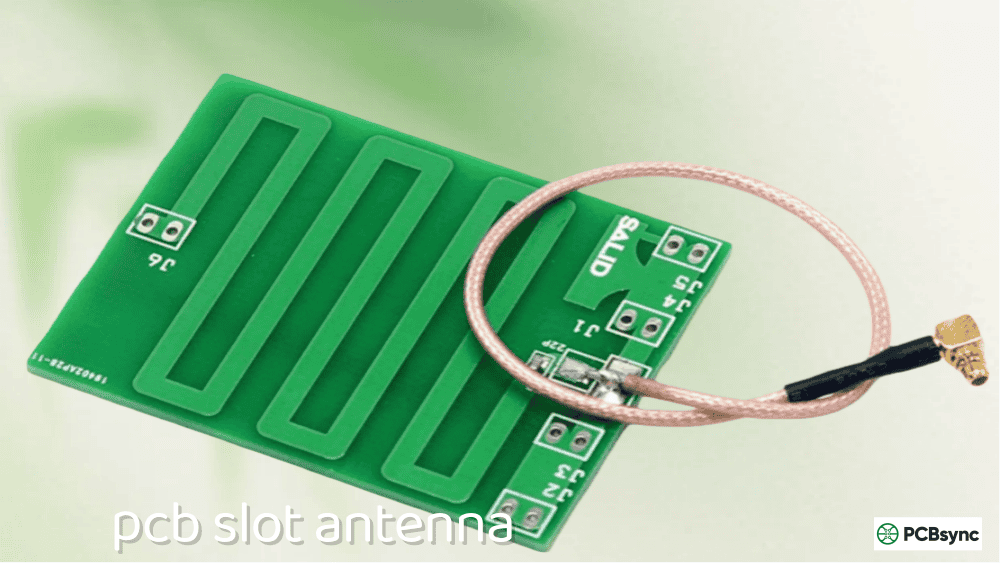
Meander Antenna Design for 868 MHz
Meander antennas compress the required electrical length into a serpentine pattern. At 868 MHz, the dimensions are more practical than at 433 MHz, but you still need dedicated antenna space.
How 868 MHz Meander Antennas Work
The meander monopole folds a quarter-wave element back and forth. Total trace length must approximate the effective quarter wavelength (52–65mm on FR4), while the physical footprint can be 40–60% smaller.
Key design relationships:
Total trace length ≈ 55–70 mm (depends on trace width, spacing, substrate)
Physical footprint: 30–50 mm length typical
Bandwidth: 15–30 MHz (adequate for all 868 MHz sub-bands)
Efficiency: 70–90% (better than 433 MHz meanders)
Meander Antenna Dimension Tables for 868 MHz
Compact Meander (30 × 15 mm footprint):
Parameter
Dimension
Notes
Physical footprint
30 × 15 mm
Space-constrained design
Trace width
1.0 mm
Balance of Q and size
Trace spacing
1.0 mm
Minimize coupling
Number of meanders
5–7
Folds back and forth
Total trace length
~58 mm
Effective λ/4
Ground clearance
10 mm minimum
From trace to ground
Keep-out zone
35 × 20 mm
No copper any layer
Standard Meander (40 × 20 mm footprint):
Parameter
Dimension
Notes
Physical footprint
40 × 20 mm
Good performance
Trace width
1.5 mm
Lower resistance
Trace spacing
1.5 mm
Reduced mutual coupling
Number of meanders
4–6
Fewer folds = better efficiency
Total trace length
~62 mm
Effective λ/4
Ground clearance
12 mm minimum
Better radiation
Keep-out zone
45 × 25 mm
No copper any layer
Large Meander (50 × 25 mm footprint):
Parameter
Dimension
Notes
Physical footprint
50 × 25 mm
Best PCB antenna performance
Trace width
2.0 mm
Lowest loss
Trace spacing
2.0 mm
Minimal coupling
Number of meanders
3–5
Closest to straight monopole
Total trace length
~68 mm
Effective λ/4
Ground clearance
15 mm minimum
Optimal
Keep-out zone
55 × 30 mm
No copper any layer
IFA and ILA Design for 868 MHz
Inverted-F antennas (IFA) and Inverted-L antennas (ILA) route along the PCB edge, making efficient use of board perimeter space. These are popular choices for 868 MHz PCB antenna designs in LoRa modules.
IFA vs ILA Comparison
Feature
IFA (Inverted-F)
ILA (Inverted-L)
Structure
Horizontal + vertical + short
Horizontal + vertical only
Impedance matching
Built-in (shorting stub)
External matching needed
Feed complexity
Medium
Simple
Bandwidth
Wider (typically 30+ MHz)
Narrower (15–20 MHz)
Height above ground
8–12 mm
6–10 mm
Typical gain
+1 to +2 dBi
0 to +1 dBi
IFA Dimensions for 868 MHz
Parameter
Dimension
Notes
Horizontal arm length
45–55 mm
Primary radiating element
Vertical section
8–12 mm
Height above ground
Shorting stub distance
3–6 mm from feed
Impedance adjustment
Trace width
1.5–2.0 mm
Lower loss
Ground clearance
10–15 mm
Critical for performance
Total length along edge
55–70 mm
Board edge allocation
ILA Dimensions for 868 MHz
Parameter
Dimension
Notes
Horizontal arm length
50–65 mm
Main radiating element
Vertical section
6–10 mm
Height above ground
Trace width
1.5–2.0 mm
Lower loss
Ground clearance
8–12 mm
Minimum practical
Matching required
Yes
Pi network typically needed
Total length along edge
60–75 mm
Board edge allocation
The ILA is simpler but requires external matching. The IFA’s built-in shorting stub provides inherent impedance matching, often reducing the need for external components.
The ground plane serves as the antenna’s counterpoise. At 868 MHz, requirements are more relaxed than at 433 MHz but still important.
Minimum Ground Plane Dimensions
Application
Minimum Size
Recommended Size
Key fob
25 × 40 mm
30 × 50 mm
LoRa sensor node
30 × 50 mm
40 × 60 mm
Smart meter module
35 × 60 mm
45 × 80 mm
Gateway/hub
50 × 80 mm
60 × 100 mm
Ground Plane Design Rules for 868 MHz
Rule
Requirement
Impact
No copper under antenna
ALL layers clear
Prevents severe detuning
Minimum dimension
≥ λ/8 (43 mm) ideal
Adequate counterpoise
Ground edge
Perpendicular to antenna
Affects radiation pattern
Via stitching
< 15 mm spacing
Prevents slot resonance
Inner layer ground
Continuous, no splits
Reduces common-mode noise
For 868 MHz PCB antenna designs, a ground plane of at least 30×50mm provides reasonable performance. Larger is always better, but diminishing returns set in beyond about 60×100mm.
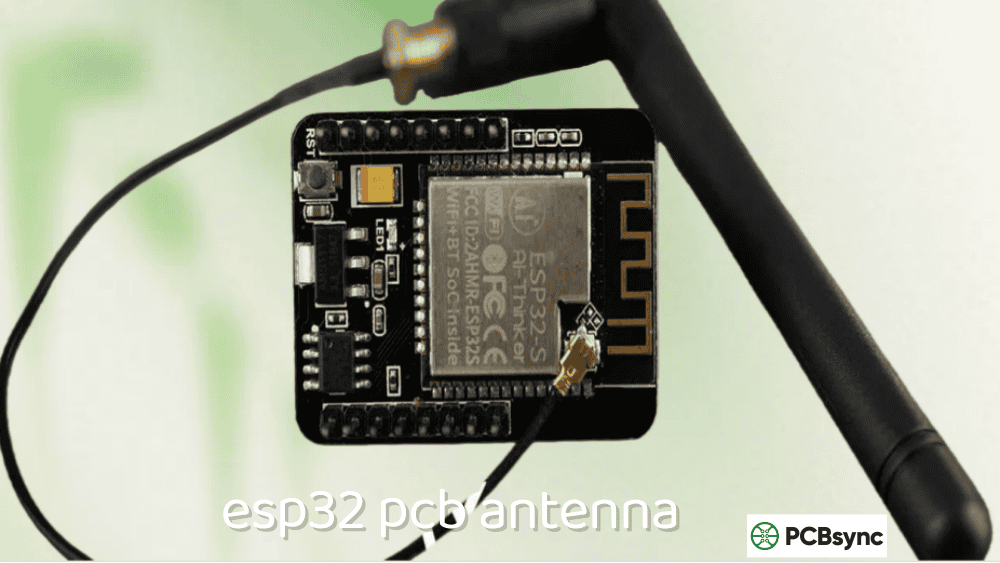
SX1276 and SX1262 LoRa Integration
The Semtech SX1276 and SX1262 are the dominant transceivers for 868 MHz LoRa applications. Understanding their RF interface is essential for antenna integration.
LoRa Transceiver RF Specifications
Parameter
SX1276
SX1262
Output impedance
50Ω single-ended
50Ω single-ended
Max TX power
+20 dBm
+22 dBm
RX sensitivity
-148 dBm (LoRa SF12)
-148 dBm (LoRa SF12)
Frequency range
137–1020 MHz
150–960 MHz
Matching
Pi network recommended
Pi network recommended
Both chips have single-ended 50Ω RF outputs, simplifying antenna connection compared to differential-output chips like the CC1101.
Most LoRa modules (RFM95W, Ra-01, E32 series) include internal matching optimized for a 50Ω antenna. When designing custom boards with bare SX1276/SX1262, include Pi network footprints for tuning.
LoRa Module Antenna Recommendations
Module
Internal Matching
External Matching Needed
RFM95W
Yes, 50Ω
Usually no
Ra-01 (Ai-Thinker)
Yes, 50Ω
Usually no
E32-868T20D
Yes, 50Ω
No
Bare SX1276/SX1262
No
Yes, Pi network
Wio-SX1262
Yes, 50Ω
Optional tuning
Matching Network Design for 868 MHz
Even with well-designed antennas, matching networks optimize performance and compensate for enclosure effects.
For a typical PCB antenna (slightly inductive impedance):
Component
Starting Value
Adjustment Range
C1 (shunt)
2.2–4.7 pF
0.5–10 pF
L1 (series)
12–27 nH
6–39 nH
C2 (shunt)
2.2–4.7 pF
0.5–10 pF
Component Selection Guidelines
Parameter
Requirement
Why
Inductor Q
> 40 at 868 MHz
Minimize loss
Inductor type
Thin film or wirewound
Not multilayer ceramic
Inductor SRF
> 2 GHz
Well above operating frequency
Capacitor type
C0G/NP0
Stable, low loss
Capacitor voltage
≥ 16V
Adequate margin
Package size
0402 preferred
Minimal parasitic inductance
High-Q inductors are critical. Using cheap multilayer ceramic inductors in your matching network can waste 1–2 dB of precious link budget.
PCB Layout Guidelines for 868 MHz
Proper layout ensures your 868 MHz PCB antenna performs as designed. These guidelines apply regardless of antenna type.
Antenna Placement Rules
Rule
Implementation
Position
Board edge or corner
Orientation
Radiating element away from ground
Distance from ICs
≥ 10 mm from any active component
Distance from metal
≥ 15 mm from screws, shields, batteries
Keep-out zone
Extend 5 mm beyond antenna footprint
Layer clearance
No copper on ANY layer under antenna
50Ω Microstrip Dimensions for 868 MHz
PCB Stackup
Dielectric Thickness
Trace Width
Notes
2-layer, 0.8 mm
0.8 mm to ground
1.5 mm
Common for small boards
2-layer, 1.0 mm
1.0 mm to ground
1.9 mm
Standard thickness
2-layer, 1.6 mm
1.6 mm to ground
3.0 mm
Wide trace required
4-layer, L1-L2
0.2 mm to L2 ground
0.36 mm
Thin dielectric preferred
4-layer, L1-L2
0.36 mm to L2 ground
0.7 mm
Common 4-layer stackup
Layout Checklist for 868 MHz Antenna
Item
Check
Ground under antenna
❌ None on any layer
Ground clearance
✅ ≥ 10 mm from antenna trace
RF trace impedance
✅ 50Ω calculated for your stackup
RF trace length
✅ As short as practical
RF trace routing
✅ No sharp bends, use 45° or curves
Matching network
✅ Footprints included
Via stitching
✅ Along RF trace edges
Crystal/oscillator
✅ Away from antenna area
Battery
✅ Not under antenna
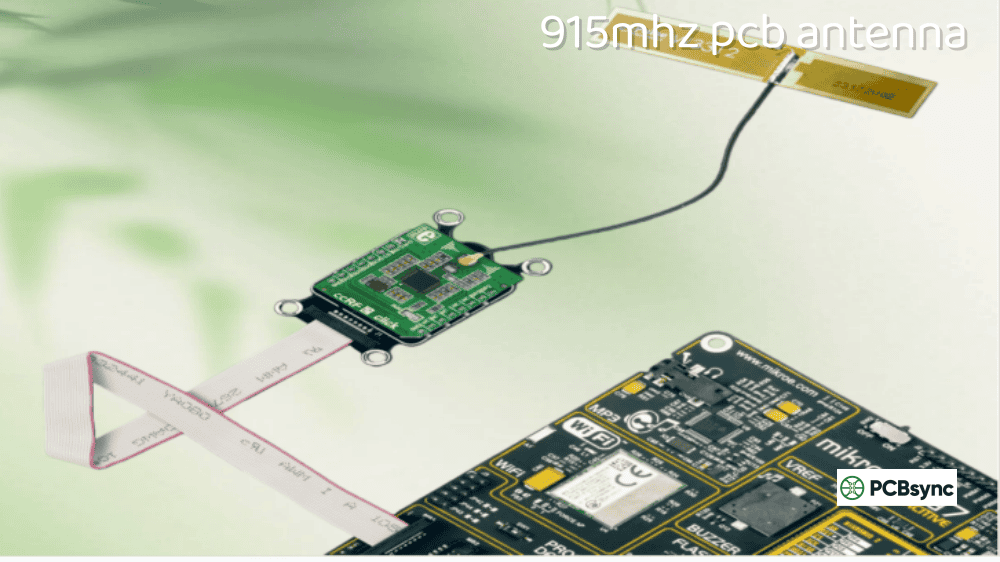
868 MHz vs 915 MHz: Regional Considerations
If you’re designing for global markets, understanding the differences between 868 MHz (EU) and 915 MHz (US/AU) helps with antenna design decisions.
Regional Band Comparison
Parameter
868 MHz (EU)
915 MHz (US)
Frequency range
863–870 MHz
902–928 MHz
Center frequency
868 MHz
915 MHz
Bandwidth
7 MHz
26 MHz
Max power
25 mW (14 dBm) typical
1 W (30 dBm)
Duty cycle
Limited (0.1–10%)
No limit
LoRaWAN channels
8
64+
Designing Dual-Band 868/915 MHz Antennas
Approach
Complexity
Performance
Wideband antenna (850–930 MHz)
Medium
Slight efficiency loss
Tunable matching network
High
Good at each frequency
Separate antennas
High
Best performance
Compromise tuning (890 MHz)
Low
-1 to -2 dB at band edges
For most applications, designing a slightly wider-band antenna centered around 890 MHz provides acceptable performance across both EU and US bands. The 5% frequency difference results in only minor detuning.
Testing Your 868 MHz PCB Antenna
Proper testing validates your 868 MHz PCB antenna before production commits.
Test Equipment Options
Equipment
Purpose
Budget Option
VNA
S11, impedance
NanoVNA (~$50)
Spectrum analyzer
Output power
RTL-SDR + software
Signal generator
Receiver testing
Second LoRa module
Power meter
Absolute power
USB power sensor
S11 (Return Loss) Targets
S11 Value
Assessment
Action
> -6 dB
Poor
Major retuning needed
-6 to -10 dB
Marginal
Adjust matching
-10 to -15 dB
Good
Acceptable for production
< -15 dB
Excellent
Optimal match
LoRa Range Testing Benchmarks
Test Scenario
Good Result
Marginal
Poor
RSSI at 100m (LOS)
> -70 dBm
-70 to -90 dBm
< -90 dBm
RSSI at 500m (LOS)
> -90 dBm
-90 to -110 dBm
< -110 dBm
Max range (LOS)
> 2 km
1–2 km
< 1 km
Urban (buildings)
> 500 m
200–500 m
< 200 m
Note: LoRa’s spread spectrum modulation allows communication at very low RSSI (-120 dBm or lower with SF12). Compare against a known-good reference antenna.
Problem: Ground plane removed on top/bottom but present on inner layers. Effect: Severe capacitive loading, resonance shift down 50+ MHz. Solution: Check ALL layers in Gerber review before fabrication.
Problem: Calculating antenna length for air, not PCB substrate. Effect: Antenna resonates 20–30% too high in frequency. Solution: Use effective dielectric constant (εeff ≈ 3.0–3.5 for FR4 microstrip).
Mistake 4: Ignoring Enclosure Effects
Problem: Antenna tuned on bare PCB, then enclosed in plastic housing. Effect: Resonance shifts down 5–15 MHz, VSWR degrades. Solution: Final tuning with enclosure in place, include matching network.
Mistake 5: Poor RF Trace Routing
Problem: Long, meandering 50Ω trace from module to antenna. Effect: Added loss, potential radiation/pickup. Solution: Keep RF trace as short as possible, direct routing.
Mistake 6: Battery Under Antenna Area
Problem: Li-ion cell positioned beneath PCB antenna. Effect: Significant detuning, pattern distortion, reduced efficiency. Solution: Position battery away from antenna, add ground between them.
Useful Resources for 868 MHz Antenna Design
Application Notes and Design Guides
Document
Source
Content
AN768
Silicon Labs
868 MHz antenna selection guide (9 types)
AN782
Silicon Labs
868 MHz antenna matrix measurement
DN024
Texas Instruments
868/915/955 MHz monopole PCB antenna
SWRA227
Texas Instruments
Sub-1 GHz antenna reference designs
SX1276 Datasheet
Semtech
LoRa transceiver RF specifications
SX1262 Datasheet
Semtech
Latest LoRa transceiver
Design Tools
Tool
Purpose
Cost
NanoVNA
Antenna measurement
$50–100
SimNEC
Smith chart matching
Free
AppCAD
RF calculations
Free
Saturn PCB Toolkit
Trace impedance
Free
MMANA-GAL
Antenna simulation
Free
4NEC2
Antenna modeling
Free
Commercial Reference Designs
Design
Source
Features
RFM95W
HopeRF
LoRa 868 MHz module with matching
E32-868T20D
Ebyte
Complete LoRa transceiver
Ra-01
Ai-Thinker
Low-cost LoRa module
Wio-SX1262
Seeed Studio
Arduino-compatible LoRa
Frequently Asked Questions
What’s the minimum PCB size for an 868 MHz antenna?
The minimum practical PCB size for an 868 MHz PCB antenna is approximately 30mm × 50mm. This provides space for a compact meander antenna (30mm × 15mm) or an ILA along the board edge, plus the minimum ground plane (25mm × 40mm) needed for the antenna to radiate effectively. Smaller boards are possible using chip antennas or helical wire antennas, but PCB-integrated antennas need this minimum footprint. For LoRa applications requiring good range, target 40mm × 60mm or larger for best results.
How do I tune my 868 MHz antenna if it’s resonating at the wrong frequency?
First, measure the actual resonance with a VNA like the NanoVNA. If your antenna resonates too high (say 900 MHz), you need to electrically lengthen it—add a series inductor (start with 5–10 nH) in the matching network. If it resonates too low (say 820 MHz), you need to shorten it electrically—add a series capacitor (start with 2–5 pF). For fine tuning, adjust the shunt capacitors in the Pi network. If resonance is more than 50 MHz off, consider modifying the physical antenna length rather than relying purely on matching components, as extreme matching reduces efficiency.
Can I use the same antenna for both 868 MHz and 915 MHz?
Yes, with some compromise. The 5.4% frequency difference (868 vs 915 MHz) means an antenna optimized for one band will be slightly detuned at the other. Design for approximately 890 MHz center frequency with sufficient bandwidth (≥ 50 MHz for S11 < -10 dB) to cover both bands. Expect 0.5–1 dB efficiency reduction at the band edges compared to a single-band optimized design. For critical applications, use a tunable matching network or separate antennas. For most LoRa applications, a wideband compromise design works acceptably.
How much range can I expect from a PCB antenna vs external antenna?
A well-designed 868 MHz PCB antenna typically achieves 60–80% of the range of an external quarter-wave whip antenna. In practical terms, if a whip antenna gives you 5 km line-of-sight range, expect 3–4 km with a good PCB antenna. The PCB antenna might have -1 to -3 dBi gain versus +2 dBi for a whip, representing roughly 3–5 dB difference. In LoRa’s link budget, this translates to approximately 30–50% range reduction. For urban environments with obstructions, the difference is often less noticeable because multipath effects dominate.
Why is my LoRa range much shorter than expected after putting the board in an enclosure?
Enclosures—especially plastic ones with any metal content, or proximity to batteries—detune PCB antennas by lowering their resonant frequency. The plastic’s dielectric constant (typically εr = 2.5–4 for ABS/PC) loads the antenna capacitively. Solutions include: (1) Final antenna tuning with the enclosure in place, not on a bare board; (2) Including a Pi matching network and adjusting component values after enclosure; (3) Positioning the antenna section of the PCB away from enclosure walls if possible; (4) Using an enclosure window (thinner plastic) over the antenna area. Expect 5–15 MHz resonance shift from enclosure effects—this is normal and must be compensated.
Conclusion
Designing a working 868 MHz PCB antenna for LoRa and EU ISM band applications is achievable on standard FR4 boards with careful attention to dimensions and layout. The 86mm quarter wavelength is manageable—much easier than 433 MHz—and proven antenna structures like meander monopoles, IFAs, and ILAs provide good options for different board sizes.
For new 868 MHz designs, my recommendation is to start with an IFA along the board edge if you have 55–70mm of perimeter available. The built-in impedance matching from the shorting stub simplifies tuning. If space is tighter, a meander monopole in a dedicated 40×20mm area works well. Either way, include Pi matching network footprints even if you don’t expect to need them—enclosure effects almost always require some adjustment.
Test with a NanoVNA before production. Target S11 below -10 dB at 868 MHz with at least 20 MHz bandwidth. Compare LoRa RSSI readings against a known reference (like an RFM95W module with factory antenna) to validate real-world performance.
The 868 MHz band continues to grow for IoT applications. LoRaWAN, wireless M-Bus, and industrial sensors all rely on effective antenna design. With proper 868 MHz PCB antenna implementation, you can achieve multi-kilometer range with milliwatt power levels—exactly what low-power IoT demands.
Inquire: Call 0086-755-23203480, or reach out via the form below/your sales contact to discuss our design, manufacturing, and assembly capabilities.
Quote: Email your PCB files to Sales@pcbsync.com (Preferred for large files) or submit online. We will contact you promptly. Please ensure your email is correct.
Notes: For PCB fabrication, we require PCB design file in Gerber RS-274X format (most preferred), *.PCB/DDB (Protel, inform your program version) format or *.BRD (Eagle) format. For PCB assembly, we require PCB design file in above mentioned format, drilling file and BOM. Click to download BOM template To avoid file missing, please include all files into one folder and compress it into .zip or .rar format.


