Inquire: Call 0086-755-23203480, or reach out via the form below/your sales contact to discuss our design, manufacturing, and assembly capabilities.
Quote: Email your PCB files to Sales@pcbsync.com (Preferred for large files) or submit online. We will contact you promptly. Please ensure your email is correct.
Notes: For PCB fabrication, we require PCB design file in Gerber RS-274X format (most preferred), *.PCB/DDB (Protel, inform your program version) format or *.BRD (Eagle) format. For PCB assembly, we require PCB design file in above mentioned format, drilling file and BOM. Click to download BOM template To avoid file missing, please include all files into one folder and compress it into .zip or .rar format.
If you’re designing compact electronics and need to squeeze every millimeter of space, a 0.7mm PCB might be exactly what your project requires. As someone who’s spent years working with thin circuit boards across various applications, I can tell you that getting the thickness right makes all the difference between a successful product and one that fails in the field.
In this guide, I’ll walk you through everything you need to know about 0.7mm PCB boards—from understanding when they’re the right choice to navigating the manufacturing challenges that come with thin board design. Whether you’re working on wearables, IoT sensors, or space-constrained consumer electronics, this article will give you the practical knowledge to make informed decisions.
A 0.7mm PCB refers to a printed circuit board with a total finished thickness of 0.7 millimeters (approximately 0.028 inches). To put this in perspective, the industry-standard PCB thickness is 1.6mm, meaning a 0.7mm board is less than half that thickness.
This dimension includes all layers of the board: the FR-4 substrate (or alternative material), copper layers, prepreg, solder mask, and surface finish. When manufacturers quote 0.7mm, they’re referring to the final assembled thickness after all processing steps are complete.
Where Does 0.7mm Fit in the Thickness Spectrum?
PCB thickness isn’t arbitrary—it exists on a spectrum based on application requirements. Here’s how 0.7mm compares to other common options:
Thickness Category
Typical Range
Common Applications
Ultra-thin
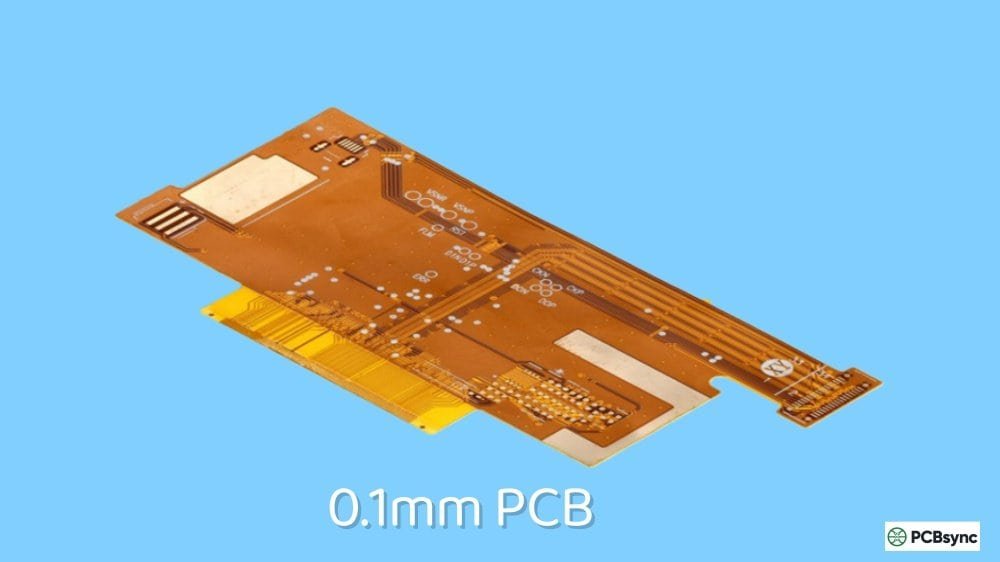
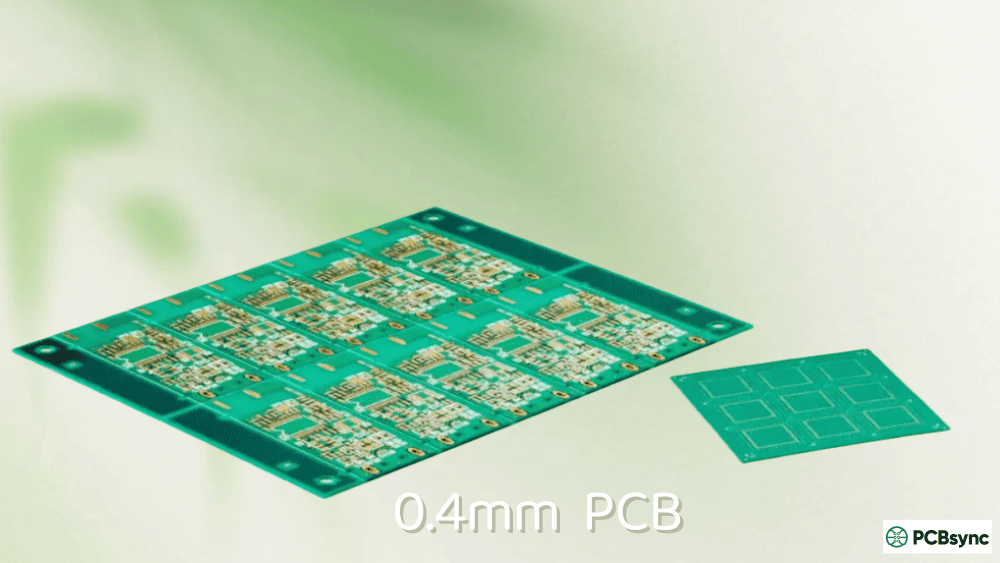
0.2mm – 0.5mm
SIM cards, smart cards, medical implants
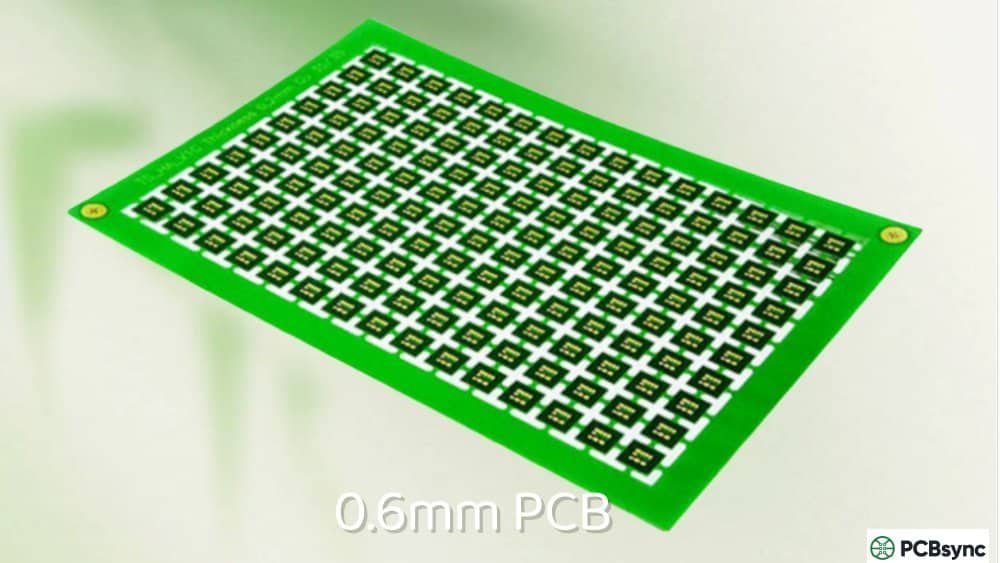
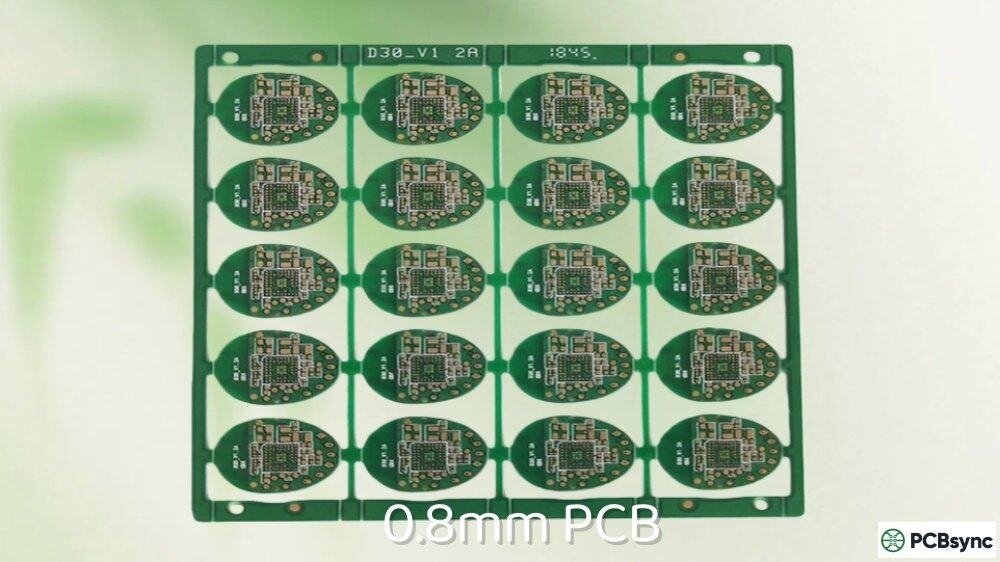
Thin (includes 0.7mm)
0.6mm – 0.8mm
Wearables, smartphones, compact IoT devices
Standard
1.0mm – 1.6mm
Consumer electronics, industrial controls
Thick
2.0mm – 3.2mm
Power electronics, automotive, aerospace
As you can see, 0.7mm PCB boards sit squarely in the thin category. They’re thin enough to fit in space-constrained designs but still rigid enough to handle moderate component loads without excessive flexing.
Why Choose a 0.7mm PCB for Your Design?
I’ve worked with engineers who default to standard 1.6mm boards simply because “that’s what we’ve always used.” But when you’re designing products where every gram and millimeter counts, that approach leaves performance on the table.
Key Advantages of 0.7mm PCB Boards
Space and Weight Savings
The most obvious benefit is the 56% reduction in thickness compared to standard boards. For wearable devices strapped to someone’s wrist or medical sensors attached to the skin, this reduction translates directly to user comfort and product appeal.
Improved Thermal Performance
Thinner boards dissipate heat more efficiently because there’s less material between the heat-generating components and the surrounding air. This matters in compact enclosures where thermal management is challenging.
Better High-Frequency Performance
In RF and high-speed digital applications, thinner dielectrics can improve signal integrity by reducing parasitic capacitance. If you’re designing boards for 5G, WiFi 6, or similar applications, the 0.7mm thickness offers advantages worth considering.
Cost Efficiency for Simple Designs
For 2-layer boards with straightforward routing, thin PCBs can actually reduce material costs. You’re using less FR-4, less copper, and less solder mask per board.
When a 0.7mm PCB Makes Sense
Based on my experience, here are the situations where specifying 0.7mm thickness typically pays off:
Wearable electronics (smartwatches, fitness bands, medical patches)
Smartphone and tablet internal boards
IoT sensor nodes with strict form factor requirements
Getting the stackup right is critical when working with thin boards. You have less material to work with, so every layer choice matters more than it would in a standard-thickness design.
2-Layer 0.7mm PCB Stackup
The simplest configuration uses a single 0.5mm core with copper on both sides, plus solder mask and surface finish:
Layer
Material
Thickness
Surface Finish
ENIG/OSP
~0.05mm
Top Solder Mask
LPI
~0.02mm
Top Copper
Cu
0.035mm (1oz)
Core
FR-4
0.5mm
Bottom Copper
Cu
0.035mm (1oz)
Bottom Solder Mask
LPI
~0.02mm
Surface Finish
ENIG/OSP
~0.05mm
Total
~0.7mm
This stackup works well for simple circuits with moderate component counts. The key is specifying the core thickness explicitly—don’t assume your manufacturer will select 0.5mm by default.
4-Layer 0.7mm PCB Stackup
Things get trickier with multilayer designs at 0.7mm thickness. You’ll need to use thin cores and prepreg to hit your target:
Layer
Material
Thickness
Top Copper (Signal)
Cu
0.018mm (0.5oz)
Prepreg
1080
0.075mm
Inner Layer 2 (Ground)
Cu
0.018mm (0.5oz)
Core
FR-4
0.36mm
Inner Layer 3 (Power)
Cu
0.018mm (0.5oz)
Prepreg
1080
0.075mm
Bottom Copper (Signal)
Cu
0.018mm (0.5oz)
Total (before finish)
~0.64mm
After adding solder mask and surface finish, you’ll be close to 0.7mm. Note the use of 0.5oz copper instead of 1oz—this is typical for thin multilayer boards and affects your current-carrying capacity calculations.
Material Selection for 0.7mm PCB
Standard FR-4 works fine for most 0.7mm PCB applications, but you should verify a few specifications with your manufacturer:
Glass Transition Temperature (Tg)
For boards going through lead-free reflow (260°C+), specify Tg 150 or higher. Standard Tg 130 materials can delaminate during thermal stress, and thin boards are more susceptible because there’s less material to distribute the stress.
Coefficient of Thermal Expansion (CTE)
Thin boards flex more during temperature cycling. If your product will experience significant thermal variation, look for materials with matched CTE in the X, Y, and Z axes to minimize warping.
Dielectric Constant (Dk)
If you’re designing controlled impedance traces, remember that thinner dielectrics mean your trace widths will be narrower for the same impedance target. Run your calculations early and verify manufacturability.
Let me be straight with you: thin boards are harder to manufacture than standard-thickness boards. Understanding these challenges helps you design boards that yield well and perform reliably.
Handling and Warping Issues
A 0.7mm PCB is significantly more flexible than a 1.6mm board. During manufacturing, this creates several problems:
Panel Warping
Thin panels warp more easily during lamination and thermal processing. Manufacturers compensate with careful process control, but you should expect tighter limits on panel size compared to standard boards.
Registration Accuracy
Layer-to-layer alignment becomes more difficult when the panel flexes during imaging and drilling. For multilayer 0.7mm PCB designs, specify realistic tolerances and discuss registration requirements with your manufacturer upfront.
Handling Damage
Thin boards can crack or dent if handled carelessly. Good manufacturers use specialized fixtures and handling procedures, but you should factor this into your supplier selection criteria.
Surface Finish Compatibility
Not all surface finishes work at 0.7mm thickness. The thermal processing required for some finishes can cause thin boards to warp or delaminate:
For 0.7mm PCB boards, ENIG (Electroless Nickel Immersion Gold) is typically the best choice. It provides excellent solderability, good shelf life, and doesn’t require the high-temperature processing that causes problems with HASL.
Assembly Considerations
Assembling components on thin boards requires modified processes:
Reflow Soldering
Standard reflow profiles work, but you may need to adjust preheat ramps to account for the reduced thermal mass. Thin boards heat up faster, which can cause issues with thermal shock if the profile is too aggressive.
Component Placement
Heavy components (large capacitors, connectors, transformers) can cause localized stress on thin boards. Consider adding stiffeners or support structures under high-mass components.
Depanelization
V-scoring works for 0.7mm PCB panels, but the reduced material depth means the scoring must be precise. Tab routing with mouse bites is often preferred for thin boards because it’s less likely to cause cracking.
0.7mm PCB Applications in Detail
Let me share some real-world applications where I’ve seen 0.7mm boards perform exceptionally well.
Wearable Electronics
Smartwatches, fitness trackers, and health monitors all benefit from thin PCBs. A typical smartwatch might use a 0.7mm 4-layer board for the main processor module, with flex circuits connecting to the display and sensors.
The key design consideration is component height. Even if your PCB is thin, tall components defeat the purpose. I recommend a comprehensive height audit early in the design process, targeting components under 2mm tall where possible.
IoT and Sensor Devices
IoT sensors often need to fit into existing infrastructure without modifications. A 0.7mm PCB allows you to create sensor nodes thin enough to slip behind wall plates, under flooring, or inside existing enclosures.
For these applications, pay attention to antenna performance. Thin boards can actually improve antenna efficiency for embedded PCB antennas because the reduced dielectric thickness affects the radiation pattern favorably.
Medical Devices
Skin-contact medical sensors—like continuous glucose monitors, ECG patches, and pulse oximeters—depend on thin, lightweight boards for patient comfort. Medical applications also benefit from the improved signal integrity that thin dielectrics provide for sensitive analog signals.
If you’re designing medical devices, remember that material selection becomes critical. You may need to specify biocompatible solder masks and verify that all materials meet regulatory requirements.
Consumer Electronics
Inside smartphones, tablets, and laptops, space is precious. While flagship devices often use even thinner boards (0.4mm-0.6mm) or HDI technology, 0.7mm PCB boards hit a sweet spot for cost-conscious designs that still need to be compact.
Design Tips for 0.7mm PCB Success
After designing dozens of thin-board projects, here are the practical tips I wish someone had told me earlier:
Tip 1: Communicate Early with Your Manufacturer
Don’t finalize your stackup in isolation. Send your preliminary stackup to potential manufacturers and get their feedback before you commit. They may suggest core/prepreg combinations that work better with their process capabilities.
Tip 2: Add Tooling Holes and Fiducials Generously
Thin panels need more support during handling. Include tooling holes at regular intervals and place fiducials where they’ll be visible even if the panel flexes slightly.
Tip 3: Consider Panel Stiffeners
For very thin designs, ask your manufacturer about temporary panel stiffeners—rigid frames attached during PCB manufacturing and removed after assembly. This adds cost but dramatically improves yield for challenging designs.
Tip 4: Reduce Copper Pours Where Possible
Large copper pours increase the differential stress between copper and laminate areas during thermal processing. For 0.7mm PCB boards, consider hatched rather than solid pours, and avoid asymmetric copper distribution between layers.
Tip 5: Test Prototypes Thoroughly
Thin boards behave differently under mechanical stress. Include drop testing, thermal cycling, and flex testing in your prototype validation, even if these weren’t part of your standard test plan.
Ordering a 0.7mm PCB: What to Specify
When you’re ready to order, make sure your documentation includes these specifications:
For most applications requiring a thin but rigid board with moderate complexity, 0.7mm PCB remains the practical choice.
Frequently Asked Questions About 0.7mm PCB
What is the minimum hole size for 0.7mm PCB?
For a 0.7mm PCB, the minimum mechanically drilled hole is typically 0.2mm (8 mil). However, the aspect ratio (board thickness to hole diameter) should stay below 8:1 for reliable plating. With 0.7mm thickness, this means holes as small as 0.1mm are theoretically possible, but 0.15mm-0.2mm is more practical for standard manufacturers. Laser drilling can achieve smaller holes if needed.
Can I use heavy copper (2oz+) on a 0.7mm PCB?
Using heavy copper on thin boards is challenging because the increased copper thickness cuts into your available dielectric space. For a 0.7mm 2-layer board, 1oz copper is typically the maximum practical weight. Multilayer 0.7mm boards usually require 0.5oz copper to maintain adequate dielectric spacing between layers. If you need heavy copper for high-current applications, consider increasing board thickness or using a thicker copper on outer layers only.
How much does a 0.7mm PCB cost compared to standard thickness?
Pricing varies by manufacturer, but 0.7mm PCB boards typically cost 10-20% more than standard 1.6mm boards of the same layer count. The premium comes from increased handling requirements, specialized materials, and lower yields. However, for 2-layer boards, the reduced material usage can sometimes offset these factors, making costs comparable to standard boards.
What causes warping in 0.7mm PCB and how do I prevent it?
Warping in thin boards results from differential thermal expansion between copper and laminate, asymmetric copper distribution, and manufacturing process stress. To minimize warping: balance copper distribution between layers symmetrically, use hatched rather than solid pours, specify materials with matched CTE values, and choose ENIG over HASL surface finish. Most manufacturers target less than 0.75% warpage for thin boards.
Is 0.7mm thick enough for through-hole components?
Yes, 0.7mm PCB boards can accommodate through-hole components, but with limitations. Standard through-hole leads (0.8mm-1.0mm diameter) will have very short barrel lengths in the hole, which can affect solder joint strength. For critical through-hole connections, consider using components with shoulder leads or adding additional mechanical retention (adhesive, standoffs). SMT components are generally preferred for thin boards when possible.
Quality Control and Testing for 0.7mm PCB
Given the manufacturing challenges associated with thin boards, implementing robust quality control is essential. Here’s what to look for when evaluating your 0.7mm PCB deliveries:
Visual Inspection Criteria
Thin boards are more susceptible to certain defects. Train your incoming inspection team to look for:
Edge delamination: Check board edges for any separation between layers
Surface scratches: More visible and problematic on thin boards
Bow and twist: Use a flat surface and feeler gauge to measure warpage
Copper voids: Inspect plated holes under magnification
Electrical Testing Requirements
For production quantities, specify 100% electrical testing. Flying probe testing works well for prototypes and small batches, while fixture-based testing is more economical for larger runs. Make sure your test coverage includes:
Continuity testing for all nets
Isolation testing between adjacent nets
Hi-pot testing if your application requires it
Mechanical Testing Recommendations
For critical applications, consider adding these tests to your qualification process:
Thermal cycling: 100+ cycles between -40°C and +125°C
Solder float: 288°C for 10 seconds to verify laminate integrity
Cross-sectioning: Verify layer thickness and hole quality on sample boards
Future Trends in Thin PCB Technology
The demand for thin circuit boards continues to grow as devices get smaller and more integrated. Here are some trends I’m watching in the 0.7mm PCB space:
Embedded Components
Embedding passive components within the PCB substrate allows even thinner overall assemblies. While this technology is still maturing, it’s becoming more accessible for thin board applications.
Advanced Materials
New laminate materials with lower dielectric constants and better thermal properties are making thin boards more capable. Materials like low-loss hydrocarbon laminates are becoming available at competitive prices.
Improved Manufacturing Equipment
Manufacturers are investing in equipment specifically designed for thin board handling, including vacuum-based panel transport systems and laser-based imaging that doesn’t require mechanical contact.
Conclusion
Choosing a 0.7mm PCB for your next project means balancing the benefits of a thin, lightweight board against the manufacturing challenges that come with reduced thickness. When specified correctly and manufactured by a capable supplier, these boards perform excellently in space-constrained applications ranging from wearables to IoT sensors to compact consumer electronics.
The key to success is understanding that thin board design isn’t just about changing a thickness parameter in your CAD software. It requires thoughtful stackup planning, appropriate material selection, and clear communication with your manufacturing partner. Take the time to get these elements right, and you’ll end up with boards that are both compact and reliable.
If you’re starting a project that might benefit from 0.7mm thickness, I recommend ordering a small prototype batch first to validate your design before committing to production quantities. The lessons learned from hands-on testing are invaluable and will save you time and money in the long run.
Inquire: Call 0086-755-23203480, or reach out via the form below/your sales contact to discuss our design, manufacturing, and assembly capabilities.
Quote: Email your PCB files to Sales@pcbsync.com (Preferred for large files) or submit online. We will contact you promptly. Please ensure your email is correct.
Notes: For PCB fabrication, we require PCB design file in Gerber RS-274X format (most preferred), *.PCB/DDB (Protel, inform your program version) format or *.BRD (Eagle) format. For PCB assembly, we require PCB design file in above mentioned format, drilling file and BOM. Click to download BOM template To avoid file missing, please include all files into one folder and compress it into .zip or .rar format.


