Inquire: Call 0086-755-23203480, or reach out via the form below/your sales contact to discuss our design, manufacturing, and assembly capabilities.
Quote: Email your PCB files to Sales@pcbsync.com (Preferred for large files) or submit online. We will contact you promptly. Please ensure your email is correct.
Notes: For PCB fabrication, we require PCB design file in Gerber RS-274X format (most preferred), *.PCB/DDB (Protel, inform your program version) format or *.BRD (Eagle) format. For PCB assembly, we require PCB design file in above mentioned format, drilling file and BOM. Click to download BOM template To avoid file missing, please include all files into one folder and compress it into .zip or .rar format.
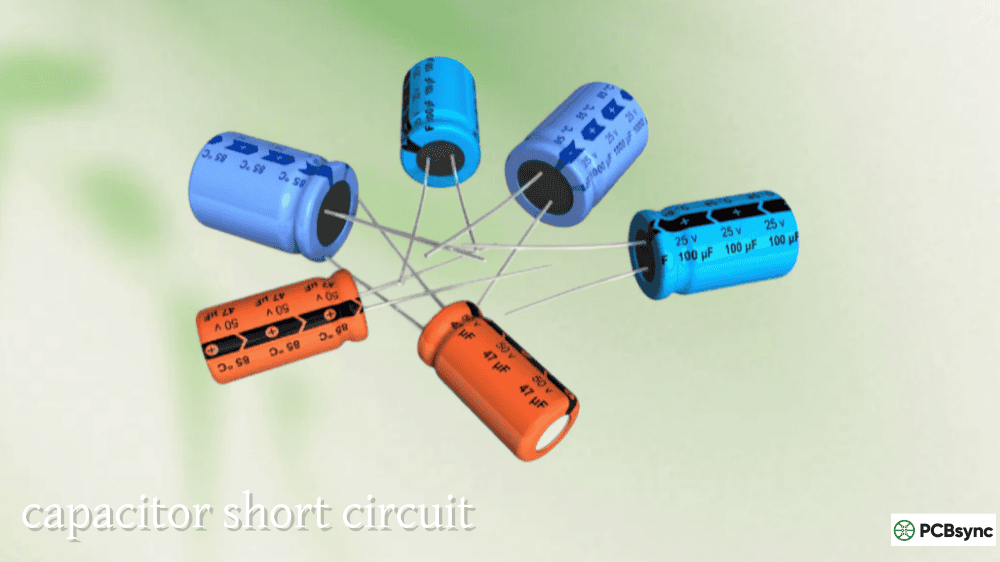
How to Test a Capacitor: Multimeter & Visual Methods (Complete Guide)
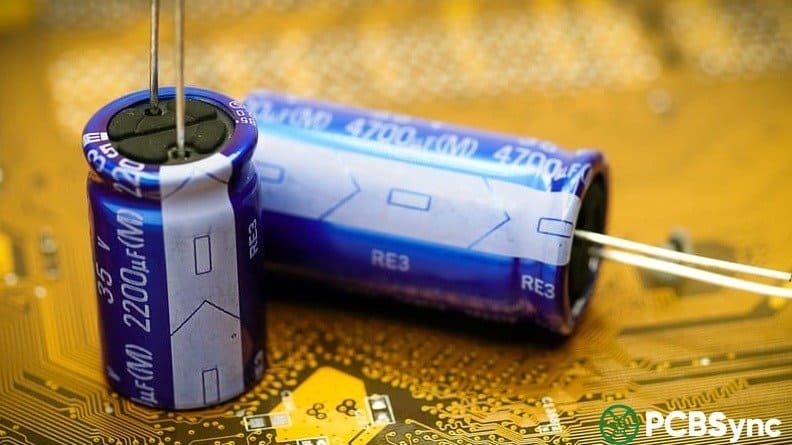
Knowing how to test a capacitor is one of those troubleshooting skills that saves more bench time than almost anything else. Capacitors are statistically among the most common failure points in electronics — power supplies, motor drives, HVAC equipment, consumer appliances, and aging PCBs all share the same weakness. A swollen electrolytic on a motherboard, a run capacitor that’s lost 30% of its value, a tantalum with elevated ESR in a switching supply — all of them cause real symptoms, and all of them are identifiable with the right test method and a few minutes of work.
This guide covers every practical method for testing a capacitor: visual inspection, capacitance measurement with a digital multimeter, resistance-mode testing, ESR measurement, and testing SMD parts. It’s written from a hands-on engineering perspective, with the emphasis on what each method actually tells you — and what it misses.
This step is non-negotiable and cannot be skipped. Capacitors store charge even after power is removed, and large electrolytics — especially those in power supplies, motor drives, and HVAC equipment — can hold enough energy to destroy a multimeter, blow a probe tip, or cause a serious shock.
The correct discharge procedure is to connect a resistor across the capacitor terminals before touching them or connecting any test equipment. For low-voltage circuits (under 50V), a 10kΩ resistor rated at 1W works fine. For higher-voltage capacitors such as motor run caps or power supply bulk electrolytics, use a 20kΩ to 100kΩ resistor rated at 5W or more, and hold it in place for 10–30 seconds. Never short a capacitor directly with a screwdriver — that dumps all stored energy instantly, stresses the dielectric, and can damage or degrade an otherwise functional capacitor.
After discharging, confirm with your multimeter set to DC voltage that the terminal voltage has dropped to near zero before proceeding. For high-voltage capacitors in microwave ovens or industrial equipment, double-check this step — these can store kilovolts.
Discharge Resistor Quick Reference:
Capacitor Type / Voltage
Discharge Resistor
Wait Time
Small electrolytics, under 50V
10kΩ, 1W
5–10 seconds
Bulk electrolytics, 50–200V
20kΩ, 5W
15–20 seconds
Motor run / HVAC capacitors, 200–450V
50kΩ–100kΩ, 5–10W
30–60 seconds
HV power supply caps, above 450V
Dedicated discharge tool
60+ seconds, verify with meter
## Method 1: Visual Inspection — Your First Line of Defense
Before reaching for any test equipment, look at the capacitor closely. Visual inspection takes 30 seconds and catches a meaningful percentage of failures outright. If you see any of the signs below, the capacitor is bad — skip testing and go straight to replacement.
### What a Failed Capacitor Looks Like
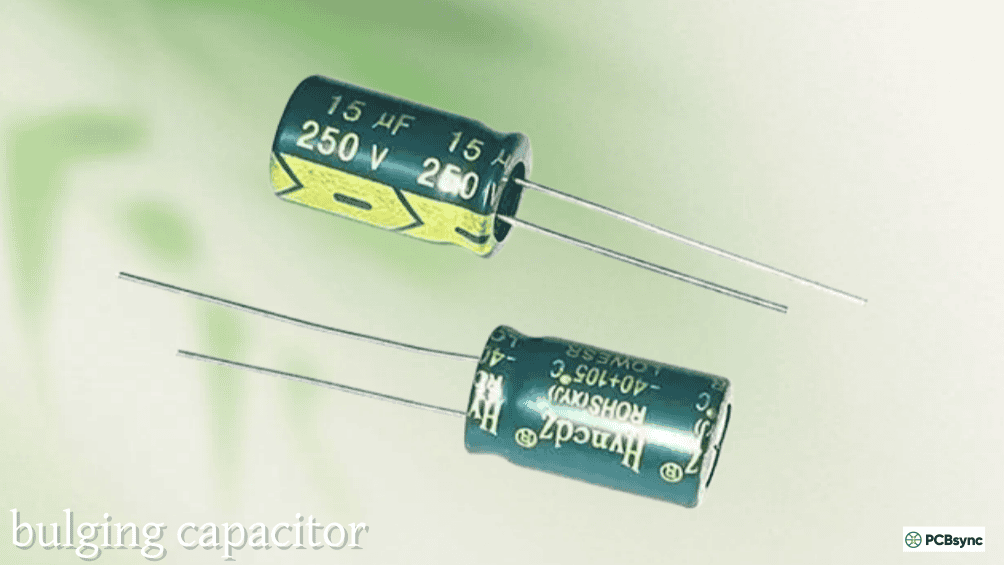
Bulging or domed top: The most recognisable sign of a failing electrolytic capacitor. The top vent — usually scored with a ‘K’ or ‘X’ pattern — should be perfectly flat. Any upward dome or puffing indicates internal gas build-up from electrolyte decomposition, usually caused by overvoltage, excessive ripple current, or end-of-life. A bulging cap is condemned.
Electrolyte leakage: Look for brown, dark, or crusty residue on the top of the capacitor, around the base, or on the PCB beneath the component. Leaked electrolyte is corrosive and can damage PCB traces and nearby components. Any visible leakage means replacement is mandatory.
Burnt casing or discolouration: Scorch marks, melted plastic sleeving, or blackening around the leads indicate the capacitor has been thermally overstressed or has experienced an internal arc. Chips or cracks in ceramic capacitors visible under magnification are also cause for rejection.
Corroded or broken leads: Rust-coloured leads, green corrosion around the terminals, or mechanical damage to the body. Through-hole parts that have been stressed or bent repeatedly can develop cracked terminations.
Warped or shrunken plastic sleeve: The outer plastic wrap of an electrolytic contracting or distorting is a heat indicator — the cap ran hot, either because it failed internally or because it was incorrectly rated for the circuit.
Visual Inspection Failure Signs Summary:
Visual Sign
What It Means
Action
Domed / bulging top
Internal pressure, electrolyte decomposing
Replace immediately
Brown crust or residue
Electrolyte leak
Replace, clean PCB with IPA
Scorch marks, blackening
Thermal overload, internal arcing
Replace, investigate root cause
Cracked or chipped body (ceramics)
Mechanical stress fracture
Replace; may pass electrical test but fail in service
Corroded leads
Moisture ingress, corrosion
Replace; check for PCB contamination
Shrunk / melted sleeve
Ran hot for extended period
Replace, check circuit loading
One important caveat: a capacitor that passes visual inspection is not necessarily good. Many electrolytic capacitors fail through increased ESR or gradual capacitance loss long before any physical signs develop. Visual inspection is the first filter, not the complete test.
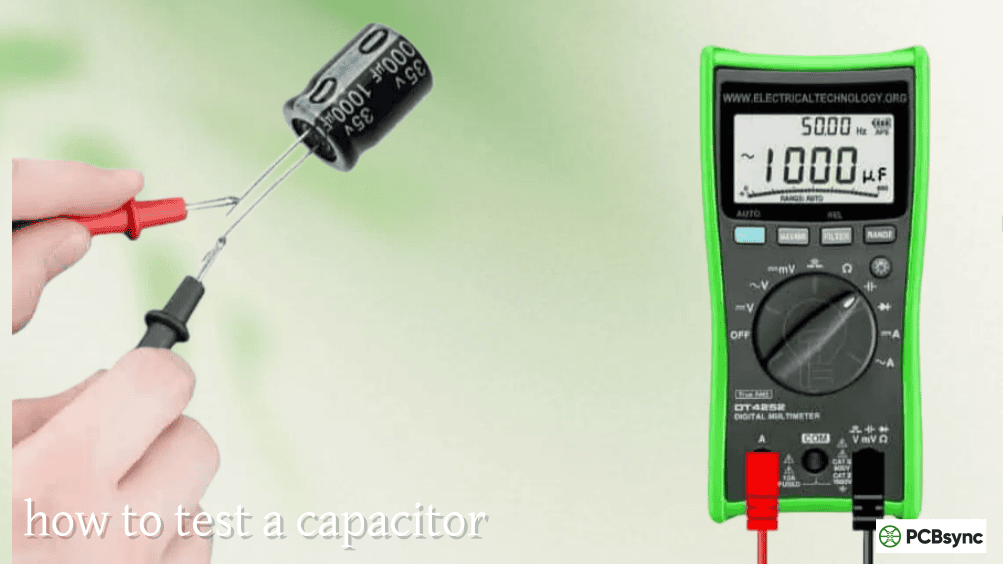
## Method 2: Capacitance Mode — The Gold Standard for Most Tests
If your digital multimeter has a capacitance function (marked with the symbol -|(− or the letter F on the selector dial), this is the most direct way to know how to test a capacitor. The meter charges the capacitor with a known current and times how long the voltage takes to rise — from that it calculates capacitance in µF, nF, or pF and displays the result directly.
### Step-by-Step: Testing Capacitance with a DMM
Step 1 — Isolate the capacitor. Remove the capacitor from the circuit entirely, or at minimum desolder one lead. Testing in-circuit causes parallel components to corrupt the reading — you’ll almost never get an accurate number with the part still soldered in.
Step 2 — Discharge. Follow the discharge procedure above. This step is critical: a charged capacitor connected to your multimeter in capacitance mode will produce an incorrect reading and may damage the meter.
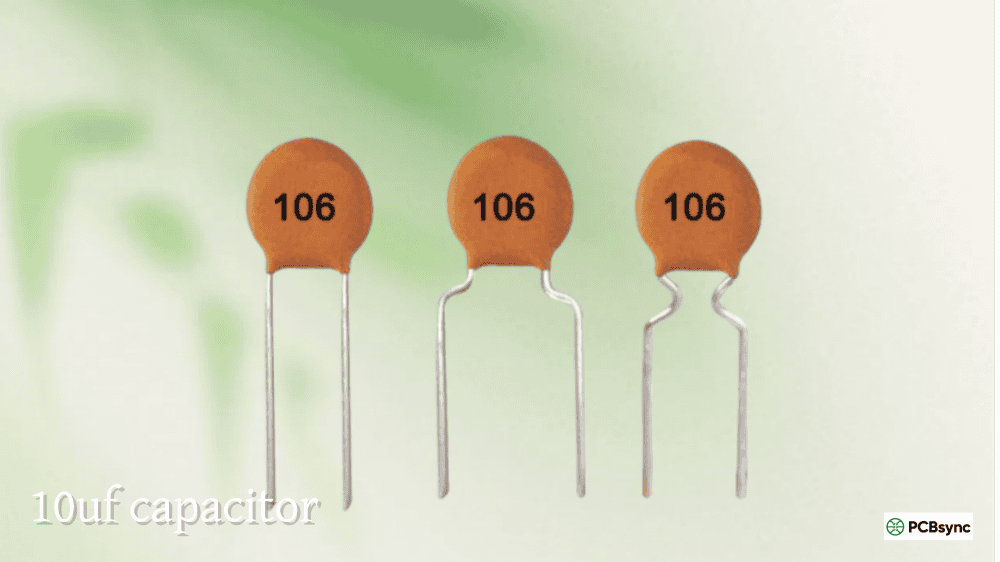
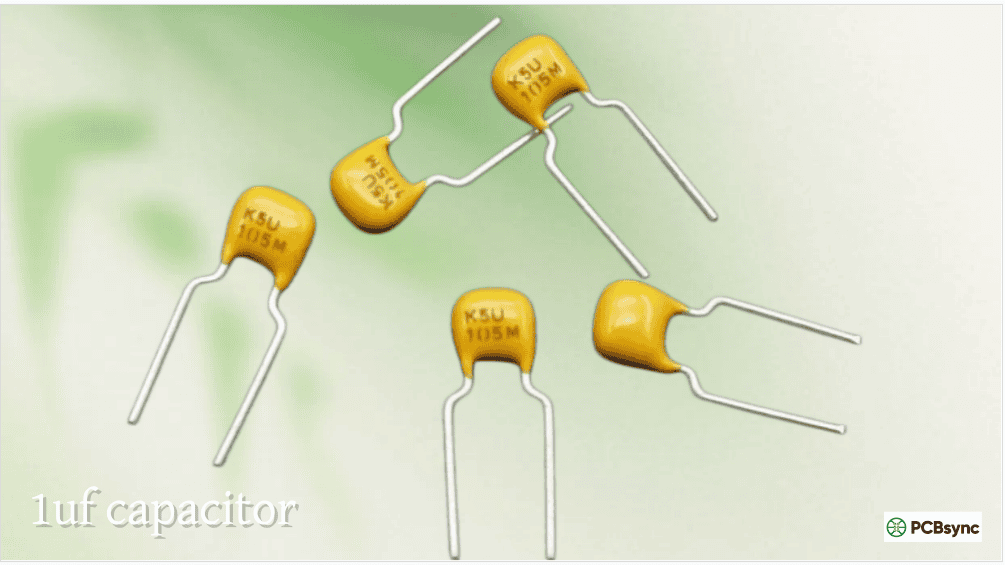
Step 3 — Set the meter. Turn the selector to the capacitance function. If your meter isn’t auto-ranging, select a range above the rated value of the capacitor. For example, for a 100µF capacitor, select the 200µF range.
Step 4 — Connect the probes. For polarised capacitors (electrolytics, tantalums), connect the red probe to the positive lead (longer lead on a new through-hole part, or the lead opposite the stripe on the body) and the black probe to the negative terminal. For non-polarised types (ceramics, film caps), polarity doesn’t matter.
Step 5 — Wait and read. The multimeter needs a few seconds to complete the measurement cycle. Don’t move the probes. Read the value once the display stabilises.
Step 6 — Compare to rated value. Check the measured value against the capacitance printed on the component body. Most capacitors have a tolerance of ±10% to ±20%. A reading within the tolerance band is a pass. A reading that’s significantly low (more than 20% below rated) typically means the cap has dried out or degraded. A reading of zero or OL (overload) means the capacitor is open or shorted internally.
Capacitance Test Result Interpretation:
Meter Reading
What It Means
Within ±10% of rated value
Capacitor is good
Within ±10–20% of rated value
Marginal — within tolerance for most types, but consider replacement in critical circuits
More than 20% below rated value
Capacitor has degraded — replace
Close to zero / 0.00
Open circuit internally — replace
OL or overrange with no settling
Short circuit internally — replace
Very unstable, fluctuating reading
Leakage or dielectric instability — replace
Important note for low-value capacitors: When testing small capacitors (under ~50pF), the stray capacitance of the test leads themselves — typically 2–5pF — will add to the reading. Most modern meters have a REL (relative) or ZERO function: connect the probes together first, press REL to zero out the lead capacitance, then connect to the capacitor for an accurate reading.
## Method 3: Resistance Mode — When Your Meter Has No Capacitance Function
If your multimeter lacks a capacitance mode, you can perform a quick functional check using the resistance (ohms) mode. This doesn’t tell you the actual capacitance value, but it will detect shorted and open capacitors and verify basic charging behaviour.
### The Resistance Test Procedure
After discharging the capacitor and isolating it from the circuit, set the multimeter to a high resistance range — typically 10kΩ or the highest Ω range available. Connect the probes to the capacitor terminals, observing polarity for electrolytics.
A healthy capacitor will show a low resistance initially as the multimeter’s internal battery charges the capacitor, then the reading will rise steadily toward infinity (or OL) as the capacitor charges up and stops accepting current. This charging behaviour — the resistance climbing from a low starting value to infinity — confirms the capacitor is intact.
If the resistance stays near zero throughout, the dielectric has failed and the capacitor is shorted. If the resistance immediately reads infinity with no initial low-resistance phase, the capacitor is open — the electrodes are disconnected internally.
Limitation of this method: The resistance test is a blunt instrument. It can only catch catastrophic failures (shorts and opens). A capacitor that has lost 40% of its capacitance, or one with degraded ESR, will pass the resistance test comfortably while still causing circuit problems. Use this method as a quick sanity check when a proper meter isn’t available, not as a definitive evaluation.
Resistance Mode Test Results:
Observed Behaviour
Interpretation
Starts low, rises slowly to high/OL
Capacitor is functional (charges normally)
Stays at zero resistance throughout
Shorted capacitor — replace
Immediately reads OL with no initial dip
Open capacitor (broken internally) — replace
Rises but settles at a fixed low value
Leaky capacitor (significant internal leakage)
## Method 4: ESR Measurement — The Test That Catches What the Others Miss
Equivalent Series Resistance (ESR) testing is where capacitor diagnosis gets serious. ESR is the total resistive loss inside a real capacitor — from the foil resistance, electrolyte resistance, lead resistance, and dielectric losses — modelled as a single resistor in series with an ideal capacitor.
Here’s why this matters practically: an aging electrolytic capacitor can measure within 10% of its rated capacitance while its ESR has risen from under 0.5Ω to 10Ω or more. Install that cap in a switching power supply and it will overheat, cause output voltage ripple, and potentially cause the supply to fail — while appearing to pass the basic capacitance test. ESR is the parameter that actually matters for electrolytics in power supply circuits, and a standard DMM cannot measure it.
### What an ESR Meter Does
An ESR meter applies a small, high-frequency AC test signal (typically 100kHz) to the capacitor. At this frequency, the capacitive reactance of most electrolytics is negligible — only the resistive component remains. The meter measures and displays the ESR directly in ohms.
The advantage for board-level diagnostics is that ESR can often be measured in-circuit without desoldering, because the high-frequency test signal sees the ESR of the capacitor before the rest of the circuit can respond. This makes ESR meters exceptionally useful for quickly scanning a board looking for failing caps — connect, read, move to the next one.
### ESR Reference Values
As a practical rule of thumb, any electrolytic capacitor showing more than 5Ω on an ESR meter is suspect, regardless of whether the capacitance reads correctly. New capacitors in the 1µF to 150µF range should show well under 5Ω; good-quality ones under 1Ω. The table below gives approximate acceptable ESR values by capacitance:
Approximate Maximum Acceptable ESR for Electrolytic Capacitors:
Capacitance Value
Acceptable ESR (rule of thumb)
High ESR — suspect failure
1µF – 10µF
< 5–10Ω
> 10Ω
10µF – 100µF
< 2–5Ω
> 5Ω
100µF – 470µF
< 1–2Ω
> 2–3Ω
470µF – 2,200µF
< 0.5–1Ω
> 1–2Ω
Above 2,200µF
< 0.2–0.5Ω
> 0.5Ω
Note: exact acceptable ESR depends on operating frequency and application. Switching supply output capacitors have tighter requirements than audio coupling caps. Always compare against the datasheet specification for the specific part if available.
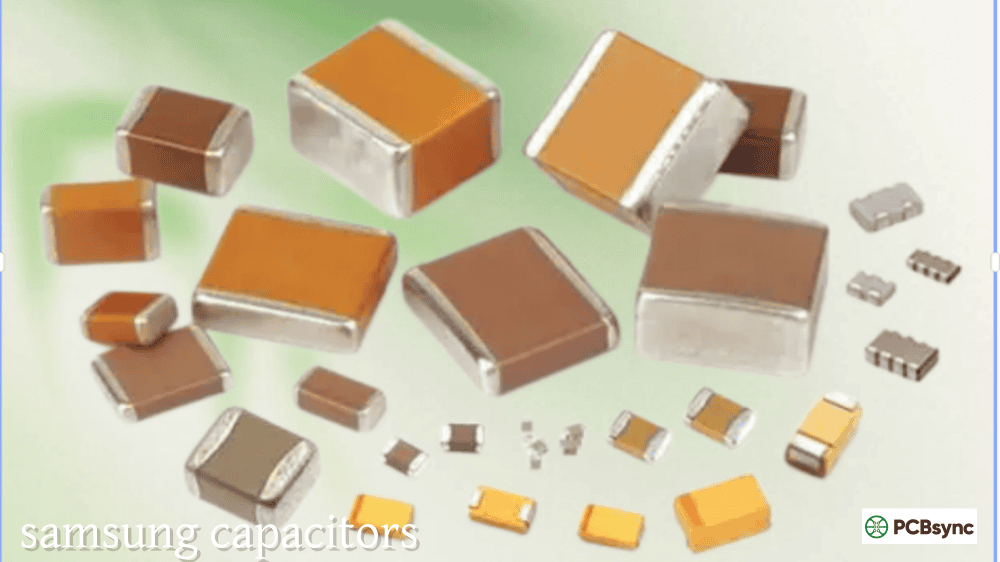
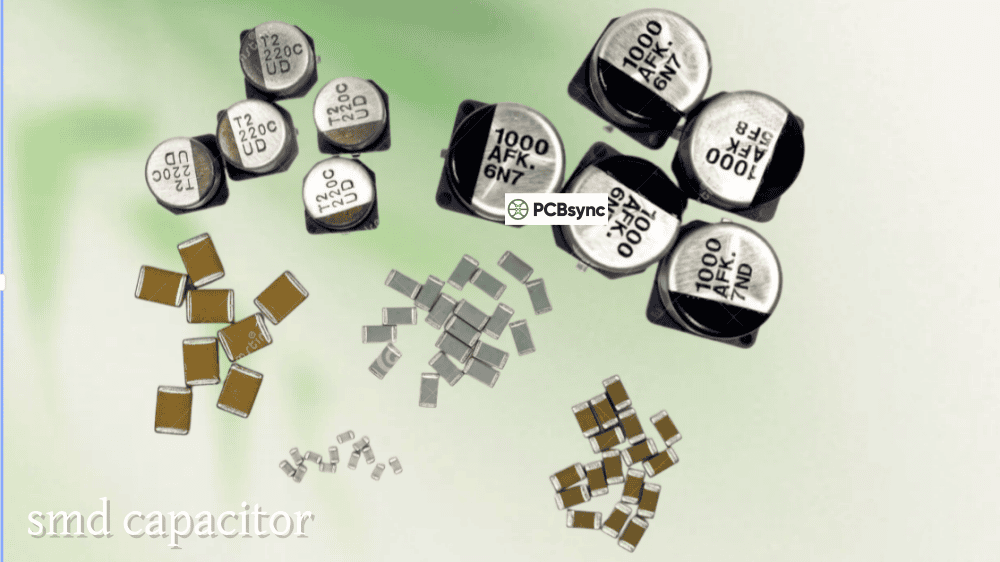
## Method 5: Testing SMD Capacitors
Surface-mount capacitors present a different challenge. Most are physically tiny — 0402, 0201, or smaller — making probe contact difficult, and they can’t be easily tested with standard DMM probes. The in-circuit interference problem is worse, because SMD layouts pack components densely and parallel paths are common.
The most effective tool for SMD capacitor testing is a pair of smart tweezers (an LCR meter built into a tweezer probe). Smart tweezers clamp directly onto the SMD component body and measure capacitance and ESR simultaneously, displaying both values on a small screen in seconds. They work in-circuit for ESR screening and out-of-circuit for accurate capacitance verification. A decent pair costs $100–$150 and is one of the most useful additions to a repair-focused workbench.
For basic in-circuit checking of SMD ceramics (0402, 0603, 0805), the practical approach is to use the resistance test method with fine-tipped probes. A shorted MLCC — one of the most common ceramic capacitor failure modes — will show zero resistance immediately. An open MLCC reads OL instantly. Neither requires desoldering to identify.
For precise out-of-circuit SMD testing, desolder the component with hot tweezers, place it on a clean non-conductive surface, and test with an LCR meter or smart tweezers with appropriate probe geometry.
## Choosing the Right Test Method for the Situation
Not every situation calls for the same approach. This table summarises which method to reach for depending on the component type and what you’re trying to find:
Test Method Selection Guide:
Situation
Best Method
Why
Quick board scan — electrolytic caps in a power supply
ESR meter, in-circuit
Finds high-ESR failures without desoldering; fast
Confirming a suspected bad cap after visual sign
Capacitance mode on DMM
Verifies value loss; quick; definitive for out-of-circuit
No DMM with capacitance mode available
Resistance (ohms) mode
Detects shorts and opens; can’t confirm capacitance value
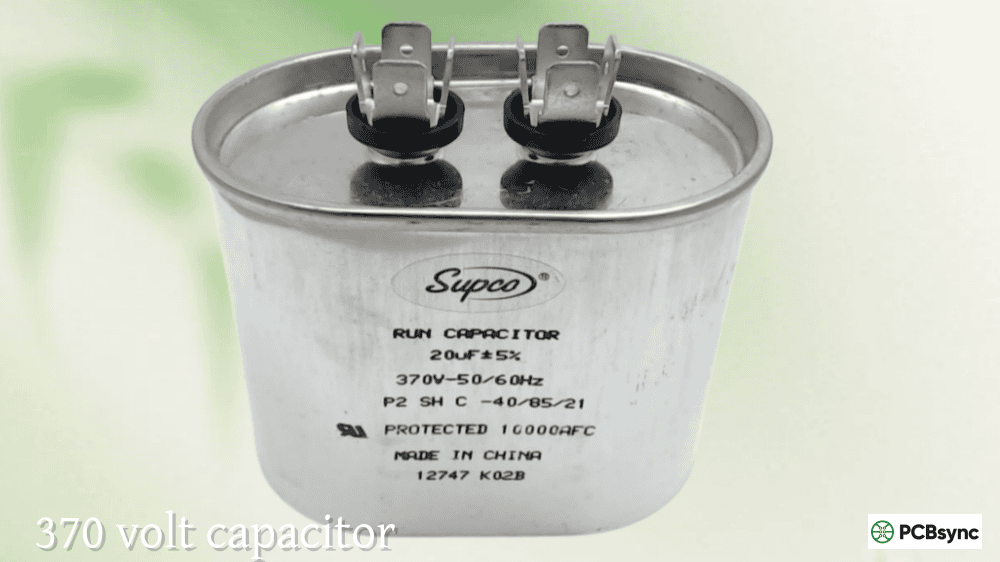
Motor run or HVAC capacitor
DMM capacitance mode
Compare reading vs. label; >20% low = replace
SMD ceramics — checking for shorts
Resistance test with fine probes, in-circuit
Fast; shorted MLCCs read zero instantly
SMD testing — precise capacitance + ESR
Smart tweezers / LCR tweezer meter
Best in-circuit option for SMD; accurate
Electrolytic — checking leakage at rated voltage
DC leakage test with bench supply
Relevant for audio coupling and precision applications
Tantalum capacitor — checking for failure mode
ESR + visual; check for short first
Tantalums fail shorted; zero-ohm reading = confirmed dead
## Common Capacitor Failure Modes and How to Catch Them
Understanding the failure mode helps you select the right test and make sense of the result.
Electrolytic — Capacitance loss and high ESR: The most common failure mode for aluminum electrolytics. The electrolyte dries out over time, especially at elevated temperatures. Capacitance drops; ESR rises. A capacitor may measure 85% of its rated value but have an ESR of 15Ω — the capacitance test gives false confidence. Always follow up with ESR on electrolytics in power circuits.
Electrolytic — Physical bulging and leakage: Chemical decomposition generates gas internally, pressurising the case and eventually venting through the scored top. Always visible. Often preceded by elevated ESR for months before physical failure. Immediately replace any bulging or leaking cap without further testing.
Ceramic (MLCC) — Cracked dielectric leading to intermittent short: Mechanical stress (PCB flexing, thermal cycling, board edge proximity, or soldering stress) cracks the ceramic body. The result is often an intermittent short that may not show under bench test conditions at room temperature. If you suspect a cracked MLCC, heat the board slightly (warm, not hot) and retest — the short may become apparent at elevated temperature.
Tantalum — Short circuit failure: Tantalum capacitors are notorious for failing as a dead short, often catastrophically if the circuit can source enough current. In-circuit testing with resistance mode will immediately reveal a shorted tantalum: zero ohms. Always check polarity when replacing; a reversed tantalum fails almost instantly.
Film capacitor — Open circuit from self-healing: Film capacitors can recover from small dielectric breakdowns through a self-healing mechanism, but repeated events leave the electrode area reduced. Capacitance gradually drops. ESR may rise. Capacitance measurement is the right test for film caps.
Murata SimSurfing — Simulate impedance vs. frequency for Murata MLCC parts; useful for understanding what a specific ceramic cap’s ESR looks like at different frequencies
KEMET K-SIM — KEMET’s tool for capacitor simulation including ESR, capacitance vs. frequency, and DC bias derating
## 5 FAQs: How to Test a Capacitor
Q1: Can I test a capacitor without removing it from the circuit?
For a basic visual inspection or an ESR test, yes. An ESR meter applies a small high-frequency signal and can read the capacitor’s ESR in-circuit without interference from other components in most cases. This makes it the preferred tool for quickly scanning a power supply board for failing caps without desoldering anything. However, for a reliable capacitance reading, you need to remove the part — or at minimum lift one lead — because parallel components in the circuit will add to or subtract from the measurement. In-circuit capacitance readings from a DMM are almost always inaccurate. If the board is accessible and the capacitor is a through-hole part, lifting one leg with a solder sucker takes 30 seconds and makes every subsequent measurement trustworthy.
Q2: My capacitor reads the correct capacitance — can it still be faulty?
Yes, and this is one of the most important things to understand about capacitor testing. Capacitance is not the only parameter that matters. An electrolytic capacitor can retain 95% of its rated capacitance while its ESR has risen to 10–20Ω from an original 0.5Ω. In a switching power supply, that elevated ESR causes the cap to dissipate significant power as heat, which accelerates further degradation and can eventually cause the supply to fail or exhibit excessive output ripple. The same situation applies to tantalum capacitors. If you’re troubleshooting a power supply and capacitance measurements look normal, the next test is ESR. Plenty of supply failures are caused by caps that appear to have good capacitance but terrible ESR.
Q3: What’s the difference between an ESR meter, an LCR meter, and a DMM for testing capacitors?
A standard DMM with capacitance mode measures capacitance only — it tells you the C value in µF or pF. An ESR meter measures equivalent series resistance only, typically using a high-frequency AC test signal, and is optimised for quick in-circuit screening without desoldering. An LCR meter measures all three: inductance (L), capacitance (C), and resistance/ESR (R), at a user-selectable test frequency, and usually also calculates dissipation factor and phase angle. For comprehensive capacitor characterisation or diagnosing subtle failures, an LCR meter gives the most complete picture. For board-level repair and quick screening, an ESR meter is faster. A basic DMM is sufficient for confirming gross capacitance failure or replacement value matching.
Q4: A capacitor shows zero resistance on my multimeter — is it definitely dead?
If it reads zero ohms and stays there, yes — the capacitor has a shorted internal dielectric and is a failed part. However, make sure you’ve properly discharged the capacitor first. A charged capacitor connected directly to an ohmmeter in low-resistance mode will initially read near zero as the meter tries to push current against the stored charge, which can be misread as a short. Discharge first, wait a few seconds, then test. If zero ohms persists after confirmed discharge and a brief settle time, the capacitor is shorted and should be replaced. On tantalum capacitors, a shorted reading is especially common and should be treated as a confirmed failure without further investigation.
Q5: What tolerance should I expect when testing a capacitor, and when should I replace it?
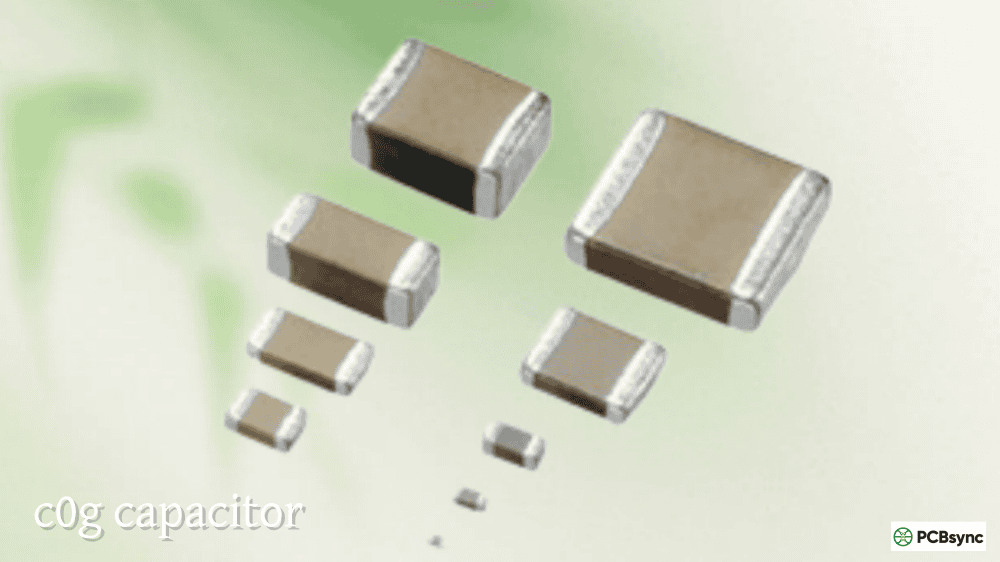
Tolerance varies significantly by capacitor type. Precision film capacitors (C0G/NP0 ceramic, polypropylene film) are typically specified at ±1% to ±5%. General-purpose X7R MLCCs are usually ±10% or ±20%. Aluminum electrolytic capacitors commonly carry +80%/−20% tolerance from the factory, though good-quality types are ±20%. In practice, a working electrolytic should measure within ±20% of its rated value. If it reads significantly below the rated value — for example, a 100µF cap measuring 65µF — the electrolyte has dried out and the cap should be replaced. For MLCCs used in timing and filter circuits, a ±10% deviation matters. For bulk decoupling electrolytics, a ±20% deviation is less critical for circuit function, but elevated ESR is likely accompanying it and warrants replacement anyway.
## Putting It All Together
The question of how to test a capacitor doesn’t have a single answer — it has a method hierarchy. Start with a visual check: any physical sign of failure removes the need for further testing. If the part looks intact, measure capacitance with a DMM for a quick pass/fail verdict. If you’re troubleshooting a power supply or anything with electrolytics under ripple current stress, follow up with ESR — because a capacitor can pass the capacitance test and still be causing the problem. For SMD boards, smart tweezers are the practical tool. And for any capacitor that operates above 50V, never skip the discharge step.
The investment in a basic ESR meter — available for $30–$60 at the budget end, or $100+ for tools like the Peak Atlas ESR70 or MESR-100 — pays for itself the first time it catches a high-ESR electrolytic that the DMM passed with flying colours. That catch alone typically saves an hour of diagnosis time and the frustration of replacing an obviously visible component only to find the board still doesn’t work because a second cap is failing less dramatically.
Inquire: Call 0086-755-23203480, or reach out via the form below/your sales contact to discuss our design, manufacturing, and assembly capabilities.
Quote: Email your PCB files to Sales@pcbsync.com (Preferred for large files) or submit online. We will contact you promptly. Please ensure your email is correct.
Notes: For PCB fabrication, we require PCB design file in Gerber RS-274X format (most preferred), *.PCB/DDB (Protel, inform your program version) format or *.BRD (Eagle) format. For PCB assembly, we require PCB design file in above mentioned format, drilling file and BOM. Click to download BOM template To avoid file missing, please include all files into one folder and compress it into .zip or .rar format.


