Inquire: Call 0086-755-23203480, or reach out via the form below/your sales contact to discuss our design, manufacturing, and assembly capabilities.
Quote: Email your PCB files to Sales@pcbsync.com (Preferred for large files) or submit online. We will contact you promptly. Please ensure your email is correct.
Notes: For PCB fabrication, we require PCB design file in Gerber RS-274X format (most preferred), *.PCB/DDB (Protel, inform your program version) format or *.BRD (Eagle) format. For PCB assembly, we require PCB design file in above mentioned format, drilling file and BOM. Click to download BOM template To avoid file missing, please include all files into one folder and compress it into .zip or .rar format.
Capacitor Fundamentals: Complete Electronics Guide — How Capacitors Work, Types, and Real-World Applications
Walk around any electronics lab and you’ll hear someone say “just throw a cap on it.” It might be the most casual instruction in the whole field — and yet the reasoning behind it covers decades of physics, materials science, and hard-won circuit design experience. Understanding how capacitors work isn’t just academic; it’s the difference between a power supply that hums cleanly and one that sprays noise across your entire board. This guide covers the complete picture, from the basic physics of charge storage to the practical decisions you make on a real PCB.
## What Is a Capacitor and How Do Capacitors Work?
A capacitor is a passive two-terminal electronic component that stores electrical energy in an electric field between two conductive plates separated by an insulating material called a dielectric. In the simplest physical model, you have two metal plates facing each other with a gap between them. That gap is filled with the dielectric — which might be air, ceramic, polyester film, tantalum oxide, aluminum oxide, or dozens of other materials depending on the type of capacitor.
The fundamental way a capacitor works is this: when voltage is applied across its terminals, electrons accumulate on one plate (making it negatively charged) and are drawn away from the other plate (making it positively charged). The two plates never actually touch — no current flows through the dielectric directly — but the charge separation across the plates creates a stored electric potential. Remove the voltage source, and the capacitor holds that charge until a discharge path is provided.
### The Core Equation: Q = CV
The defining relationship for how capacitors work is deceptively simple:
Q = C × V
Where Q is the charge stored in coulombs, C is the capacitance in farads, and V is the voltage across the plates. Rearranging gives you C = Q/V, which is also the formal definition of capacitance: one farad is the capacitance of a device that stores one coulomb of charge when one volt is applied.
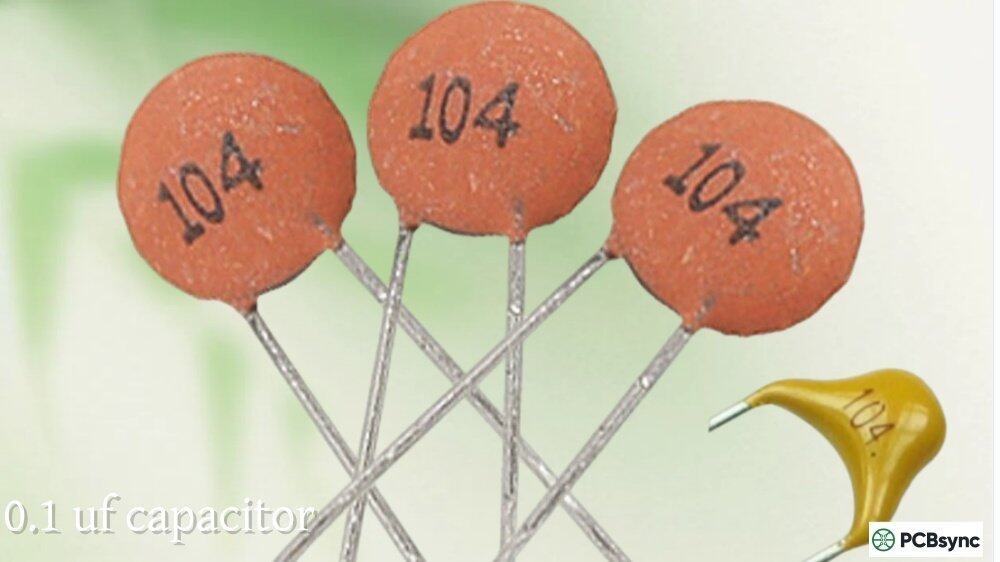
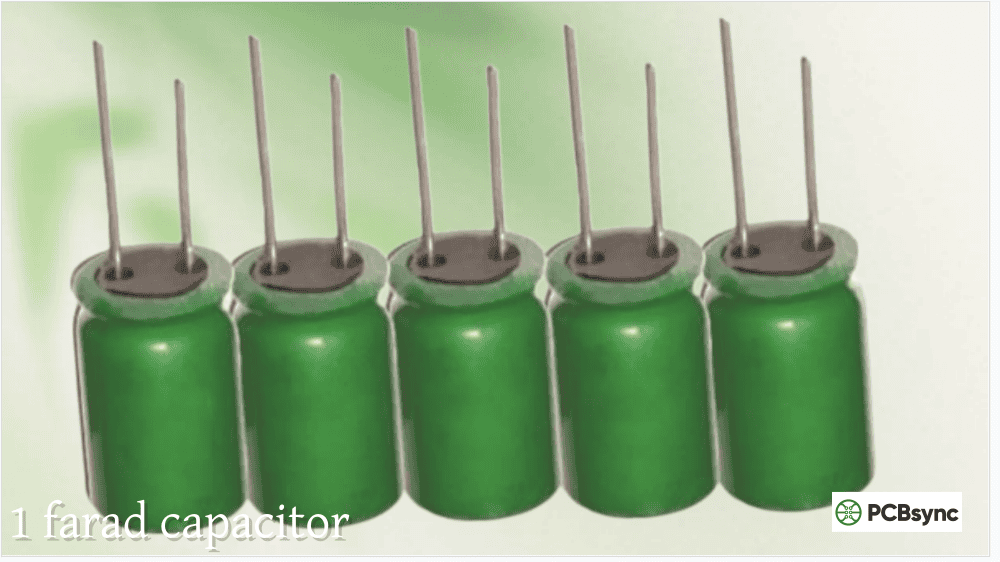
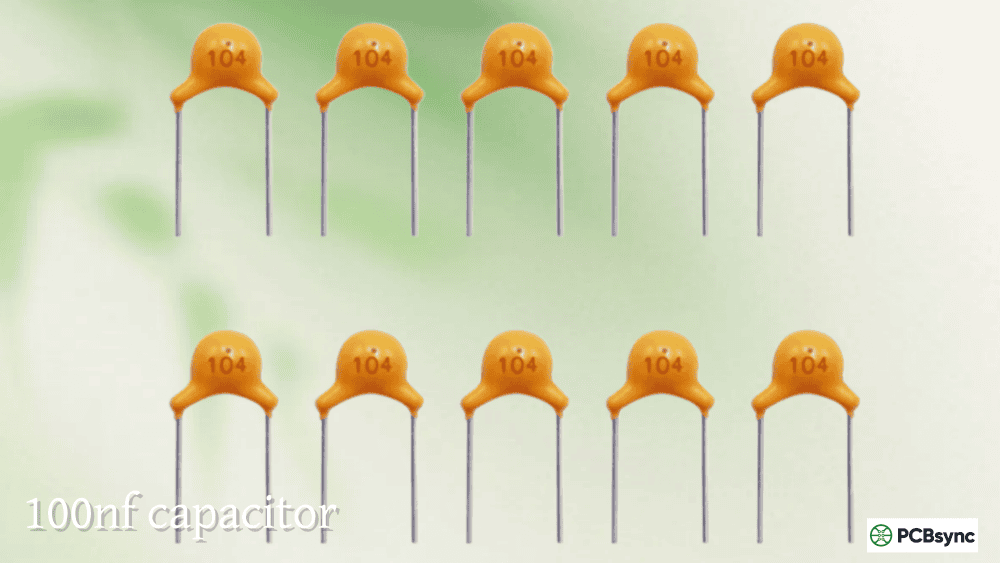
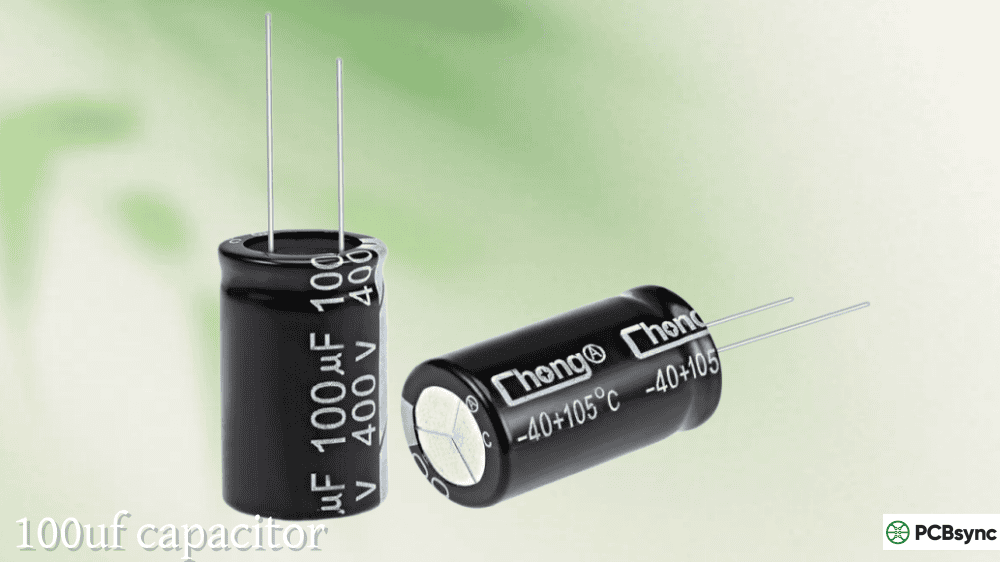
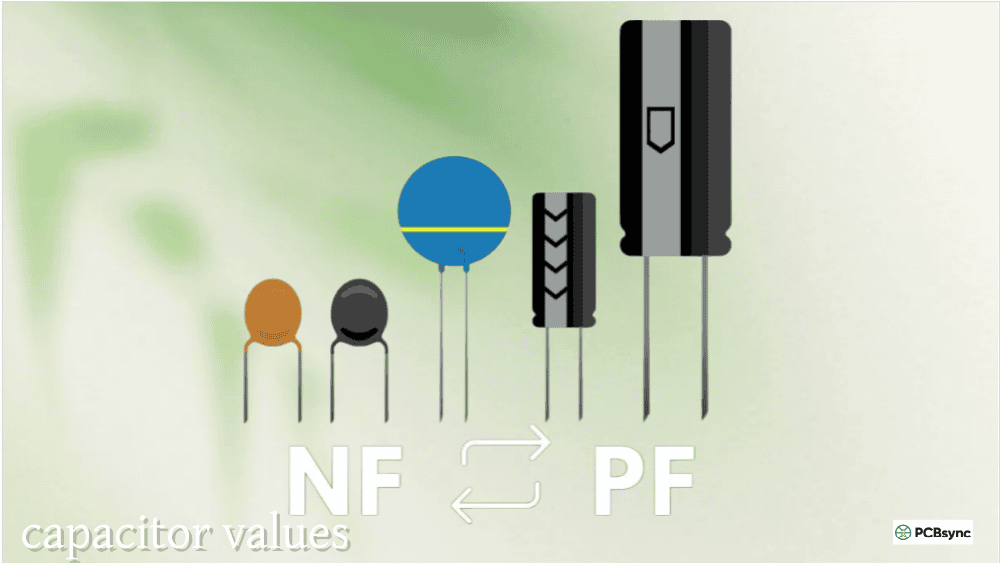
In practice, one farad is an enormous amount of capacitance for a small device. Almost everything on a typical PCB is measured in microfarads (µF, one-millionth of a farad), nanofarads (nF, one-billionth), or picofarads (pF, one-trillionth).
The energy stored in a capacitor at a given voltage follows:
E = ½ × C × V²
This V² relationship is important. Double the voltage on a capacitor and you store four times the energy. It’s also why capacitor voltage ratings matter so much in safety-critical and high-voltage designs.
### What Determines Capacitance?
Three physical factors set the capacitance value for a parallel-plate capacitor:
C = ε₀ × εᵣ × (A / d)
Where ε₀ is the permittivity of free space (8.854 × 10⁻¹² F/m), εᵣ is the relative permittivity (dielectric constant) of the insulating material, A is the overlapping plate area, and d is the distance between the plates.
The practical takeaway from this formula is:
A larger plate area stores more charge — which is why capacitors that need high capacitance in a small package use multilayer construction with hundreds of thin ceramic layers stacked together (the MLCC)
A smaller gap stores more charge — but a thinner dielectric also has a lower voltage rating before it breaks down
A higher dielectric constant (εᵣ) stores more charge — which is why high-capacitance MLCCs use ferroelectric ceramic formulations (X7R, X5R) with εᵣ values in the thousands, while precise RF capacitors use materials with εᵣ close to 1 for maximum stability
## How a Capacitor Charges and Discharges in a Circuit
The charging and discharging behavior is where understanding how capacitors work gets operationally useful for circuit design.
### DC Charging: The RC Time Constant
Connect a capacitor in series with a resistor and apply a DC voltage. The capacitor doesn’t charge instantly — it charges exponentially, governed by the RC time constant:
τ = R × C
Where τ (tau) is the time constant in seconds, R is the resistance in ohms, and C is the capacitance in farads.
The voltage across the capacitor during charging follows:
Vᴄ(t) = V × (1 − e^(−t/τ))
At one time constant (t = τ), the capacitor has charged to 63.2% of the supply voltage. By five time constants (5τ), it has reached 99.3% — which is why engineers treat 5τ as “fully charged” for practical purposes.
RC Charging Progress Table:
Time
Capacitor Voltage (% of supply)
Remaining to Charge
1τ
63.2%
36.8%
2τ
86.5%
13.5%
3τ
95.0%
5.0%
4τ
98.2%
1.8%
5τ
99.3%
0.7%
Discharge follows the mirror-image exponential decay:
Vᴄ(t) = V₀ × e^(−t/τ)
At one time constant during discharge, the voltage has fallen to 36.8% of its starting value. At 5τ, it is effectively zero.
This RC time constant is not just a theoretical curiosity — it’s the foundation of RC filters, timing circuits, debouncing networks, and inrush current limiting. A 10kΩ resistor and a 100µF capacitor gives a time constant of 1 second. A 1kΩ resistor with a 10nF cap gives 10 microseconds. Understanding these numbers lets you design intentionally rather than discover problems during testing.
### A Capacitor Blocks DC but Passes AC
One of the most useful behaviors of capacitors — and often the first one that confuses beginners — is that they block DC while allowing AC to pass. Here’s why:
When a DC voltage is applied, the capacitor charges up until its voltage equals the supply. At that point, charging current stops. No current flows continuously in a purely DC circuit with a capacitor in series. The capacitor looks like an open circuit to DC in steady state.
Apply an AC signal, and the situation changes entirely. The continuously alternating voltage means the capacitor is continuously charging and discharging — current is always flowing. The opposition a capacitor presents to AC is called capacitive reactance:
Xᴄ = 1 / (2π × f × C)
Where Xᴄ is the reactance in ohms, f is the frequency in hertz, and C is the capacitance in farads. As frequency increases, reactance drops — the capacitor presents less opposition to higher-frequency signals. At very high frequencies, the reactance approaches zero and the capacitor looks almost like a short circuit.
This frequency dependence is what makes capacitors the fundamental building block of filters. A series capacitor blocks low frequencies (high Xᴄ) and passes high frequencies (low Xᴄ). A shunt capacitor to ground passes low frequencies and diverts high frequencies to ground. Combine capacitors with resistors and inductors, and you build the LP, HP, bandpass, and notch filters that every analog and RF circuit depends on.
## Types of Capacitors: Dielectrics, Trade-offs, and When to Use Each
Understanding how capacitors work also means understanding why there are so many different types. Each dielectric material creates a different set of trade-offs between capacitance density, stability, voltage rating, ESR, and cost. Here’s the practical breakdown:
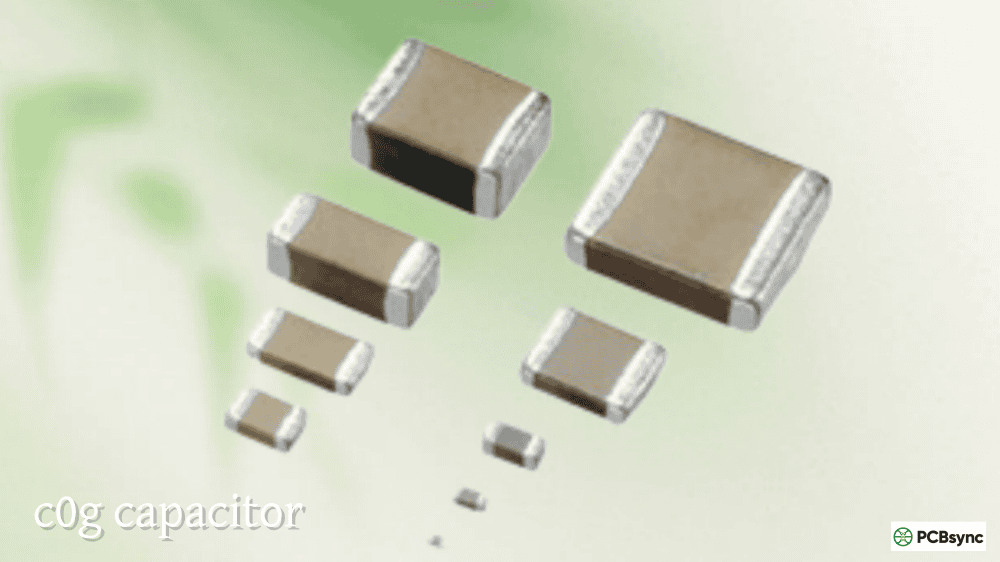
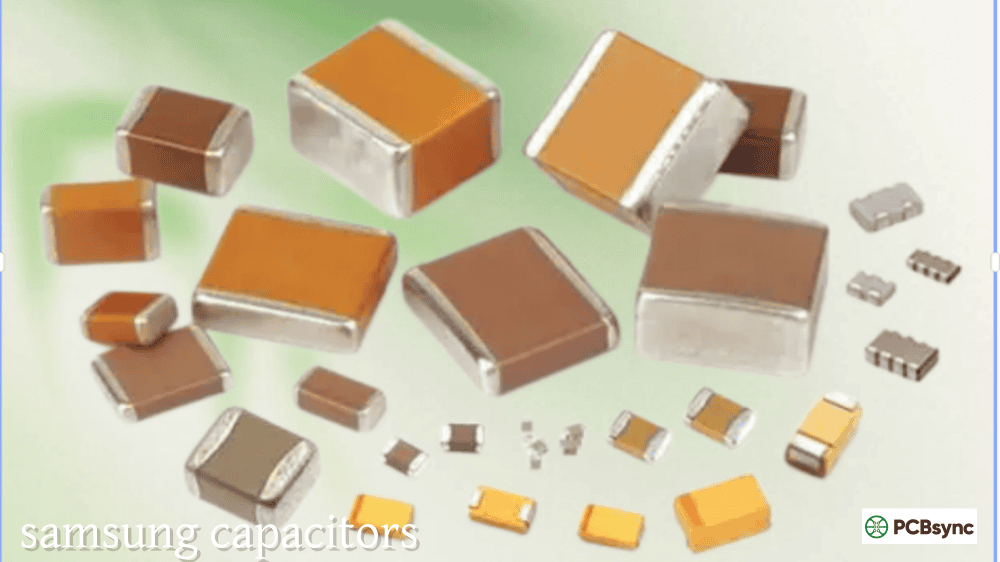
### MLCC (Multilayer Ceramic Capacitor): The Most Common Capacitor on Any PCB
MLCCs are the dominant capacitor technology in modern electronics, and for good reason. Hundreds of thin ceramic layers are co-fired with interleaved metal electrodes to pack enormous capacitance into tiny surface-mount packages. The result is the lowest ESR and ESL of any capacitor technology, outstanding high-frequency performance, and zero polarity requirement.
MLCC Dielectric Classes:
Dielectric
EIA Code
Capacitance Range
Temp Stability
DC Bias Effect
Aging
Typical Use
C0G / NP0
Class I
0.1pF – ~100nF
±30ppm/°C (±0%)
None
None
RF, timing, precision
X7R
Class II
100pF – ~10µF
±15% (−55 to 125°C)
Moderate loss
~2%/decade
General bypass, decoupling
X5R
Class II
100pF – ~100µF
±15% (−55 to 85°C)
Higher loss
~2%/decade
Bulk bypass, power rails
Y5V
Class III
1nF – ~47µF
+22/−82% (−30 to 85°C)
Severe loss
High
Non-critical bypass only
The critical thing to understand about Class II dielectrics (X7R, X5R, Y5V) is that the capacitance you see on the datasheet is the value at 0V DC, measured at room temperature. Once you apply operating voltage and temperature, capacitance drops — sometimes dramatically. An X5R 10µF rated at 10V might only deliver 5–6µF at 5V DC operating voltage. Always pull the DC bias curves from the manufacturer’s datasheet before finalizing a capacitor selection on a power rail.
C0G (NP0) dielectric is the exception. It has essentially zero voltage coefficient and zero aging — the capacitance you specify is the capacitance you get, across temperature and over time. This is why C0G is mandatory in any application where capacitance drift changes circuit behavior: timing RC networks, oscillator loads, precision filters, and RF matching circuits.
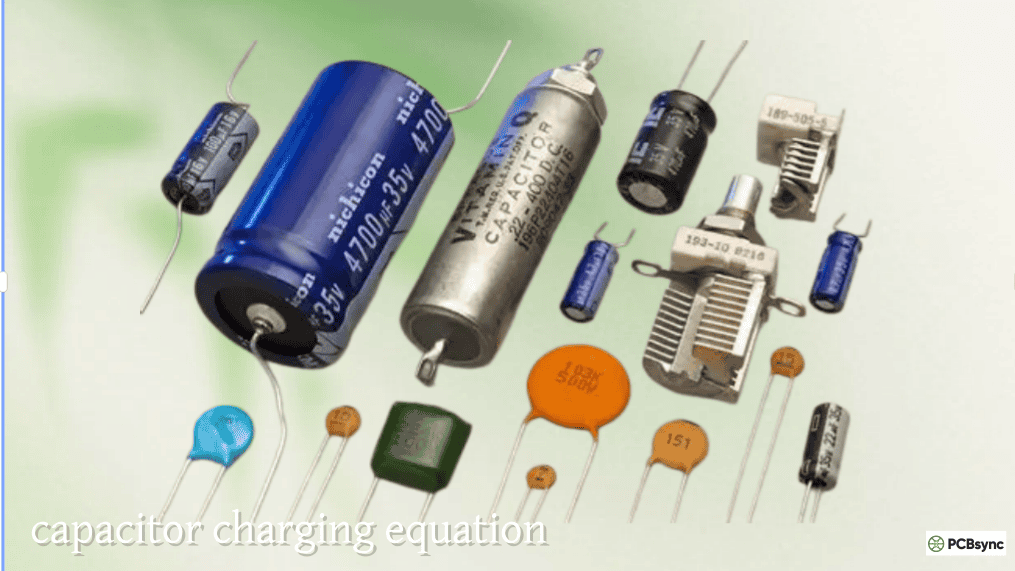
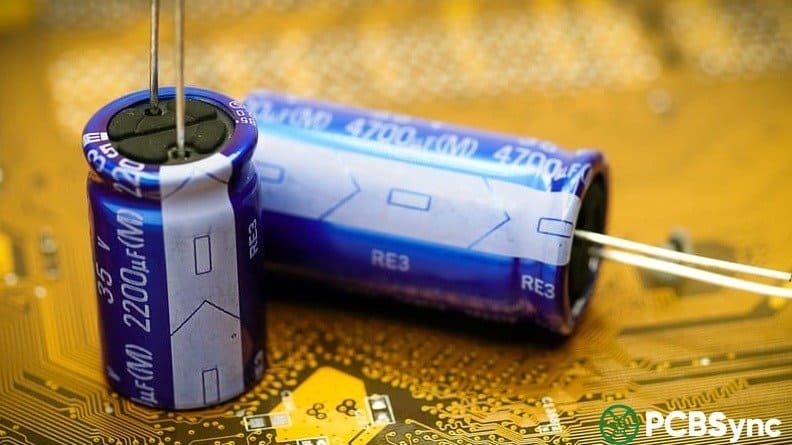
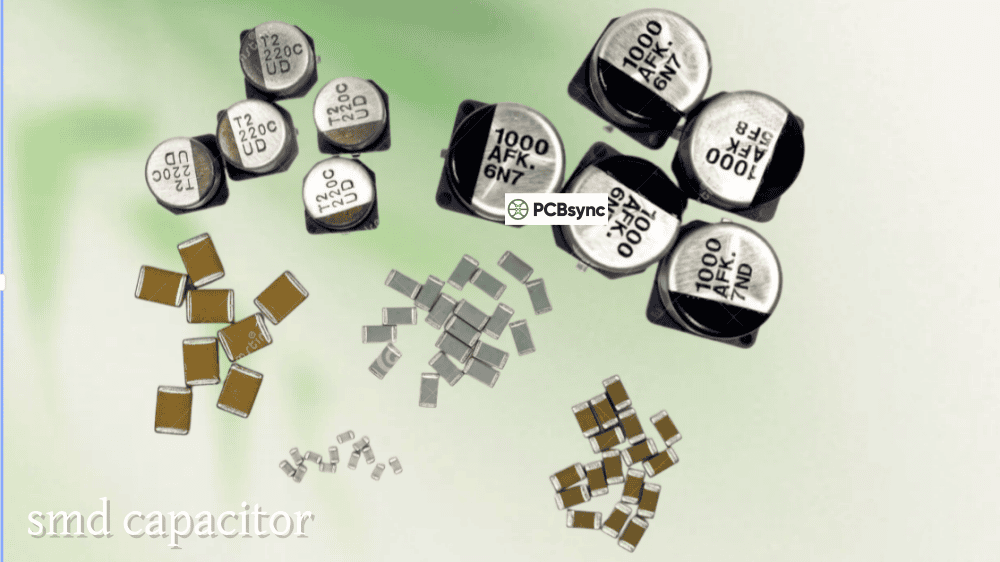
### Aluminum Electrolytic Capacitors: High Capacitance, Low Cost, But Polarized
The tall cylindrical caps on any power supply board are almost certainly aluminum electrolytics. They achieve very high capacitance values — from 1µF to tens of thousands of µF — at costs that ceramic can’t match at those capacitance levels. The trade-offs are significant though: they are polarized (reverse voltage above about 1V will damage or destroy them), they have much higher ESR than ceramics, and their lifetime is limited by the electrolyte slowly evaporating over time, with each 10°C rise above rated temperature roughly halving operating life.
On a PCB design, aluminum electrolytic capacitors handle low-frequency bulk energy storage and power supply input/output filtering, typically in parallel with smaller MLCCs that handle the high-frequency decoupling the electrolytics can’t reach due to their high ESL.
### Tantalum Capacitors: Stable, Compact, but Handle with Care
Tantalum capacitors use tantalum pentoxide (Ta₂O₅) as the dielectric, formed on sintered tantalum powder. The result is higher volumetric efficiency than aluminum electrolytic (more capacitance per unit volume), good stability over temperature and time (no drying-out failure mode), and a much flatter capacitance vs. frequency curve than wet electrolytics.
The critical caution with traditional MnO₂ tantalum capacitors is their sensitivity to voltage transients. Exceeding the voltage rating even briefly can cause catastrophic failure — including ignition. The standard derating rule is to operate them at no more than 50% of rated voltage in most applications. Polymer tantalum types (KEMET KO-CAP, Panasonic SP-CAP) resolve most of this failure risk with an inherently self-limiting failure mode, while also achieving ESR values in the single-digit milliohm range.
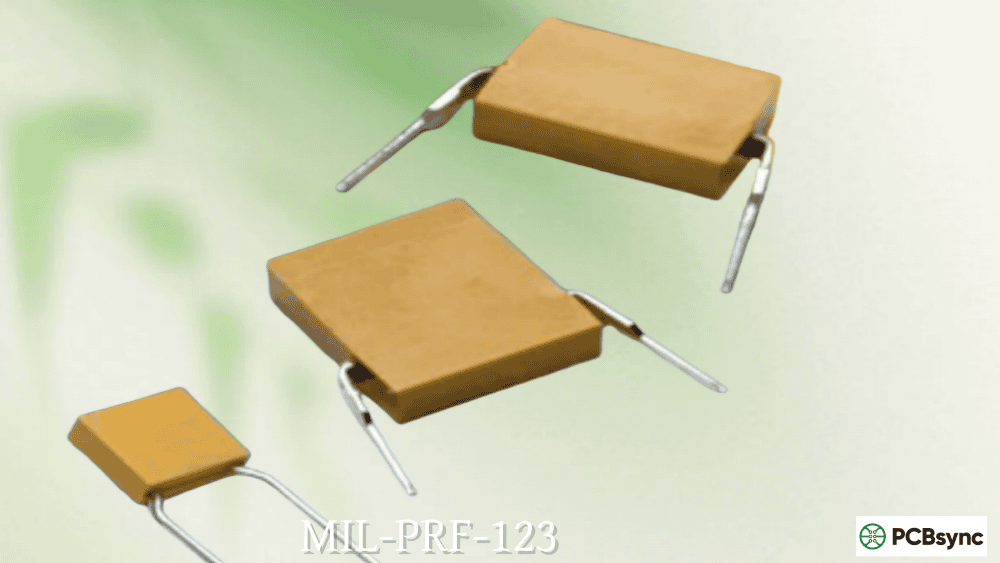
### Film Capacitors: Precision Performance Where Ceramics Fall Short
Polypropylene, polyester, and polyphenylene sulfide (PPS) film capacitors use thin plastic films as the dielectric. They have near-zero DC bias capacitance loss, very low dissipation factor, and excellent long-term stability. The trade-offs are larger physical size and limited capacitance values compared to ceramics or electrolytics.
Film capacitors are the right choice for: audio signal path coupling where distortion must be minimal, precision timing and filter networks where C0G MLCC values don’t go high enough, X2/Y2 safety-rated capacitors for AC line filtering (these must be film — ceramic is not acceptable for safety certification), and motor run capacitors in AC motor drives.
### Polymer Capacitors: Low ESR at High Capacitance
Polymer aluminum and polymer tantalum capacitors use a solid conductive polymer electrolyte instead of liquid or MnO₂. The result is ESR values approaching MLCC performance but at capacitance values in the hundreds of microfarads — territory ceramic can’t reach cost-effectively. They also have a much more benign failure mode than traditional tantalum. The downside is cost premium over wet electrolytics. On high-density server and networking PCBs, you’ll see polymer caps as the bulk decoupling for high-speed processor rails precisely because of this combination of high capacitance and low ESR.
Capacitor Technology Comparison:
Type
Capacitance Range
ESR
Polarity
Aging
Voltage Range
Best For
MLCC C0G
0.1pF–100nF
Very Low
No
None
6.3V–3kV
RF, precision timing
MLCC X7R
100pF–10µF
Very Low
No
~2%/decade
6.3V–3kV
General decoupling
MLCC X5R
100pF–100µF
Very Low
No
~2%/decade
4V–100V
Bulk bypass
Aluminum Electrolytic
1µF–10,000µF
High
Yes
Electrolyte evap.
4V–500V
Bulk energy storage
Tantalum (MnO₂)
100nF–1,000µF
Medium
Yes
Stable
4V–50V
Compact decoupling
Tantalum Polymer
680nF–1,000µF
Very Low
Yes
Stable
4V–50V
Low-ESR high-cap decoupling
Aluminum Polymer
10µF–10,000µF
Low
Yes
Very stable
2.5V–100V
Server/networking rails
Film (PP/PET)
100pF–100µF
Low
No
Very stable
50V–2kV+
Audio, safety, motor run
## The Non-Ideal Capacitor: ESR, ESL, and Self-Resonant Frequency
Real capacitors are not the ideal “just C” elements you learn about in first-year circuits. They have three parasitic elements that profoundly affect performance in anything above audio frequencies:
Equivalent Series Resistance (ESR) represents all resistive losses — dielectric losses, electrode resistance, termination resistance, lead resistance. ESR causes power dissipation (heating), limits how quickly a capacitor can supply current, and sets the minimum impedance the capacitor can present at any frequency.
Equivalent Series Inductance (ESL) comes from the physical geometry of the capacitor’s internal construction and external connections. It’s the inductance of the current path through the leads, terminations, and internal electrodes. ESL is the primary reason capacitors stop working as capacitors at high enough frequency.
Self-Resonant Frequency (SRF) is the frequency at which the capacitor’s reactive capacitance (Xᴄ) equals its reactive inductance (XL from ESL). At SRF, the capacitor presents minimum impedance equal to its ESR. Above SRF, the part behaves as an inductor, not a capacitor — it’s useless for decoupling above this frequency. For any bypass or decoupling application, the capacitor must be operating below its SRF.
SRF = 1 / (2π × √(L × C))
For a 100nF 0402 ceramic capacitor, SRF might be around 100–300 MHz. For a 100µF aluminum electrolytic, SRF might be only 1–10 kHz. This is exactly why good power supply design uses capacitors in parallel: a large electrolytic handles bulk energy storage and low-frequency filtering; a small ceramic handles the high-frequency spikes the electrolytic can’t reach.
Impedance Behavior by Frequency Region:
Frequency Region
Dominant Component
Capacitor Behavior
DC to below SRF
Capacitance (C)
Impedance falls as frequency rises
At SRF
ESR only
Minimum impedance point
Above SRF
ESL
Impedance rises as frequency rises (acts like inductor)
## How Capacitors Work in Real Circuit Applications
Theory becomes useful when you connect it to specific circuit functions. Here are the key applications every PCB engineer should know thoroughly:
### Power Supply Decoupling and Bypass
Every integrated circuit switches its internal transistors billions of times per second, each switch event demanding a short burst of current from the power supply rail. The inductance of PCB traces means the VRM (voltage regulator module) cannot respond fast enough — the supply voltage sags at the IC’s power pin. Bypass capacitors placed close to the power pins supply that transient current locally, acting as a charge reservoir that keeps voltage stable.
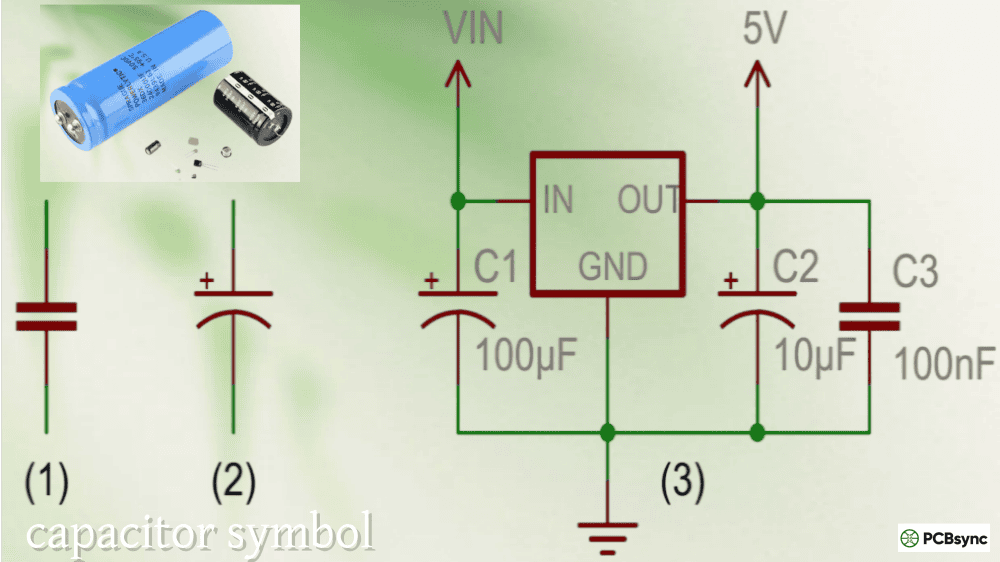
Good bypass capacitor strategy is a hierarchy: bulk capacitors (10–100µF aluminum electrolytic or polymer) near the power entry point handle slow, large current demands; mid-value ceramics (1–10µF X5R) at the board region level; small ceramics (0.1µF X7R) at each IC power pin for high-frequency decoupling; and tiny MLCCs (10nF C0G) as close as possible to power pins on high-speed ICs for very high-frequency noise suppression.
Placement on the PCB matters as much as value selection. Every millimeter of trace between the capacitor and the IC power pin adds parasitic inductance, degrading high-frequency effectiveness. The ideal layout puts the bypass capacitor’s via directly adjacent to the IC power pin pad, connected through the shortest possible path to the power and ground planes.
A coupling capacitor in series with a signal path passes the AC signal while blocking any DC offset. This is fundamental in amplifier stages — the coupling capacitor separates the output DC bias of one stage from the input DC bias of the next, allowing each stage to set its own operating point independently.
For coupling capacitors, you want high capacitance at the lowest signal frequency you need to pass, low ESR to minimize signal loss, and zero DC bias effect (so the capacitance doesn’t shift under the DC voltage at the output of the first stage). C0G for precision analog, X7R for general signal path at moderate voltages.
The cutoff frequency of a series coupling capacitor with a load impedance R is:
fᴄ = 1 / (2π × R × C)
Choose C so that fᴄ is well below the lowest frequency you need to pass.
### RC Timing Circuits
Combine a resistor and capacitor and you get the most fundamental timing element in electronics. The RC time constant τ = RC governs how long the circuit takes to charge or discharge to specific voltage thresholds. This drives: monostable multivibrators (one-shot timers), oscillators, debounce networks for mechanical switch inputs, soft-start circuits that limit inrush current on power-up, and brownout detection delay circuits.
For timing applications, C0G or NP0 ceramic is essential where precision matters. X7R and X5R ceramic will introduce timing drift as temperature changes and as the capacitor ages (Class II ceramics lose ~2% capacitance per decade-hour of life due to aging of the ferroelectric domains). A 555 timer timing circuit that’s right on day one can drift noticeably over years using X7R capacitors — use C0G if the timing must stay accurate over the product lifetime.
### Power Factor Correction and AC Line Filtering
For X and Y safety capacitors used directly across the AC mains (X2 caps) or between line and protective earth (Y2 caps), the dielectric must be a film type qualified to IEC 60384-14. These capacitors must survive the surge transients present on the mains — a short circuit failure would create a shock or fire hazard. No ceramic MLCC should ever be used in these positions regardless of capacitance value, because ceramic capacitors fail short. X2 and Y2 film capacitors are specifically designed to fail open, making the failure safe.
### Energy Storage and Hold-Up
Large electrolytic capacitors are used in power supply bulk energy storage — the capacitors on the DC bus after the rectifier that store enough energy to ride through short AC line dropout events (“hold-up time”). Camera flashes use high-voltage electrolytic or film capacitors to store the energy for the flashtube. Defibrillators use large capacitor banks charged to several hundred volts to deliver the therapeutic shock pulse.
## Series and Parallel Capacitor Combinations
Capacitors combine in the opposite way to resistors, which trips up engineers who haven’t recently revisited the fundamentals.
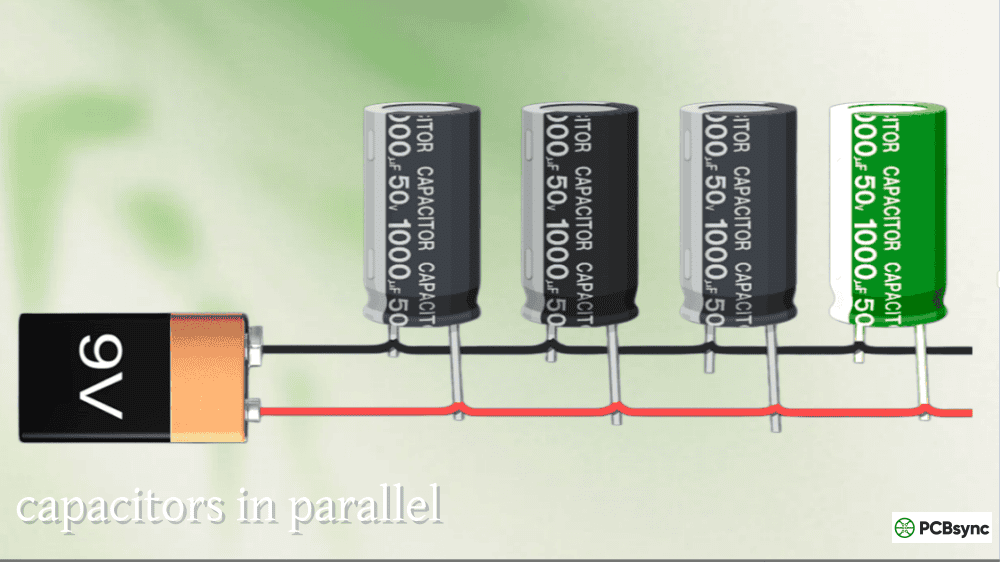
Capacitors in parallel: Total capacitance increases — add the values directly. This makes sense physically: parallel capacitors present more total plate area to the voltage source. Multiple decoupling capacitors in parallel is standard practice.
Cᴛᴏᴛᴀʟ (parallel) = C₁ + C₂ + C₃ + …
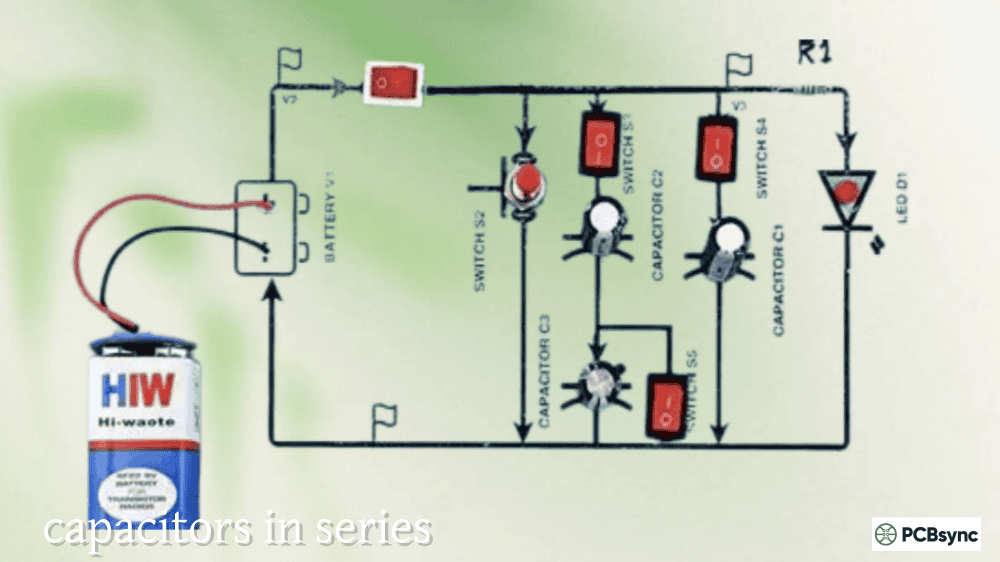
Capacitors in series: Total capacitance decreases — the reciprocal rule applies, same as for parallel resistors. Two equal capacitors in series give half the capacitance but double the voltage rating. This is useful when you need a higher voltage rating than any single capacitor can provide.
1/Cᴛᴏᴛᴀʟ (series) = 1/C₁ + 1/C₂ + 1/C₃ + …
For two capacitors in series: Cᴛᴏᴛᴀʟ = (C₁ × C₂) / (C₁ + C₂)
## Critical Practical Considerations: What the Datasheet Doesn’t Always Make Obvious
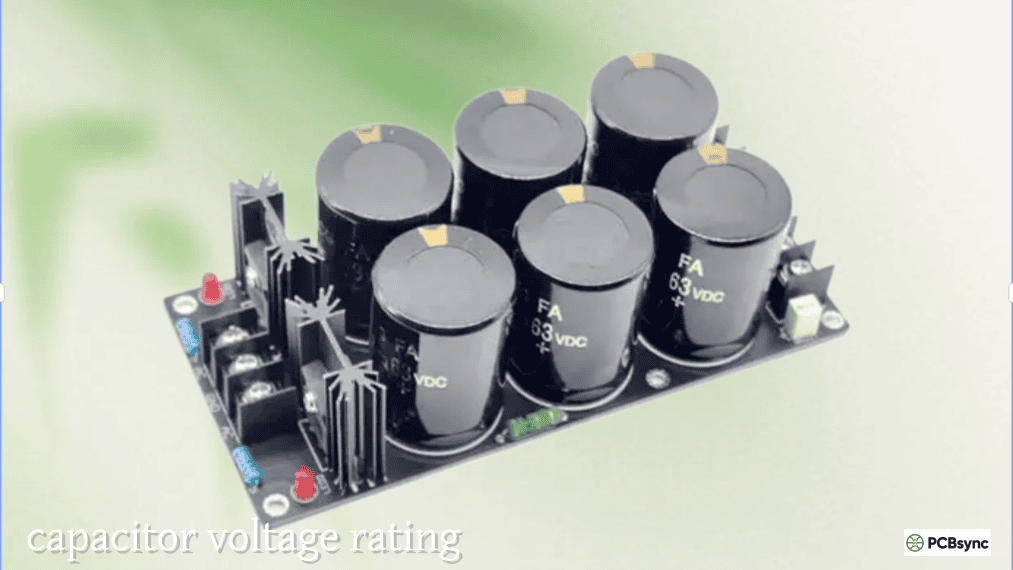
### Voltage Derating: Operate Below the Rated Voltage
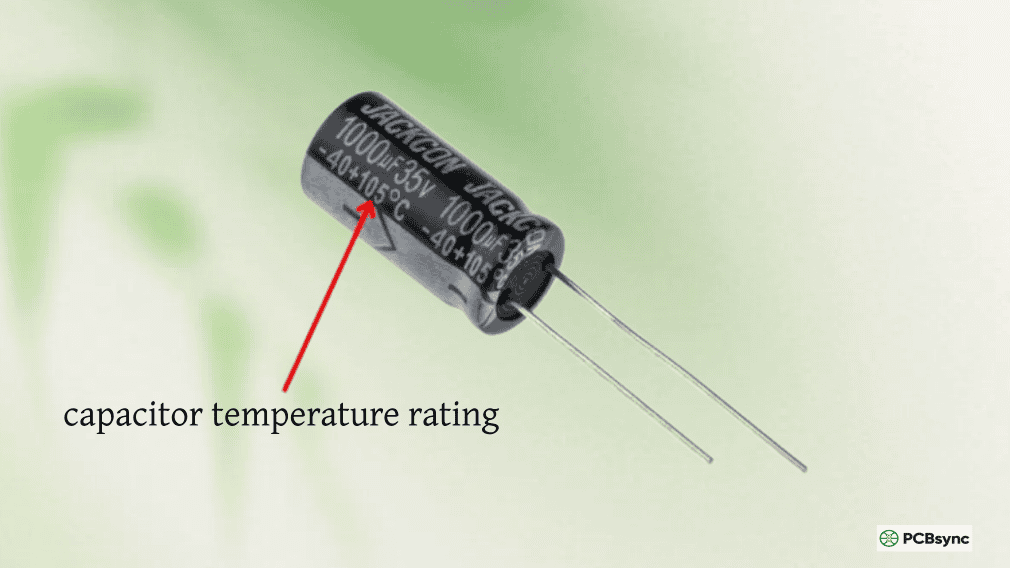
A capacitor’s voltage rating is the maximum continuous DC voltage the dielectric can withstand without breakdown. Operating close to the rating degrades the dielectric over time and reduces reliability. Standard derating practice for ceramic capacitors is to operate at 50% of rated voltage or less for general commercial use, and 25–30% for high-reliability or military applications.
For a 3.3V power rail, this means you want capacitors rated at minimum 6.3V — 10V or 16V is better and still available in the same package size with little cost difference.
### DC Bias Derating on Class II MLCCs: The Hidden Capacitance Problem
As covered in the dielectric section, X7R and X5R MLCCs lose capacitance as DC voltage is applied. A 10µF 10V X5R in a 0402 package might deliver only 3–4µF at 5V operating voltage. This is one of the most common causes of designs that fail to meet performance requirements after being built.
Always check the DC bias curve. If the manufacturer doesn’t publish a DC bias curve for a part, find a part from a manufacturer who does. Larger case sizes and higher voltage ratings both reduce DC bias capacitance loss. A 10µF 25V 0805 X5R will retain far more of its capacitance at 5V than a 10µF 10V 0402 X5R.
### MLCC Aging and Its Effect on Timing Circuits
Class II ceramic capacitors (X7R, X5R, Y5V) exhibit aging — a logarithmic decrease in capacitance over time due to the gradual reordering of ferroelectric domains. The aging rate is typically 1–3% per decade-hour after the last thermal event above the Curie temperature. Over years of operation, this can accumulate to a 10–15% loss of capacitance.
For decoupling and bypass applications this is generally inconsequential. For timing circuits, filter circuits, and oscillator loads where capacitance stability determines a precise frequency or time interval, aging is unacceptable. Use C0G/NP0 dielectric in these applications.
### PCB Layout: Minimize Loop Inductance
How a capacitor is connected to the PCB is as important as the component value. Every extra trace between the capacitor pad and the IC power pin, or between the capacitor ground pad and the ground plane, adds parasitic inductance that raises the effective ESL of the decoupling network. The target is to minimize the inductive loop formed by the current path: from the IC power pin, through the power plane, through the capacitor, and back through the ground plane to the IC ground pin.
Best practices: place bypass capacitors on the same side as the IC whenever possible; route capacitor vias directly to the adjacent power and ground planes; use short, wide traces when any trace is necessary; place the smallest-value (fastest-responding) capacitors physically closest to the IC power pins.
## Useful Resources for Learning More About How Capacitors Work
Q1: My 100µF capacitor is only reading around 60µF in circuit at 5V on a 10V-rated part. Is it defective?
Almost certainly not. You’re seeing DC bias capacitance loss in a Class II ceramic dielectric — most likely X5R. At 50% of rated voltage (5V on a 10V part), X5R typically retains 50–70% of its nominal capacitance. So 60µF from a nominal 100µF part is within the expected range of behavior for this dielectric. The datasheet value is measured at 0V DC with no bias applied. To get more effective capacitance at 5V, you need either more nominal capacitance, a higher voltage rating (which reduces the DC bias effect), a larger case size (which also reduces DC bias loss), or a change to a C0G dielectric — which has zero DC bias effect but is only available in values up to roughly 100nF in standard packages. Always verify against the DC bias curve in the manufacturer’s datasheet before assuming a part is defective.
Q2: I need to know how a capacitor works as a decoupling component. How do I choose the right value?
Start by understanding what the capacitor is actually doing: it’s a local energy reservoir that supplies transient current to your IC faster than the PCB traces and power planes can deliver it from the regulator. For high-frequency decoupling, smaller capacitance values (0.01µF to 0.1µF) in small packages (0402 or 0201) have lower ESL and higher SRF — they can respond faster to high-frequency current demands. For mid-range and bulk decoupling, larger values (1µF to 10µF X5R, 10µF to 100µF polymer or aluminum electrolytic) handle lower-frequency demands and act as charge reservoirs for longer current bursts. The specific values for any IC should be in the IC’s datasheet recommended decoupling circuit — always start there. The Analog Devices MT-101 application note linked above is the most practical reference available on decoupling strategy.
Q3: Why does my timing circuit drift over time? I used X7R capacitors for the RC network.
X7R dielectric is a Class II ferroelectric ceramic. It exhibits aging — a gradual decrease in capacitance of approximately 1–3% per decade-hour after the last thermal event above the Curie temperature. Over one year of operation (roughly 4.7 decades of hours), capacitance can drift 5–15% from nominal. Since the RC time constant τ = RC changes proportionally with capacitance, your timing circuit’s output period shifts by the same percentage. For precision timing, always use C0G (NP0) dielectric capacitors. C0G uses a non-ferroelectric ceramic formulation with essentially zero aging and a temperature coefficient within ±30 ppm/°C. The capacitance you specify at production is the capacitance you’ll have years later. C0G is more expensive and limited to smaller values (typically up to 100nF in standard SMD packages), but for timing, filter, and oscillator applications there is no acceptable substitute.
Q4: I’ve heard you should never use a ceramic capacitor in the X2/Y2 safety position for AC line filtering. Why not?
X2 and Y2 safety capacitors sit directly across the AC mains (X2) or between mains and protective earth (Y2). If these capacitors fail, the failure mode must be safe. Ceramic capacitors fail short — a breakdown in the ceramic dielectric creates a conductive path between the electrodes. A shorted X2 capacitor shorts the AC line, creating a fire or shock hazard. Film capacitors, by contrast, are designed to “self-heal” — when a breakdown occurs in the film dielectric, the thin metal electrode film vaporizes away from the failure point, eliminating the short circuit and leaving the capacitor with slightly reduced capacitance but in a safe, open-circuit failure state. X2 and Y2 film capacitors must also pass IEC 60384-14 qualification testing, which includes pulse voltage tests simulating mains surge transients. No ceramic MLCC has IEC 60384-14 qualification. Never use ceramic in these positions, regardless of the voltage rating of the MLCC.
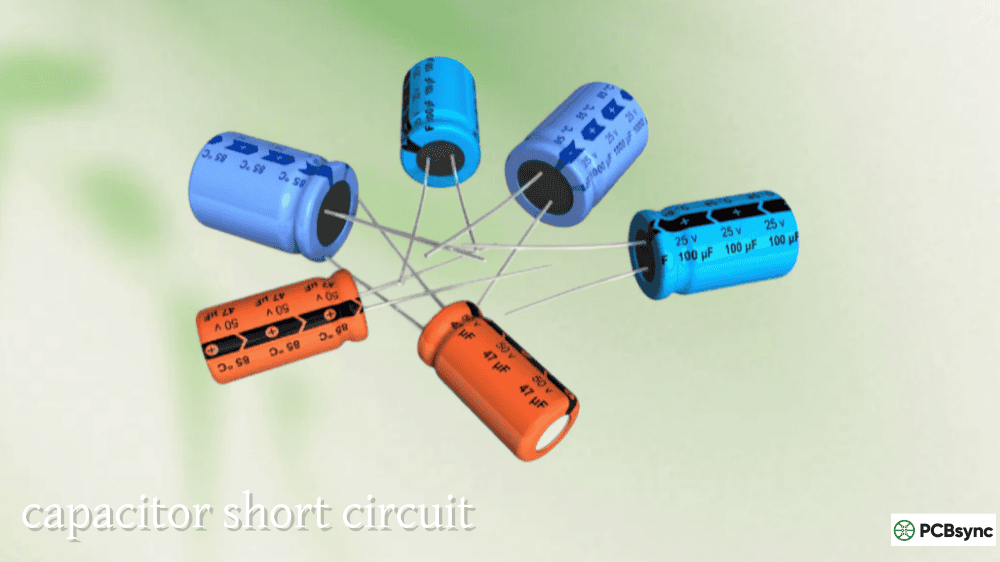
Q5: What happens if a capacitor is installed with reverse polarity?
For non-polarized capacitors — ceramics (MLCC), film types, and most mica capacitors — polarity doesn’t matter at all. These can be placed in either orientation.
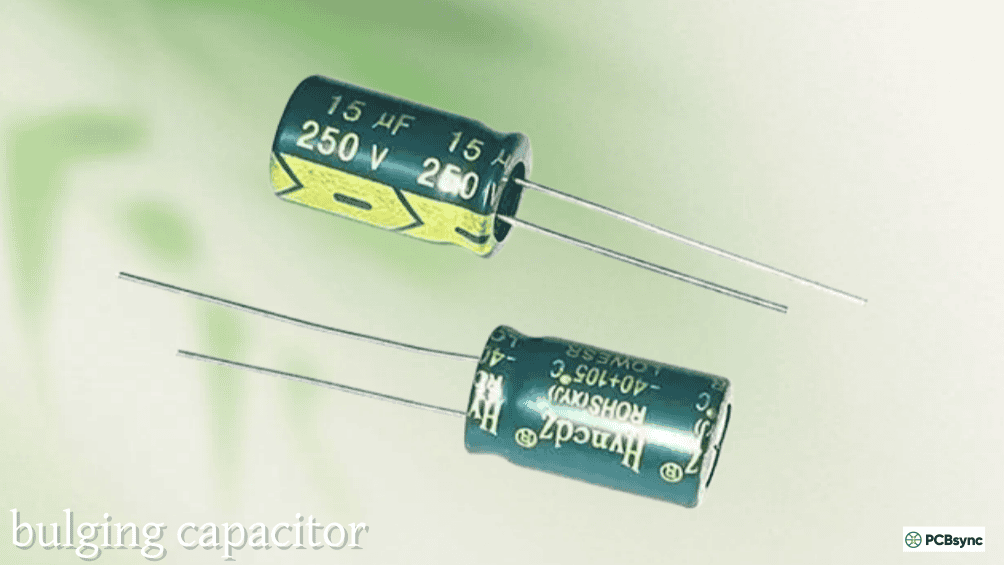
For polarized capacitors — aluminum electrolytic, tantalum MnO₂, and most tantalum polymer types — reverse polarity is a serious failure condition. In an aluminum electrolytic, reverse bias above about 1V causes electrolytic action in the reverse direction, which generates hydrogen gas inside the capacitor. This can cause the capacitor to bulge, vent through the pressure relief vent on the top, or in severe cases rupture violently. In a traditional MnO₂ tantalum capacitor, reverse polarity or a large voltage transient can initiate a thermal runaway in the tantalum pentoxide dielectric, which can result in the capacitor catching fire — this is the failure mode that gave tantalum capacitors their reputation for igniting. Polymer tantalum types are more tolerant of reverse voltage transients and have a safer failure mode, but should still be installed with correct polarity. Always verify polarized capacitor orientation during schematic review, PCB layout, and assembly inspection. The negative terminal of aluminum electrolytic capacitors is marked with a stripe; tantalum caps mark the positive terminal.
## Putting It All Together: A PCB Engineer’s Mental Checklist for Capacitor Selection
When selecting a capacitor for any position on a PCB, work through these questions in order:
Is this position AC-coupled signal, DC bypass, timing, energy storage, or EMI filtering? The answer determines which technologies are eligible.
What is the actual operating voltage, including any transient peaks? Select rated voltage to give at least 2× derating (3× for critical applications or tantalum).
If Class II MLCC — what is the effective capacitance at operating voltage after DC bias derating? Pull the DC bias curve. If effective capacitance is insufficient, upsize the voltage rating, upsize the case, or increase the nominal value.
Does capacitance stability matter? If timing, filtering, or resonance is involved, use C0G only.
What is the required frequency range? Check the SRF of the candidate capacitor is well above your highest operating frequency.
Is polarity a risk? If the assembly team might install reversed, favor non-polarized types where possible, or ensure clear polarity marking on silkscreen and assembly documentation.
Understanding how capacitors work — from the physics of dielectric charge storage through the mathematics of RC time constants and AC reactance, to the practical reality of DC bias loss and aging — is one of the highest-return investments you can make as a circuit designer. These are not exotic components. They sit in the thousands on every complex PCB. Getting them right is baseline engineering competence, and the failures that come from getting them wrong are often the hardest to diagnose because the symptoms look like everything except a wrong capacitor.
Inquire: Call 0086-755-23203480, or reach out via the form below/your sales contact to discuss our design, manufacturing, and assembly capabilities.
Quote: Email your PCB files to Sales@pcbsync.com (Preferred for large files) or submit online. We will contact you promptly. Please ensure your email is correct.
Notes: For PCB fabrication, we require PCB design file in Gerber RS-274X format (most preferred), *.PCB/DDB (Protel, inform your program version) format or *.BRD (Eagle) format. For PCB assembly, we require PCB design file in above mentioned format, drilling file and BOM. Click to download BOM template To avoid file missing, please include all files into one folder and compress it into .zip or .rar format.


