Inquire: Call 0086-755-23203480, or reach out via the form below/your sales contact to discuss our design, manufacturing, and assembly capabilities.
Quote: Email your PCB files to Sales@pcbsync.com (Preferred for large files) or submit online. We will contact you promptly. Please ensure your email is correct.
Notes: For PCB fabrication, we require PCB design file in Gerber RS-274X format (most preferred), *.PCB/DDB (Protel, inform your program version) format or *.BRD (Eagle) format. For PCB assembly, we require PCB design file in above mentioned format, drilling file and BOM. Click to download BOM template To avoid file missing, please include all files into one folder and compress it into .zip or .rar format.
CBB65 Capacitor: The Practical Air Conditioner & HVAC Guide You Actually Need
If you’ve ever cracked open the service panel on an outdoor AC condenser unit and found a swollen, leaking aluminum can sitting next to the contactor, chances are you’ve already met the CBB65 capacitor. It’s one of those parts that nobody thinks about until it fails — and when it does, the whole system goes down on the hottest day of the year. I’ve been specifying and troubleshooting these components on PCBs and in HVAC control circuits for years, and this guide covers everything I wish someone had told me when I started.
What Is a CBB65 Capacitor?
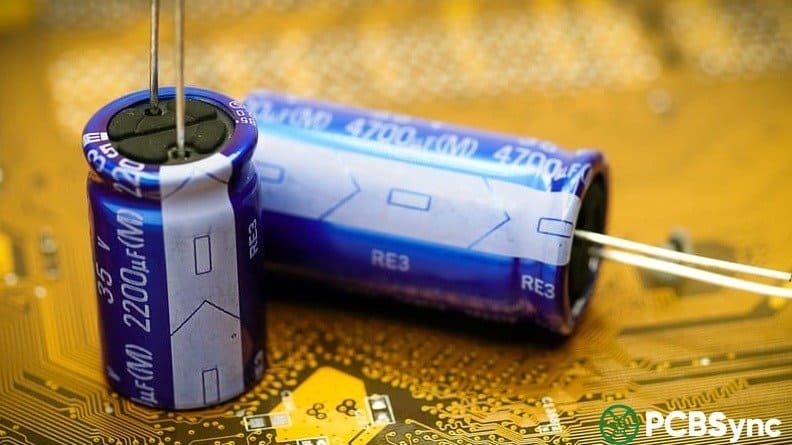
The CBB65 is a metallized polypropylene film capacitor housed in an aluminum can. It’s classified as a motor run capacitor, meaning it stays in the circuit continuously while the motor operates — unlike start capacitors (like the CD60) that only engage for a few seconds during startup.
Inside that aluminum shell, you’ll find a tightly wound roll of polypropylene film with a thin metal layer (usually zinc-aluminum) deposited directly onto the film surface. The whole assembly is vacuum-impregnated with high-purity castor oil or a mineral oil blend to maintain insulation and dissipate heat. This oil fill is actually one of the key differences between the CBB65 and its plastic-cased cousins like the CBB60.
The “CBB” designation follows a Chinese capacitor naming convention where C stands for Capacitor, the first B indicates a non-polar organic film dielectric, and the second B specifies polypropylene as the film material. The 65 designates the specific form factor — an aluminum-cased, oil-filled, round or oval motor run capacitor.
Single-phase AC motors — the kind found in residential air conditioners, heat pumps, and refrigeration compressors — need a phase shift to create a rotating magnetic field. Without that phase shift, the motor just sits there and hums. The CBB65 capacitor provides this phase shift by introducing a leading current in the auxiliary winding, which generates the torque needed to keep the motor spinning efficiently.
In practical terms, when your CBB65 fails, you’ll notice one or more of these symptoms: the compressor won’t start, the fan motor struggles or runs slowly, the unit trips the breaker, or the system runs but can’t cool properly because the compressor is working against itself.
CBB65 Capacitor Key Specifications
Getting the specs right matters. I’ve seen technicians grab a capacitor off the truck that “looks close enough” and end up with a callback two weeks later. Here’s what you need to pay attention to:
Specification
Typical Range
Notes
Capacitance (µF/MFD)
5 µF to 100 µF
Must match OEM spec within ±5%
Voltage Rating (VAC)
240V, 370V, 440V, 450V
Always match or exceed original rating
Frequency
50/60 Hz
Universal for most global applications
Operating Temperature
−40°C to +85°C
Some budget units only rated to +70°C
Tolerance
±5% or ±6%
Tighter is better for compressor applications
Shape
Round (cylindrical) or Oval
Must physically fit the mounting bracket
Terminals
2-pin, 4-pin, or dual configurations
Pin spacing is typically 6.35mm × 0.8mm
Dielectric
Metallized polypropylene film
Self-healing capability is standard
Fill Material
High-purity castor oil or oil blend
Provides insulation and heat dissipation
Safety Feature
Pressure-sensitive interrupter (10,000 AFC)
Disconnects circuit if internal pressure builds
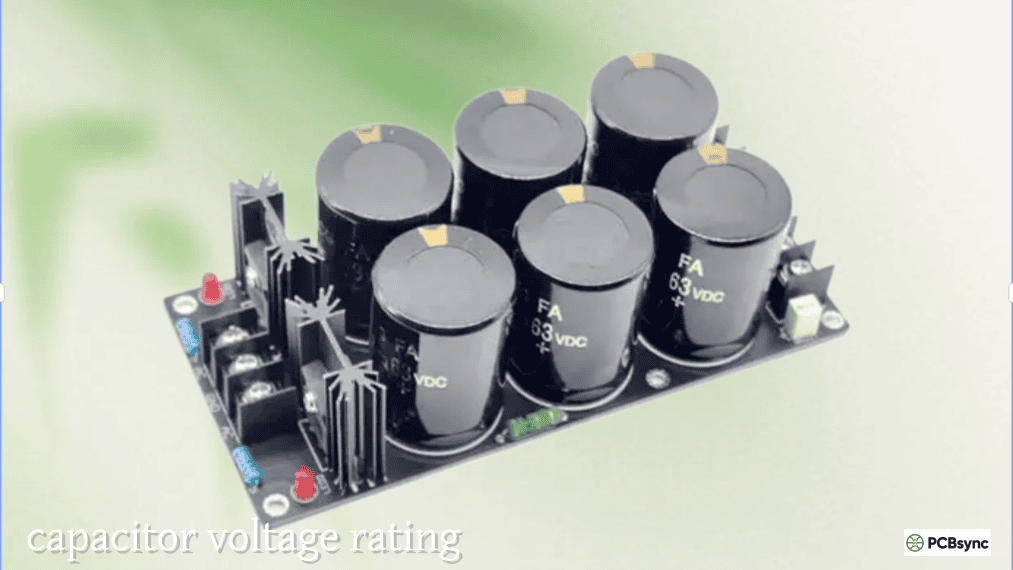
Voltage Rating: Why “Close Enough” Isn’t Good Enough
This is where I see the most mistakes. If your system calls for a 440VAC capacitor, you cannot substitute a 370VAC unit. A lower voltage rating means the dielectric isn’t thick enough to handle the actual operating voltage, and it will break down prematurely — sometimes violently. You can go higher (using a 440V in place of a 370V), but never lower.
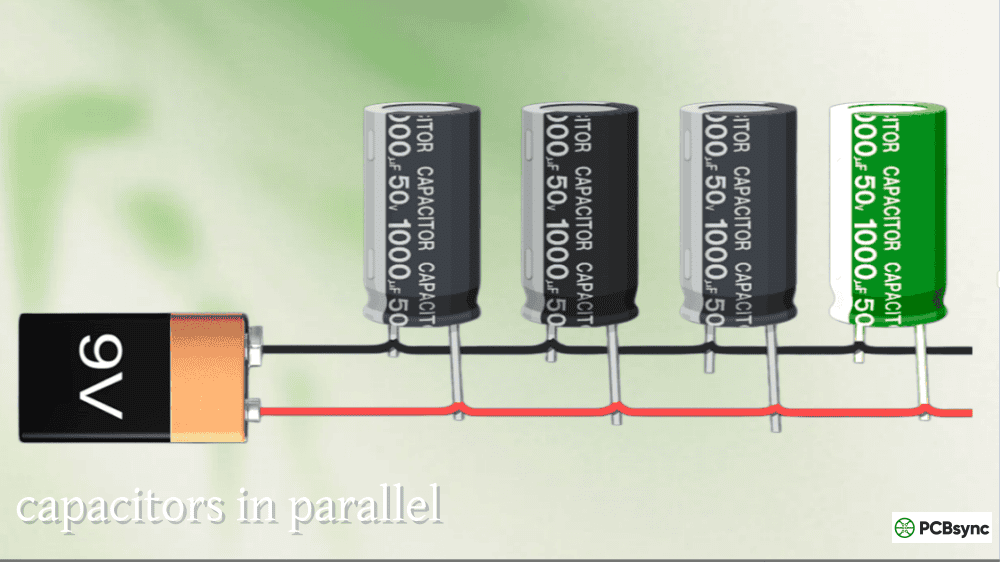
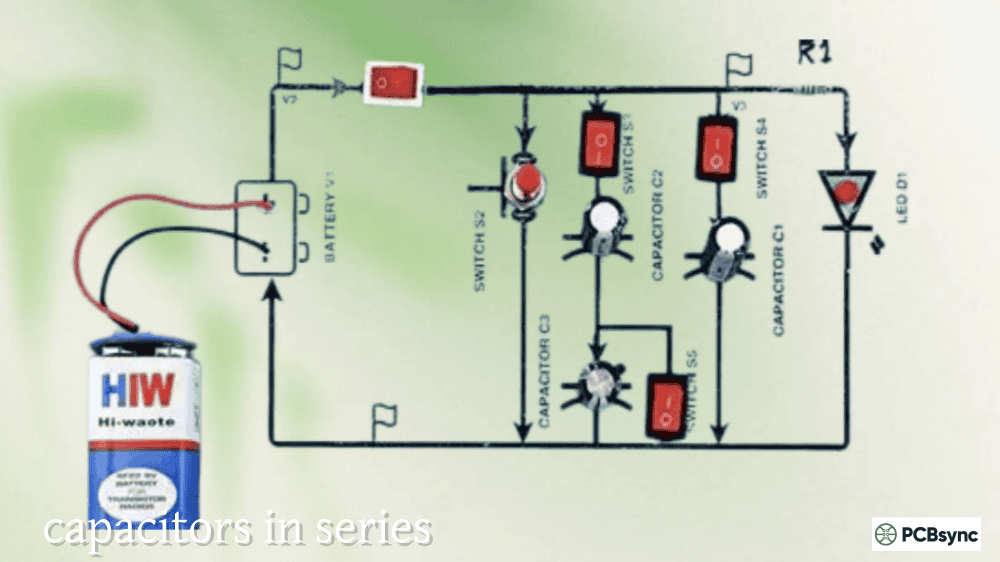
Single Run vs. Dual Run CBB65 Capacitors
This distinction trips up a lot of DIYers and even some junior technicians.
Feature
Single Run CBB65
Dual Run CBB65
Internal Sections
One capacitor element
Two independent capacitor elements
Terminal Count
2 terminals
3 terminals (C, HERM, FAN)
Purpose
Powers one motor (compressor OR fan)
Powers both compressor AND fan from one unit
Typical Marking
Single µF value (e.g., 35 µF)
Two µF values (e.g., 45+5 µF)
Common Application
Window AC units, single-motor systems
Central air conditioners, heat pumps
Replacement Flexibility
Straightforward — match the µF and voltage
Can be replaced with two separate singles if needed
On a dual run capacitor, the three terminals are labeled C (Common), HERM (Hermetic compressor), and FAN. The larger capacitance value feeds the compressor, and the smaller one feeds the condenser fan motor. Getting these wired backwards won’t blow anything up immediately, but the compressor will run inefficiently, draw excess current, and eventually overheat.
CBB65 vs. CBB60 vs. CBB61: Knowing the Differences
I get asked about this constantly, so here’s a direct comparison. These are all polypropylene film capacitors, but they’re engineered for different environments.
Feature
CBB65
CBB60
CBB61
Case Material
Aluminum (oil-filled)
Plastic (epoxy-filled)
Plastic (ABS box)
Shape
Round or oval cylinder
Round cylinder
Rectangular box
Fill
Castor oil or oil blend
Epoxy resin
Epoxy resin
Voltage Range
240V–660V AC
250V–450V AC
250V–450V AC
Heat Tolerance
Excellent (up to +85°C)
Moderate
Moderate
Explosion Protection
Built-in pressure interrupter
Not standard
Not standard
Primary Use
AC compressors, HVAC systems
Washing machines, water pumps
Ceiling fans, small motors
Can CBB60 Replace It?
Not recommended — emergency only
N/A
No
The bottom line: CBB65 capacitors are built for the harsh thermal environment inside an outdoor condenser unit. The aluminum case and oil fill handle heat far better than the plastic-and-epoxy construction of a CBB60. You can use a CBB60 as a temporary emergency substitute if the capacitance and voltage match, but replace it with a proper CBB65 as soon as possible.
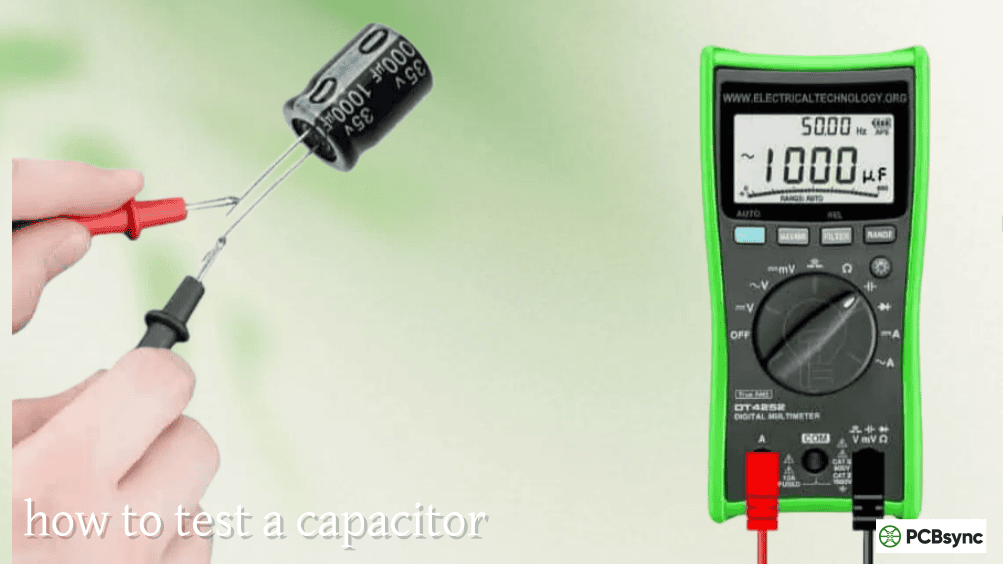
How to Test a CBB65 Capacitor
Before you replace anything, test it. A multimeter with a capacitance function is all you need for a basic check. Here’s my standard procedure:
Step 1: Safety First
Power down the unit completely at the disconnect. Then discharge the capacitor by placing a resistor (20kΩ, 5W works fine) across the terminals for about 30 seconds. Never short the terminals with a screwdriver — that arc can weld the tip and damage the capacitor even if it was healthy.
Step 2: Measure Capacitance
Set your meter to the capacitance range. Touch the probes to the two terminals (for a single run) or measure between C-HERM and C-FAN separately (for a dual run). Compare the reading to the rated value printed on the capacitor label.
Step 3: Interpret the Results
Meter Reading
Diagnosis
Action
Within ±5% of rated value
Capacitor is healthy
Reinstall; look for other issues
10–20% below rated value
Capacitor is weak/aging
Replace soon — it’s on borrowed time
More than 20% below rated value
Capacitor has failed
Replace immediately
Zero or OL (open)
Capacitor is dead open
Replace immediately
Meter shows short circuit
Internal short
Replace immediately; check for damage to other components
A weak capacitor is actually worse than a dead one in some ways, because the system keeps running but the compressor works harder, draws more amps, and slowly cooks itself. If you measure even 10% below the rated value on a compressor run cap, replace it.
How to Replace a CBB65 Capacitor Step by Step
What You Need
A replacement CBB65 capacitor with matching specs (capacitance, voltage, and physical form factor), an insulated screwdriver, a 20kΩ resistor for discharging, a multimeter, and a phone camera to photograph the wiring before you disconnect anything.
The Replacement Process
1. Disconnect power at the breaker and the outdoor disconnect box. Confirm zero voltage with your meter across L1 and L2 at the contactor.
2. Photograph the existing wiring. Seriously. Take multiple pictures from different angles. On a dual run cap, you need to know exactly which wire goes to C, HERM, and FAN.
3. Discharge the old capacitor using the resistor method.
4. Remove the old capacitor. Note how it mounts — usually a bracket or strap with a screw. Disconnect the spade terminals by pulling straight off, not wiggling side to side.
5. Verify the new capacitor’s specs match the old one. Check the capacitance, voltage, and terminal configuration.
6. Mount the new capacitor in the bracket. Reconnect the wires exactly as they were — this is where your photos save the day.
7. Restore power and test. The compressor should start cleanly, the fan should spin at full speed, and the amp draw should be within the nameplate rating.
After years of seeing these things fail, here are the patterns I’ve noticed:
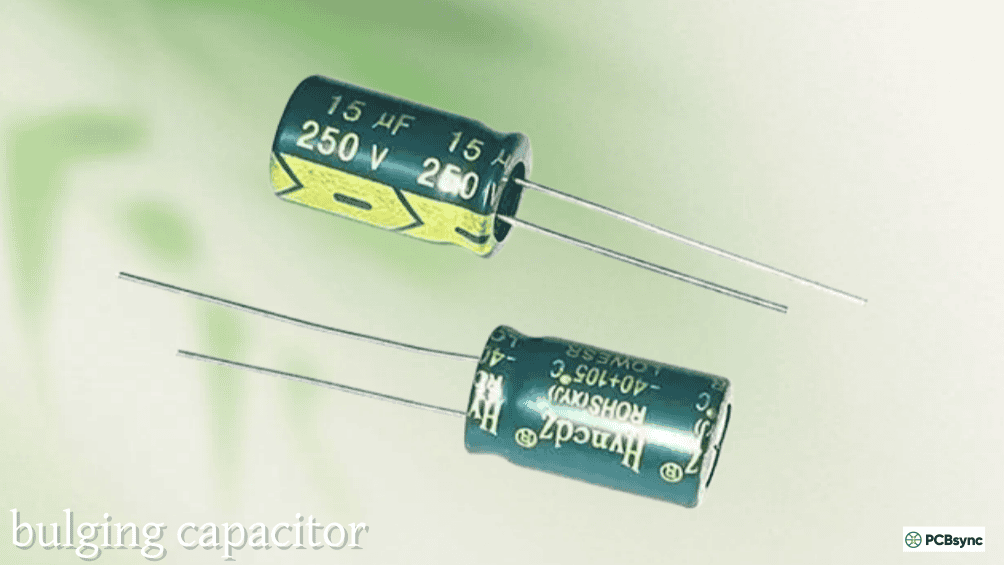
Bulging or swollen top/bottom: Internal overheating caused the oil to expand. Usually caused by sustained overvoltage, poor ventilation around the condenser unit, or the capacitor simply reaching end of life. The pressure interrupter should have tripped, but on cheap units it sometimes doesn’t.
Oil leaking from the base or terminals: The seal has failed. Once the oil leaks out, insulation drops and the capacitor will fail completely in short order. Replace it — there’s no fix for a leaking cap.
Capacitance drift (reads low but no physical damage): Normal aging. Polypropylene film capacitors are remarkably stable, but after 8–12 years of continuous duty in a hot outdoor environment, they lose capacitance gradually. Annual checks catch this before it causes compressor damage.
Burnt or melted terminals: Usually a loose spade connection that arced under load. The fix is a new capacitor AND new spade connectors crimped onto the wires. Don’t just jam the old connector onto the new cap.
Tips for Extending CBB65 Capacitor Lifespan
These aren’t theoretical — they come from field experience:
Keep the condenser coils clean. Dirty coils mean higher head pressure, which means the compressor draws more current, which means the capacitor works harder and hotter. An annual coil cleaning extends capacitor life significantly.
Ensure proper airflow around the condenser. Don’t let shrubs, fences, or storage crowd the outdoor unit. The capacitor sits inside that cabinet and relies on ambient air circulation to stay cool.
Install a hard-start kit on aging compressors. A hard-start kit reduces the inrush current during startup, which puts less stress on the run capacitor. This is especially worthwhile on systems over 10 years old.
Use quality replacement capacitors. Budget capacitors from unknown manufacturers often have thinner dielectric film and lower-grade oil. Spend the extra few dollars on a name-brand replacement — it’s cheaper than a compressor.
Useful Resources for CBB65 Capacitor Reference
Resource
Description
Link
Capacitor Industries — CBB65 Catalog
Full product catalog with cross-reference tables for OEM part numbers
Can I use a 440V CBB65 capacitor to replace a 370V one?
Yes. A higher voltage rating means a thicker dielectric layer, which gives you more safety margin. A 440V capacitor will work fine in a 370V circuit. You cannot go the other direction — never use a 370V cap in a 440V application.
What happens if I install a CBB65 capacitor with the wrong µF rating?
If the capacitance is too low, the motor won’t get enough phase shift. It’ll struggle to start, run hot, and draw excessive current. If the capacitance is too high, the motor can run overcurrent on the auxiliary winding, which causes overheating and premature winding failure. Stick within ±5% of the original spec. Industry data suggests that incorrect capacitor selection is responsible for roughly 30% of motor failures in HVAC systems.
How long does a CBB65 capacitor typically last?
In a well-maintained residential HVAC system, expect 8 to 15 years. Commercial systems that run heavier duty cycles may see 5 to 8 years. Extreme heat environments (like a rooftop unit in Arizona with no shade) can cut lifespan to 3 to 5 years. Annual testing is cheap insurance.
Can I replace a dual run CBB65 capacitor with two single run capacitors?
Absolutely. Connect the Common wire to one terminal of each single capacitor, then wire HERM to the other terminal of the larger cap and FAN to the other terminal of the smaller cap. Make sure both singles have the correct µF value and voltage rating. This is a perfectly acceptable field repair and some technicians prefer it because if one section fails later, you only replace one capacitor instead of the whole dual unit.
What’s the difference between a CBB65 and a CBB65B capacitor?
The CBB65B is a variant that typically uses a different internal configuration or encapsulation method — some manufacturers use it to denote a resin-encapsulated version rather than oil-filled, or to indicate a different terminal arrangement. Always check the actual specs (µF, voltage, temperature range) rather than relying on the suffix alone. If the electrical ratings match and the physical dimensions fit your mounting bracket, either designation will work.
Wrapping Up
The CBB65 capacitor is a small, inexpensive part that directly determines whether your air conditioner or heat pump runs efficiently — or runs at all. Understanding what it does, how to spec it correctly, and how to test and replace it are foundational skills for anyone working with HVAC systems. Match the capacitance exactly, always meet or exceed the voltage rating, and don’t cheap out on the replacement part. Your compressor will thank you.
Inquire: Call 0086-755-23203480, or reach out via the form below/your sales contact to discuss our design, manufacturing, and assembly capabilities.
Quote: Email your PCB files to Sales@pcbsync.com (Preferred for large files) or submit online. We will contact you promptly. Please ensure your email is correct.
Notes: For PCB fabrication, we require PCB design file in Gerber RS-274X format (most preferred), *.PCB/DDB (Protel, inform your program version) format or *.BRD (Eagle) format. For PCB assembly, we require PCB design file in above mentioned format, drilling file and BOM. Click to download BOM template To avoid file missing, please include all files into one folder and compress it into .zip or .rar format.


