Inquire: Call 0086-755-23203480, or reach out via the form below/your sales contact to discuss our design, manufacturing, and assembly capabilities.
Quote: Email your PCB files to Sales@pcbsync.com (Preferred for large files) or submit online. We will contact you promptly. Please ensure your email is correct.
Notes: For PCB fabrication, we require PCB design file in Gerber RS-274X format (most preferred), *.PCB/DDB (Protel, inform your program version) format or *.BRD (Eagle) format. For PCB assembly, we require PCB design file in above mentioned format, drilling file and BOM. Click to download BOM template To avoid file missing, please include all files into one folder and compress it into .zip or .rar format.
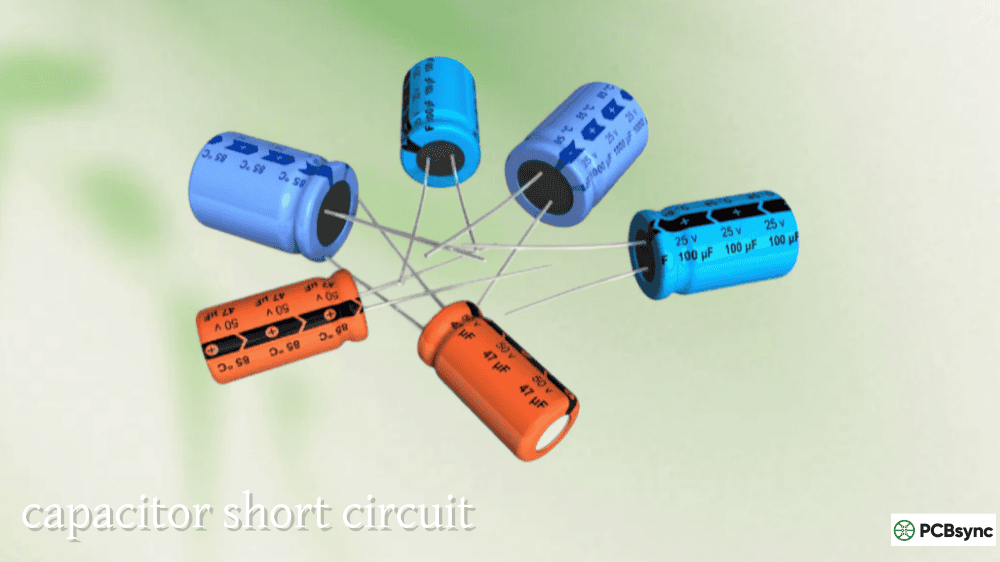
Shorted Capacitors: Diagnosis & Troubleshooting Every PCB Engineer Must Know
Most passive component failures are degradation events — the component works less well over time until it stops working adequately. A capacitor short circuit is different in kind. When a capacitor develops a low-resistance path between its terminals, it stops being a capacitor and becomes a near-dead-short across the circuit node it connects. On a power supply rail, a shorted decoupling or filter capacitor is indistinguishable from a dead short across the supply — the power source sees its maximum current and either folds back, trips, or is destroyed. On a signal path, a shorted coupling or filter capacitor connects the source directly to ground, collapsing the signal and potentially forcing the driving stage into a current-limited or damaged condition.
What makes the capacitor short circuit particularly challenging to diagnose is that it often destroys other components before the root cause is identified. The shorted capacitor collapses the supply rail, which may damage the voltage regulator, the connected ICs, and the bypass capacitors on adjacent rails — all of which are then potential suspects in the failure investigation. Tracing that damage cascade back to a single shorted ceramic capacitor on the power rail requires a systematic diagnostic methodology, not a parts-substitution guessing game.
This guide covers the failure mechanisms that create a capacitor short circuit in each major technology, the diagnostic techniques that identify it quickly, the board-level fault isolation process for finding which capacitor in a distributed decoupling network is the failed unit, and the design practices that prevent the failure mode in the first place.
Physical Mechanisms Behind a Capacitor Short Circuit
Ceramic Capacitor Dielectric Breakdown and Dendritic Growth
The most common source of a capacitor short circuit in modern PCB designs is a failed ceramic MLCC — either from dielectric breakdown under overvoltage stress or from electrochemical dendritic growth under prolonged DC bias.
Dielectric breakdown occurs when the electric field across the ceramic dielectric exceeds the dielectric strength, creating a conductive channel through the material. This can happen suddenly under a transient overvoltage event — an inductive switching spike, an ESD event, or a supply transient — or gradually through a process called stepped degradation where each overvoltage event slightly weakens the dielectric until a final breakdown event creates a permanent short. The resulting failure is typically a hard, low-resistance short that measures essentially zero ohms between the capacitor terminals.
Electrochemical dendritic growth is a slower mechanism that is particularly insidious because it can develop at operating voltages well within the rated range. Under sustained DC voltage stress, metal ions from the nickel or copper internal electrodes migrate through the dielectric under the influence of the electric field, forming conductive metallic filaments (dendrites) that eventually bridge the electrode layers. This mechanism is accelerated by humidity, elevated temperature, and higher voltage stress. The resulting failure presents as a low but not necessarily zero resistance between terminals — sometimes tens to hundreds of ohms — that decreases further over time as the dendrites grow.
Tantalum Capacitor Thermal Runaway to Short Circuit
Solid tantalum capacitors with manganese dioxide cathodes can develop a low-resistance path through a mechanism distinct from ceramic failure. A localized defect in the tantalum pentoxide dielectric creates a site of elevated leakage current. Leakage current heats the defect, which increases leakage further through the negative temperature coefficient of the MnO₂. If circuit impedance is insufficient to limit this current, the thermal runaway eventually ignites the MnO₂ cathode — the capacitor transitions from a high-leakage state to a near-short circuit condition as the conductive carbon products of combustion bridge the dielectric.
This failure mode is why the 50% voltage derating rule for MnO₂ tantalum is a hard requirement rather than a guideline, and why tantalum capacitors on low-impedance supply rails without current-limiting series resistance present a reliability and safety concern that other capacitor types do not.
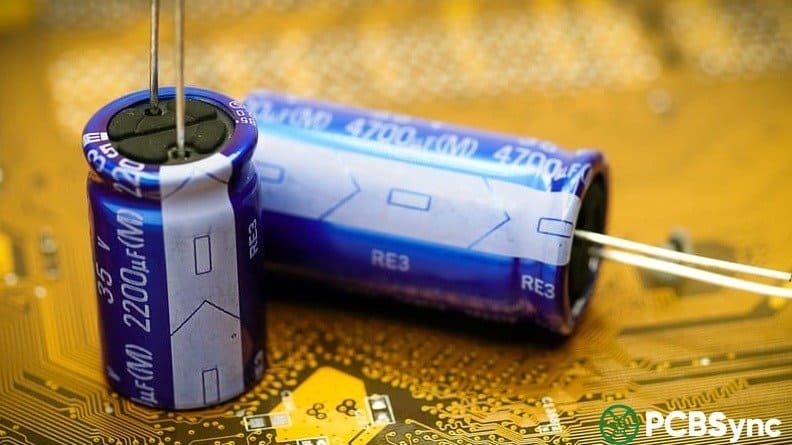
Aluminum Electrolytic Short Circuit from Oxide Breakdown
Aluminum electrolytic capacitors are less commonly associated with hard short-circuit failures than ceramics or tantalum, but they can short under specific conditions. Reverse voltage application — installing the capacitor with incorrect polarity, or operating it in a circuit that allows negative voltage across the terminals — destroys the oxide dielectric rapidly. The resulting failure is typically a low-resistance path that draws excessive current, causes rapid heating, and results in electrolyte venting or rupture if current is not limited. Sustained overvoltage (significantly above the rated working voltage) can produce a similar oxide breakdown and short circuit.
Mechanical Damage Causing Internal Short Circuit
Ceramic capacitors damaged by PCB flexure, thermal shock, or physical impact can develop cracks that bridge internal electrode layers. Depending on crack geometry and the presence of conductive contamination — solder flux residue, electrolyte from a nearby leaking capacitor, or conductive dust — the crack may create a partial or complete short circuit path that was not present immediately after the damage event but develops as contamination migrates into the crack over time.
This failure mode produces intermittent rather than hard short circuits in many cases — the resistance through the crack varies with temperature (as the ceramic expands and contracts, changing the crack geometry) and with mechanical stress on the board. An intermittent short circuit that appears under thermal stress and disappears at room temperature, or that appears when the board is flexed and disappears when released, strongly suggests a cracked ceramic capacitor.
Diagnosing a Capacitor Short Circuit: Systematic Methodology
Step 1: Confirm the Short Circuit Exists and Locate the Rail
The first diagnostic task is confirming that a short circuit exists on a specific power rail and distinguishing it from other causes of supply collapse:
Symptom
Likely Cause
First Test
Supply rail collapses under load
Short circuit or overloaded rail
Measure rail resistance to GND with power off
Supply folds back immediately
Current limit triggered by short
Measure resistance from rail to GND: < 10Ω confirms short
Specific power domain dead
Short on that domain only
Isolate domain; check resistance to GND
Multiple rails affected
Short on shared input rail
Work back from input to find shorted domain
Intermittent supply dropout
Possible partial short circuit
Check at temperature extremes and under flex
With the board powered off and fully discharged, measure the resistance from the suspect power rail to ground using a digital multimeter. A healthy PCB with decoupling capacitors may read anywhere from 10kΩ to several MΩ depending on the pull-down resistances in the circuit. A measurement below 100Ω strongly suggests a short circuit somewhere on that rail. Below 10Ω confirms it. A measurement of 0–2Ω with the DMM’s own lead resistance subtracted indicates a hard short.
Step 2: Thermal Imaging — The Fastest Short Locator
If the power supply can be current-limited to a safe level (10–50mA for low-power rails, 200–500mA for higher-power rails), thermal imaging with an infrared camera or thermal imaging attachment is the fastest method to locate a shorted capacitor on a densely populated board. Apply the current-limited supply and observe the board with the thermal camera: the shorted component heats immediately and visibly, often within 3–5 seconds of power application.
Without a thermal camera, a near-equivalent technique uses a small current-limited bench supply set to 100–200mA and carefully touching fingertip to each suspect component location — the shorted capacitor will be noticeably warm to slightly hot within 10–15 seconds. This is less precise than thermal imaging but catches most hard shorts on populated boards without specialized equipment.
Step 3: Isolation by Disconnection and Sectioning
On boards where thermal identification is inconclusive or where the short is on a rail with many parallel-connected capacitors, physical isolation is required. The methodical approach:
Disconnect the power source from the rail. This allows resistance measurement without interference from the power supply’s internal impedance or parallel components connected to the rail at the input.
Cut or lift the power plane connection to sections of the board. On multilayer boards, identifying which board section contains the short can be achieved by cutting (temporarily) the power plane connections between sections if physical access allows, or by lifting component pins that connect sections of the rail to isolate them electrically.
Progressively remove suspect capacitors. With the rail still showing a short, systematically remove decoupling and filter capacitors from the rail one at a time — or in groups for efficiency — measuring the rail resistance after each removal until the short disappears. The last removed component is the failed unit.
This process is more efficient than it sounds with the correct mindset: start with the highest-stress locations (capacitors nearest to power stages, regulators, and switching nodes) before methodically working through decoupling arrays. A shorted capacitor on a 3.3V microcontroller supply rail in a design with 40 decoupling capacitors can typically be isolated in 10–15 minutes with this approach.
Step 4: Component-Level Confirmation
Once a suspect capacitor has been identified and removed from the board, confirm the failure out-of-circuit before concluding the diagnostic:
Test
Method
Pass/Fail Threshold
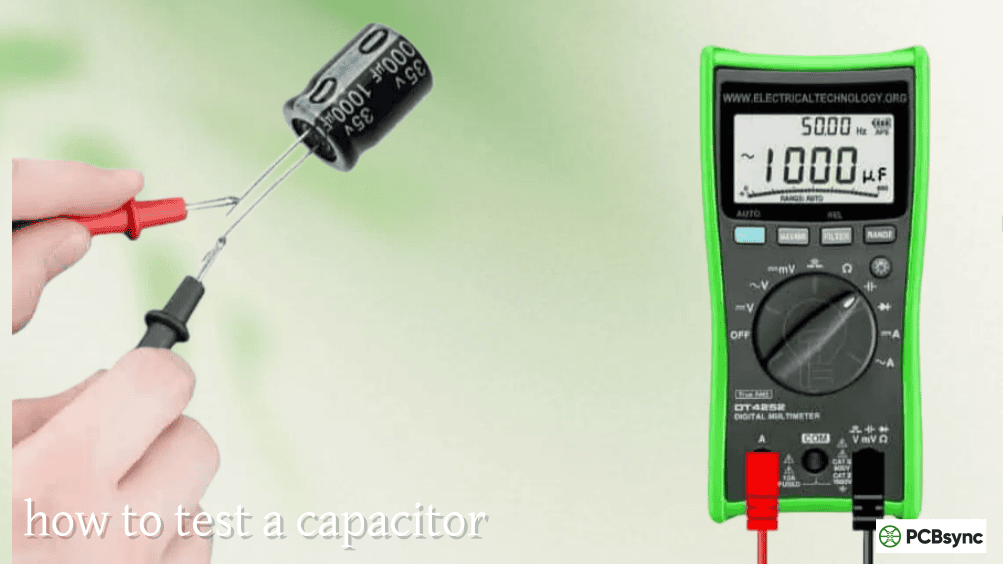
Resistance (DMM, Ω mode)
Probes across removed capacitor
< 100Ω confirms short; > 1MΩ suggests normal
ESR (ESR meter, 100kHz)
Same
Abnormally low ESR may indicate soft short
LCR measurement
Benchtop LCR at 1kHz
C near zero or D (dissipation) > 1 indicates failure
Leakage / IR (DC volts)
Apply rated voltage; measure current
> 100× spec leakage current confirms degradation
Visual inspection (magnification)
10–30× loupe or digital microscope
Look for cracks, discoloration, electrode migration
X-ray (if available)
Internal electrode inspection
Reveals cracks and dendrites invisible externally
A hard short confirms as essentially zero resistance on the DMM and near-zero ESR on the ESR meter. A soft short from dendritic growth or partial dielectric breakdown may read 50–500Ω on the DMM — low enough to collapse a power rail under load but not the near-zero reading associated with a catastrophic breakdown. Both require replacement.
Common Capacitor Short Circuit Scenarios by Application
Shorted Decoupling Capacitors on Digital Power Rails
This is the most statistically common scenario in modern digital board design. A shorted X7R MLCC on a 1.0V or 1.8V processor core rail, or on a 3.3V I/O rail, collapses that rail immediately and causes the downstream IC to fail to start or crash during operation. Because multiple MLCCs are typically distributed across these rails in 100nF and 10nF values, the diagnostic challenge is locating which of potentially dozens of parallel-connected capacitors has failed.
The thermal imaging approach is uniquely well-suited to this scenario — applying a current-limited supply at a safe level and observing heat distribution with a thermal camera identifies the failed unit in under a minute on even densely populated boards.
Shorted Ceramic Capacitor From ESD Damage
ESD events during PCB handling, assembly, or field maintenance can destroy ceramic capacitors — particularly the small-value (1nF–100nF) types used in EMI filter and signal path positions. The ESD discharge creates a voltage spike across the capacitor that may exceed its dielectric strength, creating an immediate short circuit. In many cases, the board that “worked before we handled it” and “stopped working after we connected the test cable” has suffered ESD-induced ceramic capacitor short circuits at the circuit nodes that the test cable connected to.
ESD protection practices — grounded wrist straps, ESD-safe workbenches, proper PCB handling procedures, and ESD protection on sensitive PCB input lines — prevent this failure mode. For circuits handling sensitive or high-speed signals where board-level ESD protection is insufficient, placing a small series resistance (10–100Ω) between the input connector and the first ceramic capacitor limits the energy delivered to the capacitor during an ESD event.
Intermittent Short Circuit from Cracked Ceramics
Condition
Behavior
Diagnostic Method
Room temperature
Normal operation or marginal
Resistance measurement: may appear normal
Elevated temperature
Short circuit — board crashes
Measure resistance with heat gun applied
Mechanical flex
Short circuit — board crashes
Measure while flexing board gently
Cold temperature
Open circuit or intermittent
Measure at cold soak
Humidity exposure
Short circuit increases
Measure before and after humidity exposure
Cracked ceramic capacitors producing intermittent shorts are among the most difficult PCB faults to diagnose because the failure is not reproducible at room temperature under normal conditions. The systematic approach is to reproduce the failure condition (thermal, mechanical, or humidity stress) while monitoring the suspect rail resistance or the circuit’s functional output, then use thermal imaging or progressive isolation to identify the specific component.
Design Practices That Prevent Capacitor Short Circuit Failures
Voltage derating as the primary prevention. For ceramic capacitors, operating at 50% or less of rated voltage dramatically reduces the electric field stress that drives both sudden dielectric breakdown and slow dendritic growth. An X7R MLCC rated at 25V on a 3.3V rail is operating at 13% of its rated voltage — essentially immune to field-stress-related short circuit from normal operation.
Transient suppression to protect from overvoltage. Inductive switching transients, ESD events, and supply transients that exceed the capacitor’s rated voltage are the triggers for sudden dielectric breakdown failures. TVS diodes, varistors, and RC snubbers placed upstream of sensitive capacitors limit peak voltages to levels well within the capacitor’s rated capability.
Series resistance for tantalum current limiting. MnO₂ tantalum capacitors require series resistance of at minimum 3Ω per volt of supply voltage to limit the current available to a developing thermal runaway condition. This does not prevent the initial leakage increase but prevents it from escalating to a full short circuit by limiting the available runaway current.
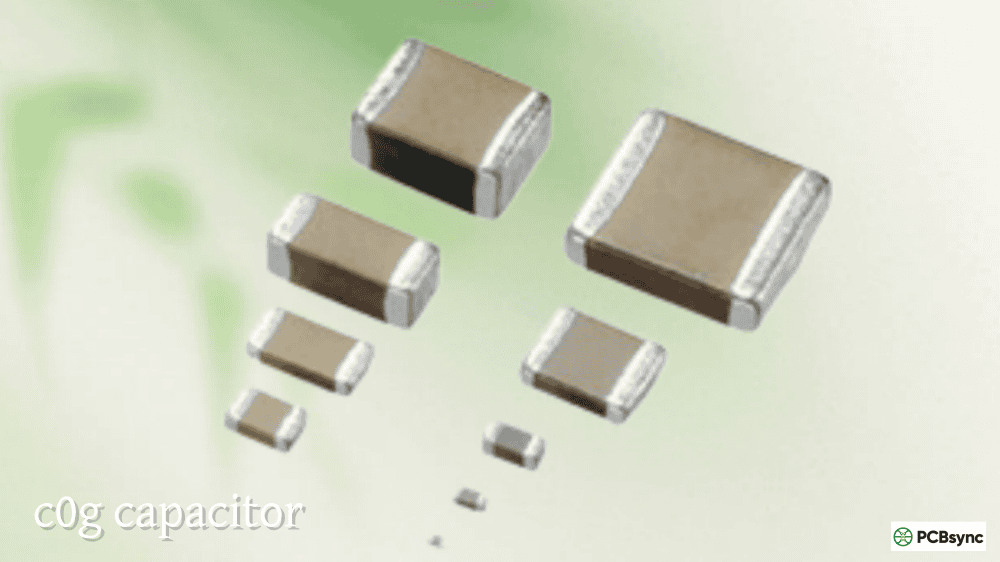
COG/NP0 for small-value signal path positions. COG ceramics use a non-ferroelectric dielectric that does not exhibit the electrochemical degradation mechanism responsible for dendritic growth short circuits. For small-value capacitors in precision signal paths and RF circuits, specifying COG/NP0 rather than X7R eliminates this failure mechanism entirely.
For comprehensive reference on capacitor types, failure modes, voltage ratings, and dielectric-specific short circuit failure mechanisms, the Capacitor guide at PCBSync provides detailed parametric coverage across all major capacitor families.
Useful Resources for Capacitor Short Circuit Diagnosis
Resource
Description
Link
FLIR ONE / Seek Thermal
Smartphone-attached thermal cameras for board-level short location
Frequently Asked Questions About Capacitor Short Circuits
Q1: How do I quickly find a shorted capacitor on a populated PCB?
The fastest method is thermal imaging. Connect the board to a current-limited bench supply set to a safe level for the rail voltage (typically 50–200mA) and observe with a thermal camera or thermal imaging phone attachment. The shorted capacitor heats within seconds and is immediately visible as a hot spot. Without a thermal camera, the fingertip touch method — carefully touching each suspect component with a fingertip after 10–15 seconds of limited current application — works for accessible through-hole and larger SMD components, though it lacks precision. For hard shorts, the progressive capacitor removal method (remove one capacitor at a time, measuring rail resistance after each) is reliable but time-consuming. For PCBs with large decoupling capacitor arrays, start with capacitors nearest to the power input and switching stages where overvoltage stress is highest.
Q2: Can a shorted capacitor damage other components on the board?
Yes — and this is one of the most practically important aspects of capacitor short circuit troubleshooting. A shorted decoupling capacitor on a power rail collapses that rail, potentially damaging any IC connected to it through either undervoltage stress or the transient current surge as the power supply hits its current limit. Voltage regulators may be damaged or triggered into protective shutdown. In circuits without current limiting, a shorted capacitor can allow enough current to flow to damage PCB traces, lift pads, or burn components connected to the same rail. After identifying and replacing a shorted capacitor, test all ICs and components connected to the affected rail before returning the board to service — particularly sensitive analog and digital ICs that may have been damaged by the supply collapse event.
Q3: What does a shorted capacitor look like visually?
Most hard capacitor short circuits — particularly in MLCCs and ceramic types — produce no visible external evidence. The ceramic capacitor that measures zero ohms across its terminals frequently looks identical to a healthy component. In some cases of severe dielectric breakdown, there may be slight discoloration, a hairline crack visible at extreme magnification, or (in through-hole ceramic types) visible scorching on the body. Tantalum capacitors that have entered thermal runaway typically show more obvious physical evidence — discoloration, slight swelling, or in advanced cases visible burn marks or rupture. Aluminum electrolytic capacitors that have shorted from reverse voltage or extreme overvoltage usually show visible deformation, venting, or electrolyte leakage. For ceramic MLCCs specifically, X-ray inspection is the only reliable method to identify internal electrode shorting that is invisible externally.
Q4: Is it possible for a capacitor to short intermittently rather than permanently?
Yes, and intermittent short circuits are substantially more difficult to diagnose than hard shorts. A ceramic capacitor with a crack that creates a leakage path may exhibit resistance that varies with temperature (as the ceramic expands and contracts, changing crack gap and contact area), board flex, humidity, or applied voltage. The board may work normally at room temperature and fail at operating temperature, or work on the bench and fail in the installed product under vibration. Reproducing the failure condition is the key diagnostic step — applying heat (heat gun on low setting, set aside from the board), mechanical flex, or humidity exposure while monitoring the suspect rail resistance or circuit functionality. Once the failure is reproducible, thermal imaging during the stress condition rapidly identifies the component.
Q5: How do I prevent ceramic capacitor short circuit failures in a new design?
The primary prevention strategies are voltage derating, transient suppression, and careful placement. Specify ceramic capacitors with voltage ratings at least 2× the operating voltage — for a 3.3V rail, use 10V or 16V rated ceramics rather than 6.3V. This dramatically reduces the electric field stress that drives both sudden dielectric breakdown and slow electrochemical degradation. Place TVS diodes or varistors at circuit input nodes to clamp inductive and ESD transients to levels well below the capacitor’s rated voltage. Keep ceramics in 0805 and larger packages away from PCB edges, mounting holes, connectors, and board depaneling lines to reduce mechanical crack risk. Specify COG/NP0 dielectric for small-value capacitors in critical signal path and supply filtering positions — COG does not exhibit the electrochemical degradation mechanism that creates dendritic short circuits in X7R and X5R types.
Systematic Diagnosis Turns a Capacitor Short Circuit From a Mystery Into a Manageable Fault
The capacitor short circuit is a destructive failure mode that creates cascading board-level faults precisely because it violates the fundamental expectation of a capacitor — that it presents high impedance at DC. But it is not a mysterious failure. Every physical mechanism that creates a short circuit in a capacitor is understood, documentable, and either preventable through design or diagnosable through systematic fault isolation technique.
Thermal imaging for rapid hot-spot identification, progressive component removal for methodical isolation on complex boards, out-of-circuit resistance and ESR measurement for confirmation, and X-ray inspection for ceramic capacitors where visual evidence is absent — these tools and techniques are available to every engineer and experienced technician. The difference between a short circuit diagnosis that takes thirty minutes and one that takes three days is almost entirely whether the diagnostician approaches the problem systematically or randomly.
Inquire: Call 0086-755-23203480, or reach out via the form below/your sales contact to discuss our design, manufacturing, and assembly capabilities.
Quote: Email your PCB files to Sales@pcbsync.com (Preferred for large files) or submit online. We will contact you promptly. Please ensure your email is correct.
Notes: For PCB fabrication, we require PCB design file in Gerber RS-274X format (most preferred), *.PCB/DDB (Protel, inform your program version) format or *.BRD (Eagle) format. For PCB assembly, we require PCB design file in above mentioned format, drilling file and BOM. Click to download BOM template To avoid file missing, please include all files into one folder and compress it into .zip or .rar format.


