Inquire: Call 0086-755-23203480, or reach out via the form below/your sales contact to discuss our design, manufacturing, and assembly capabilities.
Quote: Email your PCB files to Sales@pcbsync.com (Preferred for large files) or submit online. We will contact you promptly. Please ensure your email is correct.
Notes: For PCB fabrication, we require PCB design file in Gerber RS-274X format (most preferred), *.PCB/DDB (Protel, inform your program version) format or *.BRD (Eagle) format. For PCB assembly, we require PCB design file in above mentioned format, drilling file and BOM. Click to download BOM template To avoid file missing, please include all files into one folder and compress it into .zip or .rar format.
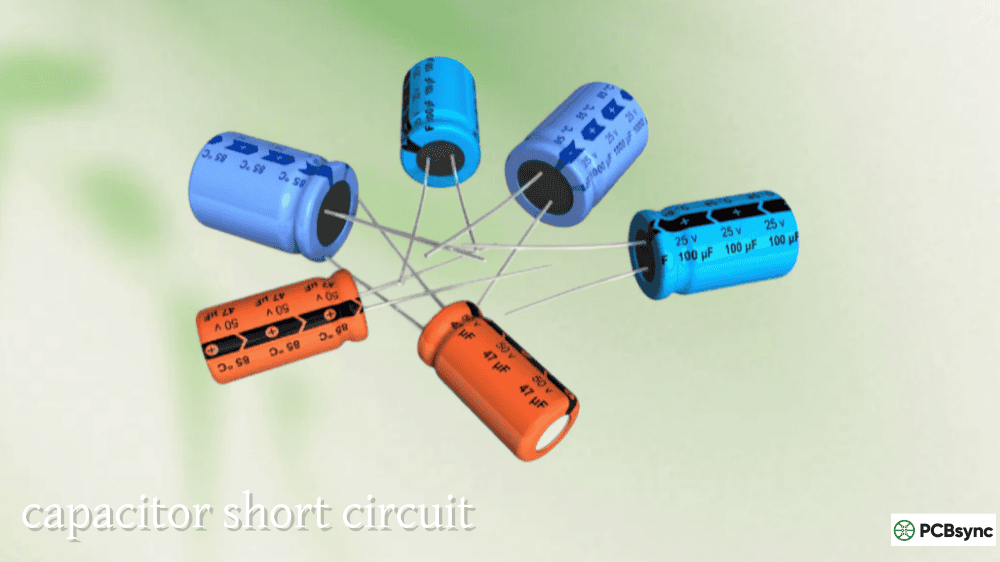
One reversed capacitor can take out an entire board. You power up a freshly assembled PCB, smell something burning, and find a bloated electrolytic with electrolyte pooling underneath it — or worse, a tantalum that flashed and took several nearby components with it. Both failures trace back to the same root cause: incorrect capacitor polarity. The component was installed backwards, the oxide dielectric broke down under reverse voltage, and the rest played out fast.
Capacitor polarity is not a complicated subject, but it demands precise attention to detail because the marking conventions differ between electrolytic and tantalum types — in a way that trips up experienced engineers, not just beginners. This guide covers every polarity marking system in current use, the critical differences between component types, PCB silkscreen conventions, what happens when polarity is reversed, and how to build a reliable identification workflow so the mistake never makes it to the soldering stage.
## Polarized vs. Non-Polarized Capacitors: What Actually Requires Polarity Attention
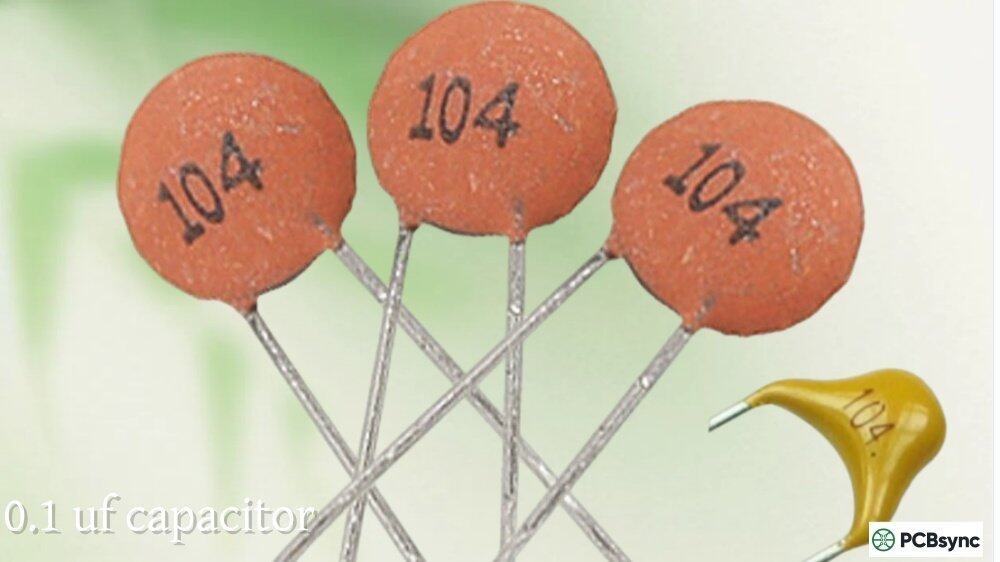
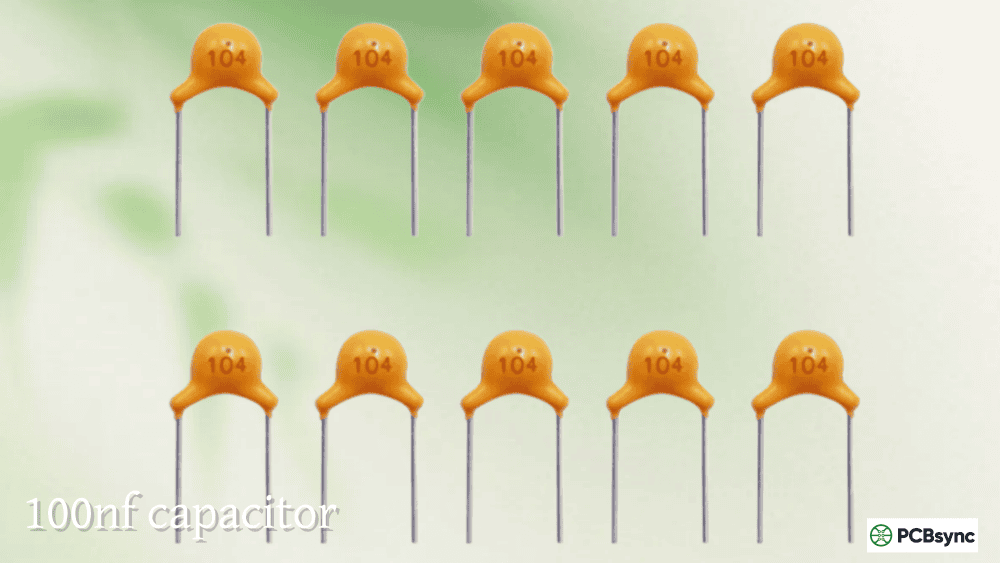
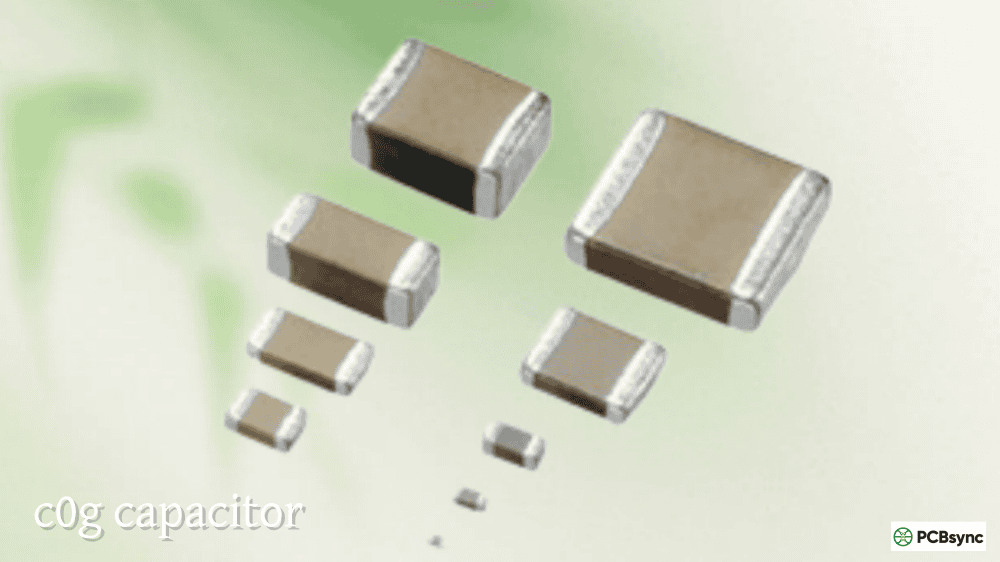
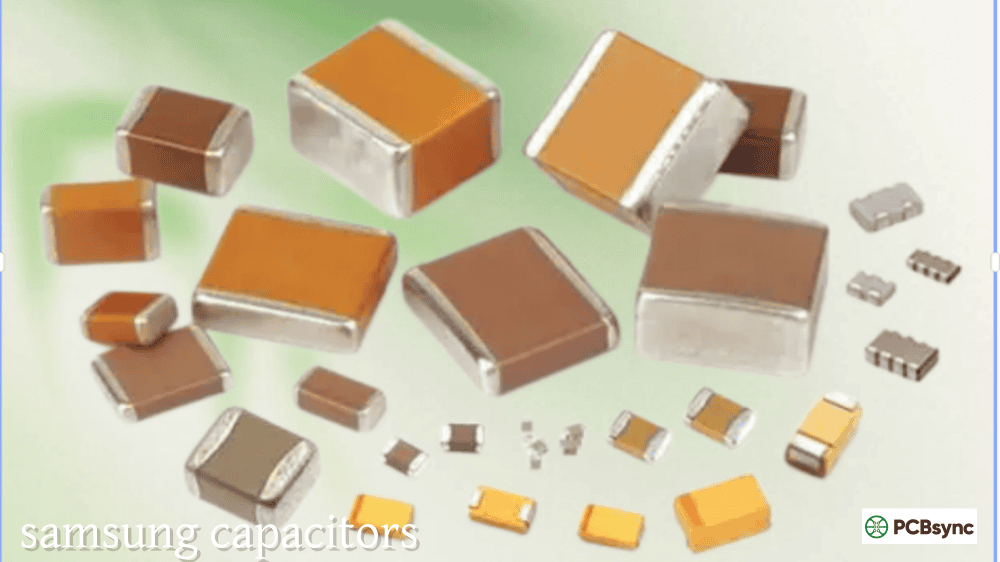
Before diving into marking systems, it’s worth being clear on which capacitors require polarity attention and which don’t. Most capacitors on a modern PCB are non-polarized MLCCs (ceramic capacitors) — they have no positive or negative terminal, can be installed in any orientation, and require zero polarity consideration during assembly. The polarity problem is specific to a small subset of capacitor types.
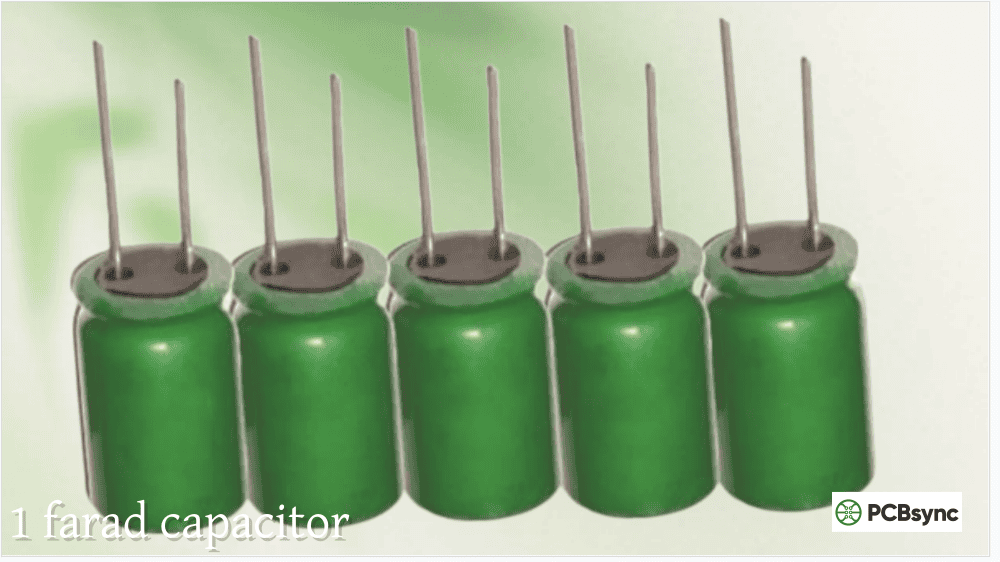
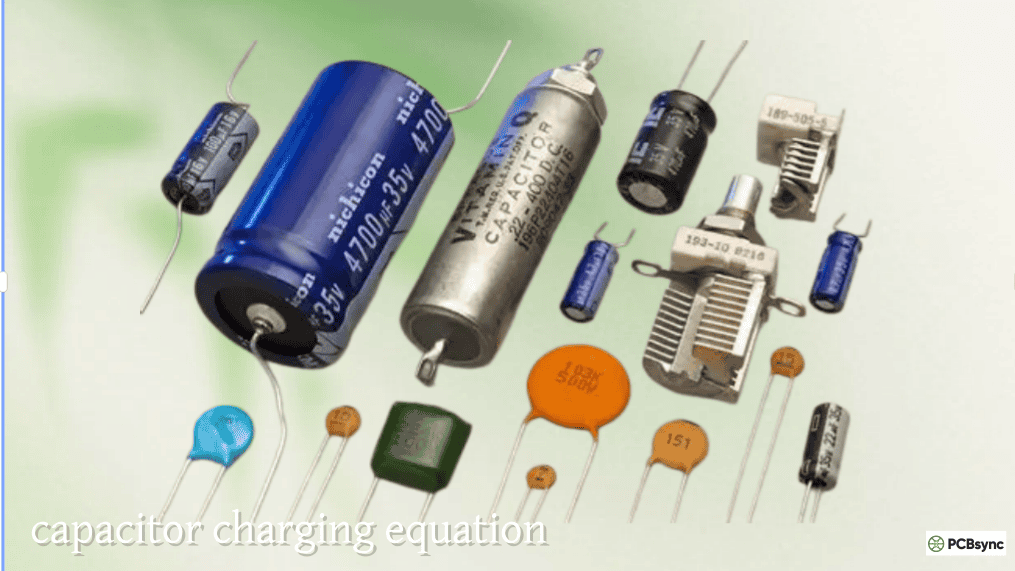
Polarized capacitors are those where the dielectric is formed electrochemically during manufacture, creating an asymmetric internal structure with a defined anode (positive) and cathode (negative). These include aluminium electrolytic capacitors, tantalum electrolytic capacitors (both MnO₂ and polymer types), niobium oxide capacitors, and electrolytic supercapacitors. All of them are damaged — often destroyed — by sustained reverse voltage.
Non-polarized capacitors can be installed in any orientation without consequence. This includes all ceramic (MLCC) types, all film types (polyester, polypropylene, PPS), mica, and glass capacitors.
Capacitor Types — Polarity Requirements at a Glance:
Capacitor Type
Polarized?
Reverse Voltage Risk
Notes
Aluminium electrolytic (wet)
Yes
High — dielectric breakdown, vent/explode
Most common polarised type
Aluminium polymer electrolytic
Yes
High
Lower ESR than wet; same polarity rules
Tantalum (MnO₂)
Yes
Very high — fire and destruction risk
Catastrophic failure mode
Tantalum (polymer)
Yes
High
More robust than MnO₂; still fails reversed
Niobium oxide
Yes
High
Safer than tantalum but still polarised
Supercapacitor (EDLC)
Yes
High
Like electrolytics; respect polarity
MLCC ceramic (all classes)
No
None
Install in any orientation
Film (polyester, PP, PPS)
No
None
AC and DC use, any orientation
Mica, glass
No
None
Precision apps; no polarity
## Why Polarity Exists: The Oxide Dielectric Chemistry
Understanding why polarity matters starts with understanding how electrolytic capacitors are constructed. An aluminium electrolytic capacitor uses a very thin layer of aluminium oxide (Al₂O₃) as its dielectric. This oxide layer is grown electrolytically during manufacturing by applying a forming voltage in the correct direction — this is what “anodising” the aluminium means. The resulting oxide layer is only nanometres thick, allowing very high capacitance per unit volume, but it only maintains its insulating properties when the anode is held positive relative to the cathode.
Apply reverse voltage — even briefly — and the oxide layer is attacked by electrochemical reduction. It begins to conduct, leakage current rises sharply, I²R heating begins, the internal temperature climbs, the electrolyte generates gas, and the internal pressure builds until the safety vent ruptures. In severe cases, before the vent can relieve pressure, the capacitor explodes.
Tantalum capacitors use tantalum pentoxide (Ta₂O₅) as their dielectric, formed over a tantalum powder pellet anode. The failure mode for reversed tantalum is more violent than for aluminium electrolytics because the manganese dioxide (MnO₂) cathode in the common solid-electrolyte type is itself a strong oxidiser. A dielectric breakdown event in a reversed tantalum causes a local thermal runaway — a short-circuit arc that ignites the MnO₂, producing fire and the characteristic orange flash that PCB assembly technicians learn to recognise (and dread) immediately.
This chemistry is why there is no safe low-voltage threshold for reverse bias on polarised capacitors. A reversed tantalum at 3.3V will fail just as catastrophically as one at 50V — the failure mode is governed by the internal chemistry, not the applied voltage magnitude.
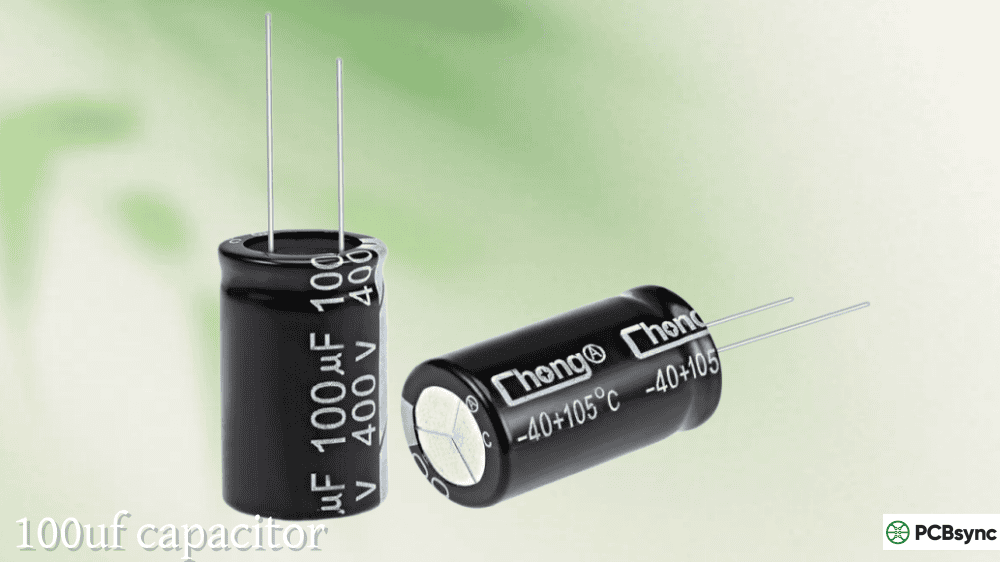
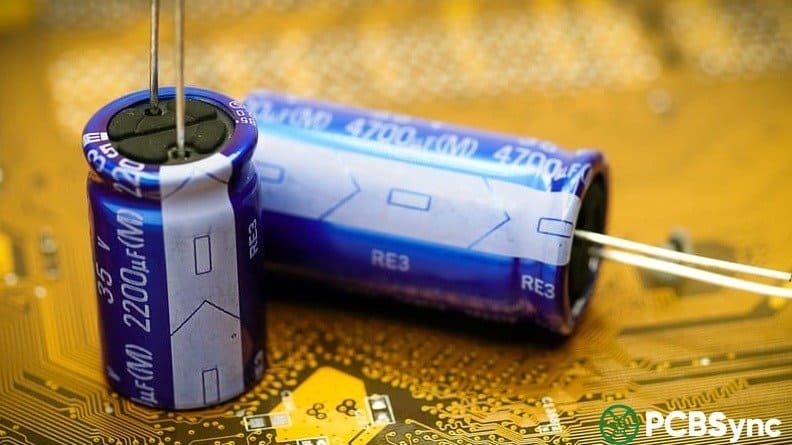
Through-hole radial electrolytics are the cylindrical “cans” that stand vertically on the PCB with both leads exiting the same end. They are the most common large-capacitance through-hole component and use two parallel polarity marking systems.
Stripe on the body: A light-coloured stripe (typically grey or white) runs vertically down one side of the aluminium can, printed with repeated “−” symbols. This stripe marks the negative (cathode) terminal. The lead on the stripe side is negative; the lead on the opposite side is positive.
Lead length: On an unmodified, factory-fresh capacitor, the longer lead is positive and the shorter lead is negative. This is a reliable guide on new components but becomes useless once leads are trimmed during assembly — always use the body stripe as the definitive indicator on used or trimmed parts.
Some capacitors also print a “+” symbol directly above the positive lead at the base of the body, providing additional confirmation.
### Through-Hole Axial Electrolytic Capacitors
Axial electrolytics lie flat on the board with one lead exiting each end of the cylinder. The polarity convention uses a band or stripe on the negative end with arrows pointing toward the negative terminal. On some versions, the band features a chamfered edge pointing in the direction of the negative lead rather than arrows. A “+” mark may appear at the positive end for additional clarity.
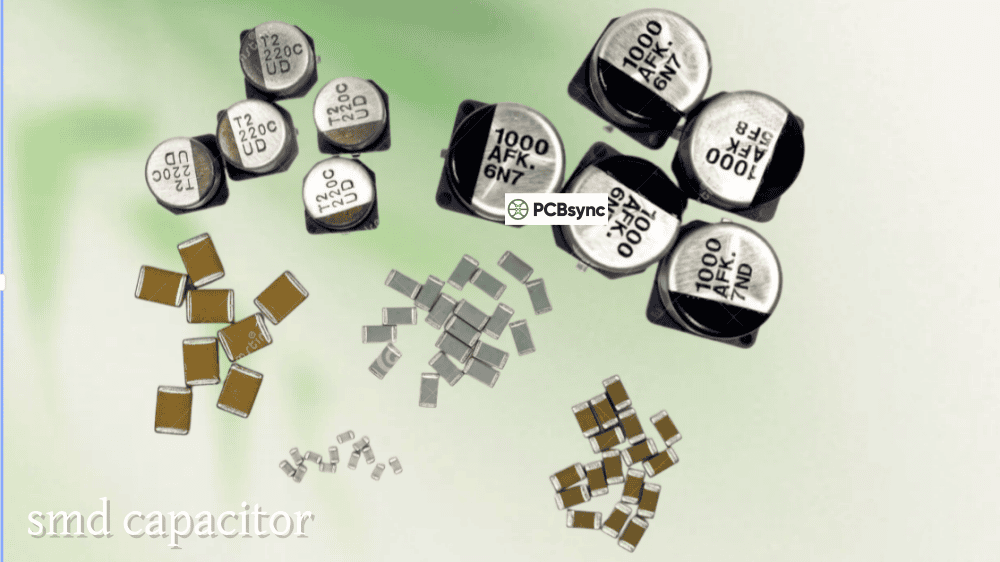
Surface-mount “can” electrolytics look like miniaturised through-hole versions mounted flat. The polarity marking appears on the top of the can: a solid-coloured arc or filled segment (often black) on one side of the circular top marks the negative terminal. The base of the component may also have a chamfered or clipped corner on the positive (anode) side — the rounded portion of the base corresponds to the negative terminal, the chamfered portion to positive.
### SMD Case-Style Electrolytic Capacitors
These are rectangular SMD electrolytic capacitors resembling MLCC packages (similar in outline to a 0805 or similar). Unlike the can-style parts, these are typically positive (anode) marked — a stripe or bar at one end indicates the positive terminal. This is the exception to the typical electrolytic stripe-equals-negative convention and is a common source of assembly errors. Always check the component datasheet rather than assuming convention.
This is where the most dangerous confusion arises, and where the “check the datasheet” instruction is not optional.
The critical rule: On tantalum capacitors, the stripe or bar marks the POSITIVE terminal — the exact opposite of the convention used for aluminium electrolytic cans.
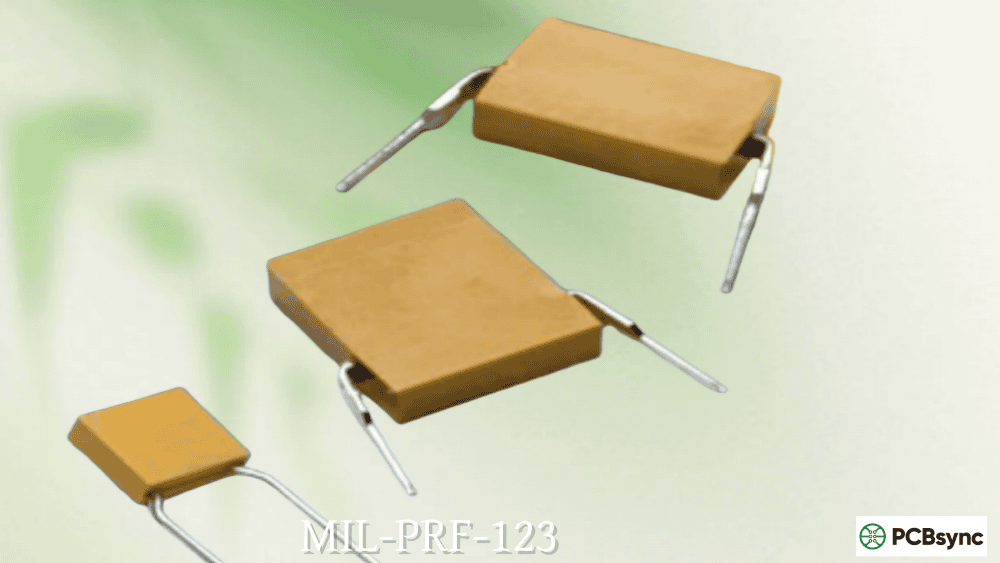
### Through-Hole Tantalum Capacitors
Through-hole tantalum capacitors (teardrop/bead style) mark the positive terminal with a “+” symbol or a painted stripe on the positive lead end. The longer lead is positive. Some axial tantalum types have a chamfered edge on the positive end. These all indicate positive, unlike the negative-indicating stripe on aluminium electrolytics.
### SMD Tantalum Capacitors (EIA Case Styles: A, B, C, D, E)
SMD tantalum capacitors use a rectangular moulded package in standard EIA case sizes. A bar or stripe at one end of the package marks the positive (anode) terminal. This bar is typically a light-coloured band (yellow, white, or grey) contrasting with the darker body, or it may be a raised moulded feature on the positive end. Some manufacturers also print a small “+” near the bar.
The PCB silkscreen for SMD tantalum capacitors should show the “+” pad marker aligned with the bar end of the component.
Polarity Marking Summary — Electrolytic vs. Tantalum:
Capacitor Type
Stripe/Bar Marks
Lead Length Rule
Additional Marking
Through-hole radial electrolytic
Negative (−) end
Longer lead = positive
May have “+” above positive lead
Through-hole axial electrolytic
Negative end (arrow points to −)
Longer lead sometimes positive
Band with arrows toward negative
SMD can electrolytic
Negative (filled arc on top)
N/A
Chamfered base corner = positive
SMD case-style electrolytic
Usually positive (anode) — verify datasheet
N/A
Exception: check datasheet
Through-hole tantalum
Positive (+) — stripe or “+” mark
Longer lead = positive
Chamfered edge sometimes on positive
SMD tantalum (all EIA cases)
Positive (+) — bar marks anode
N/A
“+” may appear near bar
## Reading Capacitor Polarity Symbols in Schematics
Circuit schematics use standardised symbols to show capacitor polarity, and misreading these is a path to assembly errors on the PCB.
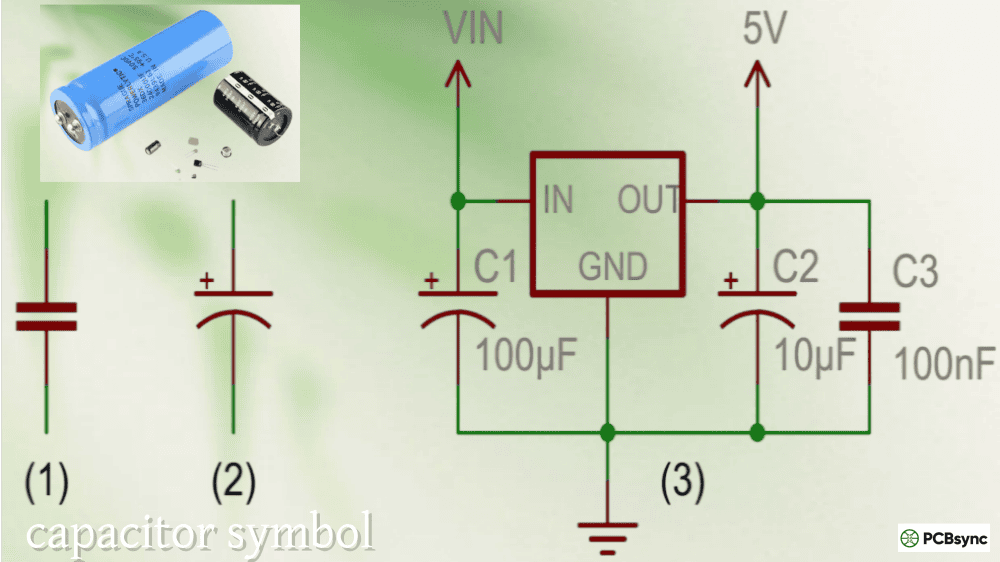
In the ANSI/IEEE schematic standard (common in North American designs), a polarised capacitor is drawn with two parallel lines — one straight and one curved. The straight line represents the positive (anode) terminal and the curved line represents the negative (cathode). A “+” symbol is usually added adjacent to the positive plate for clarity.
In the IEC schematic standard (common in European and international designs), a polarised capacitor uses two parallel rectangles with an explicit “+” symbol marking the positive terminal.
Both standards agree: the “+” in the schematic indicates the positive terminal, which must connect to the higher potential (more positive voltage) in the circuit.
A critical trap exists when transferring from schematic to PCB: the schematic symbol is positive-marked (shows the anode), while the physical component marking on most aluminium electrolytic cans is negative-marked (shows the cathode stripe). These two conventions coexist and can cause confusion during manual inspection or rework. Always verify by tracing the net: the positive pad on the PCB footprint should connect to the more positive voltage in the circuit.
## PCB Silkscreen Polarity Markings and Footprint Design
The silkscreen layer is the last line of defence against reversed capacitor installation, and good PCB design makes polarity immediately unambiguous to the assembly operator.
Standard silkscreen conventions for polarised capacitors:
For through-hole radial electrolytics, the PCB silkscreen outline typically shows a filled (dark) semicircle on the negative side of the component circle, corresponding to the stripe on the physical component. A “+” symbol adjacent to the positive pad reinforces the marking.
For SMD electrolytic cans, a filled wedge or arc in the component outline on the silkscreen layer marks the negative terminal, matching the bar on the top of the can.
For SMD tantalum capacitors, a “+” symbol or a small bar mark on the silkscreen adjacent to the positive pad is standard. The positive pad in the footprint is often made slightly larger than the negative pad to provide an additional visual distinction.
PCB Polarity Marking Best Practices:
Design Element
Best Practice
Why It Matters
Silkscreen “+” symbol
Always include on polarised cap footprints
Provides unambiguous positive pad identification
Filled/hatched negative area
Show on electrolytic outlines
Matches the physical component’s negative stripe
Pad size differentiation
Slightly larger positive pad (some standards)
Visual distinction aids manual assembly
Polarity marking visibility
Keep markings visible after component placement
Allows post-placement AOI verification
Consistent orientation
Align all capacitors in same direction if possible
## What Happens When Capacitor Polarity Is Reversed
The failure sequence for a reversed polarised capacitor follows a predictable path, though the timescale varies from immediate destruction (tantalum under significant voltage) to gradual degradation (electrolytic under moderate reverse voltage).
Stage 1 — Reverse leakage current: The oxide dielectric is attacked by electrochemical reduction. Leakage current through the capacitor rises well above specification.
Stage 2 — I²R heating: The increasing leakage current, flowing through the capacitor’s ESR and the degrading dielectric, generates heat internally. The capacitor body may feel warm to the touch.
Stage 3 — Gas generation: The electrochemical reactions inside the electrolytic generate hydrogen gas. Internal pressure begins to build.
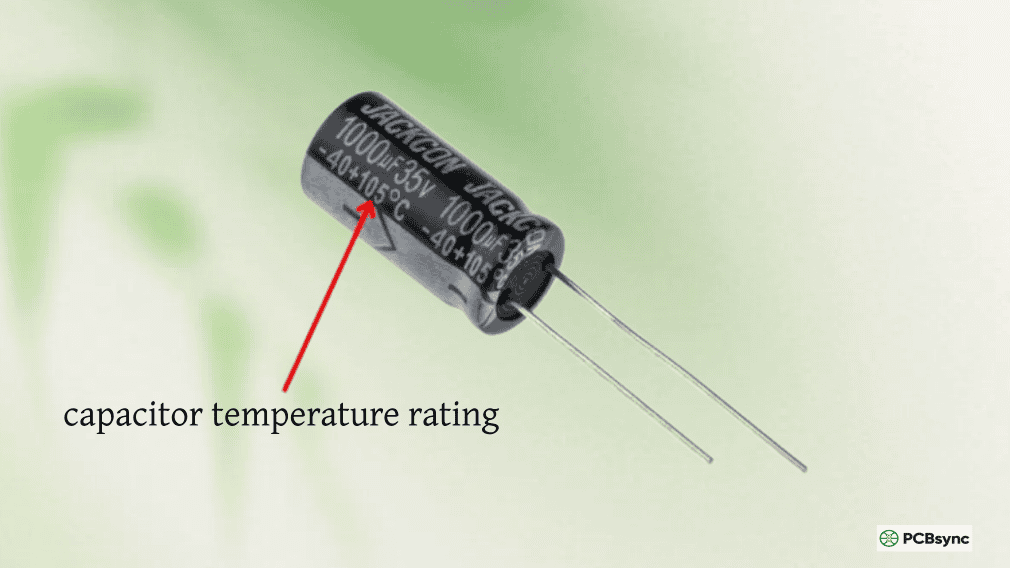
Stage 4 — Vent or rupture: Aluminium electrolytic capacitors have a scored safety vent on the top of the can (the cross or K-shape visible on the end). This vent is designed to rupture and relieve pressure before catastrophic failure. When it activates, electrolyte is expelled and the capacitor is destroyed but the board may survive.
Stage 5 — Catastrophic failure (tantalum): Solid-electrolyte tantalum capacitors do not have a compliant vent mechanism. Dielectric breakdown in a reversed tantalum creates a conductive short-circuit path, which causes runaway heating in the MnO₂ cathode, igniting it. The result is a flash, smoke, and fire capable of damaging surrounding components and PCB traces.
Capacitor Reverse Polarity Failure Modes:
Capacitor Type
Typical Failure Mode
Failure Speed
Board Damage Risk
Al. electrolytic (wet, low V)
Gradual leakage → vent → electrolyte leak
Seconds to minutes
Low–Medium
Al. electrolytic (wet, high V)
Rapid vent and explosion
Milliseconds to seconds
Medium–High
Al. polymer
Vent/swell, less violent
Seconds
Low–Medium
Tantalum MnO₂
Ignition — orange flash/fire
Milliseconds
High — adjacent components
Tantalum polymer
Short circuit, heat
Seconds
Medium
## Common Polarity Mistakes and How to Avoid Them
Mistake 1: Confusing tantalum and electrolytic marking conventions. The stripe on an electrolytic marks negative; the bar on a tantalum marks positive. On a densely populated board with both component types near each other, this convention reversal causes mis-assembly. Solution: always trace back to the schematic net or the silkscreen “+” marker — never infer polarity from component marking convention alone without knowing the component type.
Mistake 2: Relying on lead length after trimming. Once leads have been cut during assembly or rework, the longer-lead rule no longer applies. The body stripe is the only reliable indicator on trimmed parts.
Mistake 3: Substituting tantalum for electrolytic without verifying orientation. When changing component types (e.g., replacing a wet electrolytic with a polymer tantalum of the same value), the stripe direction reverses relative to the physical appearance. The schematic and PCB silkscreen “+” marker define correct orientation — not what the previous component looked like.
Mistake 4: Ambiguous or absent silkscreen polarity marks. PCB designs without clear “+” indicators rely entirely on the assembler knowing the component marking convention, which introduces human error. A good footprint library makes polarity unambiguous.
Mistake 5: Installing non-polarised capacitors in polarised footprints or vice versa. Some footprints omit polarity marking because the designer intended a ceramic cap; if an electrolytic is substituted later (e.g., for higher capacitance), the polarity information is absent on the silkscreen.
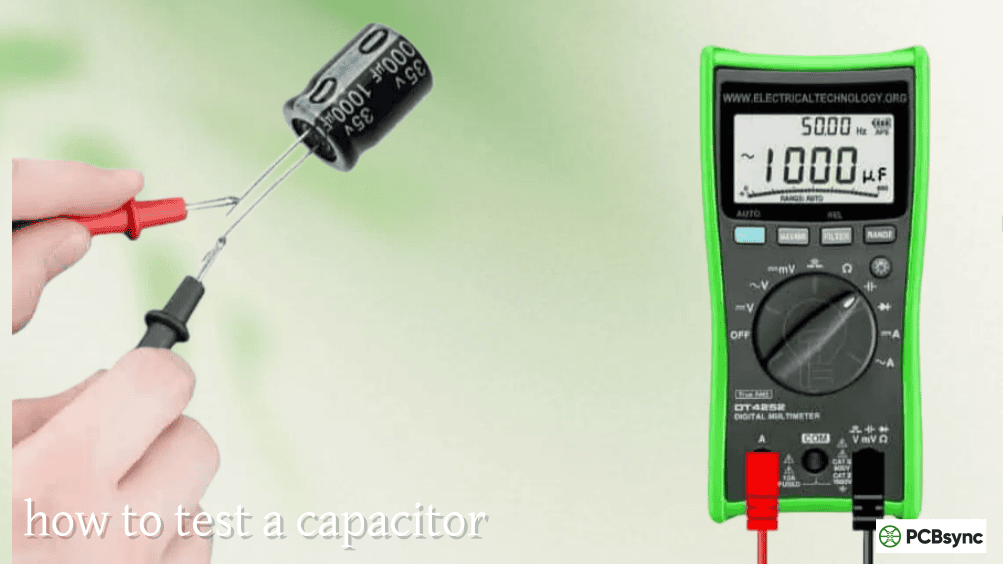
## Verifying Polarity with a Multimeter
When polarity markings are worn, unclear, or suspected incorrect, a digital multimeter can confirm polarity on electrolytic capacitors using the diode-test function:
Connect the red probe (positive) to one lead and the black probe (negative) to the other. In diode mode, an electrolytic capacitor will show a low initial reading that climbs as the capacitor charges — this is the low-leakage direction. When connected in the correct polarity (red to positive, black to negative), the initial charging current reading will be lower and will stabilise as the oxide dielectric is reinforced. Reversed, the dielectric degrades and leakage is higher.
This method is most reliable with larger electrolytic capacitors (10µF and above). For tantalum capacitors, the same principle applies but the difference in behaviour between forward and reverse directions may be less pronounced. When in doubt, use the body markings confirmed against the datasheet — do not rely on a multimeter reading alone for tantalum polarity determination.
## Resources for Capacitor Polarity Reference
Component Datasheets and Identification
DigiKey — Identifying Capacitor Polarization — Authoritative photo-illustrated guide from a major distributor covering all physical package types; useful reference for SMT assemblers and engineers
Murata Product Library — Manufacturer parametric search and datasheet access; definitive source for MLCC and specialty capacitor specifications
IPC-7351B — PCB Land Patterns Standard — Industry standard specifying recommended footprints, polarity indicators, and silkscreen requirements for all polarised SMD capacitors
JLCPCB — Capacitor Polarity Guide — PCB assembly house perspective on polarity, AOI processes, BOM verification, and the consequences of silkscreen-component marking conflicts during assembly
Q1: How do I identify the positive terminal on an SMD tantalum capacitor — the markings are tiny and I keep getting confused?
On virtually all standard SMD tantalum capacitors (EIA case sizes A through E), the bar or stripe on the component body marks the positive (anode) terminal. This is a moulded or printed light-coloured band at one end of the rectangular package. The key trap is that this is the opposite of what you might expect if you’re used to aluminium electrolytic cans, where the stripe marks negative. On the PCB, the positive pad should be marked with a “+” on the silkscreen — always confirm the component’s bar end aligns with the “+” pad, not just that the stripe is on one side or the other. If the markings on the component are genuinely illegible (happens with small case sizes), check the assembly drawing and cross-reference the PCB silkscreen “+” against the schematic net to determine which pad is the anode. Never guess, and never pattern-match based on what an adjacent different-type capacitor looks like.
Q2: I installed an electrolytic capacitor backwards for a few seconds before noticing. Is the board still safe to use?
That depends on the voltage applied and the specific capacitor. A large electrolytic briefly reversed at low voltage (below its rated voltage, 1–2 seconds) may survive with slightly increased leakage current but no permanent catastrophic damage — the oxide layer can partially self-heal when correctly biased. However, you cannot know this for certain without testing: measure the capacitor’s capacitance and ESR after desoldering it, and compare against the datasheet specification. If ESR has risen significantly (more than 2× the new-condition value) or capacitance has dropped, replace it. If the board was powered and the reversed capacitor vented, bulged, felt warm, smelled, or if there is any visible distortion of the can, replace the capacitor without question and inspect nearby PCB traces and components for damage. For tantalum capacitors, even a brief reversal at operating voltage often causes irreversible internal damage — replace it regardless of whether visible failure occurred.
Q3: Can I use two back-to-back electrolytic capacitors to create a non-polarised capacitor for AC applications?
Yes, this is a legitimate technique. Connecting two identical electrolytic capacitors in series, anode-to-anode (cathode-to-cathode connected to the circuit terminals), creates an effectively non-polarised capacitor with half the capacitance of each individual part. Each capacitor alternately sees forward bias during the positive and negative half-cycles. The resulting combination can handle AC signals that would destroy a single polarised cap. The equivalent capacitance is C/2 (two capacitors in series), and the voltage rating is effectively doubled. This is occasionally used in high-capacitance audio crossover circuits where non-polarised film capacitors of equivalent value would be physically large or expensive. The technique works but produces an assembly with double the ESR and component count — use a proper bipolar (BP) electrolytic if one is available for the value needed, as these are manufactured specifically for AC use with a symmetric oxide layer on both foils.
Q4: All the ceramic capacitors on my board are unlabelled for polarity — do I need to worry about orientation at all?
No. All ceramic capacitors (MLCCs — Multi-Layer Ceramic Capacitors) are non-polarised regardless of size, package, value, or dielectric class (C0G/NP0, X7R, X5R, Y5V, etc.). They have no anode or cathode, no oxide dielectric layer, and no polarity requirement. They can be installed in any orientation without any effect on performance, reliability, or lifetime. The same applies to film capacitors (polyester, polypropylene), mica capacitors, and glass capacitors. The only capacitors requiring polarity attention in modern PCB design are aluminium electrolytic (all types), tantalum (all types), niobium oxide, and electrolytic supercapacitors. If you are uncertain whether a particular component is polarised, check the datasheet — any polarised capacitor will explicitly state its polarity marking convention; non-polarised types will have no such section.
Q5: The PCB silkscreen shows “+” on the left pad, but the schematic symbol seems to show the positive terminal on the right. Which do I trust?
Trust the PCB silkscreen “+” marking, verified against the schematic net name. The apparent contradiction usually arises because the schematic symbol can be drawn with the anode on either side depending on how the component was placed in the schematic editor — the symbol may have been mirrored or rotated during schematic entry. What matters is the net: the “+” pad on the PCB must connect to the net that is at higher (more positive) DC potential in the circuit. To verify: in your EDA tool, click the “+” pad and trace which net it connects to, then confirm in the schematic that this net is the more positive one (for example, +5V or the positive output of a rectifier, not GND). The schematic symbol’s left-right orientation is irrelevant — only which net the positive terminal belongs to matters. When in doubt, use the “triple-check” method: confirm schematic net → confirm PCB silkscreen “+” pad → confirm physical component bar/stripe alignment before soldering.
## Building a Reliable Polarity Verification Workflow
The cost of a reversed polarised capacitor ranges from a few cents for a cheap electrolytic to hundreds of dollars in board rework, plus the ripple effects if the failure takes out nearby components. A simple, consistent verification workflow eliminates most risk before power is ever applied.
At the design stage: ensure every polarised capacitor footprint in your library has a visible “+” marker on the silkscreen that remains visible after the component is placed. Follow IPC-7351B land pattern guidelines. Print the assembly drawing 1:1 and physically place the component to verify silkscreen-to-marking alignment before sending to fab.
At the assembly stage: for manual assembly, apply the triple-check — schematic net, PCB silkscreen, physical component marking. For SMT assembly, verify that pick-and-place centroid files specify correct rotation and that the AOI golden-board reference is set from a known-good board. Specify AOI inspection of all polarised capacitors as a standard line item, not an optional add-on.
At the bring-up stage: before first power-on of a new PCB, do a visual pass over every polarised capacitor — electrolytic stripe to negative pad, tantalum bar to positive pad, silkscreen “+” confirmed. It takes three minutes and eliminates the most expensive failure mode in the assembly.
Inquire: Call 0086-755-23203480, or reach out via the form below/your sales contact to discuss our design, manufacturing, and assembly capabilities.
Quote: Email your PCB files to Sales@pcbsync.com (Preferred for large files) or submit online. We will contact you promptly. Please ensure your email is correct.
Notes: For PCB fabrication, we require PCB design file in Gerber RS-274X format (most preferred), *.PCB/DDB (Protel, inform your program version) format or *.BRD (Eagle) format. For PCB assembly, we require PCB design file in above mentioned format, drilling file and BOM. Click to download BOM template To avoid file missing, please include all files into one folder and compress it into .zip or .rar format.


