Inquire: Call 0086-755-23203480, or reach out via the form below/your sales contact to discuss our design, manufacturing, and assembly capabilities.
Quote: Email your PCB files to Sales@pcbsync.com (Preferred for large files) or submit online. We will contact you promptly. Please ensure your email is correct.
Notes: For PCB fabrication, we require PCB design file in Gerber RS-274X format (most preferred), *.PCB/DDB (Protel, inform your program version) format or *.BRD (Eagle) format. For PCB assembly, we require PCB design file in above mentioned format, drilling file and BOM. Click to download BOM template To avoid file missing, please include all files into one folder and compress it into .zip or .rar format.
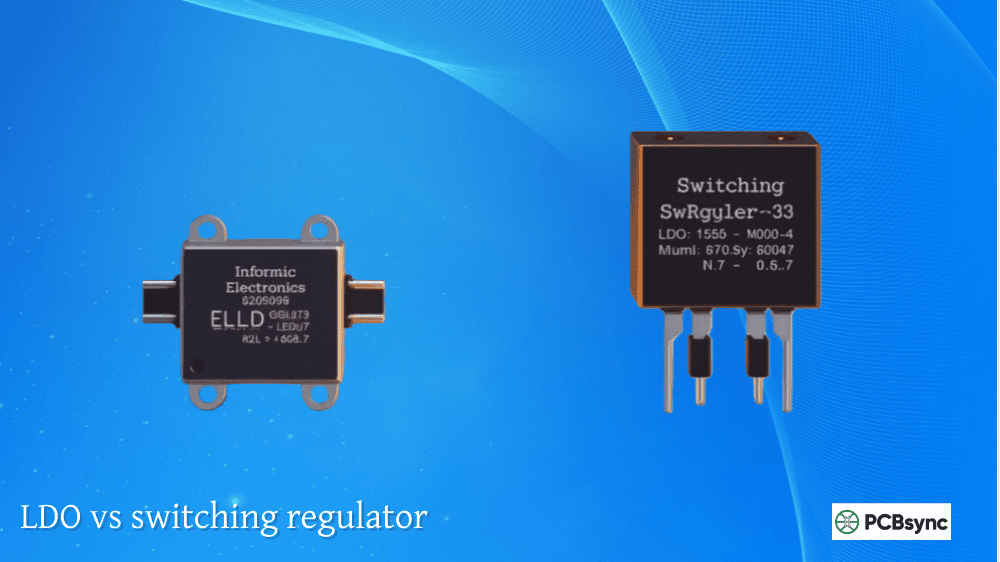
Every PCB designer faces this decision at some point: should I use an LDO or a switching regulator for my power supply? After spending over a decade designing circuits for everything from battery-powered wearables to industrial control systems, I can tell you that this voltage regulator comparison comes down to understanding your application requirements inside and out.
This guide breaks down the fundamental differences between LDO and switching regulators, helping you make the right choice for your next design. Whether you’re powering sensitive analog circuits or maximizing battery life in portable devices, you’ll walk away knowing exactly which regulator fits your needs.
Before diving into the LDO vs switching regulator debate, let’s establish what these components actually do and how they accomplish voltage regulation.
What is an LDO Regulator?
A Low Dropout Regulator (LDO) is a linear voltage regulator designed to operate with minimal voltage difference between input and output. The term “low dropout” refers to the small voltage drop (typically 100mV to 500mV) required across the regulator to maintain proper output voltage regulation.
LDOs work through a relatively simple mechanism. An internal pass transistor (usually a PMOS or PNP device) acts like a variable resistor. An error amplifier continuously compares the output voltage against an internal reference, adjusting the pass transistor’s conductivity to maintain stable output regardless of load variations or input fluctuations.
The elegance of LDO design lies in its simplicity. There’s no switching action, no magnetic components, and typically just a few external capacitors needed. This makes them perfect for noise-sensitive applications where you need clean, ripple-free power.
What is a Switching Regulator?
A switching regulator (also called a DC-DC converter or SMPS) uses a fundamentally different approach. Instead of linearly dissipating excess energy as heat, switching regulators rapidly turn transistors on and off, storing energy in inductors or capacitors, then releasing it at the desired voltage level.
The most common type for step-down applications is the buck converter. During the “on” phase, energy gets stored in an inductor. During the “off” phase, that stored energy transfers to the load. By adjusting the duty cycle (the ratio of on-time to total switching period), the output voltage can be precisely controlled.
This switching action is what gives these regulators their high efficiency—often reaching 85% to 95%. However, it also creates the characteristic ripple and EMI that designers must address during PCB layout.
LDO vs Switching Regulator: Key Differences
Understanding the core differences between these voltage regulator types helps you match the right component to your application. Let me walk you through the most critical factors.
Efficiency Comparison
Efficiency is often the first consideration in any voltage regulator comparison, and rightfully so—it directly impacts heat generation, battery life, and system performance.
For an LDO, efficiency calculation is straightforward:
Efficiency = (Vout / Vin) × 100%
This means if you’re converting 5V to 3.3V, your maximum efficiency is only about 66%. That remaining 34% gets dissipated as heat in the pass transistor. At 1A output current, you’re looking at 1.7W of power loss.
Switching regulators typically achieve 80% to 95% efficiency regardless of the input-output differential. A modern buck converter maintaining 90% efficiency while stepping 12V down to 3.3V loses far less power than an LDO would in the same scenario.
However, here’s something many engineers overlook: at light loads and small voltage differentials, LDOs can match or exceed switching regulator efficiency. Why? Switching regulators have fixed quiescent current overhead for their control circuits, which becomes significant at microamp-level loads. An LDO converting 3.6V to 3.3V achieves roughly 92% efficiency with almost no overhead.
Noise and Ripple Characteristics
This is where LDOs truly shine. Because there’s no switching action, LDOs produce exceptionally clean output with output noise typically ranging from 10μV to 500μV RMS. High-performance LDOs designed for sensitive applications can achieve noise floors below 10μV.
Switching regulators inherently generate ripple at their switching frequency (typically 100kHz to several MHz) and associated harmonics. Even well-designed buck converters produce 10mV to 50mV of output ripple. This noise can wreak havoc on ADCs, DACs, PLLs, RF circuits, and precision analog systems.
Power Supply Rejection Ratio (PSRR) is another critical specification. Quality LDOs maintain 60dB or better PSRR across wide frequency ranges, meaning they actively suppress noise from upstream power sources. This makes LDOs excellent “post-regulators” placed after switching converters to clean up their output.
Thermal Considerations in PCB Design
Heat management directly influences reliability and component longevity. In the LDO vs switching regulator comparison, thermal behavior differs dramatically.
LDOs dissipate power according to:
Power Dissipation = (Vin – Vout) × Iload
For a 5V to 1.8V conversion at 500mA, that’s 1.6W dissipated as heat. In a small SOT-23 package with 150°C/W thermal resistance, junction temperature rise would be catastrophic without adequate heatsinking or copper spreading.
Switching regulators distribute losses across multiple components—the switching MOSFETs, inductor DCR, and rectifier diodes all contribute. While total power loss is lower (thanks to higher efficiency), thermal management still requires attention, particularly for the control IC and power stage components.
Component Count and PCB Footprint
An LDO typically needs only input and output capacitors—sometimes just two ceramic caps get the job done. The entire circuit might occupy 15mm² of board space.
Buck converters require additional components: at minimum an inductor, output capacitor, and often a catch diode (unless using synchronous rectification). Some designs need input capacitors, feedback resistors, soft-start capacitors, and compensation networks. A typical buck converter layout easily consumes 50mm² to 100mm² or more.
EMI and Layout Sensitivity
Here’s where my experience as a PCB designer really comes into play. Switching regulators demand careful attention to layout practices that LDOs simply don’t require.
The high di/dt loops in switching converters create electromagnetic interference that can couple into nearby traces, affect signal integrity, and potentially fail EMC compliance testing. Key layout considerations include:
Minimizing hot loop area (the path carrying switched current) reduces radiated emissions significantly. Keeping input capacitors close to the switching IC, using solid ground planes beneath the power stage, and carefully managing the switching node routing all matter immensely.
LDOs are far more forgiving. Place the input and output capacitors reasonably close to the device, provide adequate thermal relief, and you’re generally good to go. There’s no switching node to worry about, no inductor placement considerations, and minimal EMI concerns.
Detailed Voltage Regulator Comparison Table
Parameter
LDO Regulator
Switching Regulator
Efficiency
30-95% (depends on Vin/Vout ratio)
80-95% (nearly constant)
Output Noise
10μV to 500μV RMS
10mV to 50mV ripple
Dropout Voltage
100mV to 500mV typical
N/A (can boost or buck)
Component Count
2-3 external components
5-10+ external components
PCB Footprint
Small (15-30mm²)
Larger (50-150mm²)
Cost
$0.10 to $2.00 typical
$0.50 to $5.00+ typical
EMI Generation
Negligible
Significant (requires filtering)
Design Complexity
Simple
Moderate to complex
Transient Response
Fast (microseconds)
Moderate (10s of microseconds)
Output Current Range
mA to 3A typical
mA to 10A+ common
Conversion Type
Step-down only
Buck, boost, buck-boost available
When to Use an LDO Regulator
Based on my design experience, LDOs make sense in these scenarios:
Small Voltage Differential Applications
When your input voltage is only slightly higher than the required output, LDO efficiency approaches that of switching regulators. Converting 3.6V from a lithium battery to 3.3V for a microcontroller? An LDO achieves roughly 92% efficiency here—comparable to a buck converter but with far less complexity.
The rule of thumb I follow: if Vout/Vin exceeds 85%, seriously consider an LDO. You’ll save board space, reduce component cost, eliminate EMI concerns, and achieve similar efficiency.
Noise-Sensitive Analog and RF Circuits
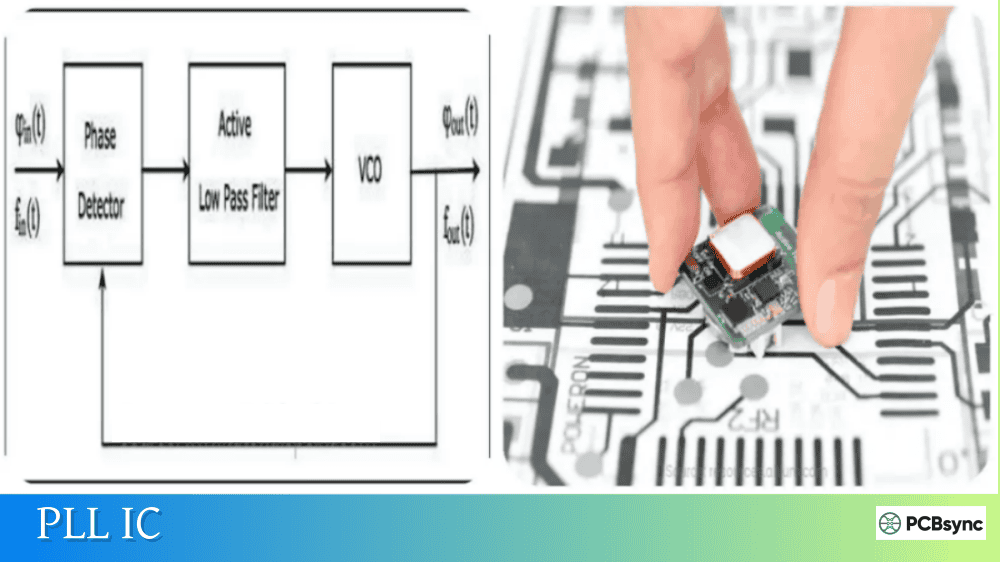
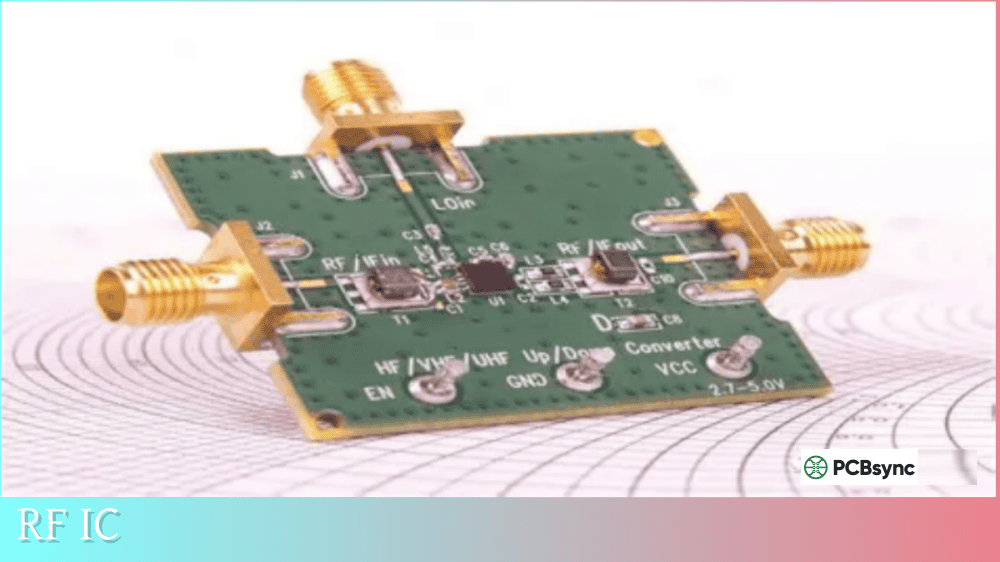
Powering precision ADCs, DACs, voltage references, Altera FPGA core voltages, PLL clock generators, or RF front-ends? LDOs are almost always the right choice. The switching noise from a buck converter can directly degrade SNR, SFDR, and phase noise specifications of sensitive components.
I routinely use a two-stage approach: a switching pre-regulator handles the bulk voltage conversion efficiently, followed by an LDO post-regulator that provides the clean, low-noise rail needed by sensitive circuitry.
Low Power and Ultra-Low Quiescent Current Applications
Battery-powered devices spending significant time in sleep mode benefit from LDOs with sub-microamp quiescent current. Modern ultra-low-Iq LDOs draw as little as 500nA, preserving battery life during standby periods.
Switching regulators typically have higher minimum operating current overhead, which becomes significant when your load current drops to microamps.
Space-Constrained Designs
When every square millimeter counts, LDOs win. A tiny SOT-23-5 or DFN package plus two 0402 capacitors occupies minimal real estate compared to a switching solution requiring an inductor and additional passives.
When to Use a Switching Regulator
Switching regulators become the clear choice in these situations:
Large Voltage Differential Applications
Converting 12V or 24V industrial power to 3.3V logic levels? The efficiency math heavily favors switching regulators. An LDO in this scenario would waste over 70% of input power as heat—requiring substantial heatsinking and potentially exceeding thermal limits entirely.
Any time the input voltage significantly exceeds the output, switching converters deliver dramatic efficiency advantages. This translates directly to smaller thermal solutions, longer battery life, and reduced power consumption.
High Current Requirements
Once load current exceeds about 500mA to 1A, thermal management of LDOs becomes challenging. A switching regulator handling 3A at 90% efficiency generates far less heat than an LDO losing even a volt across its pass transistor at that current level.
Modern synchronous buck converters routinely deliver 5A, 10A, or more with excellent efficiency—something practically impossible with linear regulation.
Battery-Powered High Performance Devices
Smartphones, tablets, laptops, and other battery-powered devices with moderate to high power consumption rely heavily on switching regulators. Maximizing runtime demands the efficiency that only switched-mode conversion provides.
Boost or Buck-Boost Requirements
LDOs can only step voltage down. Need to generate 5V from a 3.7V lithium cell? You’ll need a boost converter. Require stable output as your battery discharges from 4.2V down through 3.0V? A buck-boost topology handles that gracefully.
PCB Layout Guidelines for Each Voltage Regulator Type
Layout directly impacts performance, especially for switching regulators. Here are the key considerations:
LDO Layout Best Practices
Keep input and output capacitors close to the regulator pins, typically within 3mm to 5mm. Use low-ESR ceramic capacitors (X5R or X7R dielectric) for best transient response and stability.
Provide adequate thermal relief. For higher-current LDOs, use thermal vias connecting the exposed pad to internal copper planes. The PCB itself becomes your heatsink.
Route sensitive loads directly from the LDO output before that rail connects to other, less critical circuits. This prevents IR drop from affecting precision loads.
Switching Regulator Layout Best Practices
Minimize the hot loop area—the path carrying high-frequency switched current through the input capacitor, high-side switch, low-side switch or diode, and back to the capacitor. Keep this loop as small and tight as physically possible.
Place input capacitors immediately adjacent to the power stage pins. Use multiple vias to connect to the ground plane. Keep the switching node short and avoid routing sensitive signals nearby.
Locate the inductor close to the switching IC. Use shielded inductors when EMI is critical. Consider the magnetic field orientation relative to sensitive circuits.
Keep the feedback network close to the IC. Route the feedback trace away from noisy switching nodes and avoid running it under or near the inductor.
Use dedicated ground planes for the power stage, connecting to the system ground at a single point to prevent switching currents from contaminating sensitive ground returns.
Application Selection Guide
Application
Recommended Regulator
Reasoning
Microcontroller core power
LDO or buck
LDO if Vin close to Vout; buck if large differential
Texas Instruments WEBENCH Power Designer provides automated switching regulator design with layout recommendations and BOM generation. Analog Devices LTpowerCAD offers similar capabilities for their product portfolio.
Application Notes and Technical References
TI Application Note SLVA079 covers LDO terminology and specifications in excellent detail. Analog Devices AN-140 explains linear regulator and switching power supply concepts thoroughly. Both documents are essential reading for power supply designers.
Parametric Search Databases
DigiKey, Mouser, and manufacturer websites offer powerful parametric search tools. Filter by input voltage, output voltage, output current, package size, and other specifications to find suitable candidates quickly.
Datasheets and Reference Designs
Always review manufacturer evaluation boards and reference designs. These provide tested, proven layouts that minimize design risk. Most major manufacturers offer comprehensive application circuits with suggested components and layout guidelines.
Frequently Asked Questions About LDO vs Switching Regulators
Can I replace an LDO with a switching regulator to improve efficiency?
Yes, but consider the tradeoffs carefully. Switching regulators bring EMI concerns, require more board space, and may introduce noise that affects sensitive circuits. For noise-sensitive applications like precision measurement or RF systems, the additional complexity often isn’t worth the efficiency gain. Calculate your actual power savings versus added design effort before making the switch.
Why does my switching regulator create noise on nearby analog circuits?
The culprit is usually EMI coupling from the switching node or poor PCB layout. High di/dt current loops radiate electromagnetic interference that couples into nearby traces through inductive or capacitive paths. Solutions include minimizing hot loop area, using solid ground planes, adding input/output filtering, shielding the power stage, and increasing physical separation between the switching regulator and sensitive circuitry.
What dropout voltage do I need for my LDO?
Your input voltage must exceed the output voltage by at least the dropout value under all conditions. Account for input supply tolerance, load current variations (dropout typically increases with current), and temperature effects. As a safety margin, I typically design for 200mV minimum headroom above the worst-case dropout specification. Very low dropout LDOs (VLDO) achieve dropout as low as 20mV to 90mV, useful when input and output voltages are nearly equal.
Can I use an LDO and switching regulator together?
Absolutely—this hybrid approach is common and often optimal. Use a switching regulator for efficient bulk voltage conversion, followed by an LDO to filter the output and provide clean power to sensitive loads. The switching pre-regulator handles the majority of voltage step-down efficiently, while the LDO’s excellent PSRR rejects the switching ripple. This combination delivers both efficiency and noise performance.
How do I choose between multiple LDOs with similar specifications?
Look beyond basic voltage and current specs. Consider quiescent current for battery applications, noise performance for analog/RF circuits, transient response for dynamic loads, PSRR at relevant frequencies, thermal characteristics for your package and PCB constraints, and availability/cost for production. Also verify that the LDO is stable with your chosen output capacitor values and types—some older LDOs require specific ESR ranges for stability.
Making Your Final Voltage Regulator Decision
The LDO vs switching regulator decision ultimately comes down to understanding your specific requirements and priorities. Neither topology is universally superior—each excels in different scenarios.
Choose an LDO when noise performance matters most, when the voltage differential is small, when simplicity and board space are priorities, or when the power level stays modest enough that thermal dissipation remains manageable.
Choose a switching regulator when efficiency drives your design, when handling large voltage differentials, when current requirements exceed what LDO thermal limits allow, or when you need voltage conversion beyond simple step-down.
Many successful designs use both—leveraging switching regulators where efficiency matters most and LDOs where clean power is non-negotiable. Understanding this voltage regulator comparison empowers you to make confident choices that optimize your design for performance, cost, and reliability.
The best voltage regulator is the one that meets your application’s actual requirements without over-engineering the solution. Start with your constraints, understand the tradeoffs, and select accordingly.
Inquire: Call 0086-755-23203480, or reach out via the form below/your sales contact to discuss our design, manufacturing, and assembly capabilities.
Quote: Email your PCB files to Sales@pcbsync.com (Preferred for large files) or submit online. We will contact you promptly. Please ensure your email is correct.
Notes: For PCB fabrication, we require PCB design file in Gerber RS-274X format (most preferred), *.PCB/DDB (Protel, inform your program version) format or *.BRD (Eagle) format. For PCB assembly, we require PCB design file in above mentioned format, drilling file and BOM. Click to download BOM template To avoid file missing, please include all files into one folder and compress it into .zip or .rar format.


