Inquire: Call 0086-755-23203480, or reach out via the form below/your sales contact to discuss our design, manufacturing, and assembly capabilities.
Quote: Email your PCB files to Sales@pcbsync.com (Preferred for large files) or submit online. We will contact you promptly. Please ensure your email is correct.
Notes: For PCB fabrication, we require PCB design file in Gerber RS-274X format (most preferred), *.PCB/DDB (Protel, inform your program version) format or *.BRD (Eagle) format. For PCB assembly, we require PCB design file in above mentioned format, drilling file and BOM. Click to download BOM template To avoid file missing, please include all files into one folder and compress it into .zip or .rar format.
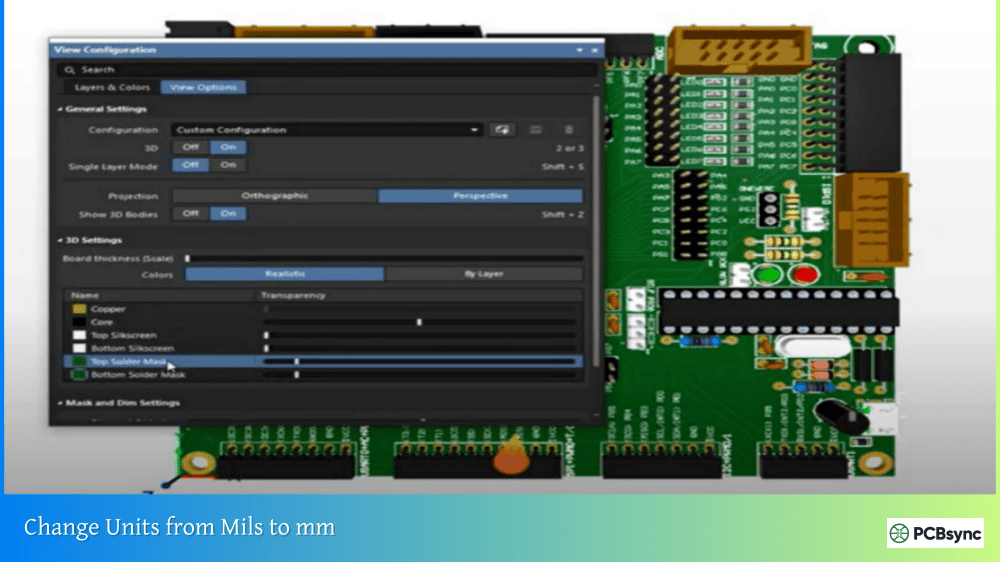
If you’ve ever opened Altium Designer and found your measurements stuck in mils when you need millimeters—or vice versa—you’re not alone. As a PCB engineer who’s worked through countless designs, I can tell you that switching between mils and mm is one of those tasks you’ll perform dozens of times throughout a project. Whether you’re working with metric component datasheets, collaborating with international manufacturers, or simply prefer the precision of millimeters, knowing how to change units from mils to mm quickly becomes essential.
This guide walks you through every method available in Altium Designer for switching your measurement units, from quick keyboard shortcuts to permanent preference settings.
Before diving into the how-to, let’s clarify what we’re dealing with. A mil (also called a “thou”) equals one-thousandth of an inch (0.001 inch), while a millimeter is one-thousandth of a meter. The conversion factor is straightforward: 1 mil = 0.0254 mm.
Altium Designer supports two primary unit systems: MM (millimeters) and Mils. Older versions of the software referred to these as “Metric” and “Imperial,” but current releases use the more direct terminology. This matters because you’ll see “MM” and “Mils” in the Properties panel and preferences dialogs.
Why Both Systems Exist
The electronics industry has historically operated with one foot in each measurement world. American component manufacturers standardized on imperial measurements decades ago—hence the ubiquitous 100-mil DIP spacing. Meanwhile, Asian and European manufacturers adopted metric specifications. Today’s PCB designer must navigate both systems seamlessly.
The IPC (Association Connecting Electronics Industries) has been pushing toward metric standardization, with most recent documentation using millimeters as the primary unit. Many modern component packages, especially fine-pitch BGAs and QFNs, are designed on metric grids. Yet legacy components and many North American fabricators still speak in mils.
For quick mental math, remember these approximate conversions:
100 mils ≈ 2.5mm (actually 2.54mm)
40 mils ≈ 1mm (actually 1.016mm)
4 mils ≈ 0.1mm (actually 0.1016mm)
When precision matters, use the exact conversion: multiply mils by 0.0254 to get millimeters, or divide millimeters by 0.0254 to get mils.
Method 1: The Fastest Way to Change Units from Mils to mm
For PCB layout work, the quickest method to toggle between mils and mm is pressing the Q key on your keyboard while in the PCB Editor. This instantly switches your display units without opening any menus.
Keyboard shortcut in PCB Editor:
Press Q to toggle between mm and mils
You’ll immediately notice the change in the Status Bar at the bottom of the screen, where coordinates and grid values update to reflect the new unit system. The cursor position, grid display, and all measurement readouts switch instantly.
I use this shortcut constantly during layout work—checking a metric footprint dimension, then switching back to mils for routing on an imperial grid. Once it becomes muscle memory, you won’t even think about it.
Method 2: Using the View Menu Toggle Units Command
If keyboard shortcuts aren’t your thing, Altium Designer provides a menu-based approach that works in both the Schematic Editor and PCB Editor.
Steps to Change Units via Menu
Navigate to View in the main menu bar
Select Toggle Units
The units will switch immediately
Alternatively, you can use the menu shortcut combination V then U (press V, release, then press U). This executes the Toggle Units command without reaching for your mouse.
Where This Method Works
Editor
Toggle Units Available
Keyboard Shortcut
PCB Editor
Yes
Q or V, U
Schematic Editor
Yes
V, U
PCB Library Editor
Yes
Q or V, U
Schematic Library Editor
Yes
V, U
Method 3: Changing Units in the Properties Panel
For PCB layouts specifically, you can change units through the Properties panel, which also lets you set your preferred units as the document default.
Steps to Change Units in Properties Panel
Open your PCB document
Click anywhere in the design space to deselect all objects (or press Esc)
Open the Properties panel (access via Panels button at bottom right, or View → Panels → Properties)
Scroll down to the Other section
Locate the Units dropdown
Select Mils or MM as needed
This method changes the default measurement unit for the entire PCB document, not just the display. All new objects placed will use this unit system, and your grid settings will reflect the change.
Method 4: Setting Default Units in Preferences
When you want every new schematic or PCB document to start with your preferred units, configure them in the Preferences dialog.
Accessing Preferences
Click the gear icon in the upper right corner of Altium Designer
Or navigate to DXP → Preferences
Or press the keyboard shortcut (if configured)
Schematic Unit Preferences
Within the Preferences dialog, you can set units in three separate areas for schematic work:
General Settings: Main unit preference for the schematic (found under Schematic → General)
Grid Settings: Unit preferences for snap and visible grids
Default Primitives: Units for default object sizes
Navigate to Schematic → General in the Preferences tree. Here you can select either Imperial (Mils) or Metric (Millimeters) as your default unit system.
PCB Unit Preferences
For PCB documents, the unit setting is primarily controlled at the document level through the Properties panel (as described in Method 3). However, certain default behaviors can be established through PCB Editor → Defaults in Preferences.
Method 5: Using Ctrl+Q in Dialog Boxes
Here’s a tip many engineers miss: When you’re in any dialog box or the Properties panel editing component properties, you can press Ctrl+Q to toggle the displayed units between metric and imperial. This doesn’t change the document’s default units—it simply converts the displayed values.
This is incredibly useful when:
Checking a pad size that was specified in mils but you need the mm equivalent
Entering a dimension you know in mm when the dialog shows mils
Verifying component positions against mechanical drawings
Method 6: Changing Units in the Layer Stack Manager
The Layer Stack Manager has its own unit toggle for defining layer thicknesses and other stackup parameters.
Steps for Layer Stack Manager Units
Open Design → Layer Stack Manager
Press Ctrl+Q to toggle between mm and mils
Or use the Measurement Unit dropdown (in versions that display it)
Layer thicknesses and dielectric constants display according to the current unit setting, making it easier to work with manufacturer specifications that may be in either system.
Method 7: Changing Units in the Constraint Manager
When setting up design rules through the Constraint Manager, you can also switch measurement units.
Open Tools → Constraint Manager
Navigate to Tools → Measurement Units within the Constraint Manager
Select mm or mils as needed
This ensures your routing width rules, clearances, and other constraints display in your preferred units.
Best Practices for Working with Units in Altium Designer
Consistency is Key
Pick a unit system and stick with it throughout your design. Mixing units within a single project leads to confusion and potential errors. If your manufacturer specifies drill sizes in mm, work in mm. If your component library uses mils, consider whether it’s worth converting.
Consider Your Manufacturer
Many PCB fabricators, particularly those overseas, prefer metric specifications. Before starting a design, check your manufacturer’s preferences. Some shops explicitly request Gerber files with metric coordinates, while others are comfortable with either system.
Component Libraries and Datasheets
Modern component datasheets increasingly use metric dimensions. If you’re creating new library footprints, consider building them in mm to match datasheet specifications exactly. This eliminates conversion rounding errors and makes verification easier.
When creating footprints from datasheets, note whether dimensions are nominal or maximum/minimum tolerance values. A 0.5mm pitch component designed in mils might have pins landing at 19.685 mils (0.5mm converted), which looks odd but functions correctly. Starting in mm keeps everything clean.
The Universal Grid System Approach
Some experienced designers advocate for the “Universal PCB Design Grid System” based on 0.05mm increments. This system aligns with IPC standards and ensures components snap to predictable positions. The key grid values include:
Placement Grid: 1mm, 0.5mm, 0.2mm, or 0.1mm
Routing Grid: 0.05mm (the ultimate routing resolution)
Via Grid: 1mm (allowing two 0.1mm traces between vias)
Note: The metric naming convention uses the actual component dimensions (1005 = 1.0mm × 0.5mm), while imperial names use approximations in hundredths of an inch.
Troubleshooting Common Unit Issues
Units Don’t Change When Pressing Q
If pressing Q doesn’t toggle units, you might be:
In the wrong editor (ensure you’re in the PCB Editor, not viewing a schematic)
Have a dialog or panel focused (click in the design space first)
Running a command that captures keyboard input (press Esc to cancel)
Grid Doesn’t Match Expected Values After Unit Change
When you change units, Altium Designer converts your grid values. A 25-mil grid becomes approximately 0.635mm. If you need clean metric values like 0.5mm or 1mm, manually reset your grid after changing units.
To set grid: View → Grids → Set Global Snap Grid or press G for quick grid options.
Component Positions Look Strange After Converting
Components placed in mils will have non-round mm coordinates after conversion (100 mils = 2.54mm). This is expected behavior. For new designs in metric, place components on a clean metric grid from the start.
Gerber Files and Manufacturing Output
Your Gerber output files maintain their precision regardless of your display units. However, some older CAM systems expect specific unit formats. When generating outputs, Altium Designer allows you to specify the coordinate format and units explicitly in the Gerber setup dialog. Always verify your manufacturer’s requirements before generating final production files.
Design Rule Values After Unit Change
Design rules store their actual values independently of display units. A 6-mil trace width rule remains 6 mils internally even when displayed as 0.1524mm. When editing rules, the value converts based on your current unit setting but maintains precision. If you need exact metric clearances, enter them while in mm mode to avoid conversion artifacts.
Summary Table: All Methods to Change Units from Mils to mm
Method
Location
Shortcut
Scope
Q Key
PCB Editor
Q
Document display
View Menu
Any Editor
V, U
Document display
Properties Panel
PCB Editor
–
Document default
Preferences
DXP Menu
–
New documents
Dialog Toggle
Any Dialog
Ctrl+Q
Dialog display only
Layer Stack Manager
Design Menu
Ctrl+Q
Stackup display
Constraint Manager
Tools Menu
–
Rule display
Useful Resources for Altium Designers
When working with unit conversions and Altium Designer, these resources prove helpful:
What is the difference between mils and mm in Altium Designer?
A mil equals one-thousandth of an inch (0.001″), while a millimeter is one-thousandth of a meter. In Altium Designer, 1 mil converts to 0.0254 mm. The software allows you to work in either unit system and toggle between them instantly using keyboard shortcuts or menu commands.
Does changing display units affect my actual design dimensions?
No, toggling units only changes how measurements are displayed—your actual design geometry remains unchanged. A pad that measures 60 mils will show as 1.524mm when you switch to metric, but its physical size stays identical. The underlying data maintains full precision regardless of display units.
Why can’t I get clean metric values like 0.5mm when converting from mils?
Standard mil-based dimensions don’t convert to round metric numbers. For example, 100 mils equals 2.54mm, not 2.5mm. If you need clean metric values, design in mm from the start rather than converting existing mil-based layouts. Place components on a metric grid (0.5mm, 1mm) for predictable dimensions.
Should I use mils or mm for my PCB design?
This depends on your situation. Use mils for legacy designs, North American manufacturers who prefer imperial units, and when working with older through-hole components. Use mm for modern SMT designs, international manufacturers, metric component footprints, and when collaborating with mechanical engineers who work in metric.
How do I permanently set Altium Designer to use millimeters by default?
For PCB documents, set your preferred units in the Properties panel when no objects are selected—this becomes the document default. For schematic documents, configure default units in DXP → Preferences → Schematic → General. Note that each new document can have its own unit setting, so you may need to change it per project.
Getting comfortable with unit switching in Altium Designer takes practice, but once you’ve internalized the Q shortcut and know where to find the Properties panel settings, you’ll toggle between mils and mm without thinking twice. The key is staying consistent within each project and matching your unit system to your manufacturer’s preferences and component specifications.
Whether you’re a metric purist or firmly in the mils camp, Altium Designer gives you the flexibility to work however suits your project best. The ability to change units from mils to mm—and back again—quickly and reliably keeps your design workflow smooth and your measurements accurate.
Inquire: Call 0086-755-23203480, or reach out via the form below/your sales contact to discuss our design, manufacturing, and assembly capabilities.
Quote: Email your PCB files to Sales@pcbsync.com (Preferred for large files) or submit online. We will contact you promptly. Please ensure your email is correct.
Notes: For PCB fabrication, we require PCB design file in Gerber RS-274X format (most preferred), *.PCB/DDB (Protel, inform your program version) format or *.BRD (Eagle) format. For PCB assembly, we require PCB design file in above mentioned format, drilling file and BOM. Click to download BOM template To avoid file missing, please include all files into one folder and compress it into .zip or .rar format.


