Inquire: Call 0086-755-23203480, or reach out via the form below/your sales contact to discuss our design, manufacturing, and assembly capabilities.
Quote: Email your PCB files to Sales@pcbsync.com (Preferred for large files) or submit online. We will contact you promptly. Please ensure your email is correct.
Notes: For PCB fabrication, we require PCB design file in Gerber RS-274X format (most preferred), *.PCB/DDB (Protel, inform your program version) format or *.BRD (Eagle) format. For PCB assembly, we require PCB design file in above mentioned format, drilling file and BOM. Click to download BOM template To avoid file missing, please include all files into one folder and compress it into .zip or .rar format.
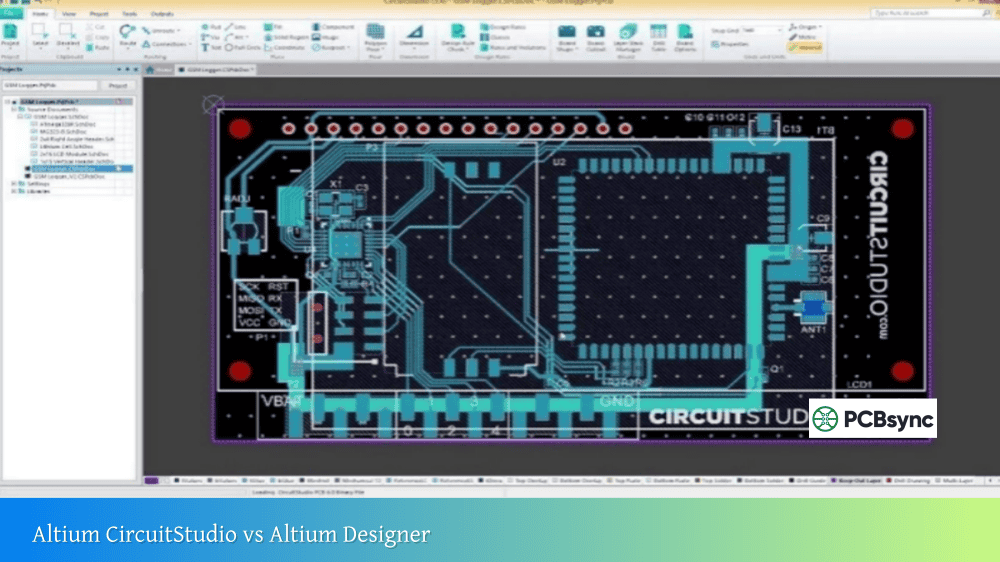
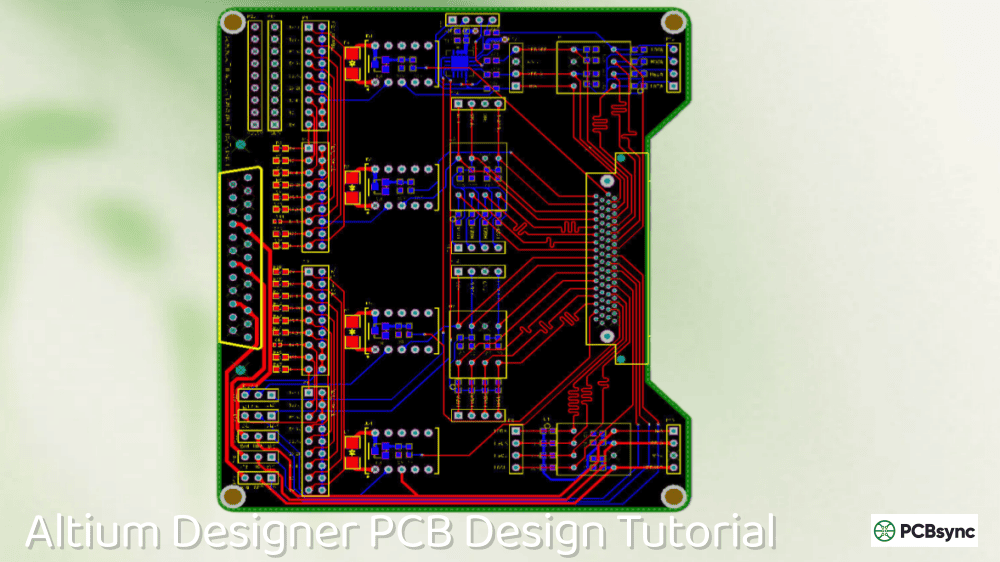
When your schematic grows beyond a single page, you have a choice to make: throw everything onto multiple flat sheets and hope for the best, or organize your design into a logical hierarchy that actually makes sense. After managing projects ranging from simple two-layer boards to complex 16-layer designs with hundreds of components, I can tell you that Altium Designer Hierarchical Design is the approach that scales.
A hierarchical design isn’t just about organizing sheets—it’s about creating a structure that mirrors how your circuit actually works. Power supply on one sheet, microcontroller on another, communication interfaces separated by function. When someone picks up your design months later (even if that someone is future you), they can immediately understand the architecture without tracing nets across a dozen randomly organized pages.
This guide walks through everything you need to know about creating and managing multi-sheet hierarchical designs in Altium Designer, from basic concepts to advanced multi-channel techniques.
Understanding Flat vs Hierarchical Design Structures
Before diving into implementation, let’s clarify the fundamental difference between flat and hierarchical approaches to multi-sheet design.
What is a Flat Design?
In a flat design, all schematic sheets exist at the same level. Think of it as cutting a large schematic into smaller pieces—the sheets are separate documents, but there’s no parent-child relationship between them. Connectivity between sheets happens horizontally, typically through ports that connect globally across all sheets.
Flat Design Characteristics
Description
Sheet relationship
All sheets at same level
Connectivity method
Ports connect globally (horizontal)
Top sheet
Optional, contains sheet symbols but no wiring
Net tracing
Harder to follow across sheets
Best for
Simple designs, quick prototypes
What is a Hierarchical Design?
A hierarchical design establishes explicit parent-child relationships between sheets using sheet symbols. The parent sheet contains symbols that represent child sheets below, with sheet entries that connect to ports on those child sheets. This creates vertical connectivity—signals flow up from child to parent and back down to other children.
Hierarchical Design Characteristics
Description
Sheet relationship
Parent-child hierarchy
Connectivity method
Sheet entries to ports (vertical)
Top sheet
Required, contains sheet symbols with wiring
Net tracing
Easy to follow through structure
Best for
Complex designs, team collaboration, design reuse
The key advantage of Altium Designer Hierarchical Design is predictability. When you look at a hierarchical schematic, you know exactly how signals flow: from ports on child sheets, up to sheet entries on parent sheets, across wiring on the parent, and back down to other children through their respective sheet entries.
Essential Components for Hierarchical Design
Several schematic objects work together to create the hierarchical structure. Understanding each one is essential for building effective multi-sheet designs.
Sheet Symbols
A sheet symbol is a rectangular object placed on a parent sheet that represents a child schematic document. It’s essentially a graphical container that links to another schematic file.
To place a sheet symbol: Place → Sheet Symbol or use the keyboard shortcut.
Sheet Entries
Sheet entries are placed inside sheet symbols and represent the interface points between parent and child sheets. Each sheet entry must match a corresponding port on the child schematic—both by name and I/O type.
Sheet Entry I/O Type
Meaning
Input
Signal flows into the child sheet
Output
Signal flows out of the child sheet
Bidirectional
Signal flows both directions
Unspecified
No direction specified
Ports
Ports are placed on child schematic sheets and represent the connection points that link up to sheet entries on the parent sheet. When the project compiles, ports connect to their matching sheet entries to establish the hierarchical connectivity.
Net Labels
Net labels identify nets within a single sheet. In hierarchical designs with the correct Net Identifier Scope setting, net labels remain local to their sheet—they don’t automatically connect across sheets like they might in a flat design.
Power Ports
Power ports (VCC, GND, etc.) are special net identifiers that connect globally across all sheets, regardless of the Net Identifier Scope setting. This ensures power rails are connected throughout your entire design without explicit wiring.
Configuring Net Identifier Scope
The Net Identifier Scope setting determines how connectivity is established between sheets. This is perhaps the most critical configuration for hierarchical designs.
Accessing Net Identifier Scope
Go to Project → Project Options
Select the Options tab
Find the Net Identifier Scope dropdown
Available Scope Options
Scope Option
Behavior
Automatic
Altium selects based on sheet structure (recommended)
Flat (Only ports global)
Ports connect globally, net labels local to each sheet
Hierarchical
Sheet entry ↔ port connections, power ports global
Strict Hierarchical
Sheet entry ↔ port connections, power ports local
Global
Net labels and ports connect globally
For true Altium Designer Hierarchical Design, use either Automatic or Hierarchical scope. The Automatic setting examines your project structure and selects the appropriate mode:
If sheet entries exist on the top sheet → Hierarchical
If no sheet entries but ports present → Flat
If neither sheet entries nor ports → Global
Pro tip: Leave the scope set to Automatic unless you have specific requirements. Altium will make the right choice based on how you’ve structured your design.
Creating a Hierarchical Design: Top-Down Approach
The top-down approach starts with the high-level architecture and progressively adds detail. You begin by defining the overall system on a top sheet, then create the child sheets for each functional block.
Step 1: Create the Top Sheet
Create a new schematic document for your project
Save it with a descriptive name (e.g., “TopLevel.SchDoc” or your project name)
This sheet will contain only sheet symbols and interconnecting wiring—no components
Step 2: Place Sheet Symbols
Select Place → Sheet Symbol
Click to place the first corner, drag to size, click again to complete
In the Properties panel, set:
Designator: Descriptive name (e.g., “Power”)
Filename: Name for the child sheet (e.g., “Power.SchDoc”)
Repeat for each functional block in your design.
Step 3: Add Sheet Entries
For each sheet symbol, add the interface signals:
Select Place → Sheet Entry
Click on the edge of the sheet symbol to place
In Properties, set:
Name: Signal name (must match port on child sheet)
I/O Type: Input, Output, Bidirectional, or Unspecified
Tip: Enable Place Sheet Entries Automatically in Preferences → Schematic → Graphical Editing. When you later add ports to child sheets, Altium will automatically create matching sheet entries.
Step 4: Wire the Top Sheet
Connect the sheet entries using wires and buses as needed. This wiring establishes how signals flow between the functional blocks.
Step 5: Create Child Sheets from Symbols
For each sheet symbol:
Right-click the sheet symbol
Select Sheet Symbol Actions → Create Sheet From Sheet Symbol
Altium creates a new schematic with ports matching each sheet entry
Step 6: Populate Child Sheets
Open each child sheet and add your circuit. Ensure the ports on the child sheet match the sheet entries on the parent—both by name and I/O type.
Creating a Hierarchical Design: Bottom-Up Approach
The bottom-up approach is ideal when you already have individual circuit blocks designed and need to integrate them into a larger system.
Step 1: Prepare Existing Sheets
Ensure each schematic sheet has ports defined for all signals that need to connect to other parts of the design.
Step 2: Create the Top Sheet
Add a new schematic document that will serve as the top level.
Step 3: Generate Sheet Symbols from Sheets
Open the top sheet
Select Design → Create Sheet Symbol From Sheet
Choose the child schematic file
A sheet symbol is created with entries matching all ports on that sheet
Repeat for each existing schematic you want to integrate.
Step 4: Wire the Top Sheet
Connect the sheet symbols using wires and buses to establish the system-level connectivity.
Synchronizing Sheet Entries and Ports
As your design evolves, ports on child sheets and sheet entries on parent sheets can get out of sync. Altium provides tools to maintain alignment.
Using the Synchronize Dialog
Right-click a sheet symbol
Select Sheet Symbol Actions → Synchronize Sheet Entries and Ports
The dialog shows mismatches between entries and ports
From this dialog you can:
Action
Purpose
Add entries to sheet symbol
Create missing sheet entries
Add ports to sub-sheet
Create missing ports
Match entry to port
Link mismatched items (updates names/IO types)
Remove unmatched
Delete orphaned entries or ports
Quick Navigation
To quickly move between parent and child sheets:
Ctrl + Double-click on a sheet entry → Jumps to matching port
Ctrl + Double-click on a port → Jumps to parent sheet entry
Double-click sheet symbol → Opens the referenced child sheet
Multi-Channel Design: Repeating Circuit Blocks
One of the most powerful features of Altium Designer Hierarchical Design is multi-channel support. When your design includes repeated circuit blocks—like multiple identical amplifier stages or LED driver channels—multi-channel design lets you capture the circuit once and repeat it automatically.
Creating Multi-Channel Designs
There are two ways to create repeated channels:
Method 1: Multiple Sheet Symbols Referencing Same Sheet
Place multiple sheet symbols that all reference the same child schematic file. Each symbol represents one instance of the channel.
Method 2: Repeat Keyword
Use the Repeat keyword in the sheet symbol designator:
Repeat(Channel, 1, 8)
This creates 8 instances of the channel, named Channel1 through Channel8.
Configuring Channel Naming
Go to Project → Project Options
Select the Multi-Channel tab
Configure:
Room Naming Style: How rooms are named in PCB layout
Designator Format: How component designators are augmented
Room Naming Style
Example Result
Flat
Channel1, Channel2, etc.
Mixed Name Path
Power_Channel1, Power_Channel2
Channel Path
Power\Channel1, Power\Channel2
PCB Layout with Multi-Channel
When you transfer a multi-channel design to PCB:
Altium creates component classes for each sheet
Rooms are automatically generated for each channel
Use Design → Rooms → Copy Room Formats to replicate placement and routing from one channel to all others
This dramatically speeds up layout for designs with repeated circuits.
Best Practices for Hierarchical Schematic Organization
After working on numerous hierarchical projects, these practices consistently produce better results.
Logical Grouping
Organize sheets by function, not by physical location. Good examples:
Power_Supply.SchDoc
Microcontroller.SchDoc
USB_Interface.SchDoc
Analog_Frontend.SchDoc
Consistent Naming Conventions
Establish naming standards for:
Sheet symbol designators
Port/sheet entry names
Net labels within sheets
Power port names
Depth Management
Keep hierarchy depth reasonable—typically 2-3 levels maximum. Deeper hierarchies become difficult to navigate and maintain.
Top Sheet as System Overview
Design your top sheet to read like a block diagram. Someone unfamiliar with the project should be able to understand the system architecture from the top sheet alone.
Document Each Level
Include title blocks and notes on each sheet explaining its function and any critical design information.
Compiling and Validating Hierarchical Projects
Compilation is essential for verifying hierarchical connectivity.
Compiling the Project
Select Project → Compile PCB Project (or the specific project name). Compilation:
Device Sheets: Reusable schematic blocks stored in library folders
Managed Sheets: Server-based schematic reuse through Altium 365
PCB Layout Replication: Copy room formats between channels
Frequently Asked Questions About Altium Designer Hierarchical Design
What’s the difference between a port and an off-sheet connector?
Ports are the standard connection mechanism for hierarchical designs—they connect vertically to sheet entries on parent sheets. Off-sheet connectors are legacy objects that always connect globally regardless of Net Identifier Scope settings. For new hierarchical designs, use ports exclusively. Off-sheet connectors are primarily useful for compatibility with older designs or when you specifically need global connectivity that ignores the project’s scope settings. Ports give you more control over how your design connects.
Can I mix flat and hierarchical approaches in the same project?
Technically yes, but it’s not recommended. Mixing approaches makes the connectivity model confusing and difficult to debug. If some sheets need flat connectivity (like multiple sheets that all share common signals directly), consider restructuring so they’re children of a common parent sheet that routes those signals. Alternatively, use power ports for truly global signals like power rails, which connect globally regardless of scope settings. Keep your connectivity model consistent throughout the project.
How do I convert an existing flat design to hierarchical?
Altium provides refactoring tools that help with this conversion. The basic process involves creating a new top sheet, then using Design → Create Sheet Symbol From Sheet for each existing schematic to generate sheet symbols with matching entries. You’ll then need to add wiring on the top sheet to connect the sheet symbols. Finally, ensure ports exist on child sheets matching each sheet entry, and verify the Net Identifier Scope is set appropriately. For complex conversions, it may be easier to rebuild the hierarchy from scratch using the existing circuits as reference.
Why aren’t my nets connecting between sheets in hierarchical mode?
The most common cause is a mismatch between sheet entry names and port names—they must match exactly, including case sensitivity in some situations. Check that I/O types are compatible (an Input entry should connect to an Output port, and vice versa). Also verify the child schematic filename in the sheet symbol properties matches the actual file. Use the Synchronize Sheet Entries and Ports command to identify and fix mismatches. Finally, compile the project and check the Messages panel for connectivity warnings that might point to the specific problem.
How does annotation work in multi-channel designs?
In multi-channel designs, components have both logical and physical designators. The logical designator is what you see on the source schematic (e.g., R1). The physical designator includes channel identification (e.g., R1_CH1, R1_CH2) and is what appears on the PCB and in the BOM. The designator format is configured in Project Options → Multi-Channel tab. When you compile the project, Altium generates the physical designators based on your chosen format. Board-level annotation can be used if you prefer sequential numbering across all channels rather than channel-prefixed designators.
Making the Most of Hierarchical Design
Altium Designer Hierarchical Design transforms how you approach complex projects. Instead of wrestling with sprawling flat schematics where nets disappear across pages, you work with a structured system where every connection has a clear path and purpose.
The investment in learning hierarchical techniques pays dividends across your entire career. Once you’ve mastered sheet symbols, ports, and channel management, you’ll find that even the most complex projects become manageable. Your schematics become self-documenting—the hierarchy itself tells the story of how your circuit works.
Start with your next medium-complexity project. Create a top sheet with three or four functional blocks, implement proper port/sheet entry connections, and experience how much cleaner the design feels compared to a flat approach. From there, explore multi-channel design for repeated circuits and device sheets for design reuse.
The best designs aren’t just functional—they’re understandable. Hierarchical design is the key to achieving both.
Inquire: Call 0086-755-23203480, or reach out via the form below/your sales contact to discuss our design, manufacturing, and assembly capabilities.
Quote: Email your PCB files to Sales@pcbsync.com (Preferred for large files) or submit online. We will contact you promptly. Please ensure your email is correct.
Notes: For PCB fabrication, we require PCB design file in Gerber RS-274X format (most preferred), *.PCB/DDB (Protel, inform your program version) format or *.BRD (Eagle) format. For PCB assembly, we require PCB design file in above mentioned format, drilling file and BOM. Click to download BOM template To avoid file missing, please include all files into one folder and compress it into .zip or .rar format.


