Inquire: Call 0086-755-23203480, or reach out via the form below/your sales contact to discuss our design, manufacturing, and assembly capabilities.
Quote: Email your PCB files to Sales@pcbsync.com (Preferred for large files) or submit online. We will contact you promptly. Please ensure your email is correct.
Notes: For PCB fabrication, we require PCB design file in Gerber RS-274X format (most preferred), *.PCB/DDB (Protel, inform your program version) format or *.BRD (Eagle) format. For PCB assembly, we require PCB design file in above mentioned format, drilling file and BOM. Click to download BOM template To avoid file missing, please include all files into one folder and compress it into .zip or .rar format.
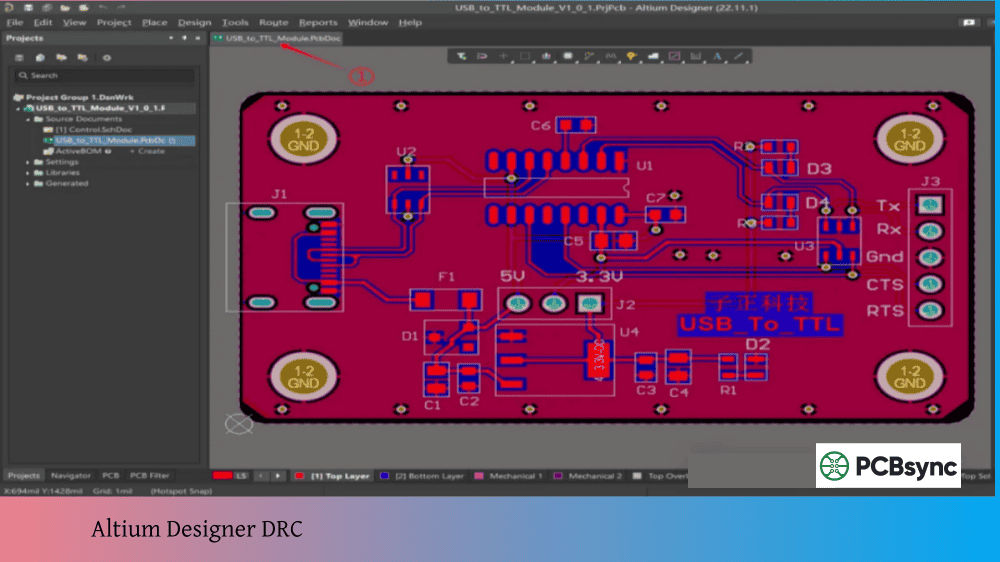
If you’ve ever lost hours of PCB routing work because someone overwrote your file on a shared drive, or spent an afternoon untangling which version of “PowerSupply_v3_final_FINAL2.PcbDoc” is actually the latest, you already understand why version control matters. Altium Designer Git integration brings the same powerful revision tracking that software developers have relied on for years directly into your PCB design workflow.
I resisted version control for years. The learning curve seemed steep, and my “just copy the folder and rename it” system worked fine—until it didn’t. After losing a week’s worth of changes to a file sync conflict, I finally set up Git with Altium. That was five years ago, and I haven’t looked back since. This guide walks you through everything from initial setup to daily workflow, including the gotchas that documentation doesn’t always mention.
Before diving into setup, let’s address why Git specifically makes sense for hardware engineers, even though it was designed for software.
Benefits of Altium Designer Git Integration
Benefit
Description
Complete history
Every change you commit is preserved forever—roll back to any previous version
Parallel development
Multiple engineers can work on the same project without overwriting each other
Branching
Experiment with layout changes without affecting the stable design
Backup
Remote repositories provide automatic off-site backup
Audit trail
Know exactly who changed what and when, with commit messages explaining why
Integration
Works with existing company Git infrastructure (GitHub, GitLab, Bitbucket)
Git vs SVN for Altium Projects
Altium Designer supports both Git and SVN (Subversion). Here’s how they compare:
Feature
Git
SVN
Repository model
Distributed (full history on each machine)
Centralized (history only on server)
Offline work
Full functionality offline
Limited offline capability
Branching
Fast and lightweight
Slower, more storage-intensive
Binary file handling
Requires attention (Git LFS recommended for large files)
Handles binary files well natively
Learning curve
Steeper
Gentler
Industry momentum
Growing rapidly in hardware
Established in some companies
The main argument against Git for PCB design is repository size. Altium files are binary, so Git can’t efficiently store just the differences between versions—it stores complete copies. A schematic committed 100 times creates roughly 100 copies in the repository. However, typical Altium schematics run about 300KB, so even 100 commits only adds up to 30MB. For most projects, this is perfectly manageable.
Prerequisites for Altium Designer Git Integration
Before configuring Altium, you need a few things in place.
Required Software and Accounts
Git installation: Download and install Git for Windows from https://git-scm.com/download/win. During installation, accept the default options unless you have specific preferences.
Git hosting account: You need a remote repository host. Popular options include:
Altium Designer version: Git integration has been available since Altium Designer 18. Earlier versions only support SVN. The examples in this guide use Altium Designer 23+, though the concepts apply to version 18 and later.
Verifying the Git Extension in Altium Designer
Altium’s Git support comes from a software extension that’s installed by default but should be verified:
Open Altium Designer
Navigate to Extensions and Updates (from the user menu or DXP menu)
Look for “VCS Provider – Git” in the installed extensions list
If it’s not installed, find it in the available extensions and install it
Without this extension, Altium won’t recognize Git repositories or show version control status icons.
Setting Up Your First Git Repository for Altium
Altium Designer doesn’t create Git repositories directly—you use external tools for that. This actually gives you more flexibility and follows standard Git practices.
Creating a Remote Repository
Start by creating a repository on your Git hosting platform:
For GitHub:
Log in to GitHub
Click the “+” icon and select “New repository”
Name your repository (e.g., “PowerSupply_Rev2”)
Select “Private” for proprietary designs
Don’t initialize with README (we’ll push existing files)
Open Git Bash (installed with Git for Windows) or your preferred terminal, navigate to your Altium project folder, and run these commands:
bash
cd “C:/Users/YourName/Documents/Altium/PowerSupply_Rev2″git initgit add *.*git remote add origin https://github.com/username/PowerSupply_Rev2.git
The git init command creates a hidden .git folder that stores all version control data. The git add *.* stages files (but not empty folders) for the first commit. The git remote add command links your local repository to the remote server.
Creating the .gitignore File
This step is critical. Altium generates numerous temporary and cache files that shouldn’t be version controlled. A proper .gitignore file prevents these from cluttering your repository.
Create a file named .gitignore (no extension) in your project root with the following content:
# Altium Designer Cache and Temporary Files__Previews/*/__Previews/History/*/History/Project Logs*/Project Outputs*/# Preview files*.SchDocPreview*.PcbDocPreview# Backup files*.~*# Database lock files*.ldb# Auto-conversion notices*.PcbDoc.htm# Local settings (optional – some prefer to track these)*.PrjPcbStructure
Add this file to your repository:
bash
git add .gitignore
Making Your First Commit and Push
With files staged and .gitignore configured, commit and push to the remote:
bash
git commit -m “Initial commit: Power Supply Rev 2 design files”git branch -M maingit push -u origin main
For GitHub and GitLab, you’ll need to authenticate. GitHub requires a Personal Access Token instead of your password—generate one at https://github.com/settings/tokens with “repo” permissions.
Working with Git in Altium Designer
Once your repository is set up, Altium Designer automatically detects it and provides version control features directly in the interface.
Understanding Version Control Status Icons
When you open a project from a Git repository, Altium displays status icons next to each file:
Icon
Status
Meaning
Green checkmark
Up to date
File matches the last committed version
Red checkmark
Modified
File has unsaved changes
Blue plus
Scheduled for addition
New file not yet committed
Yellow exclamation
Conflict
Your changes conflict with remote changes
Blue arrow up
Ahead of server
Committed locally but not pushed
Blue arrow down
Behind server
Remote has newer version
These icons appear in both the Projects panel and the Storage Manager panel.
Committing Changes from Altium Designer
After modifying and saving design files:
Right-click the file (or project) in the Projects panel
Select Version Control → Commit
Enter a meaningful commit message describing your changes
Click OK
Writing good commit messages: Be specific. “Fixed routing” tells you nothing six months later. “Rerouted USB differential pairs to meet 90Ω impedance requirement” tells you exactly what changed and why.
To commit all modified files at once, right-click the project name and select Version Control → Commit Whole Project.
Pushing and Pulling with Remote Repositories
Commits are local until you push them to the remote server:
Right-click any file or the project
Select Version Control → Push
Enter credentials if prompted (first time only)
To get changes from the remote repository (made by teammates or from another computer):
Right-click the project
Select Version Control → Pull (or Update/Fetch depending on Altium version)
Pro tip: Always pull before starting work each day. This ensures you have the latest changes and reduces merge conflicts.
Using the Storage Manager Panel
The Storage Manager panel provides a comprehensive view of version control status:
Open via View → Panels → Storage Manager
The panel shows all files, their status, and available actions
You can commit, push, pull, and view history from this panel
Right-click files for additional options like comparing versions
Handling Merge Conflicts in Altium Projects
Merge conflicts are inevitable when multiple engineers work on the same project. Unfortunately, because Altium files are binary, Git can’t automatically merge changes like it does with text files.
Why Binary Files Cause Conflicts
When two people modify the same schematic file, Git sees two different binary blobs. It has no way to intelligently combine them—even if one person changed page 1 and another changed page 5, Git treats the entire file as conflicted.
Resolving Conflicts with Storage Manager
When Altium detects a conflict, you’ll see the yellow exclamation icon:
First, commit your local changes (important—don’t skip this)
Open Storage Manager
Right-click the conflicted file
Select Compare to see differences (if supported for that file type)
Choose to keep your version or accept the remote version
If needed, manually integrate changes by opening both versions
Using the Collaborate, Compare and Merge Tool
For PCB layouts, Altium provides a specialized comparison tool:
Go to Project → Show Differences
Select the two versions to compare
The tool highlights added, removed, and modified objects
You can selectively accept changes from either version
This tool is extremely helpful but has limitations—not all object types are fully supported for merging.
Best Practices to Minimize Conflicts
Practice
Description
Communicate
Tell teammates which files you’re actively editing
Assign different schematic pages or board regions to different engineers
Use branches
Experimental work belongs in branches, not the main design
Git Branching for PCB Design Projects
Branching is one of Git’s most powerful features, though Altium Designer doesn’t expose branch operations in its interface—you’ll need external Git tools.
When to Use Branches
Testing alternative component placements
Experimenting with different layer stackups
Creating a design variant
Working on features that might not ship
Isolating changes before review
Creating and Switching Branches
Using Git Bash or another Git client:
bash
# Create a new branch and switch to itgit checkout -b experimental-routing# Switch back to main branchgit checkout main# Merge experimental branch into main (when ready)git merge experimental-routing
Important: Close your Altium project before switching branches. Altium caches file contents, and branch switching while files are open can cause confusion or data loss.
External Git Tools for Branch Management
Since Altium doesn’t provide branching UI, consider these external tools:
This stores large files more efficiently and speeds up cloning.
Integrating with Altium 365
If you’re using Altium 365, the platform includes built-in Git integration with additional features:
Web-based project viewing
Comment and review workflows
Automated backups
No external repository setup required
The Altium 365 approach simplifies setup but locks you into their ecosystem. Standalone Altium Designer Git integration with GitHub/GitLab offers more flexibility.
Authentication Best Practices
For GitHub: Use Personal Access Tokens (PAT), not passwords. GitHub deprecated password authentication for Git operations. Generate tokens at https://github.com/settings/tokens.
For GitLab: Personal Access Tokens or SSH keys both work. Create tokens at your GitLab instance under User Settings → Access Tokens.
Frequently Asked Questions About Altium Designer Git Integration
Can I use Git with older versions of Altium Designer?
Git integration was introduced in Altium Designer 18. Earlier versions (17.x and below) only support SVN for version control. If you’re on an older version, you can still use Git externally—just manage commits through Git Bash or a GUI tool instead of through Altium’s interface. You won’t see status icons in the Projects panel, but the version control functionality works fine.
Do I need to install Git separately, or is it included with Altium?
You need to install Git separately. Altium Designer includes the VCS Provider – Git extension that enables Git integration, but this extension relies on Git being installed on your system. Download Git for Windows from https://git-scm.com/download/win and install it before configuring Altium for Git version control.
How do I handle conflicts when two engineers edit the same schematic?
Unlike text files, Altium schematics can’t be automatically merged. When conflicts occur, you must choose one version or manually integrate changes. The best approach: before starting, one engineer commits and pushes their local changes. The other engineer pulls and reviews those changes in Altium’s Compare tool, then manually adds their modifications to the updated file. Communication is essential—let teammates know which files you’re actively editing.
Should I track Project Outputs in Git?
Generally, no. Project Outputs (Gerbers, drill files, BOMs) can be regenerated from source files and don’t need version control. Tracking them bloats your repository significantly. The .gitignore template in this guide excludes the “Project Outputs” folder. However, if you need to version-control specific manufacturing releases, consider creating a separate “releases” folder outside Project Outputs and explicitly tracking those files.
Can I use branches in Altium Designer without command line tools?
Altium Designer’s interface doesn’t include branching controls—you need external Git tools for branch operations. TortoiseGit integrates with Windows Explorer for right-click access to branching, or use a GUI like Sourcetree or GitKraken. Remember to close your Altium project before switching branches to avoid file caching issues. Some engineers prefer keeping branches simple and using them mainly for experimental changes rather than complex multi-branch workflows.
Final Thoughts on Version Control for PCB Design
Setting up Altium Designer Git integration requires some initial effort, but the investment pays dividends quickly. The first time you recover a design from a corrupted file, trace exactly when a bug was introduced, or seamlessly merge work from multiple engineers, you’ll wonder how you ever worked without it.
Start simple. Create a repository, commit regularly with meaningful messages, and push to a remote backup daily. As you get comfortable, explore branching for experimental work and establish team workflows. The command line can feel intimidating initially, but GUI tools like TortoiseGit make daily operations straightforward.
Version control isn’t just for software anymore. Modern hardware development demands the same rigor, traceability, and collaboration capabilities that software teams have enjoyed for decades. Git delivers all of that—and with Altium’s built-in support, integrating it into your PCB design workflow has never been easier.
Inquire: Call 0086-755-23203480, or reach out via the form below/your sales contact to discuss our design, manufacturing, and assembly capabilities.
Quote: Email your PCB files to Sales@pcbsync.com (Preferred for large files) or submit online. We will contact you promptly. Please ensure your email is correct.
Notes: For PCB fabrication, we require PCB design file in Gerber RS-274X format (most preferred), *.PCB/DDB (Protel, inform your program version) format or *.BRD (Eagle) format. For PCB assembly, we require PCB design file in above mentioned format, drilling file and BOM. Click to download BOM template To avoid file missing, please include all files into one folder and compress it into .zip or .rar format.


