Inquire: Call 0086-755-23203480, or reach out via the form below/your sales contact to discuss our design, manufacturing, and assembly capabilities.
Quote: Email your PCB files to Sales@pcbsync.com (Preferred for large files) or submit online. We will contact you promptly. Please ensure your email is correct.
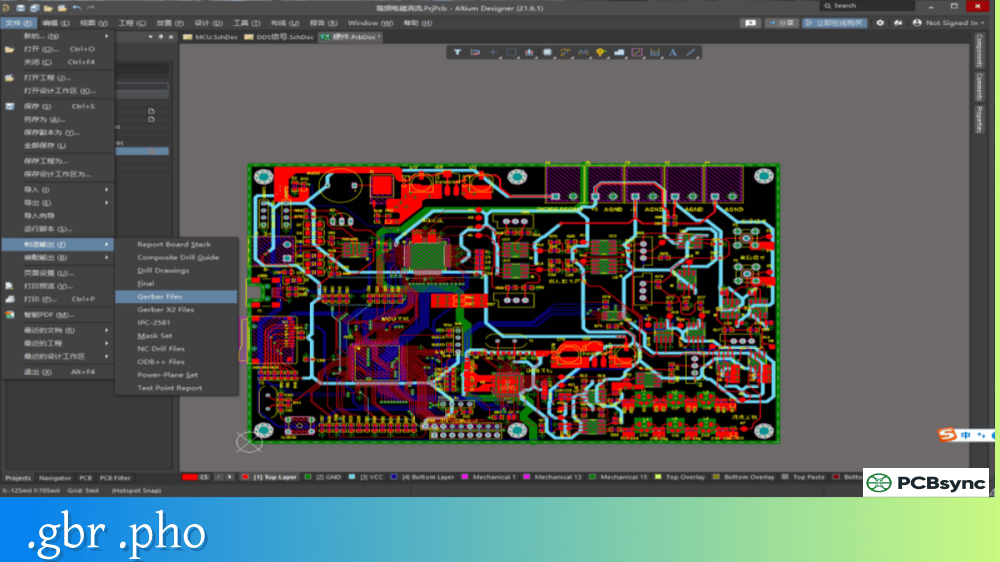
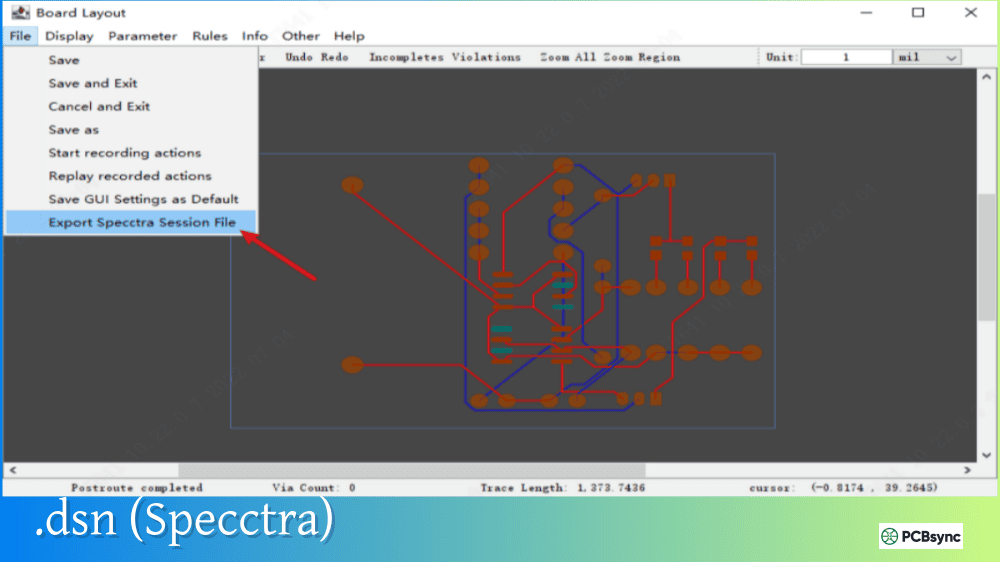
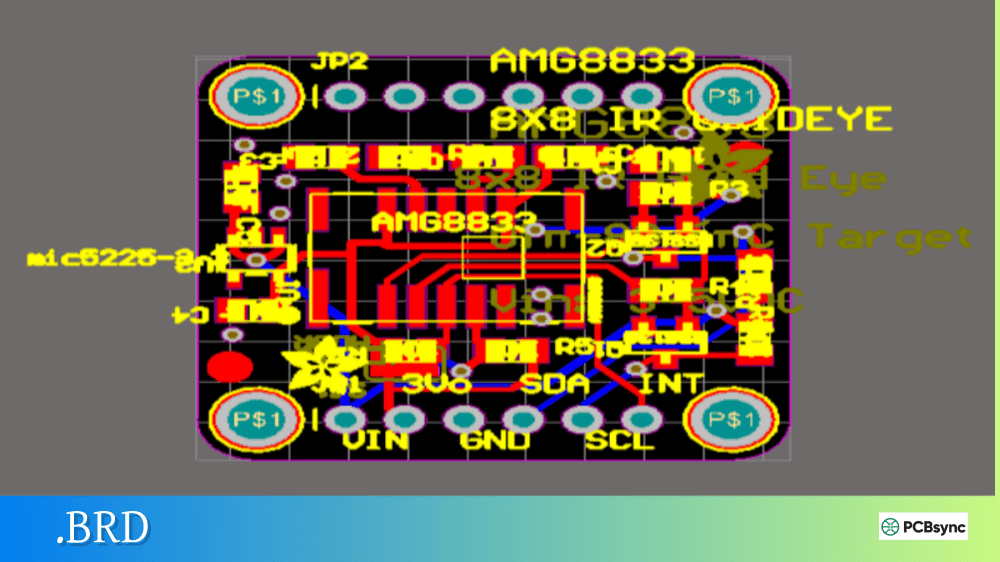
Notes: For PCB fabrication, we require PCB design file in Gerber RS-274X format (most preferred), *.PCB/DDB (Protel, inform your program version) format or *.BRD (Eagle) format. For PCB assembly, we require PCB design file in above mentioned format, drilling file and BOM. Click to download BOM template To avoid file missing, please include all files into one folder and compress it into .zip or .rar format.
What is a BOM File? Bill of Materials Format for PCB Assembly
If you’ve ever sent a PCB design to an assembly house, you know the drill: Gerbers, drill files, pick-and-place data, and that critical document that ties everything together—the BOM. A well-prepared BOM list can mean the difference between smooth production and weeks of back-and-forth emails clarifying component specifications.
This guide covers everything you need to know about creating effective bill of materials files for PCB assembly, from essential columns to file formats and best practices that keep production on schedule.
A BOM (Bill of Materials) file is a comprehensive document listing every component required to assemble a printed circuit board. Think of it as the recipe for your PCB—it tells the assembly house exactly what ingredients they need and where each one goes on the board.
Unlike Gerber files that describe the physical board layout, or centroid files that specify component placement coordinates, the BOM list focuses on component identity: what parts are needed, how many, and how to source them. Without an accurate BOM, even perfect Gerbers and pick-and-place data are useless because the assembler won’t know which components to order or install.
The BOM serves multiple critical functions throughout the manufacturing process. Procurement teams use it to source components and calculate costs. Production engineers verify that ordered parts match design requirements. Quality control references it when inspecting finished assemblies. For these reasons, accuracy and completeness aren’t optional—they’re essential.
Essential Columns in a PCB BOM List
Every assembly house has slightly different requirements, but certain information appears in virtually every BOM list format. Understanding these core fields helps you create BOMs that work with any manufacturer.
Required BOM Fields
Column
Description
Example
Item Number
Unique line identifier for each component type
1, 2, 3…
Reference Designator
Component location(s) on PCB
R1, R2, C5, U3
Quantity
Number of parts needed per board
4
Manufacturer
Component maker’s name
Murata, TI, Vishay
Manufacturer Part Number (MPN)
Exact part identifier
RC0402FR-0710KL
Description
Component value and type
10K Ohm 1% 0402 Resistor
Package/Footprint
Physical component size
0402, SOIC-8, QFN-48
Recommended Additional Fields
Column
Purpose
Distributor
Preferred supplier (Digi-Key, Mouser, etc.)
Distributor Part Number
Supplier’s ordering code
Alternative MPN
Backup part if primary is unavailable
Mount Type
SMT, Through-Hole, or Mixed
DNP/DNI Status
Do Not Populate indicators
Notes
Special handling instructions
The manufacturer part number is arguably the most critical field. Generic descriptions like “10K resistor” leave too much room for interpretation. The MPN removes all ambiguity—it specifies the exact component down to tolerance, power rating, and packaging.
BOM File Formats for PCB Assembly
PCB assembly houses accept BOMs in several formats, though some work better than others for automated processing.
Accepted BOM File Formats
Format
Extension
Best For
Excel Spreadsheet
.xls, .xlsx
Most common, easy to edit
CSV (Comma-Separated Values)
.csv
Universal compatibility
Tab-Delimited Text
.txt
Simple machine parsing
XML
.xml
Automated systems integration
Excel spreadsheets (.xls or .xlsx) remain the industry standard for BOM list submission. They’re easy to create, edit, and review. Most importantly, assembly houses have tools that directly import Excel BOMs into their procurement and production systems.
CSV files offer excellent compatibility across different software platforms. If your CAD tool exports BOMs in CSV format, most assemblers can work with them directly. Just ensure columns are clearly labeled and consistently formatted.
A few important formatting rules apply regardless of file type. Keep your BOM to a single sheet—don’t split data across multiple tabs. Avoid merged cells, colored backgrounds, or embedded images that can confuse automated parsing. Use the first row for column headers that clearly identify each data field.
How to Create an Effective BOM List
Creating a production-ready BOM list involves more than exporting data from your CAD software. Follow these practices to minimize assembly issues.
Start with Your CAD Export
Most PCB design software includes BOM generation tools. Altium Designer, KiCad, Eagle, and OrCAD all export component data directly from schematic or layout files. This ensures your BOM matches your actual design—no transcription errors from manual entry.
However, CAD-generated BOMs often need refinement. The export might include test points, mounting holes, or fiducials that don’t require procurement. Component values might appear in inconsistent formats. Manufacturer part numbers might be missing for generic parts like resistors and capacitors.
Consolidate Identical Components
When creating your BOM list, group identical components onto single lines. If your design uses the same 10K resistor in twelve locations, list it once with quantity 12, not twelve separate lines. This consolidation offers two benefits.
First, it reduces assembly costs. Many manufacturers price partially by BOM line count—fewer unique lines mean lower setup costs. Second, consolidated quantities enable better pricing. Ordering 100 of one resistor costs less per unit than ordering 10 of the same resistor spread across ten BOM lines.
Your reference designators should still list all locations: “R1, R5, R12, R23, R45…” This tells the assembler exactly where each instance of that component belongs.
Verify Part Availability
Before finalizing your BOM list, check that every component is actually in stock. Nothing delays production like discovering a critical IC has 52-week lead time after you’ve already ordered boards.
Use distributor websites to verify availability for each MPN. Better yet, use BOM checking tools offered by distributors like Digi-Key, Mouser, or Octopart that can scan your entire BOM and flag availability issues instantly.
For components with limited stock or long lead times, add alternative part numbers to your BOM. Include these in a separate column clearly labeled as alternates, with notes about any differences from the primary part.
Common BOM List Mistakes to Avoid
Years of working with assembly houses have taught me which BOM errors cause the most problems. Here’s what to watch for:
Mistake
Consequence
Solution
Missing MPNs
Assembler can’t source correct parts
Include complete manufacturer part numbers
Outdated part numbers
Quoted parts no longer available
Verify MPNs against current distributor listings
Mismatched quantities
Wrong number of components ordered
Double-check quantities against schematic
Inconsistent designators
BOM doesn’t match silkscreen/placement
Generate BOM from same design revision as Gerbers
Generic descriptions only
Wrong component tolerances or ratings
Add specific MPNs, not just values
PDF format
Can’t be imported to procurement systems
Use Excel or CSV instead
The most common issue I see? Reference designators in the BOM that don’t match the pick-and-place file or silkscreen. This happens when engineers update one file but forget the others. Always generate all production files from the same design revision simultaneously.
BOM Management Best Practices
As products move from prototype to production, BOM list management becomes increasingly important.
Version Control
Maintain revision history for every BOM change. When you substitute a component or update a quantity, document what changed and why. This history proves invaluable when troubleshooting production issues or reverting problematic changes.
Many companies include revision information directly in the BOM file: revision number, date, author, and change description. Others maintain separate change logs. Either approach works—consistency matters more than method.
Single Source of Truth
Avoid maintaining multiple BOM copies across different systems. When the schematic BOM, procurement BOM, and production BOM diverge, errors follow. Establish one authoritative BOM list that feeds all downstream processes.
Modern PLM (Product Lifecycle Management) systems help maintain this single source. For smaller operations, a well-organized shared drive with clear naming conventions can work if everyone follows the same procedures.
Pre-Submission Checklist
Before sending your BOM to an assembler, verify these items:
All MPNs are complete and current
Reference designators match other production files
Quantities are correct for your order size
DNP components are clearly marked
File format is .xls, .xlsx, or .csv (not PDF)
Single sheet, no merged cells or special formatting
Excel spreadsheet format (.xls or .xlsx) is the most widely accepted format for PCB assembly BOMs. CSV files also work well and offer universal compatibility. Avoid PDF format—while easy to read, PDFs cannot be imported into procurement systems and require manual data entry, increasing error risk and processing time.
What is the minimum information required in a BOM?
At minimum, a usable BOM list must include reference designators, quantities, and manufacturer part numbers (MPNs). Reference designators identify component locations on the board, quantities specify how many of each part, and MPNs tell the assembler exactly which components to source. Additional fields like description and package type are strongly recommended for verification purposes.
How do I handle components I don’t want assembled?
Mark components you don’t want populated with “DNP” (Do Not Populate) or “DNI” (Do Not Install) in a dedicated column or the notes field. Some engineers prefer to remove these entirely from the assembly BOM while keeping them in the design BOM. Either approach works—just be explicit and consistent.
Should I include distributor part numbers?
Including distributor part numbers (from Digi-Key, Mouser, Farnell, etc.) helps accelerate procurement and can reduce pricing errors. While manufacturer part numbers are the primary identifier, distributor numbers let the assembly house order directly without additional lookup. Including multiple distributor options gives flexibility when stock varies between suppliers.
How often should I update my BOM?
Update your BOM list whenever you modify the design, substitute components, or discover sourcing issues. Always regenerate the BOM from your CAD tool after schematic changes to ensure accuracy. For production BOMs, review availability quarterly—component lifecycles mean today’s available part might be obsolete next year.
Conclusion
A well-crafted BOM list is as essential to successful PCB assembly as accurate Gerber files. It bridges the gap between your design intent and the physical components that bring your board to life. By including complete manufacturer part numbers, maintaining consistent formatting, and verifying component availability before submission, you set the stage for smooth production runs.
Take time to establish BOM processes that work for your team. Use templates that include all required fields. Implement version control to track changes. And always generate production files—including your BOM—from the same design revision to ensure everything matches.
The effort you invest in BOM quality pays dividends throughout manufacturing: faster quotes, fewer procurement delays, and assembled boards that work exactly as designed.
Inquire: Call 0086-755-23203480, or reach out via the form below/your sales contact to discuss our design, manufacturing, and assembly capabilities.
Quote: Email your PCB files to Sales@pcbsync.com (Preferred for large files) or submit online. We will contact you promptly. Please ensure your email is correct.
Notes: For PCB fabrication, we require PCB design file in Gerber RS-274X format (most preferred), *.PCB/DDB (Protel, inform your program version) format or *.BRD (Eagle) format. For PCB assembly, we require PCB design file in above mentioned format, drilling file and BOM. Click to download BOM template To avoid file missing, please include all files into one folder and compress it into .zip or .rar format.


