Inquire: Call 0086-755-23203480, or reach out via the form below/your sales contact to discuss our design, manufacturing, and assembly capabilities.
Quote: Email your PCB files to Sales@pcbsync.com (Preferred for large files) or submit online. We will contact you promptly. Please ensure your email is correct.
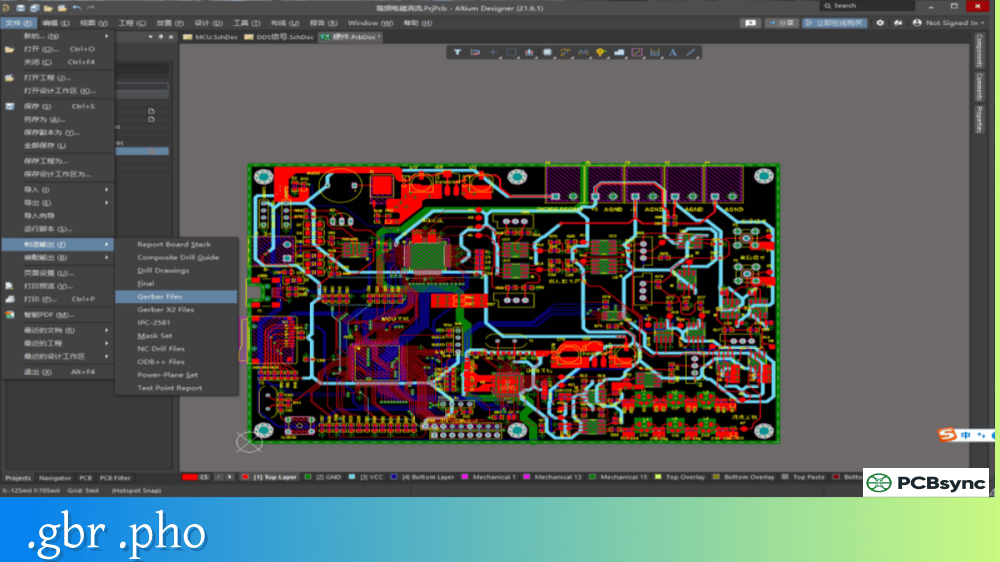
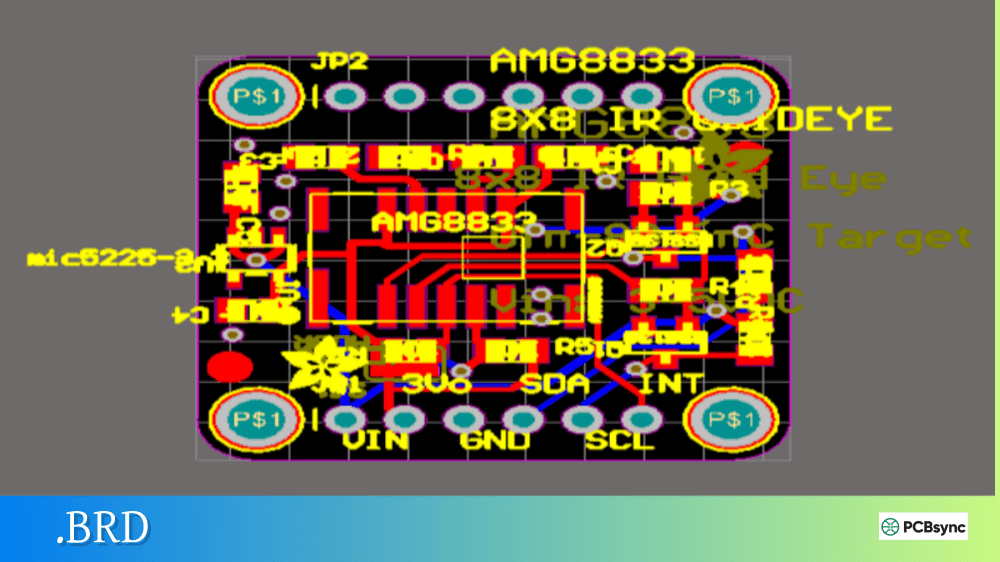
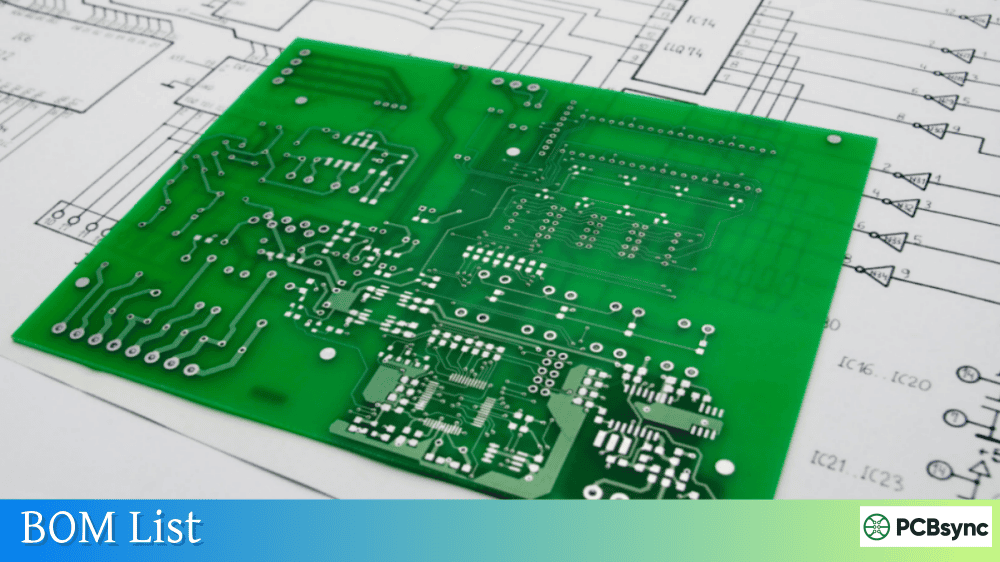
Notes: For PCB fabrication, we require PCB design file in Gerber RS-274X format (most preferred), *.PCB/DDB (Protel, inform your program version) format or *.BRD (Eagle) format. For PCB assembly, we require PCB design file in above mentioned format, drilling file and BOM. Click to download BOM template To avoid file missing, please include all files into one folder and compress it into .zip or .rar format.
Every PCB designer eventually learns a frustrating lesson: a perfectly designed board can still fail in manufacturing if the assembly documentation is incomplete or unclear. I’ve seen projects delayed by weeks because an assembly drawing lacked critical polarity markings or height restrictions. After years of creating documentation that actually works on the factory floor, I’ve learned that a good assembly drawing is worth its weight in gold.
This guide walks you through everything you need to know about assembly drawings and the complete PCB assembly documentation package that contract manufacturers require to build your boards correctly.
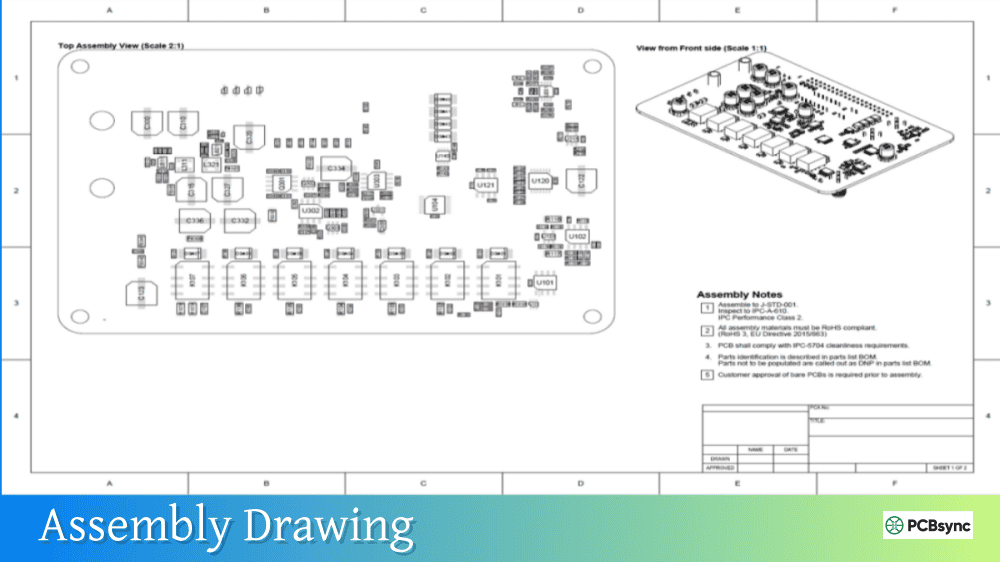
An assembly drawing is a technical document that provides visual and written instructions for how electronic components should be mounted onto a printed circuit board. Unlike fabrication drawings that tell manufacturers how to build the bare board, an assembly drawing tells them how to populate that board with components.
At its core, an assembly drawing serves as the bridge between your design intent and the physical reality of manufacturing. It shows component outlines, reference designators, polarity indicators, and any special assembly instructions that can’t be captured in data files alone. While automated assembly relies heavily on pick-and-place files and BOMs, the assembly drawing provides the human-readable context that operators and inspectors need to verify everything is correct.
Think of it this way: your pick-and-place file tells a machine where to put a component, but the assembly drawing tells a technician whether that component is oriented correctly and meets your design requirements.
Why Assembly Drawings are Critical for Manufacturing
The importance of assembly drawings becomes clear when you consider what can go wrong without them. According to industry data, a significant portion of PCB assembly defects trace back to documentation issues—missing information, ambiguous instructions, or conflicting data between files.
Key Functions of an Assembly Drawing
Visual Verification: Operators and AOI (Automated Optical Inspection) systems use assembly drawings to confirm component placement matches design intent. When the silkscreen is too crowded to show all reference designators, the drawing provides clarity.
Polarity Confirmation: Components like electrolytic capacitors, diodes, and ICs have specific orientations. The assembly drawing clearly indicates pin 1 locations and polarity markings that might be unclear on the physical board.
First Article Inspection (FAI): During FAI, technicians compare the assembled prototype against your documentation. A complete assembly drawing makes this verification straightforward and reliable.
Quality Control Reference: Inspectors refer to assembly drawings throughout production to identify defects, verify component types, and ensure workmanship meets specifications.
Field Service Support: When boards need repair or component replacement in the field, service technicians rely on assembly drawings to identify parts and their correct orientation.
Essential Elements of an Assembly Drawing
A professional assembly drawing contains several required elements. Missing any of these can lead to manufacturing delays or assembly errors.
Component Placement Information
Element
Description
Purpose
Component Outlines
Shapes showing component boundaries
Indicates physical footprint and orientation
Reference Designators
Alphanumeric identifiers (R1, C5, U3)
Links components to BOM and schematic
Pin 1 Indicators
Dots, chamfers, or marks for IC orientation
Ensures correct IC placement
Polarity Markings
+/- symbols, cathode bars, etc.
Prevents reversed polarized components
Mounting Side
Top/Bottom layer identification
Clarifies which side each component mounts
Drawing Format Elements
Every assembly drawing should include proper documentation formatting:
Element
Typical Content
Title Block
Drawing number, revision, date, approvals
Board Outline
Complete outline with cutouts and slots
Scale Indicator
Drawing scale (1:1 recommended when possible)
Revision History
Track changes between versions
Corporate Information
Company name, contact, address
Assembly Notes Section
The notes section of an assembly drawing contains critical instructions. Here are the most common assembly notes you should include:
Workmanship Standards: Reference the applicable IPC standards for your product class.
Example: “Assembly shall conform to IPC-A-610 Class 2 requirements.”
Example: “Solder per J-STD-001 Class 3 specifications.”
Material Specifications: Define solder and flux requirements.
Example: “Lead-free assembly required. Use SAC305 solder alloy.”
Example: “No-clean flux permitted; cleaning not required.”
Special Handling: Note any ESD or moisture sensitivity requirements.
Example: “This assembly contains ESD-sensitive devices. Handle per ANSI/ESD S20.20.”
Height Restrictions: Specify maximum component heights if the board has mechanical constraints.
Example: “Maximum component height on top side: 8.0mm.”
IPC Standards Referenced in Assembly Drawings
Understanding IPC standards is essential for creating professional assembly documentation. These standards are universally recognized and define acceptance criteria for electronic assemblies.
Common IPC Standards for Assembly Drawings
Standard
Title
Application
IPC-A-610
Acceptability of Electronic Assemblies
Visual inspection criteria, product class definitions
J-STD-001
Requirements for Soldered Electrical and Electronic Assemblies
Marking, Symbols and Labels for Electronic Assemblies
Lead-free and environmental marking
IPC Product Classes Explained
Your assembly drawing should specify which IPC class applies to your product:
Class
Product Type
Typical Applications
Class 1
General Electronic Products
Consumer electronics, toys, non-critical devices
Class 2
Dedicated Service Products
Industrial equipment, communications, computers
Class 3
High-Performance Products
Aerospace, medical, military, life-support
Class 3 has the strictest requirements, while Class 1 allows more tolerance in workmanship criteria.
Complete PCB Assembly Documentation Package
An assembly drawing is just one component of a complete documentation package. Contract manufacturers typically require several files to begin assembly.
Your BOM must include complete information for component sourcing:
BOM Column
Description
Example
Reference Designator
Component location on board
R1, R2, R3
Quantity
Number of that component
3
Description
Part description
10K Ohm, 0402, 1%
Manufacturer
Component maker
Yageo
Manufacturer Part Number
Specific MPN
RC0402FR-0710KL
Footprint/Package
Physical size
0402
Value
Component value
10K
DNI
Do Not Install flag
Yes/No
Pick-and-Place File Specifications
The centroid file (pick-and-place file) tells SMT machines exactly where to place each component:
Data Field
Description
Reference Designator
Matches BOM reference
X Position
Horizontal coordinate from origin
Y Position
Vertical coordinate from origin
Rotation
Angle in degrees (0-360)
Layer
Top or Bottom
Package
Component footprint name
Value
Component value
The coordinate origin and units must be consistent across your assembly drawing, pick-and-place file, and Gerber files. Any mismatch causes placement errors.
Creating Assembly Drawings in PCB Design Software
Most modern PCB design tools include capabilities for generating assembly drawings. Here’s an overview of the major platforms.
Altium Designer Draftsman
Altium’s Draftsman is a dedicated documentation tool integrated into the design environment. It automatically pulls data from your PCB layout to create:
Component placement views (top and bottom)
Reference designator callouts
BOM tables
Detail views for dense areas
3D board renderings
KiCad Documentation
KiCad generates assembly documentation through its plot and export functions:
Export assembly layer as PDF
Generate component placement files
Create BOM using plugins (like InteractiveHtmlBom)
Use Pcbnew’s fabrication output options
Cadence OrCAD/Allegro
OrCAD and Allegro offer manufacturing documentation features:
After creating hundreds of assembly drawings, I’ve developed a checklist of practices that prevent manufacturing issues.
Design for Clarity
Readable Reference Designators: Ensure all designators are legible at the drawing scale. If the board is dense, use leader lines to call out components in congested areas.
Consistent Orientation: Orient all similar components in the same direction when possible. This reduces placement errors and speeds up visual inspection.
Detail Views: Pull out enlarged views of fine-pitch components, BGAs, or densely packed areas. These detail views should be clearly labeled with scale.
Layer Separation: Provide separate views for top-side and bottom-side assembly. Never combine both sides in a way that creates confusion.
Documentation Maintenance
Revision Control: Update your assembly drawing with every design change. Include a revision history table showing what changed and when.
File Naming: Use clear, consistent file names that include the assembly number, revision, and date.
Cross-Reference Verification: Before release, verify that reference designators match between the assembly drawing, BOM, pick-and-place file, and schematic.
Sierra Circuits Knowledge Base: protoexpress.com/kb – Extensive assembly documentation guides
Altium Resources: resources.altium.com – PCB design and documentation tutorials
IPC Standards Store: shop.ipc.org – Official IPC standard documents
JLCPCB Help Center: jlcpcb.com/help – Assembly file requirements and formats
Frequently Asked Questions About Assembly Drawings
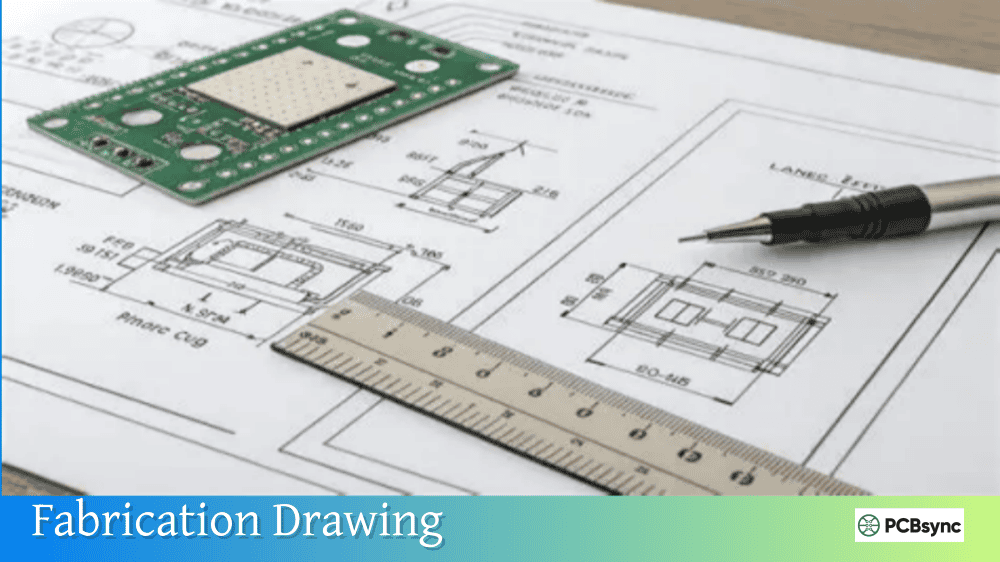
What’s the difference between an assembly drawing and a fabrication drawing?
A fabrication drawing tells the PCB manufacturer how to build the bare board—it includes layer stackup, drill charts, tolerances, and material specifications. An assembly drawing tells the contract manufacturer how to populate that bare board with components—it shows component locations, reference designators, polarity markings, and assembly instructions. You need both documents, and they serve different vendors in the manufacturing process.
Do I need an assembly drawing if I provide pick-and-place files?
Yes. While pick-and-place files give machines precise placement coordinates, they don’t provide the visual context that human operators and inspectors need. The assembly drawing shows component orientation, polarity indicators, and special mounting instructions that can’t be expressed in coordinate data. It’s also essential for first article inspection and quality verification.
Which IPC class should I specify in my assembly notes?
Choose the class that matches your product’s reliability requirements. Class 1 is for general consumer products where some cosmetic variation is acceptable. Class 2 covers most commercial and industrial equipment where continued performance is important. Class 3 is for high-reliability applications like medical devices, aerospace, or military systems where failure isn’t an option. When in doubt, consult with your contract manufacturer and end customer.
How do I handle components that are too small to label on the board?
When silkscreen space is limited—common with 0201 and 01005 components—your assembly drawing becomes the primary reference. Use the drawing to show reference designators with leader lines pointing to component locations. You can also create detail views that enlarge congested areas. Note in your assembly instructions that designators may not appear on the board and reference the assembly drawing for identification.
Should I include 3D views in my assembly documentation?
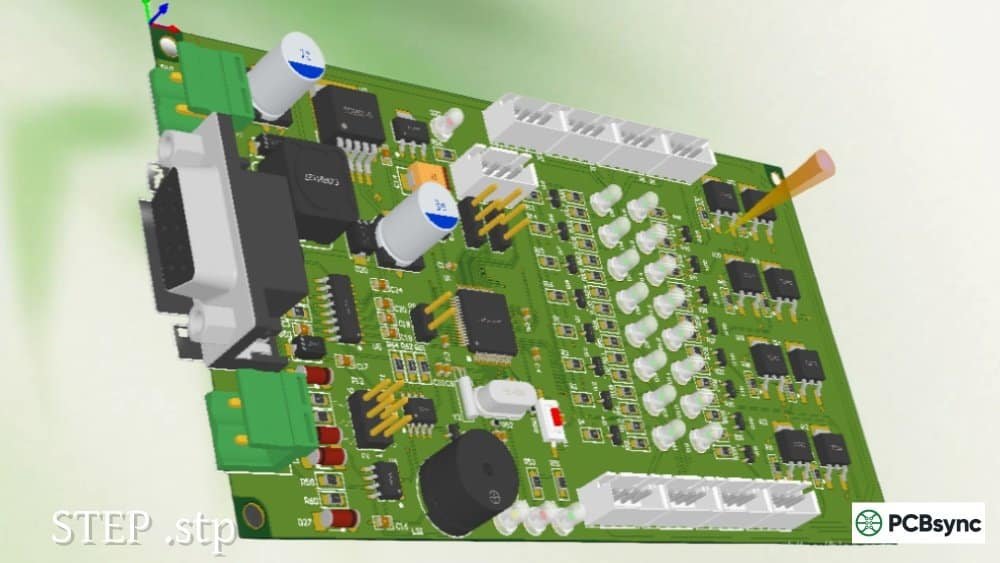
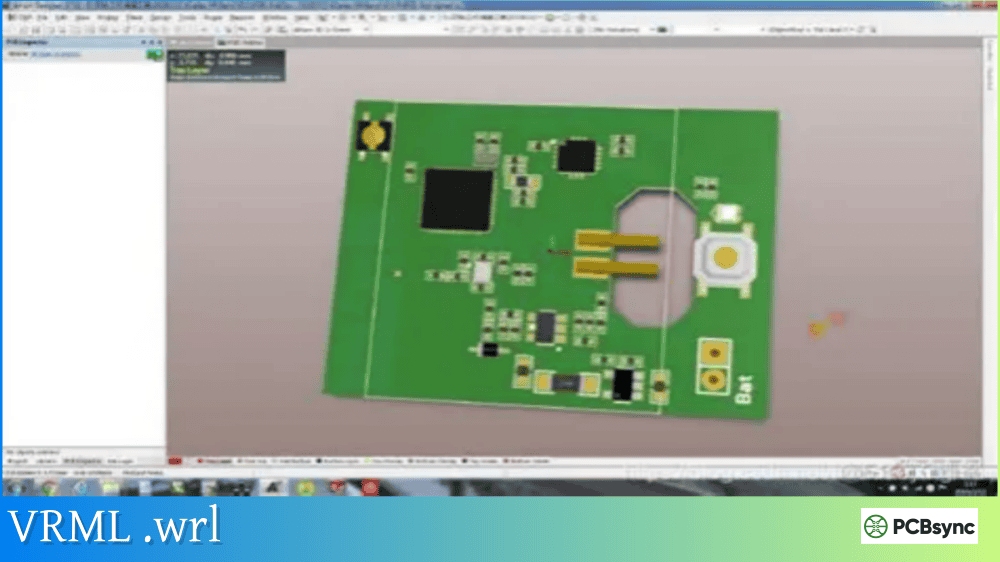
3D views are increasingly valuable, especially for verifying connector orientations, component heights, and mechanical fit. Many CAD tools can generate 3D PDFs or renderings that help manufacturers understand your design intent. While not strictly required, 3D documentation reduces the chance of orientation errors and helps inspectors quickly verify assembly accuracy.
Conclusion
A well-crafted assembly drawing transforms your design from a collection of data files into clear manufacturing instructions. It bridges the gap between what you designed and what gets built, ensuring that every component ends up in the right place, with the right orientation, meeting the right quality standards.
The time invested in creating comprehensive assembly documentation pays dividends throughout the product lifecycle—from initial prototype builds through production and into field service. Start with the essential elements covered in this guide, reference the appropriate IPC standards, and maintain your documentation with the same rigor you apply to your design files.
Your contract manufacturer will thank you, your quality team will thank you, and most importantly, your products will work as intended the first time.
Inquire: Call 0086-755-23203480, or reach out via the form below/your sales contact to discuss our design, manufacturing, and assembly capabilities.
Quote: Email your PCB files to Sales@pcbsync.com (Preferred for large files) or submit online. We will contact you promptly. Please ensure your email is correct.
Notes: For PCB fabrication, we require PCB design file in Gerber RS-274X format (most preferred), *.PCB/DDB (Protel, inform your program version) format or *.BRD (Eagle) format. For PCB assembly, we require PCB design file in above mentioned format, drilling file and BOM. Click to download BOM template To avoid file missing, please include all files into one folder and compress it into .zip or .rar format.


