Inquire: Call 0086-755-23203480, or reach out via the form below/your sales contact to discuss our design, manufacturing, and assembly capabilities.
Quote: Email your PCB files to Sales@pcbsync.com (Preferred for large files) or submit online. We will contact you promptly. Please ensure your email is correct.
Notes: For PCB fabrication, we require PCB design file in Gerber RS-274X format (most preferred), *.PCB/DDB (Protel, inform your program version) format or *.BRD (Eagle) format. For PCB assembly, we require PCB design file in above mentioned format, drilling file and BOM. Click to download BOM template To avoid file missing, please include all files into one folder and compress it into .zip or .rar format.
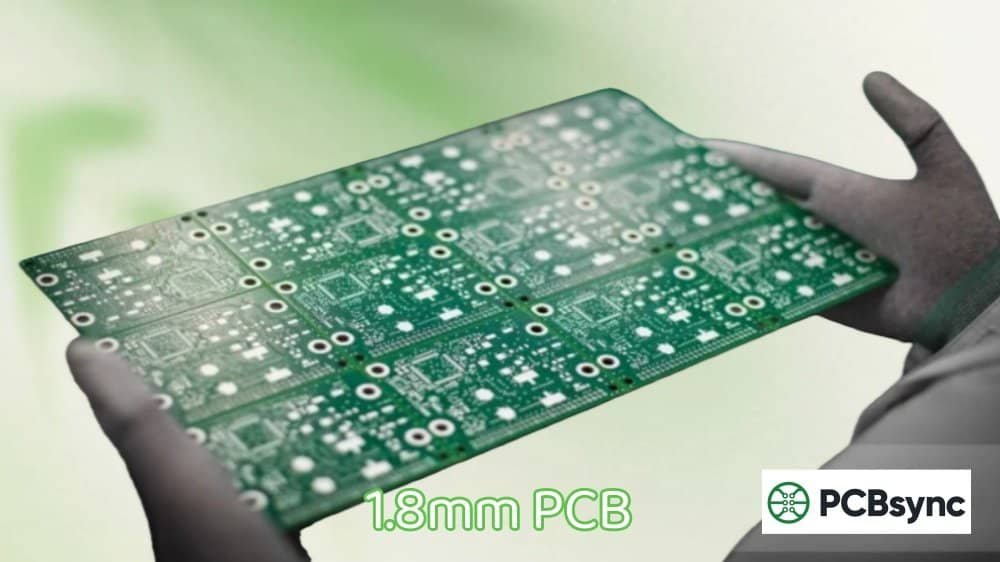
If you’ve been searching for information about 1.8mm PCB thickness, you’ve probably noticed something frustrating: almost nobody talks about it. That’s because 1.8mm falls in the gap between the standard 1.6mm and 2.0mm options that most fabricators offer. But that doesn’t mean 1.8mm boards don’t exist or aren’t useful.
In this guide, I’ll explain why 1.8mm PCB is considered a custom thickness, when it actually makes sense to specify it, and how to work with manufacturers to get boards built at this non-standard dimension. If you’re here because your design needs something between the usual options, you’re in the right place.
When you look at any PCB manufacturer’s specifications, you’ll see a list of standard thickness options. The 1.8mm dimension is conspicuously absent from nearly all of them.
Standard PCB Thicknesses
Status
Notes
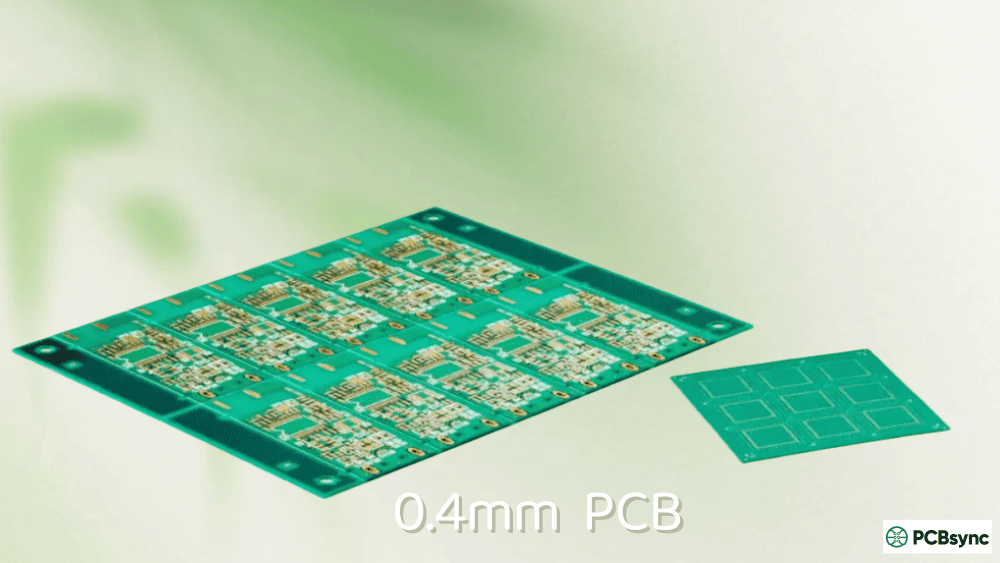
0.4mm
Standard
Ultra-thin applications
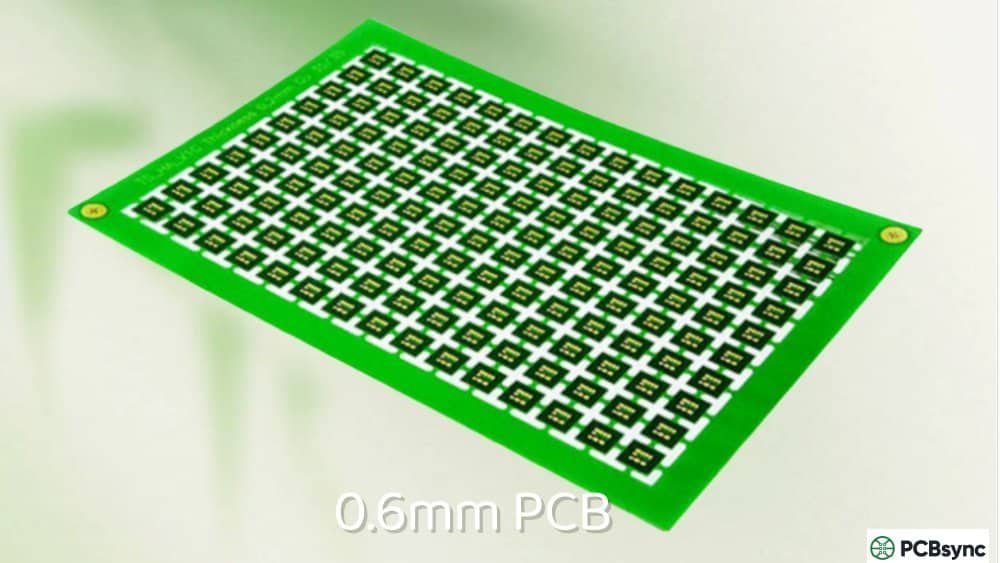
0.6mm
Standard
Compact devices
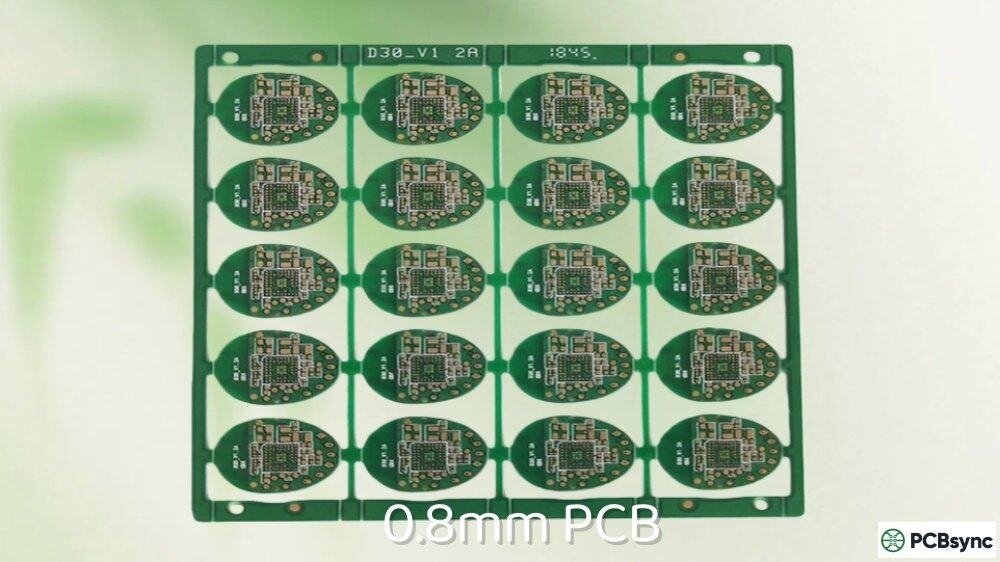
0.8mm
Standard
Mobile, communications
1.0mm
Standard
Consumer electronics
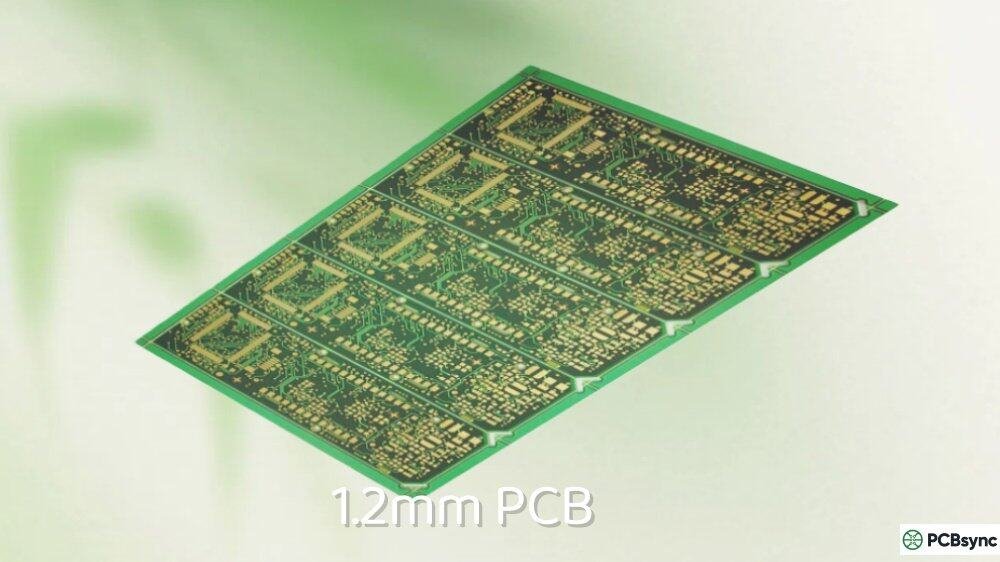
1.2mm
Standard
Portable devices
1.6mm
Industry Default
Most common thickness
1.8mm
Not Standard
Falls in the gap
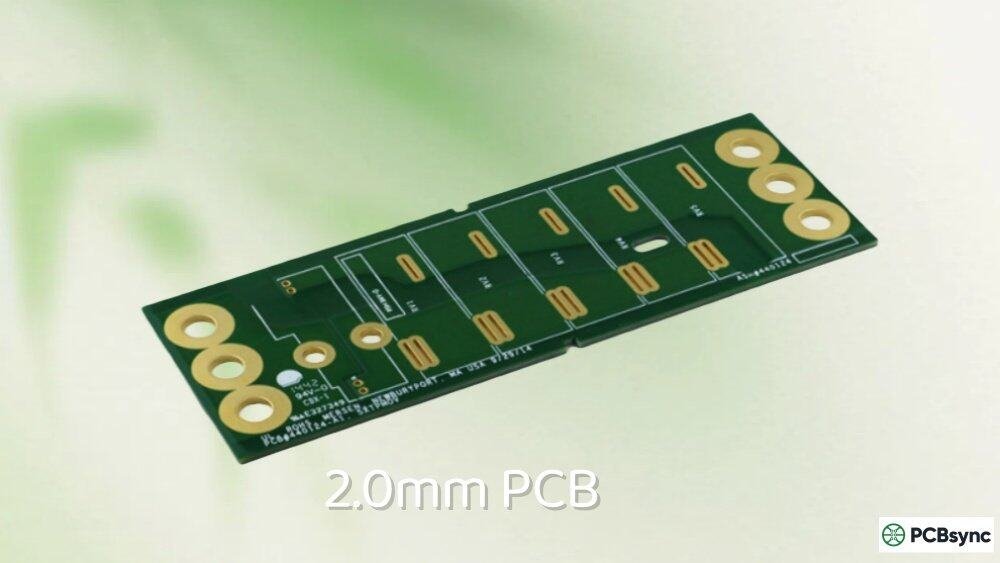
2.0mm
Standard
Heavy-duty applications
2.4mm
Standard
Industrial, high-power
The reason 1.8mm isn’t standard comes down to PCB manufacturing economics and material availability. PCB fabricators stock specific core and prepreg thicknesses that combine efficiently to produce standard board dimensions. The 1.6mm and 2.0mm options cover most design requirements, so there’s been little commercial pressure to standardize anything in between.
The 1.6mm to 2.0mm Gap Explained
Standard thicknesses evolved from historical conventions and material combinations that manufacturers optimized over decades. The jump from 1.6mm to 2.0mm represents a 25% increase, which is larger than gaps between other standard options.
Thickness Transition
Gap Size
Percentage Increase
0.8mm → 1.0mm
0.2mm
25%
1.0mm → 1.2mm
0.2mm
20%
1.2mm → 1.6mm
0.4mm
33%
1.6mm → 2.0mm
0.4mm
25%
That 0.4mm gap between 1.6mm and 2.0mm is where 1.8mm PCB requests typically originate. Engineers sometimes find themselves needing just a bit more thickness than 1.6mm provides, but 2.0mm would be excessive for their application.
When Does 1.8mm PCB Thickness Make Sense?
Specifying a non-standard thickness like 1.8mm adds complexity and cost to your project. Before going this route, make sure you have a legitimate reason. Here are scenarios where 1.8mm PCB genuinely makes sense.
Multilayer Stackup Requirements
The most common reason for choosing 1.8mm PCB is multilayer design constraints. When you need 6 or 8 layers with specific dielectric spacing for impedance control, the math sometimes lands on 1.8mm as the optimal total thickness.
For example, a 6-layer board with controlled impedance requirements might need:
Specific prepreg thickness between signal and reference layers
Adequate core thickness for mechanical stability
Symmetric stackup for warpage prevention
When you calculate the required dielectric thicknesses and add copper layers, the total might come to 1.75mm-1.85mm. Rather than compromising your impedance targets to hit exactly 1.6mm or padding unnecessarily to reach 2.0mm, specifying 1.8mm lets you optimize the electrical design.
Enclosure and Mechanical Fit Constraints
Sometimes mechanical requirements dictate PCB thickness. If your enclosure was designed around an 1.8mm board slot, or you’re replacing an existing board that happens to be 1.8mm, matching that dimension exactly becomes necessary.
Scenario
Why 1.8mm Specifically
Legacy replacement
Original design used 1.8mm
Pre-defined enclosure
Slot or standoff spacing requires 1.8mm
Connector clearance
1.6mm too thin, 2.0mm interferes
Stacked assembly
Multiple boards must total specific height
Enhanced Rigidity Without Full 2.0mm
For boards in the 150mm-250mm size range, 1.6mm might flex more than acceptable during handling or operation, but 2.0mm adds unnecessary weight and cost. The 1.8mm PCB offers a middle-ground solution: approximately 12% more rigidity than 1.6mm without the 25% material increase of going to 2.0mm.
Heavy Copper Applications
When your design requires 2oz or 3oz copper on multiple layers, the additional copper thickness pushes total board thickness upward. A design targeting 1.6mm with standard 1oz copper might end up at 1.75mm-1.85mm with heavy copper. In these cases, specifying 1.8mm as your target thickness acknowledges the reality of your stackup.
1.8mm PCB vs Standard Thickness Options
Understanding how 1.8mm compares to the standard alternatives helps you decide whether the custom thickness is worth the added complexity.
Parameter
1.6mm
1.8mm
2.0mm
Availability
Standard everywhere
Custom order
Standard most places
Lead Time
Fastest
+2-5 days typical
Standard
Cost Premium
Baseline
+10-20%
+5-10%
Rigidity (relative)
1.0x
1.12x
1.25x
Weight (relative)
1.0x
1.12x
1.25x
Max Practical Layers
8
8-10
10-12
Connector Compatibility
Universal
Verify specs
May not fit some
Thermal Mass
Good
Better
Best
When to Choose 1.6mm Instead
If your reasons for considering 1.8mm PCB are general rather than specific, 1.6mm is almost always the better choice. The cost savings, faster delivery, and universal availability outweigh marginal benefits. Choose 1.6mm when:
Impedance requirements can be met with standard stackups
Mechanical constraints have flexibility
You’re optimizing for cost or schedule
Connector compatibility is uncertain
When to Choose 2.0mm Instead
If you need more than 1.6mm and don’t have a specific reason for 1.8mm, jumping to 2.0mm often makes more sense. The 2.0mm option is standard at most fabricators, so you avoid custom pricing while getting meaningful additional thickness. Choose 2.0mm when:
Maximum rigidity is the priority
Heavy copper or high layer counts are involved
Thermal mass benefits your application
The 0.2mm extra thickness doesn’t cause fit issues
If you’ve determined that 1.8mm is the right thickness for your design, here are example stackup configurations. Remember that these are starting points. Your fabricator will provide specific material options and may adjust based on their inventory.
4-Layer 1.8mm PCB Stackup
A 4-layer board at 1.8mm provides generous dielectric spacing, useful for controlled impedance with wider trace widths.
Layer
Function
Material
Thickness
L1
Signal
Copper
35µm (1oz)
Prepreg
PP 2116
0.15mm
L2
Ground
Copper
35µm (1oz)
Core
FR-4
1.4mm
L3
Power
Copper
35µm (1oz)
Prepreg
PP 2116
0.15mm
L4
Signal
Copper
35µm (1oz)
Total
~1.8mm
6-Layer 1.8mm PCB Stackup
Six layers in 1.8mm thickness provides a well-balanced design with good signal integrity characteristics.
Layer
Function
Material
Thickness
L1
Signal
Copper
35µm
Prepreg
PP 1080
0.08mm
L2
Ground
Copper
18µm
Core
FR-4
0.5mm
L3
Signal
Copper
18µm
Prepreg
PP 2116×2
0.24mm
L4
Signal
Copper
18µm
Core
FR-4
0.5mm
L5
Power
Copper
18µm
Prepreg
PP 1080
0.08mm
L6
Signal
Copper
35µm
Total
~1.8mm
8-Layer 1.8mm PCB Stackup
Eight layers in 1.8mm requires thin materials throughout but remains manufacturable with standard processes.
Layer
Function
Material
Thickness
L1
Signal
Copper
35µm
Prepreg
PP 1080
0.065mm
L2
Ground
Copper
18µm
Core
FR-4
0.2mm
L3
Signal
Copper
18µm
Prepreg
PP 1080
0.065mm
L4
Power
Copper
18µm
Core
FR-4
0.4mm
L5
Ground
Copper
18µm
Prepreg
PP 1080
0.065mm
L6
Signal
Copper
18µm
Core
FR-4
0.2mm
L7
Power
Copper
18µm
Prepreg
PP 1080
0.065mm
L8
Signal
Copper
35µm
Total
~1.8mm
How to Order 1.8mm PCB from Manufacturers
Ordering non-standard thickness requires more communication than standard boards. Here’s how to approach it.
Step 1: Confirm Capability
Not all fabricators can produce 1.8mm boards. Before investing design time, contact your preferred manufacturers and ask specifically about 1.8mm capability. Some questions to ask:
Do you offer 1.8mm as a finished thickness option?
What tolerance can you hold? (±0.1mm is typical for custom thicknesses)
What materials would you use to achieve 1.8mm?
What is the lead time impact compared to 1.6mm or 2.0mm?
Step 2: Specify Clearly in Documentation
When submitting your design, make the thickness requirement unmistakable.
Document
What to Include
Fabrication Drawing
“Finished thickness: 1.8mm ±0.1mm”
README File
Explicit thickness callout
Gerber Notes
Thickness specification
Purchase Order
Thickness in line item description
Step 3: Request Stackup Confirmation
Before production begins, ask for a stackup proposal showing exactly how the fabricator will achieve 1.8mm. Review the proposed materials and dielectric thicknesses to ensure they meet your electrical requirements.
Step 4: Consider Tolerance Requirements
Standard thickness tolerance is typically ±10%. For 1.8mm, this means your boards could be anywhere from 1.62mm to 1.98mm. If your application requires tighter control, specify this upfront and expect additional cost.
Tolerance Level
1.8mm Range
Cost Impact
Standard (±10%)
1.62-1.98mm
Baseline
Moderate (±5%)
1.71-1.89mm
+5-10%
Tight (±0.1mm)
1.7-1.9mm
+10-15%
Cost Implications of 1.8mm PCB
Choosing a non-standard thickness affects your project budget. Here’s what to expect.
Prototype Quantities (1-10 boards)
For prototypes, the cost premium for 1.8mm PCB is typically 10-20% above equivalent 1.6mm boards. The premium covers setup time, non-standard material handling, and reduced pooling efficiency.
Production Quantities (100+ boards)
At production volumes, the percentage premium decreases because material costs dominate over setup costs. Expect 5-15% above standard thickness pricing, depending on the fabricator’s material inventory.
Hidden Costs to Consider
Beyond per-board pricing, non-standard thickness can incur other costs:
Extended lead time may require expedited shipping
Stackup engineering review fees at some fabricators
Potential yield issues with non-optimized processes
Inventory complexity if you also use standard thicknesses
Design Tips for 1.8mm PCB Projects
If you’re proceeding with 1.8mm thickness, these tips will help ensure success.
Tip 1: Work Backward from Impedance Start with your impedance requirements and let the stackup math determine thickness. If 1.8mm emerges naturally from your calculations, you have strong justification for the custom dimension.
Tip 2: Communicate Early with Your Fabricator Don’t finalize your stackup in isolation. Share your requirements with the fabricator early and let them propose material combinations they can reliably produce.
Tip 3: Design for Tolerance Assume your 1.8mm boards might actually be 1.7mm or 1.9mm. Ensure enclosures, connectors, and mechanical features accommodate this range.
Tip 4: Document Your Reasoning Record why you chose 1.8mm thickness. Future engineers (or your future self) will appreciate understanding the decision when the design needs modification.
Useful Resources for Custom PCB Thickness Design
These tools help when designing boards at non-standard thicknesses.
Impedance Calculators
Saturn PCB Design Toolkit provides free impedance calculations where you can input exact dielectric thicknesses. Available at saturnpcb.com.
Stackup Planners
Most major fabricators offer online stackup tools. While they focus on standard thicknesses, customer service can often provide custom stackup proposals.
Material Databases
Isola and Rogers provide detailed laminate specifications. Use these to verify dielectric constants and loss tangent values for your impedance calculations.
IPC Standards
IPC-2221 (Generic Standard on Printed Board Design) and IPC-4101 (Laminate Specifications) provide thickness tolerance guidelines applicable to custom dimensions.
Frequently Asked Questions
Is 1.8mm a standard PCB thickness?
No, 1.8mm is not a standard PCB thickness. It falls in the gap between the standard 1.6mm and 2.0mm options. Most fabricators don’t list 1.8mm in their standard offerings, and specifying it typically requires custom processing with associated cost and lead time impacts.
Why would I choose 1.8mm instead of 1.6mm or 2.0mm?
The main reasons to specify 1.8mm PCB are multilayer stackup requirements that calculate to this thickness, mechanical fit constraints from enclosures or legacy designs, or the need for moderate rigidity increase without the full jump to 2.0mm. If none of these apply specifically, standard thicknesses are usually better choices.
How much more does 1.8mm PCB cost compared to standard thicknesses?
For prototype quantities, expect 10-20% premium above 1.6mm pricing. For production volumes, the premium typically decreases to 5-15%. Additional costs may include extended lead time, stackup engineering fees, and potential yield impacts.
Can all PCB manufacturers produce 1.8mm boards?
No, not all fabricators offer non-standard thicknesses. Before designing for 1.8mm, confirm capability with your intended manufacturer. Ask about material availability, achievable tolerances, and lead time impacts.
What layer counts are practical in 1.8mm thickness?
For 1.8mm PCB, practical layer counts range from 2 to 8 layers. Four and six-layer designs work comfortably with standard materials. Eight layers require thinner cores and prepregs but remain manufacturable. Beyond 8 layers in 1.8mm thickness becomes challenging and may require HDI processes.
Conclusion
The 1.8mm PCB thickness occupies an unusual space in the PCB industry: not standard enough to be widely available, but useful enough that engineers regularly need it. If your design genuinely requires something between 1.6mm and 2.0mm, don’t let the “non-standard” label discourage you. Fabricators produce custom thicknesses routinely.
The key is understanding why you need 1.8mm and communicating clearly with your manufacturer. When impedance calculations, mechanical constraints, or stackup requirements point specifically to 1.8mm, the moderate cost premium is justified. When the reasons are vague, sticking with 1.6mm or 2.0mm will save you time and money.
Before finalizing any non-standard thickness, confirm manufacturability with your fabricator, specify requirements clearly in your documentation, and design with tolerance in mind. With proper planning, 1.8mm PCB projects succeed just as reliably as standard thickness designs.
Inquire: Call 0086-755-23203480, or reach out via the form below/your sales contact to discuss our design, manufacturing, and assembly capabilities.
Quote: Email your PCB files to Sales@pcbsync.com (Preferred for large files) or submit online. We will contact you promptly. Please ensure your email is correct.
Notes: For PCB fabrication, we require PCB design file in Gerber RS-274X format (most preferred), *.PCB/DDB (Protel, inform your program version) format or *.BRD (Eagle) format. For PCB assembly, we require PCB design file in above mentioned format, drilling file and BOM. Click to download BOM template To avoid file missing, please include all files into one folder and compress it into .zip or .rar format.


