Inquire: Call 0086-755-23203480, or reach out via the form below/your sales contact to discuss our design, manufacturing, and assembly capabilities.
Quote: Email your PCB files to Sales@pcbsync.com (Preferred for large files) or submit online. We will contact you promptly. Please ensure your email is correct.
Notes: For PCB fabrication, we require PCB design file in Gerber RS-274X format (most preferred), *.PCB/DDB (Protel, inform your program version) format or *.BRD (Eagle) format. For PCB assembly, we require PCB design file in above mentioned format, drilling file and BOM. Click to download BOM template To avoid file missing, please include all files into one folder and compress it into .zip or .rar format.
If you’re designing smartphones, tablets, handheld devices, or any portable electronics, you’ve probably wondered whether 1.0mm PCB is the right choice for your project. After working on dozens of consumer electronics designs over the years, I can tell you that 1.0mm PCB hits a sweet spot that’s hard to beat for most portable applications.
The 1.0mm PCB thickness has become the de facto standard in consumer electronics because it delivers something neither thinner nor thicker boards can match: the perfect balance between slim profile and mechanical durability. While 1.6mm remains the general industry standard for most PCB applications, the consumer electronics sector has largely moved to 1.0mm as their go-to thickness for space-constrained designs.
In this guide, I’ll walk you through everything you need to know about 1.0mm PCB design, from stackup configurations to manufacturing considerations, and help you determine if it’s the right choice for your next project.
A 1.0mm PCB refers to a printed circuit board with a total finished thickness of 1.0 millimeters (approximately 0.039 inches or 39 mils). This measurement includes all layers of the board: copper layers, dielectric substrate (typically FR-4), prepreg, solder mask, and surface finish.
To put this in perspective, here’s how 1.0mm PCB compares to other standard thicknesses:
Thickness
Inches
Category
Primary Applications
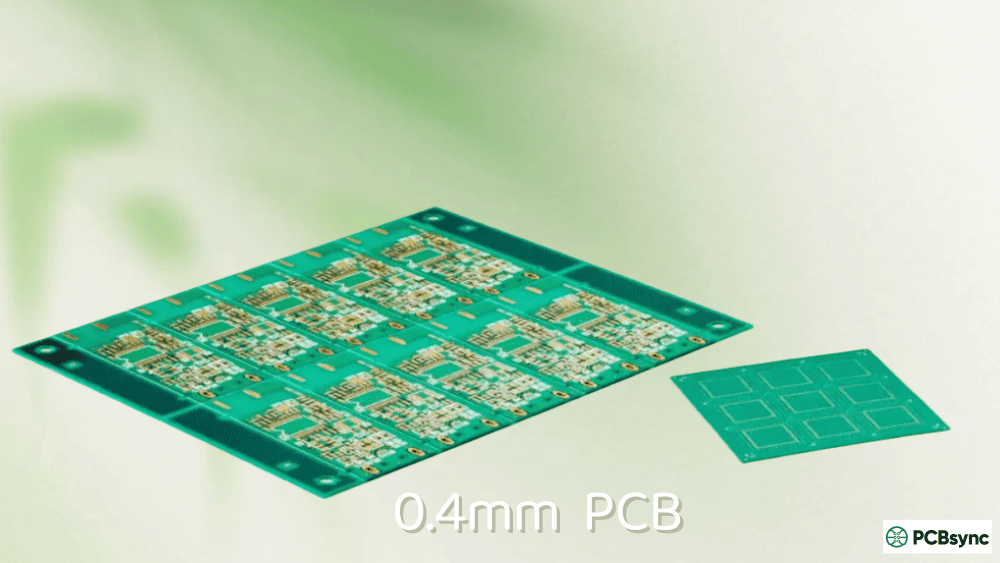
0.4mm
0.016″
Ultra-thin
Flex circuits, wearables
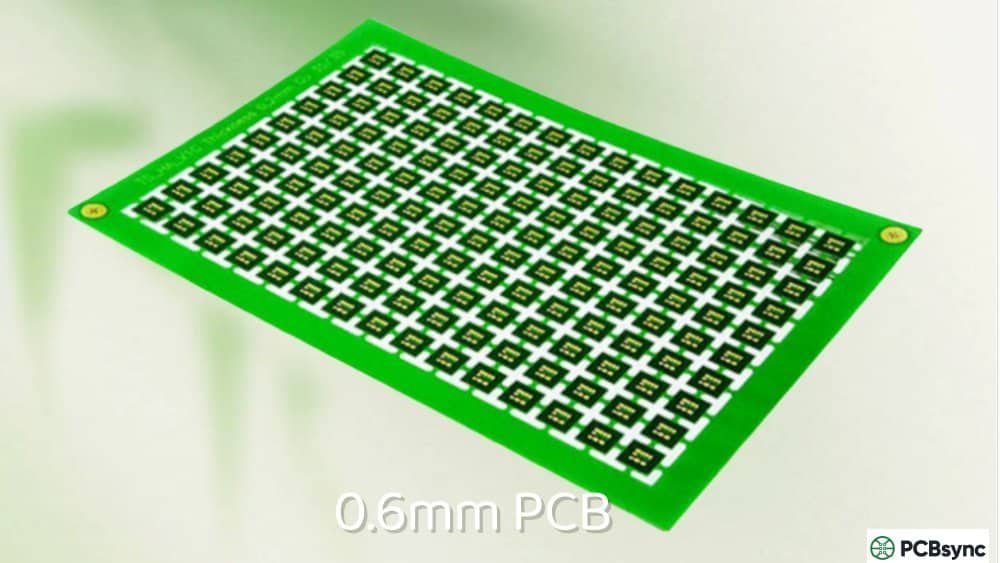
0.6mm
0.024″
Very thin
Smart cards, miniature sensors
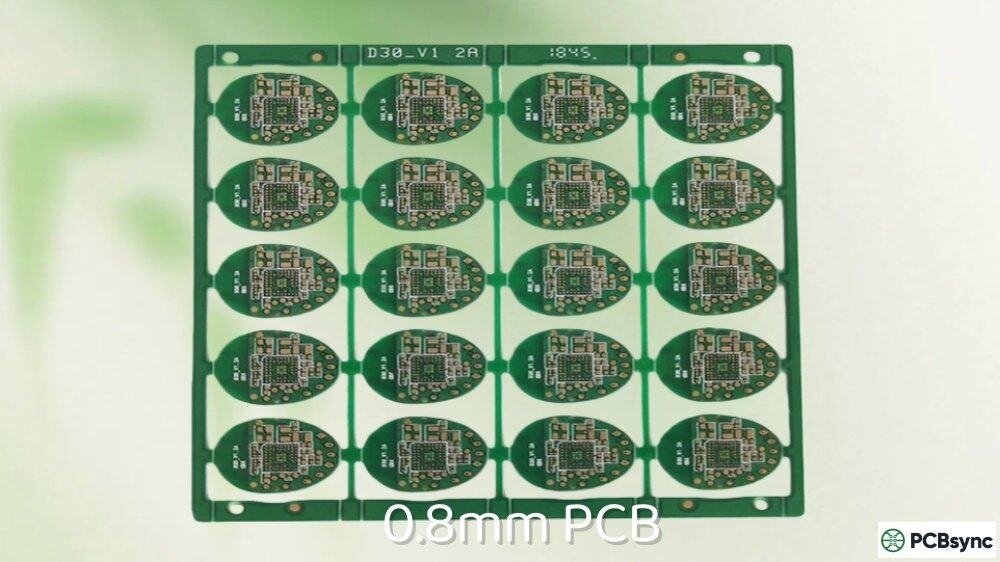
0.8mm
0.031″
Thin
Bluetooth modules, IoT devices
1.0mm
0.039″
Consumer standard
Smartphones, tablets, handheld devices
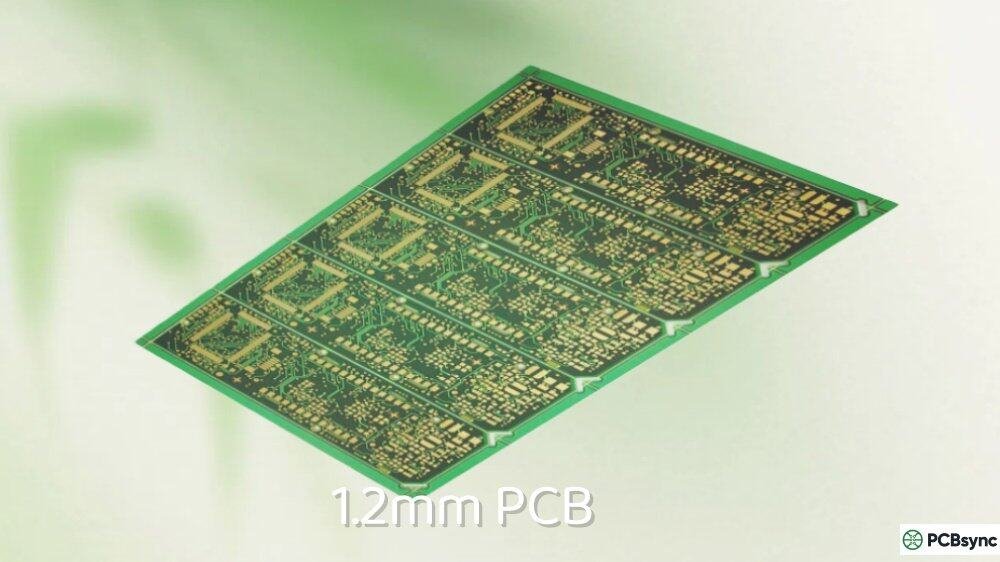
1.2mm
0.047″
Mid-thin
GPS devices, portable power
1.6mm
0.063″
Industry standard
General electronics, motherboards
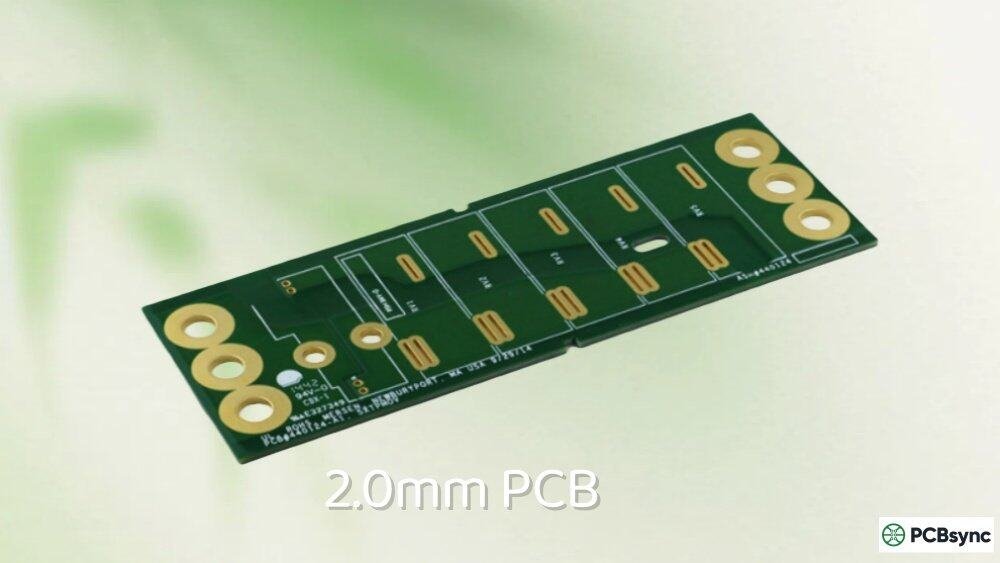
2.0mm
0.079″
Thick
Industrial, automotive
The 1.0mm PCB occupies a unique position in the thickness spectrum. It’s thin enough to fit into slim device enclosures while maintaining sufficient rigidity to support SMD components without excessive flexing during assembly or use.
Why 1.0mm PCB Became the Consumer Electronics Standard
Several factors have driven the widespread adoption of 1.0mm PCB in consumer electronics:
Space Efficiency Without Sacrificing Durability
Consumer devices keep getting thinner. The latest smartphones are often under 8mm thick, leaving precious little room for the PCB and components. A 1.0mm PCB saves 0.6mm compared to the traditional 1.6mm standard, which might not sound like much, but in a smartphone stack-up, that’s significant real estate.
Unlike 0.8mm boards that can feel flimsy and require careful handling during assembly, a 1.0mm PCB maintains enough rigidity for standard pick-and-place operations and typical component weights.
Weight Reduction for Portable Devices
Every gram matters in portable electronics. A 1.0mm PCB weighs approximately 37% less than an equivalent 1.6mm board. For a smartphone-sized PCB (roughly 120mm x 60mm), this translates to a weight savings of around 3-4 grams, which contributes meaningfully to the overall device weight.
Better High-Frequency Performance
Here’s something many engineers overlook: thinner boards can actually improve high-frequency signal integrity. At 10GHz, a 1.0mm board typically shows about 0.6dB/cm dielectric loss compared to 0.8dB/cm for a 1.6mm board. This 25% improvement in signal loss matters for modern wireless devices operating at 2.4GHz, 5GHz, and beyond.
Cost-Effective Manufacturing
While ultra-thin boards (under 0.8mm) often carry premium pricing due to handling challenges, 1.0mm PCBs fall within the comfortable PCB manufacturing range for most fabricators. You get the benefits of a thinner board without the significant cost penalties associated with handling fragile substrates.
1.0mm PCB vs 0.8mm vs 1.2mm vs 1.6mm: Detailed Comparison
Choosing the right PCB thickness requires understanding the trade-offs. Here’s a comprehensive comparison:
Parameter
0.8mm
1.0mm
1.2mm
1.6mm
Mechanical Rigidity
Low
Moderate
Good
Excellent
Weight (relative)
50%
62%
75%
100%
Warping Risk
High
Moderate
Low
Very Low
Max Practical Layers
4
4-6
6
8+
Thermal Dissipation
Poor
Fair
Good
Excellent
Manufacturing Cost
Higher
Standard
Standard
Standard
Connector Compatibility
Limited
Good
Good
Universal
Drilling Aspect Ratio
Challenging
Manageable
Easy
Easy
Best For
Wearables, IoT
Consumer electronics
Portable devices
General purpose
When to Choose 1.0mm PCB Over Alternatives
The 1.0mm PCB makes the most sense when:
Your enclosure height is constrained but not extreme. If you have 2-3mm available for the PCB stack (including components), 1.0mm is ideal. For tighter spaces under 2mm, consider 0.8mm or thinner.
You need 2 to 4 layers with standard component density. A 1.0mm PCB comfortably accommodates 4-layer designs with proper stackup planning.
Your product will be manufactured in volume. The 1.0mm thickness is well-supported across most PCB fabricators globally, ensuring competitive pricing and reliable supply.
Signal integrity matters but isn’t critical. For Wi-Fi, Bluetooth, and similar consumer wireless applications, 1.0mm provides adequate performance without requiring specialized materials.
1.0mm PCB Stackup Configurations
Getting the stackup right is crucial for any thin board design. Here are proven configurations for 1.0mm PCB:
2-Layer 1.0mm PCB Stackup
The simplest configuration, ideal for basic circuits:
Layer
Material
Thickness
Notes
Top Copper
Cu
35μm (1oz)
Signal/Component layer
Solder Mask
–
15-25μm
Green, black, or other
Prepreg
FR-4
~0.91mm
Core dielectric
Bottom Copper
Cu
35μm (1oz)
Signal/Ground layer
Solder Mask
–
15-25μm
–
Total
–
~1.0mm
Tolerance ±0.1mm
This stackup works well for LED drivers, simple sensor circuits, and low-density power distribution boards.
4-Layer 1.0mm PCB Stackup
The most common configuration for consumer electronics:
Layer
Material
Thickness
Function
L1 (Top)
Copper
18μm (0.5oz)
Signal + Components
Prepreg
2116
0.12mm
Dielectric
L2
Copper
18μm (0.5oz)
Ground Plane
Core
FR-4
0.56mm
Main dielectric
L3
Copper
18μm (0.5oz)
Power Plane
Prepreg
2116
0.12mm
Dielectric
L4 (Bottom)
Copper
18μm (0.5oz)
Signal + Components
Total
–
~1.0mm
After pressing
For this stackup, note that inner copper is typically 0.5oz (18μm) rather than 1oz to maintain the target thickness. The 2116 prepreg (approximately 0.12mm after pressing) works well for this configuration.
6-Layer 1.0mm PCB Stackup
Achievable but tight, this configuration requires careful planning:
Layer
Material
Thickness
Function
L1
Copper
18μm
Signal
Prepreg
1080
0.075mm
–
L2
Copper
15μm
Ground
Core
FR-4
0.2mm
–
L3
Copper
15μm
Signal
Prepreg
1080
0.075mm
–
L4
Copper
15μm
Signal
Core
FR-4
0.2mm
–
L5
Copper
15μm
Power
Prepreg
1080
0.075mm
–
L6
Copper
18μm
Signal
Total
–
~1.0mm
Tight tolerance
This stackup pushes the limits of what’s practical at 1.0mm. Consider moving to 1.2mm if you need 6 layers with better signal integrity margins.
Based on industry data and practical experience, 1.0mm PCB excels in these applications:
Smartphones and Mobile Devices
Modern smartphone main boards almost universally use 1.0mm to 1.2mm thickness. The combination of slim profile, adequate layer count (typically 8-10 layers in flagship phones, achieved through HDI techniques), and reasonable manufacturing cost makes 1.0mm the logical choice.
Tablets and E-Readers
Similar requirements to smartphones but with larger board areas. The 1.0mm thickness provides sufficient rigidity even for tablet-sized boards (up to about 200mm x 150mm) without excessive weight.
Handheld Gaming Devices
Controllers, portable consoles, and gaming accessories frequently use 1.0mm PCB. The thickness handles the typical 4-layer designs needed for microcontroller-based gaming circuits while fitting in ergonomic enclosures.
GPS and Navigation Devices
Vehicle-mounted and portable GPS units typically use 1.0mm PCB. The RF performance at GPS frequencies (1.575GHz) benefits from the thinner dielectric, and the form factors of these devices align well with slim board profiles.
Bluetooth and Wi-Fi Modules
Stand-alone wireless modules often use 1.0mm thickness. The combination of RF performance requirements and compact form factors makes this thickness ideal.
Portable Medical Devices
Pulse oximeters, glucose monitors, and similar battery-powered medical instruments frequently specify 1.0mm PCB. The medical device industry values the reliability and proven track record of this thickness category.
Manufacturing Considerations for 1.0mm PCB
Working with 1.0mm PCB introduces some manufacturing nuances you should be aware of:
Drilling Aspect Ratios
The aspect ratio (board thickness divided by drill diameter) affects via reliability. For a 1.0mm board:
Via Diameter
Aspect Ratio
Manufacturability
0.3mm
3.3:1
Easy – Standard process
0.25mm
4:1
Standard – Most fabs
0.2mm
5:1
Moderate – Some fabs
0.15mm
6.7:1
Challenging – Premium fabs
0.1mm
10:1
Difficult – HDI required
For reliable via plating, keep your aspect ratios under 8:1. This means for a 1.0mm PCB, your minimum via diameter should be around 0.125mm (5 mils) for standard fabrication.
Warping Prevention
Warping becomes a concern as boards get thinner. For 1.0mm PCB, follow these guidelines:
Maintain symmetric copper distribution between top and bottom layers. Unbalanced copper can cause the board to bow during thermal cycling.
Keep copper coverage above 40% on each layer when possible. Large uncoppered areas contribute to warping.
Specify IPC Class 2 or better flatness requirements (typically 0.75% of diagonal for this thickness).
Consider panel size carefully. Larger panels are more prone to warping. Discuss optimal panelization with your fabricator.
Surface Finish Selection
All standard surface finishes work with 1.0mm PCB:
Surface Finish
Typical Thickness
Best For
HASL (Lead-free)
1-40μm
General purpose, cost-sensitive
ENIG
3-6μm Ni, 0.05-0.1μm Au
Fine pitch, wire bonding
OSP
0.2-0.5μm
High-volume consumer
Immersion Silver
0.15-0.4μm
RF applications
Immersion Tin
0.8-1.2μm
Press-fit connectors
For consumer electronics applications, OSP (Organic Solderability Preservative) is often the most cost-effective choice. ENIG provides better shelf life and is preferred for designs with fine-pitch BGAs.
Assembly Process Adjustments
Working with 1.0mm PCB requires minor assembly adjustments:
Reduce reflow oven conveyor speed slightly to ensure the thinner board reaches proper temperature throughout.
Adjust stencil thickness. For 1.0mm boards with fine-pitch components, consider 100μm (4 mil) stencils rather than the standard 120μm to prevent bridging.
Support the board during selective soldering if through-hole components are present. The reduced thickness provides less thermal mass.
Design Tips for 1.0mm PCB Success
Here are practical recommendations from years of working with consumer electronics designs:
Tip 1: Plan Your Stackup Early
Don’t assume you can fit your design into 1.0mm after the fact. Define your stackup before routing begins, and verify with your fabricator that they support the specific layer construction you need.
Tip 2: Use Ground Planes Liberally
On a 4-layer 1.0mm PCB, dedicate Layer 2 to a solid ground plane. This improves signal integrity, provides EMI shielding, and gives you a consistent reference for controlled impedance traces.
Tip 3: Mind Your Via Placement
With thinner boards, vias have less barrel surface area for plating. Avoid placing vias directly under BGA pads (via-in-pad) unless you specify filled and planarized vias, which adds cost.
Tip 4: Consider Controlled Impedance Requirements
For USB, HDMI, or RF traces on a 1.0mm PCB, work with your fabricator’s impedance calculator. The thinner dielectric layers mean your trace widths will differ from 1.6mm designs. A typical 50-ohm microstrip on 1.0mm with 2116 prepreg might be around 0.4mm wide versus 0.7mm on 1.6mm boards.
Tip 5: Specify Your Tolerance Requirements
Standard thickness tolerance for 1.0mm PCB is ±0.1mm (±10%). If your mechanical design requires tighter tolerances, discuss this with your fabricator early, as it may affect pricing and lead time.
Cost Analysis: 1.0mm PCB Pricing
Understanding the cost implications helps with project planning:
Board Type
1.0mm vs 1.6mm Cost
2-layer prototype
Similar (within 5%)
4-layer prototype
Similar (within 5%)
2-layer production
5-10% less (material savings)
4-layer production
Similar
6-layer (any volume)
10-20% more (tighter tolerances)
The good news: 1.0mm PCB doesn’t carry a significant cost premium over 1.6mm for most configurations. In some cases, material savings offset any additional handling considerations.
Useful Resources for 1.0mm PCB Design
Here are tools and references I regularly use:
Impedance Calculators:
Saturn PCB Toolkit (free download): Includes impedance, via current, and thermal calculations
IPC-2221B: Generic Standard on Printed Board Design
IPC-4101E: Specification for Base Materials for Rigid and Multilayer Printed Boards
IPC-6012D: Qualification and Performance Specification for Rigid Printed Boards
Stackup References:
JHYPCB Layer Stackup Guide: Comprehensive stackup tables for various thicknesses
PCBCart Stackup Library: Visual stackup examples with material specifications
Material Datasheets:
Isola 370HR: Popular high-Tg FR-4 for consumer electronics
Shengyi S1000-2: Cost-effective FR-4 widely available in Asia
Frequently Asked Questions About 1.0mm PCB
Is 1.0mm PCB considered a standard thickness?
Yes, 1.0mm PCB is a standard thickness offered by virtually all PCB manufacturers worldwide. While 1.6mm is the historical “default” standard, 1.0mm has become the practical standard for consumer electronics applications. Major fabricators like JLCPCB, PCBWay, and most domestic manufacturers stock 1.0mm core materials and can produce these boards without special tooling or premium pricing.
How many layers can I fit in a 1.0mm PCB?
You can reliably fit 2 to 4 layers in a 1.0mm PCB using standard manufacturing processes. Six layers are possible but require thinner copper (0.5oz or less on inner layers) and careful stackup design. For designs requiring more than 4 layers, consider HDI (High-Density Interconnect) techniques with microvias, or move to a 1.2mm thickness for a more comfortable design margin.
What is the thickness tolerance for 1.0mm PCB?
Standard tolerance for 1.0mm PCB is ±0.1mm, meaning your finished board may measure between 0.9mm and 1.1mm. This is approximately ±10% tolerance, which is typical for thin boards. If your application requires tighter tolerances (such as ±0.05mm), specify this requirement when ordering, but expect additional cost and potentially longer lead times.
Will my standard connectors work with 1.0mm PCB?
Most through-hole connectors are designed for 1.6mm boards, so you may encounter fit issues with 1.0mm PCB. However, many connector manufacturers offer variants specifically for thin boards, and SMD connectors work regardless of board thickness. For edge connectors (like PCIe or memory slots), check the specifications carefully. Many card-edge connectors specify acceptable PCB thickness ranges, and 1.0mm often falls outside the optimal range for connectors designed for 1.6mm boards.
Does 1.0mm PCB affect signal integrity compared to 1.6mm?
The thinner dielectric in 1.0mm PCB actually improves some aspects of signal integrity. Reduced dielectric thickness means tighter coupling between signal traces and reference planes, which can lower crosstalk and improve impedance control. However, the thinner substrate also means trace widths for a given impedance will be narrower, requiring more precise manufacturing. For most consumer electronics applications operating under 6GHz, 1.0mm PCB provides excellent signal integrity performance.
Conclusion
The 1.0mm PCB has earned its place as the consumer electronics standard through a practical combination of slim profile, adequate mechanical strength, good electrical performance, and cost-effective manufacturing. For smartphones, tablets, handheld devices, and similar portable electronics, it represents the optimal balance point that thicker and thinner alternatives struggle to match.
When planning your next consumer electronics project, start with 1.0mm as your baseline thickness. Work with your fabricator to confirm stackup availability, and apply the design guidelines covered in this article. With proper planning, 1.0mm PCB delivers reliable results project after project.
The key is matching your specific requirements to the capabilities of this thickness category. If you need more layers or heavier copper, move up to 1.2mm or 1.6mm. If you’re designing for ultra-compact wearables, consider 0.8mm or thinner. But for the vast middle ground of consumer electronics design, 1.0mm PCB remains the smart default choice.
Inquire: Call 0086-755-23203480, or reach out via the form below/your sales contact to discuss our design, manufacturing, and assembly capabilities.
Quote: Email your PCB files to Sales@pcbsync.com (Preferred for large files) or submit online. We will contact you promptly. Please ensure your email is correct.
Notes: For PCB fabrication, we require PCB design file in Gerber RS-274X format (most preferred), *.PCB/DDB (Protel, inform your program version) format or *.BRD (Eagle) format. For PCB assembly, we require PCB design file in above mentioned format, drilling file and BOM. Click to download BOM template To avoid file missing, please include all files into one folder and compress it into .zip or .rar format.


